

How to build a DIY Floor Lamp w/ 2 Tools
Materials:
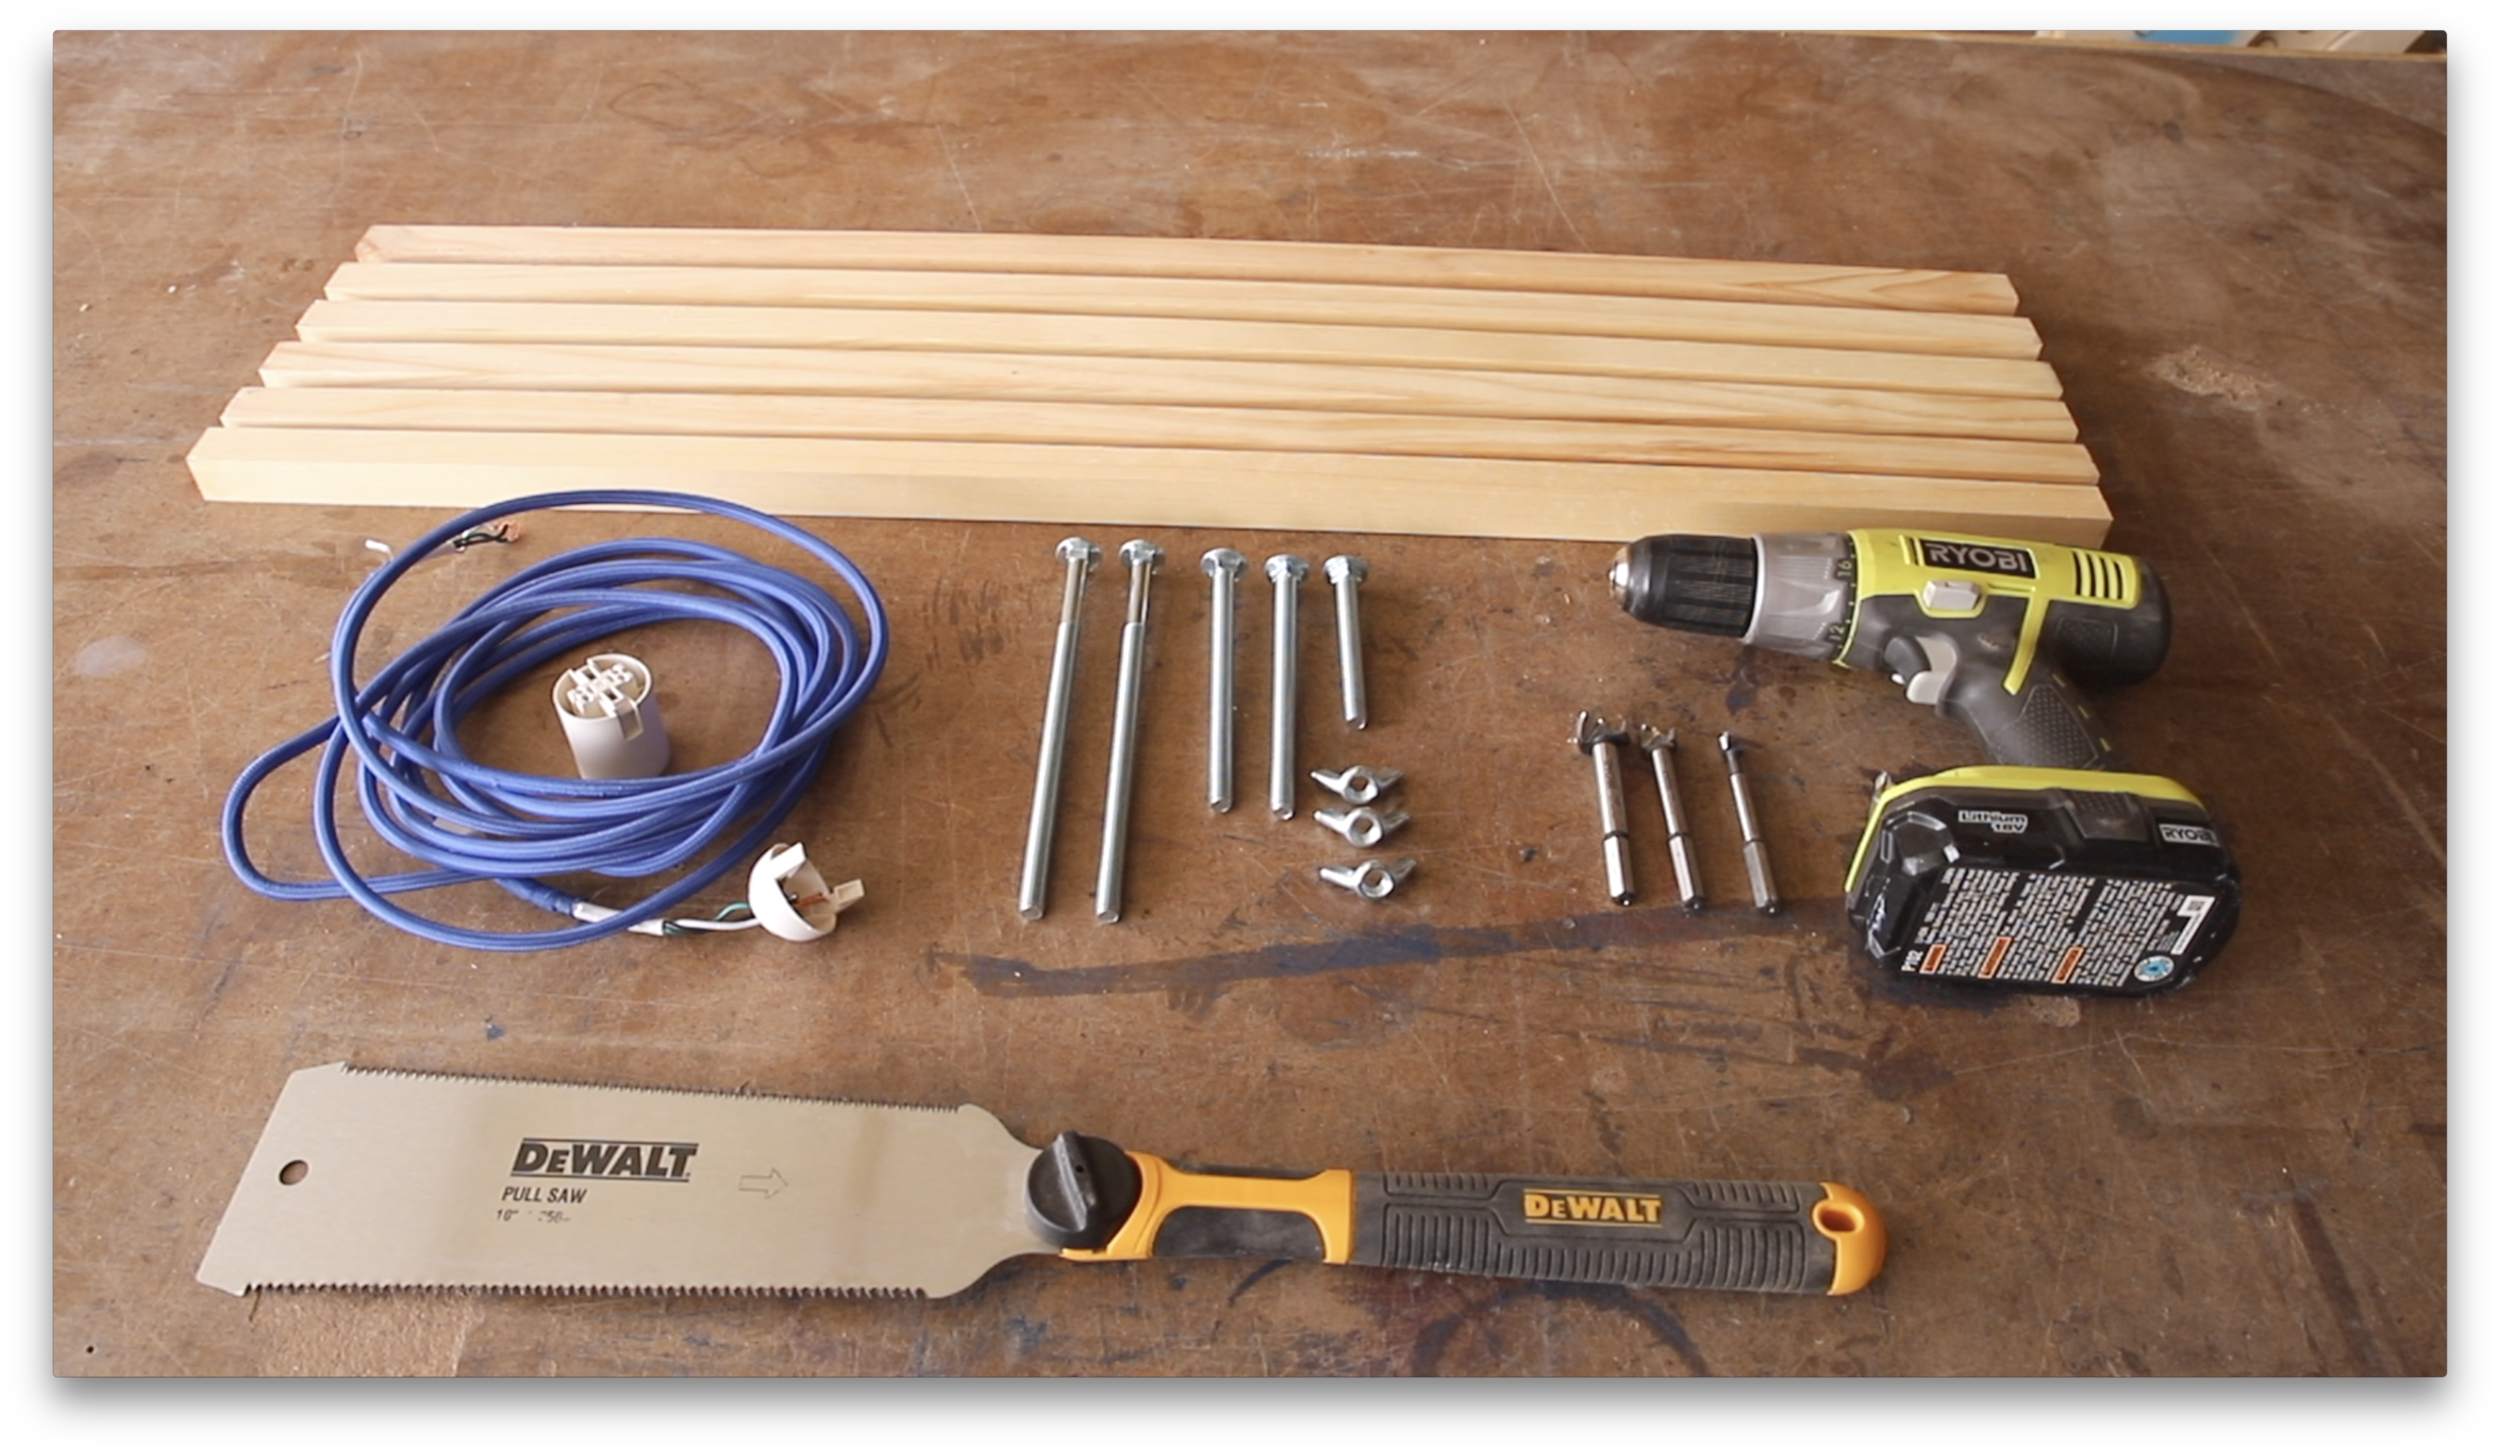
(6) 36” long 1 inch square dowels
(3) 3/8” carriage bolts 7 inches long
(1) 3/8” carriage bolt 3 1/2 inches long
(4) 3/8” wingnuts
(4) 3/8’ washers
(4) 3/8” lock washers
Light cord w/ plug & socket at least 10’ long
Tools:
Drill
Hand saw
Forstner bits (3/8” & 5/8”)
Ruler
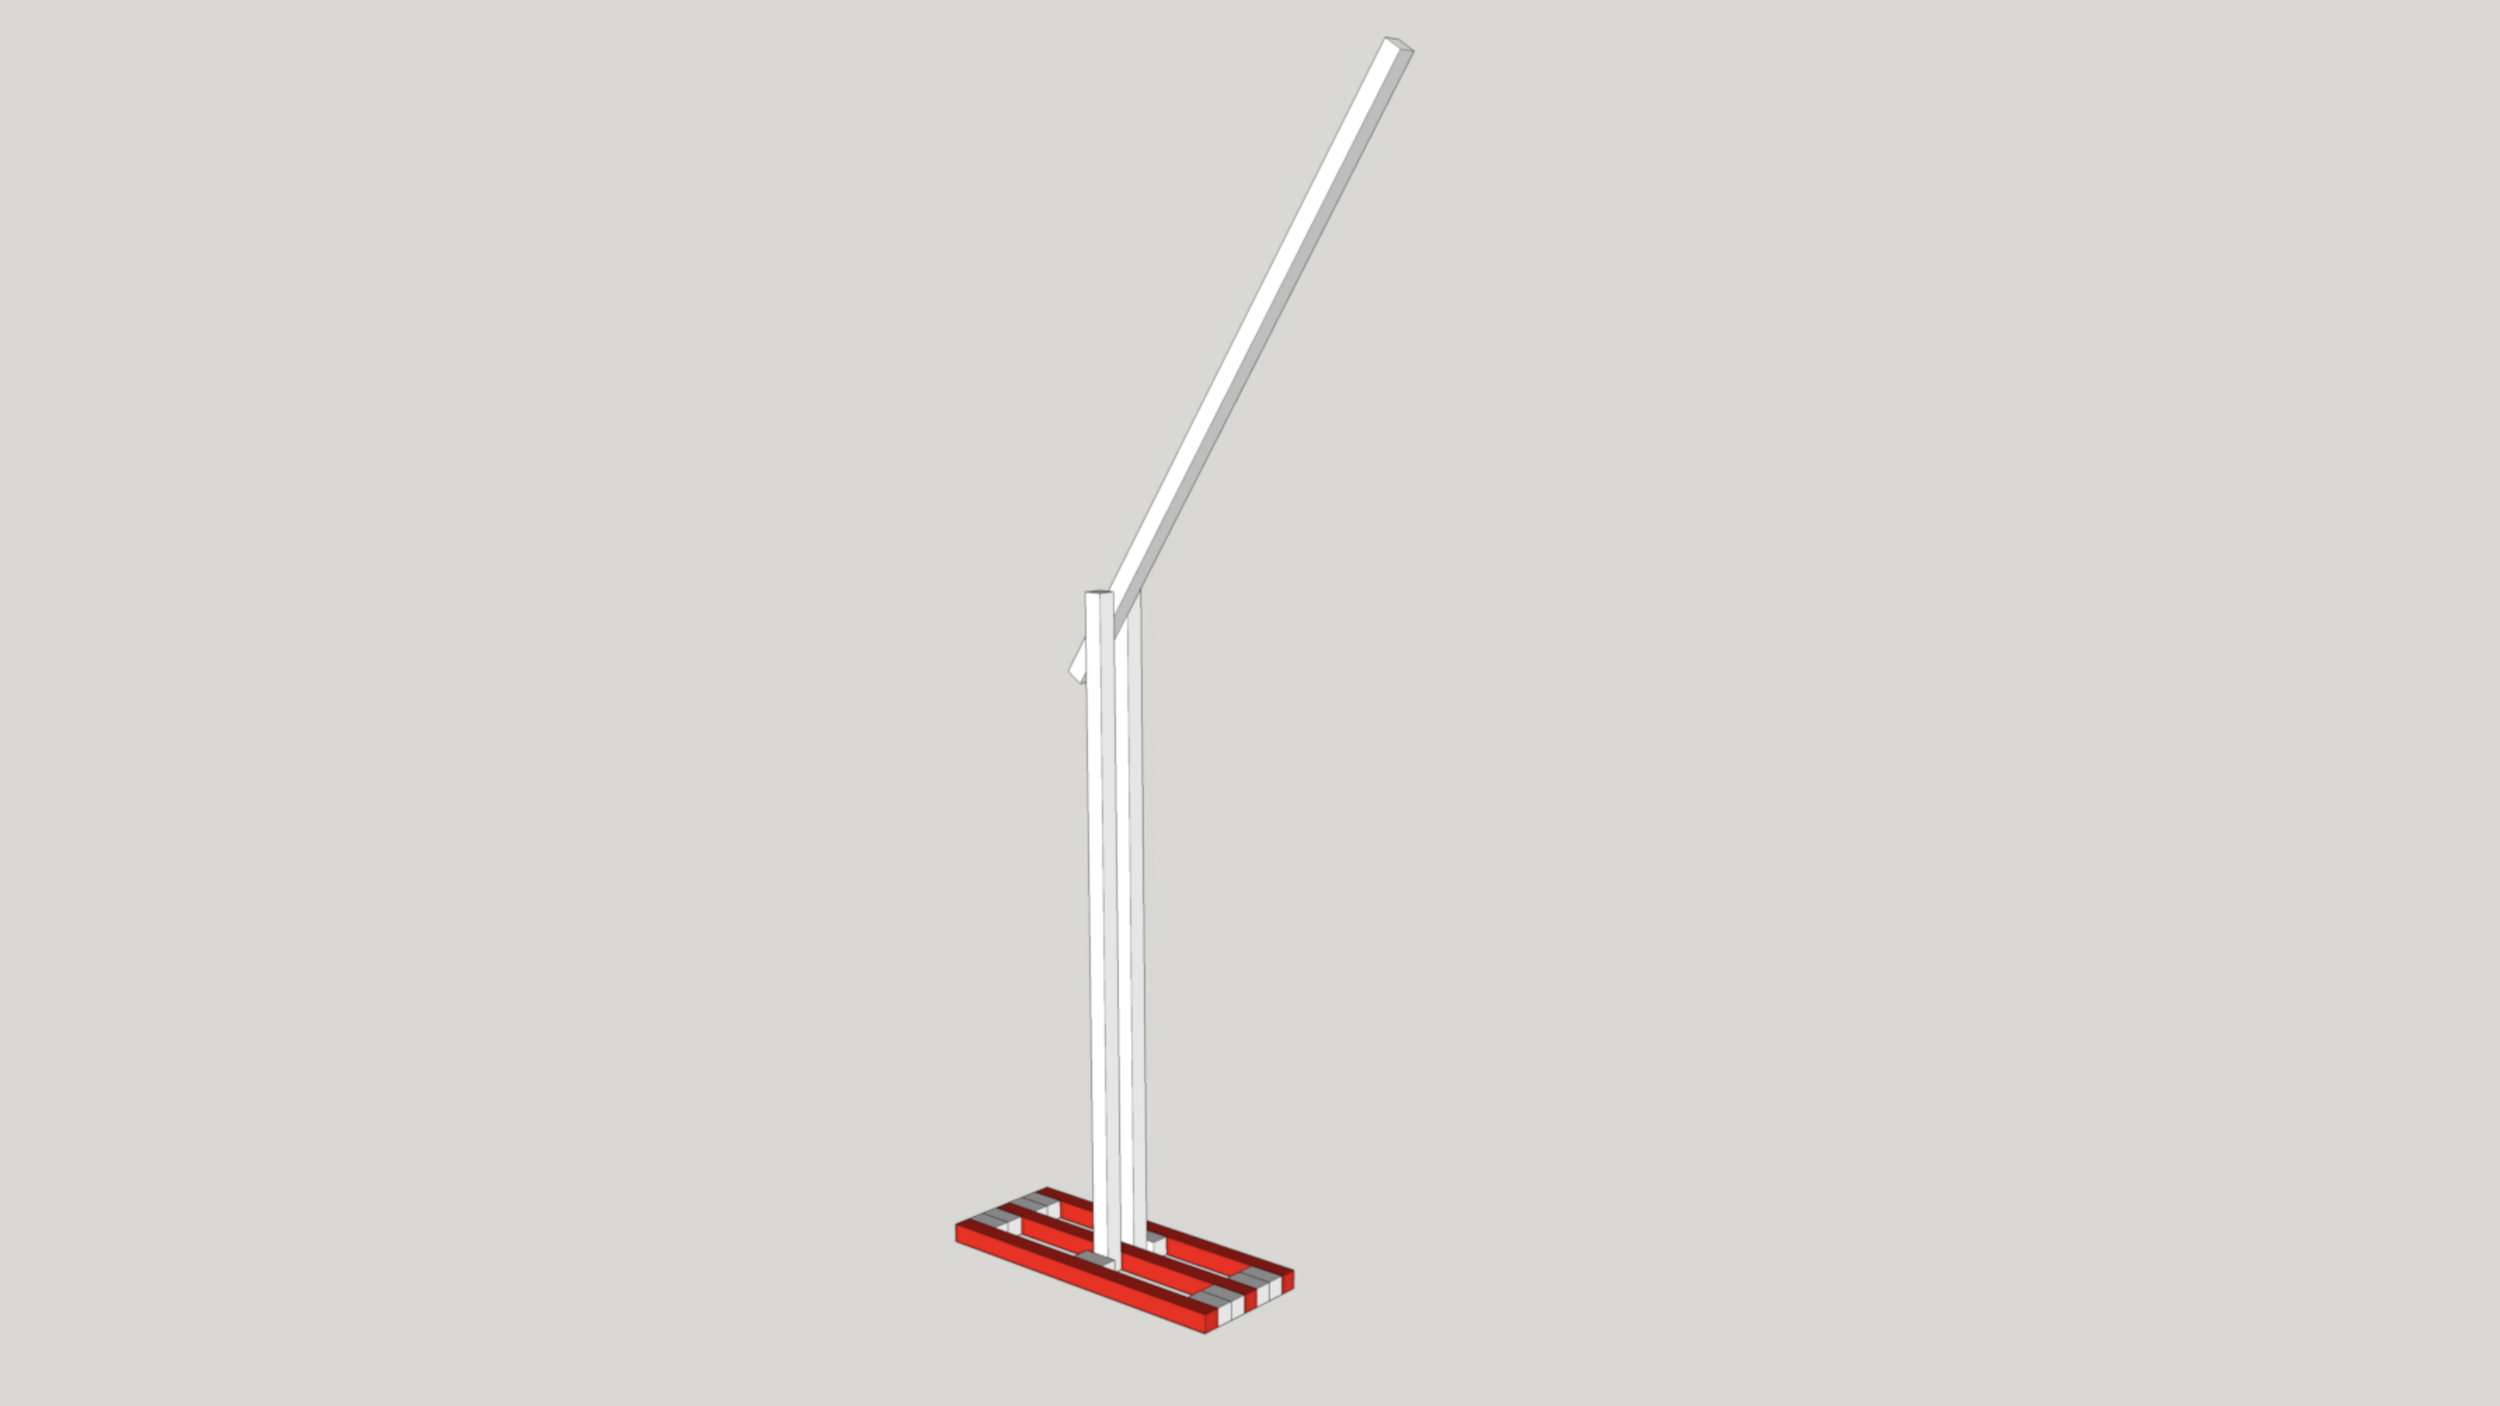


The base consists of (3) 18 inch long sections and (10) 2 inch long sections.
Measure and cut the (3) 18” sections with a handsaw. Clamp another dowel to the one you are cutting to act as a cutting guide for the saw. This ensures you get a straight cut. Make sure to clamp the block so it leaves room for the width of the saw blade(kerf).
Measure and cut the (10) 2” sections with a handsaw.

Sand the edges of the pieces you just cut with a piece of 220 grit sandpaper.
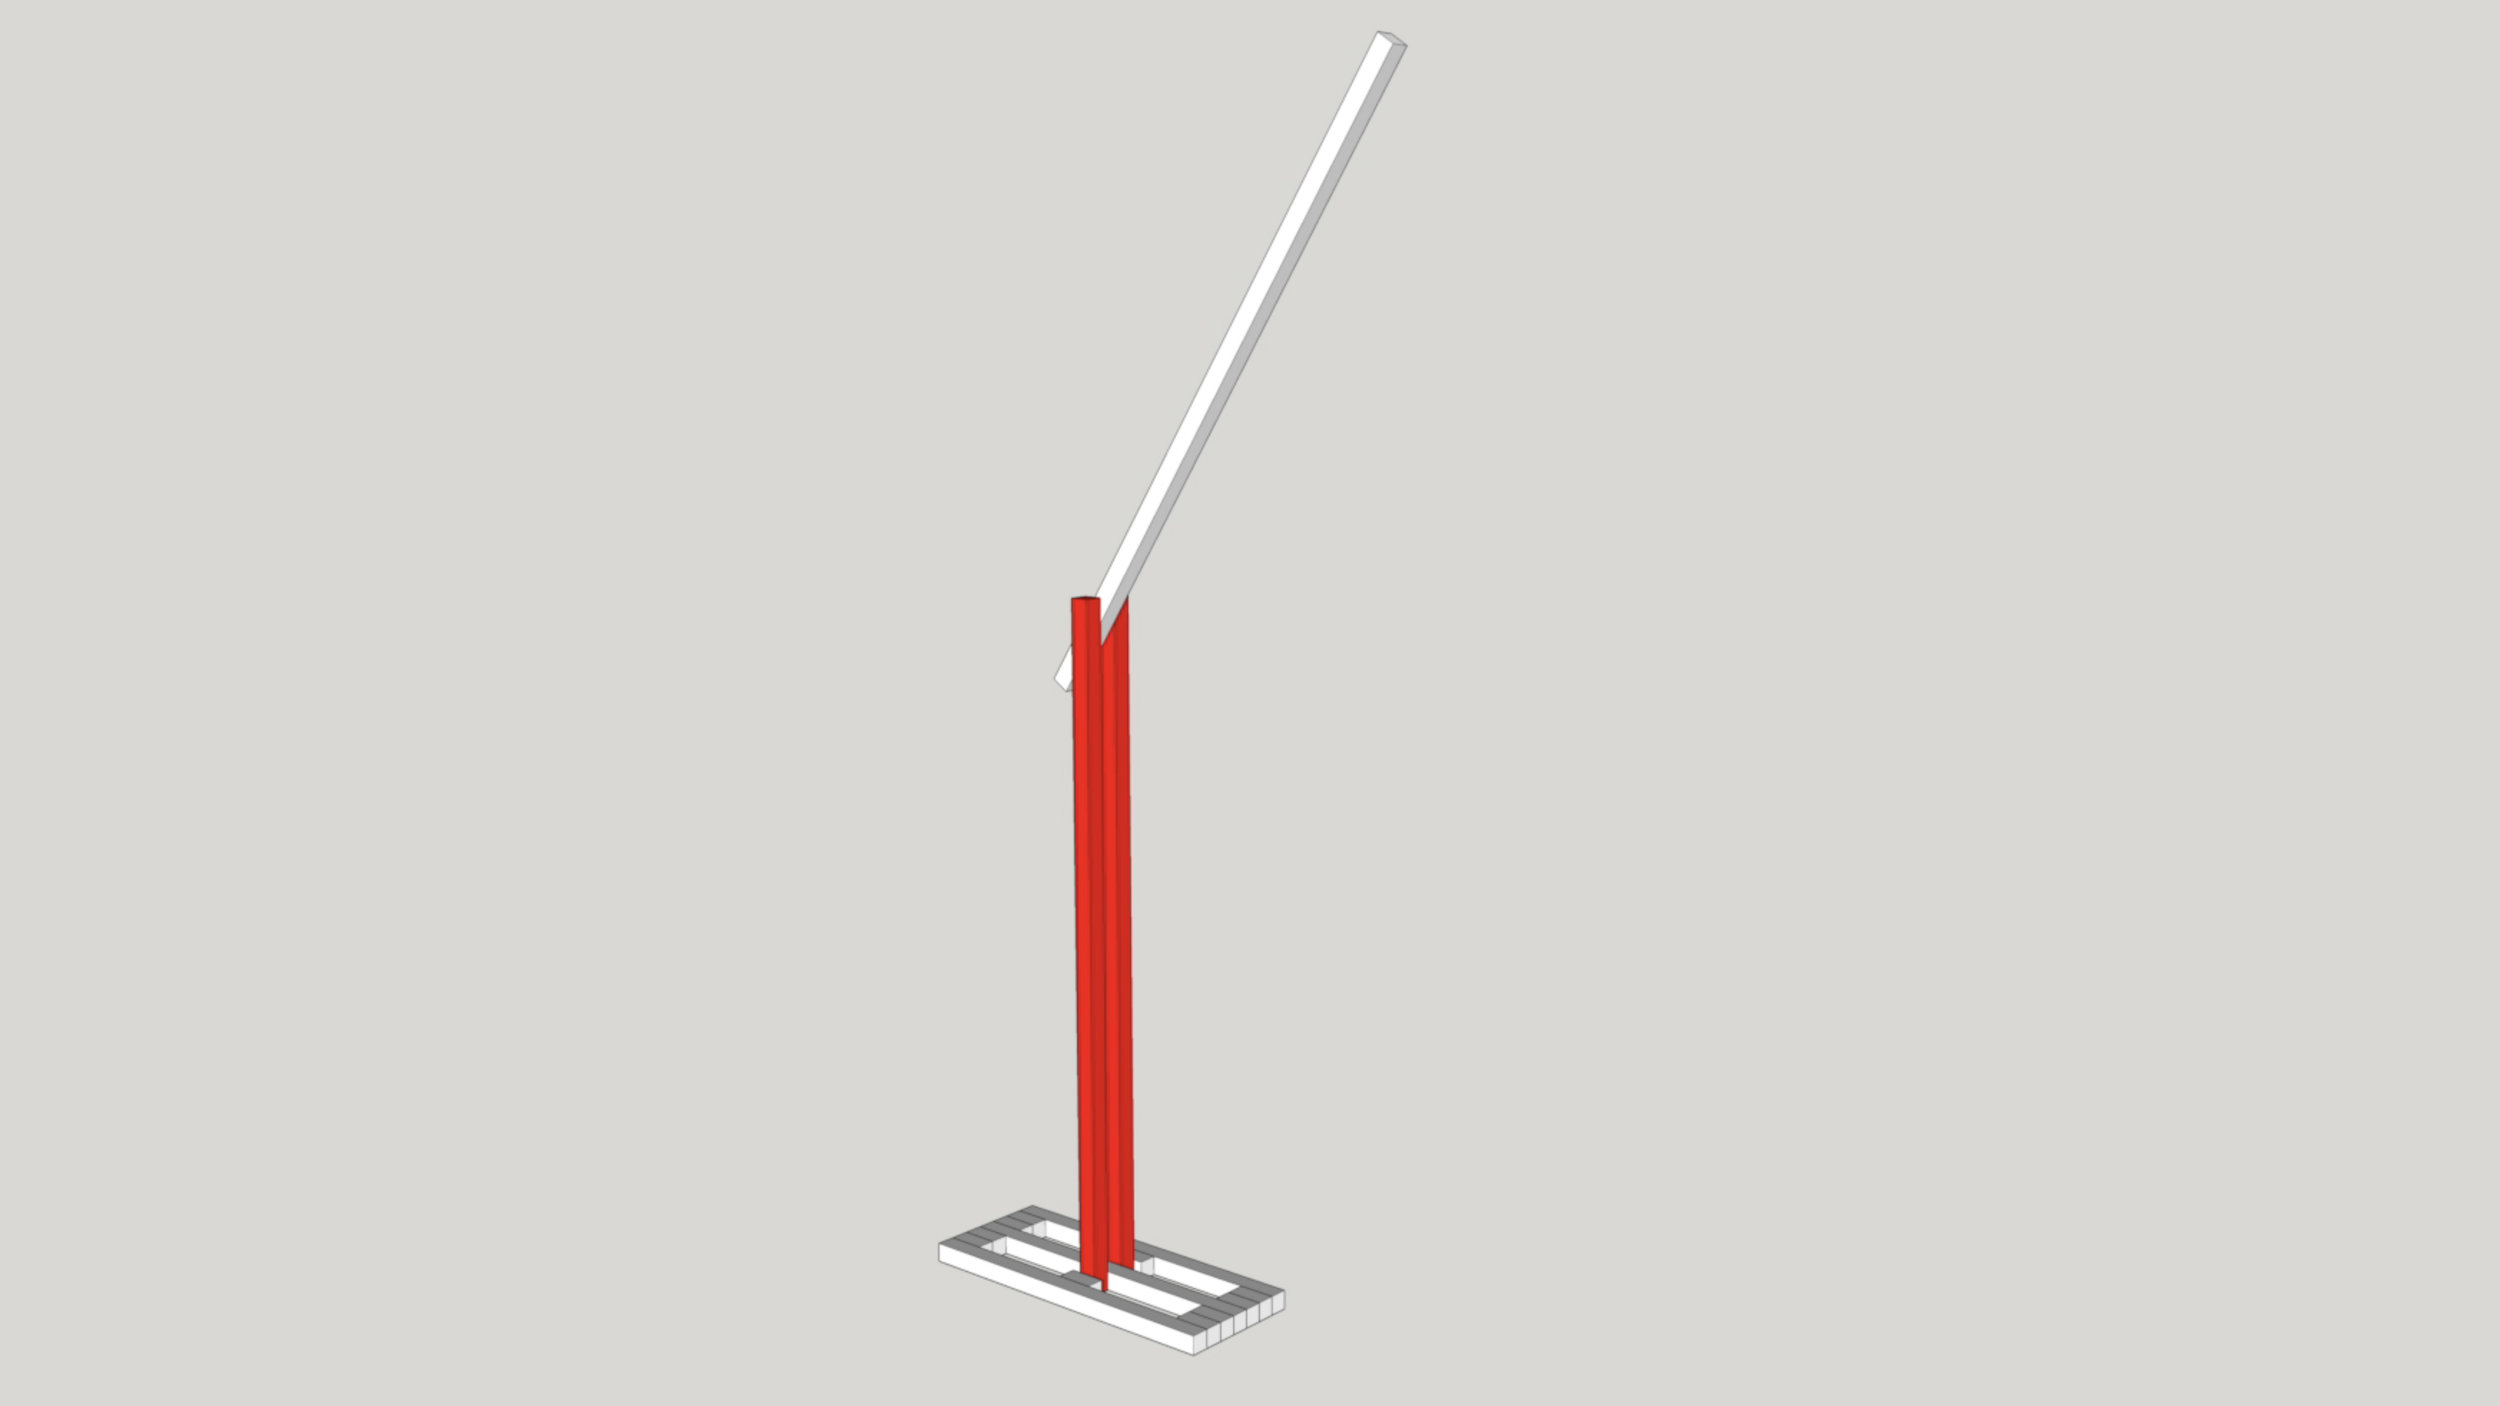

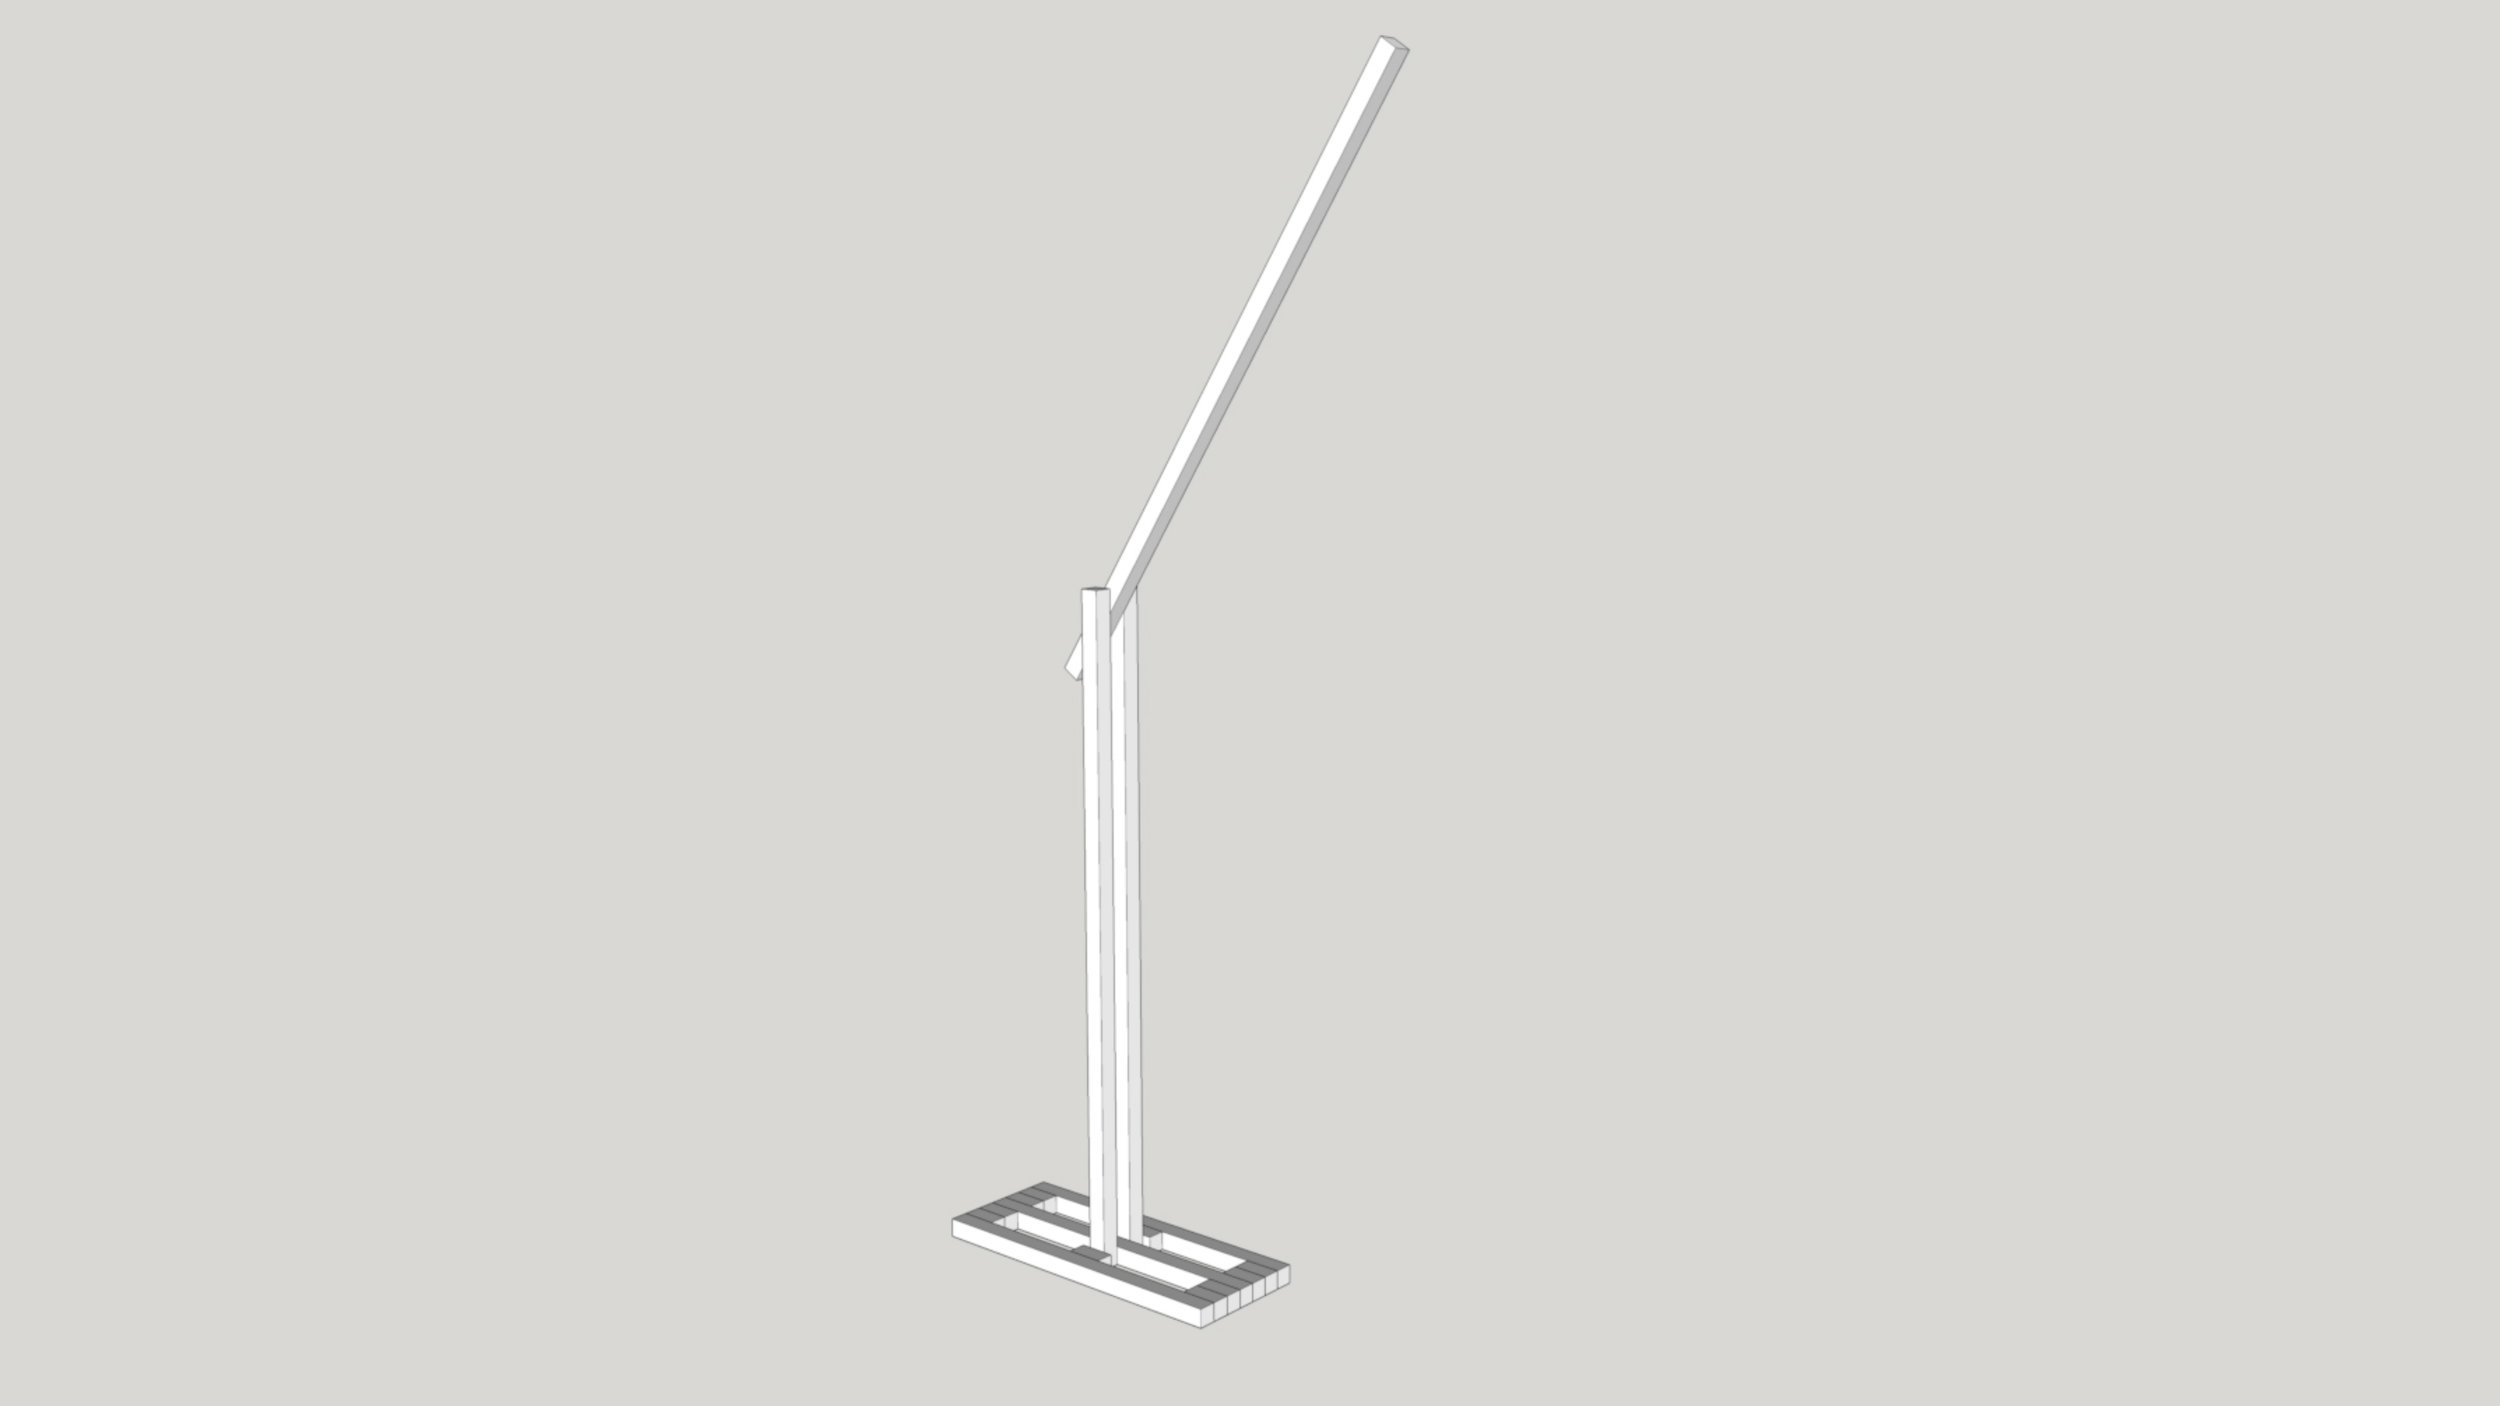
The main body of the lamp consists of 2 lower vertical supports that hold the upper vertical light support. These are joined together by the 3 1/2 inch carriage bolt.

Measure 1 1/4 inch from the top of one of the lower vertical supports. Mark the center of the dowel at this location.

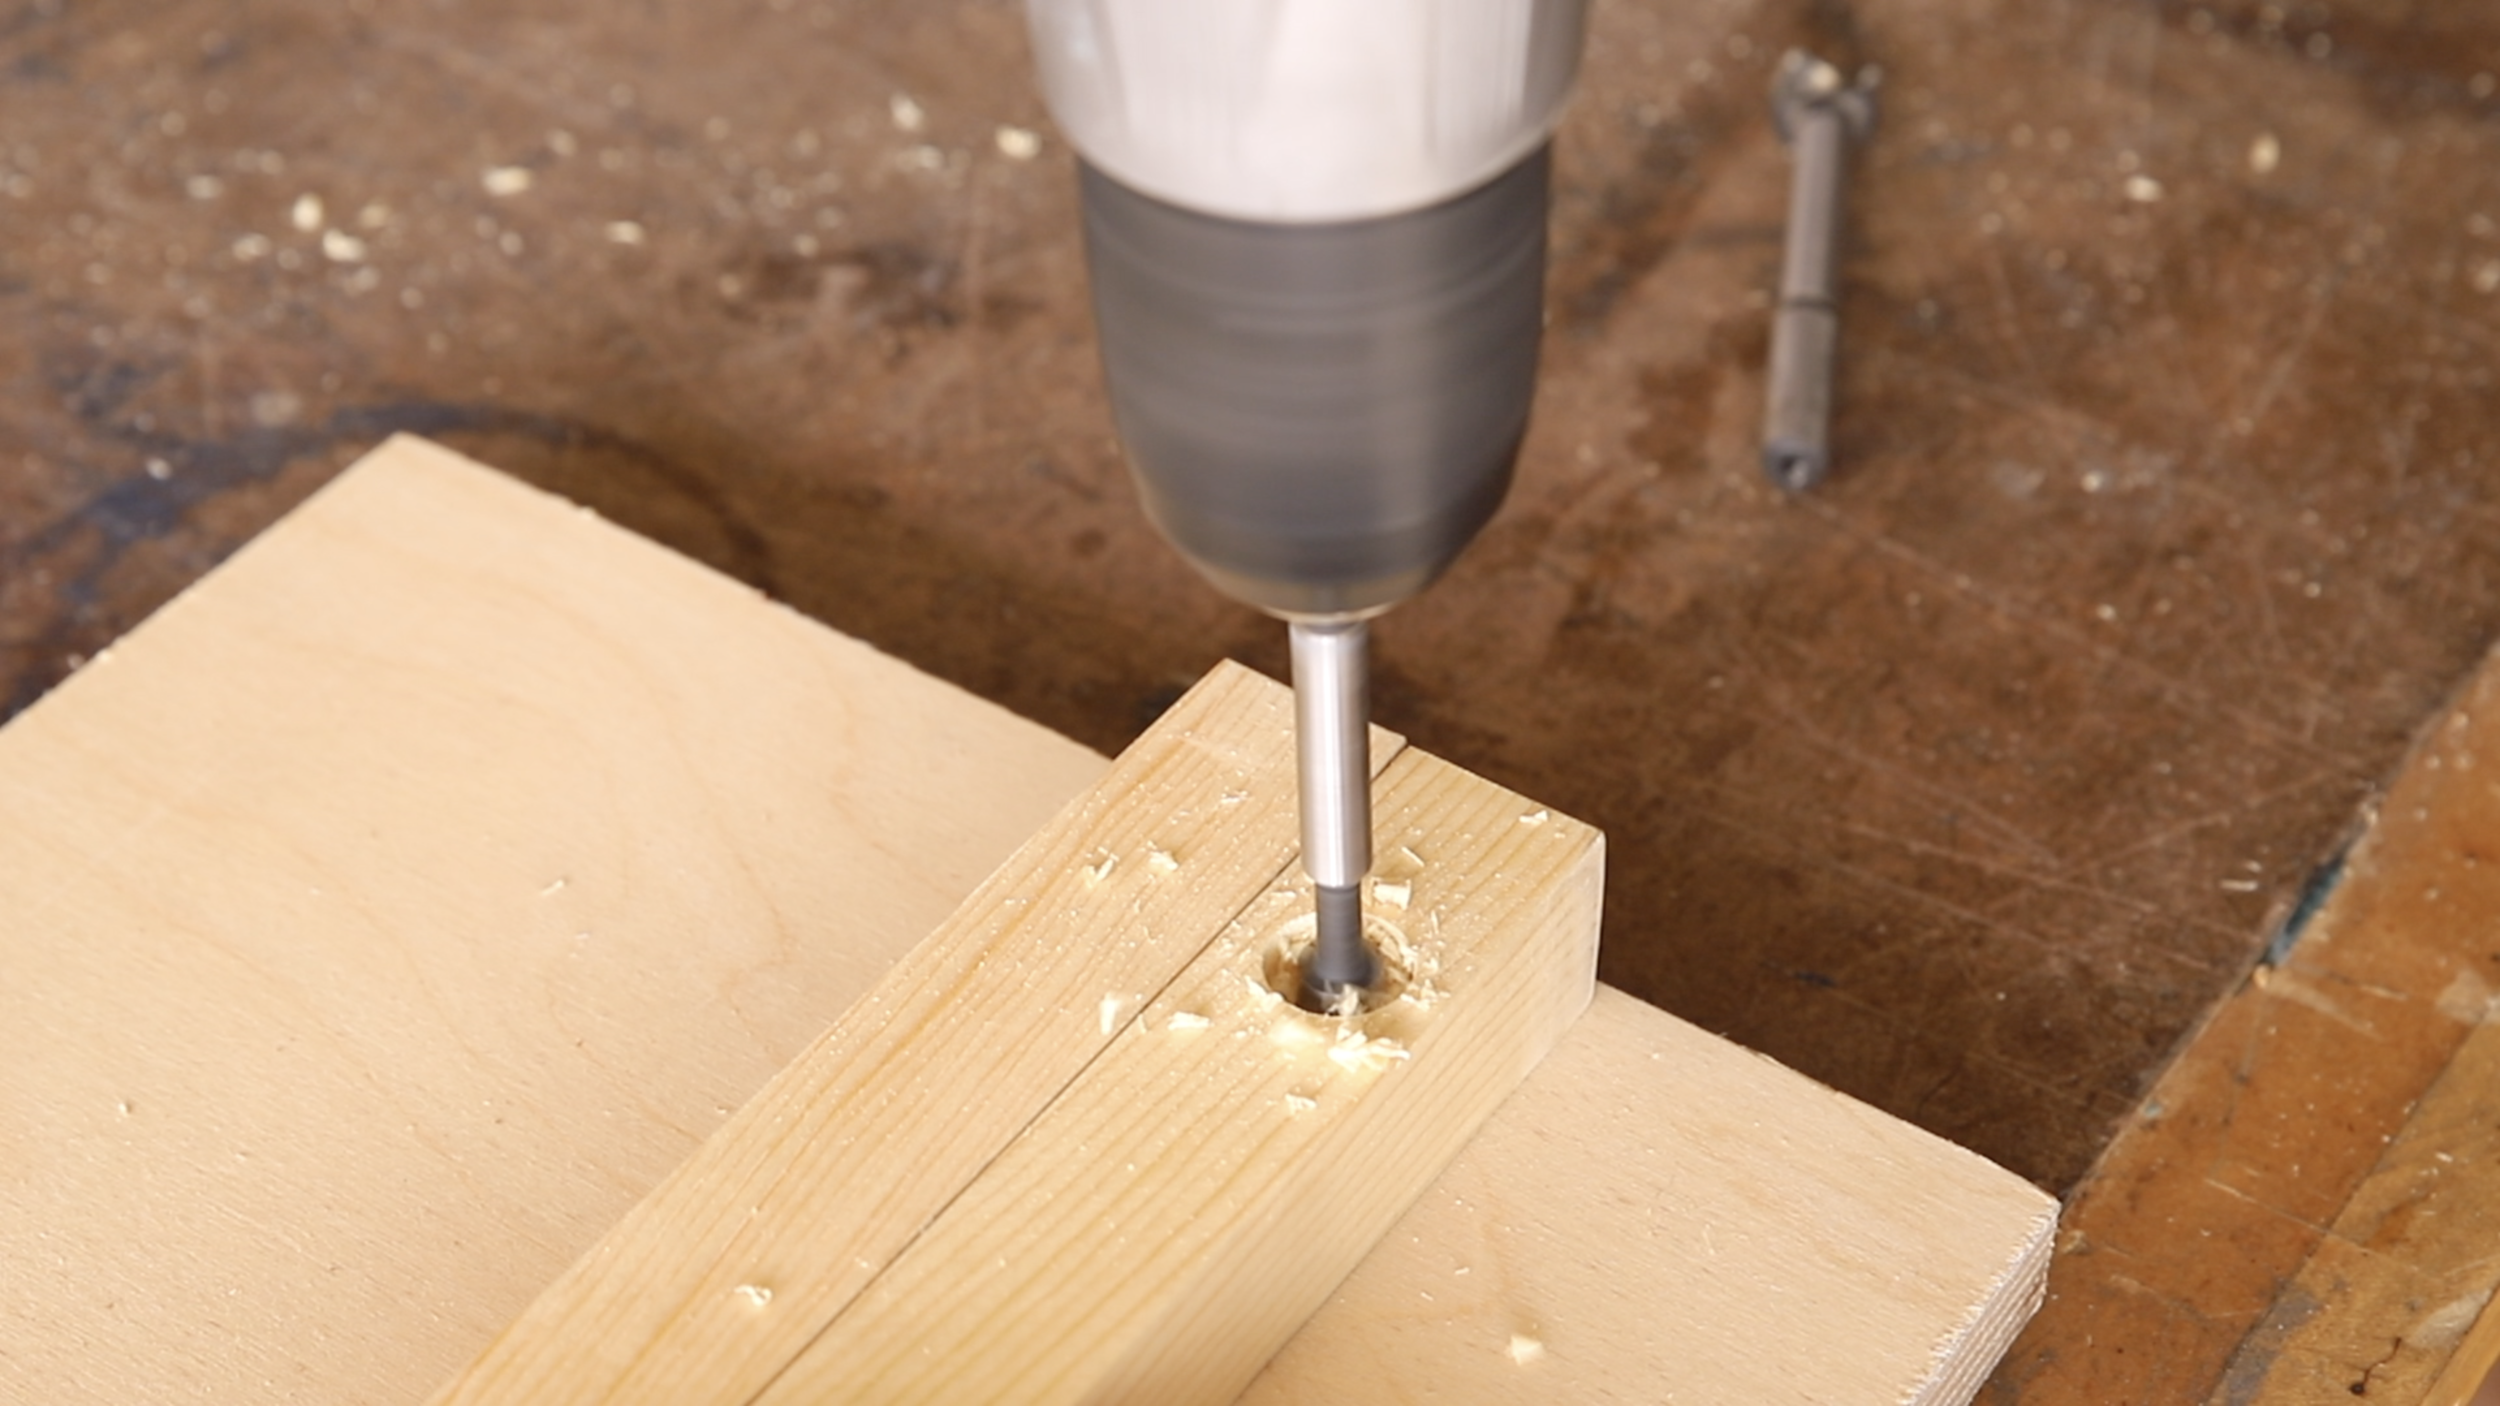
First drill out a 5/8” inch hole 1/4 inch into the dowel using a forester bit.
(The side with the 5/8” hole is where the rounded face of the carriage bolt will sit flush. This will be the side of the lamp you choose to have facing out into the room its in. When drilling the holes into the base in a later step ensure that the 5/8” holes are on the same side as this piece)
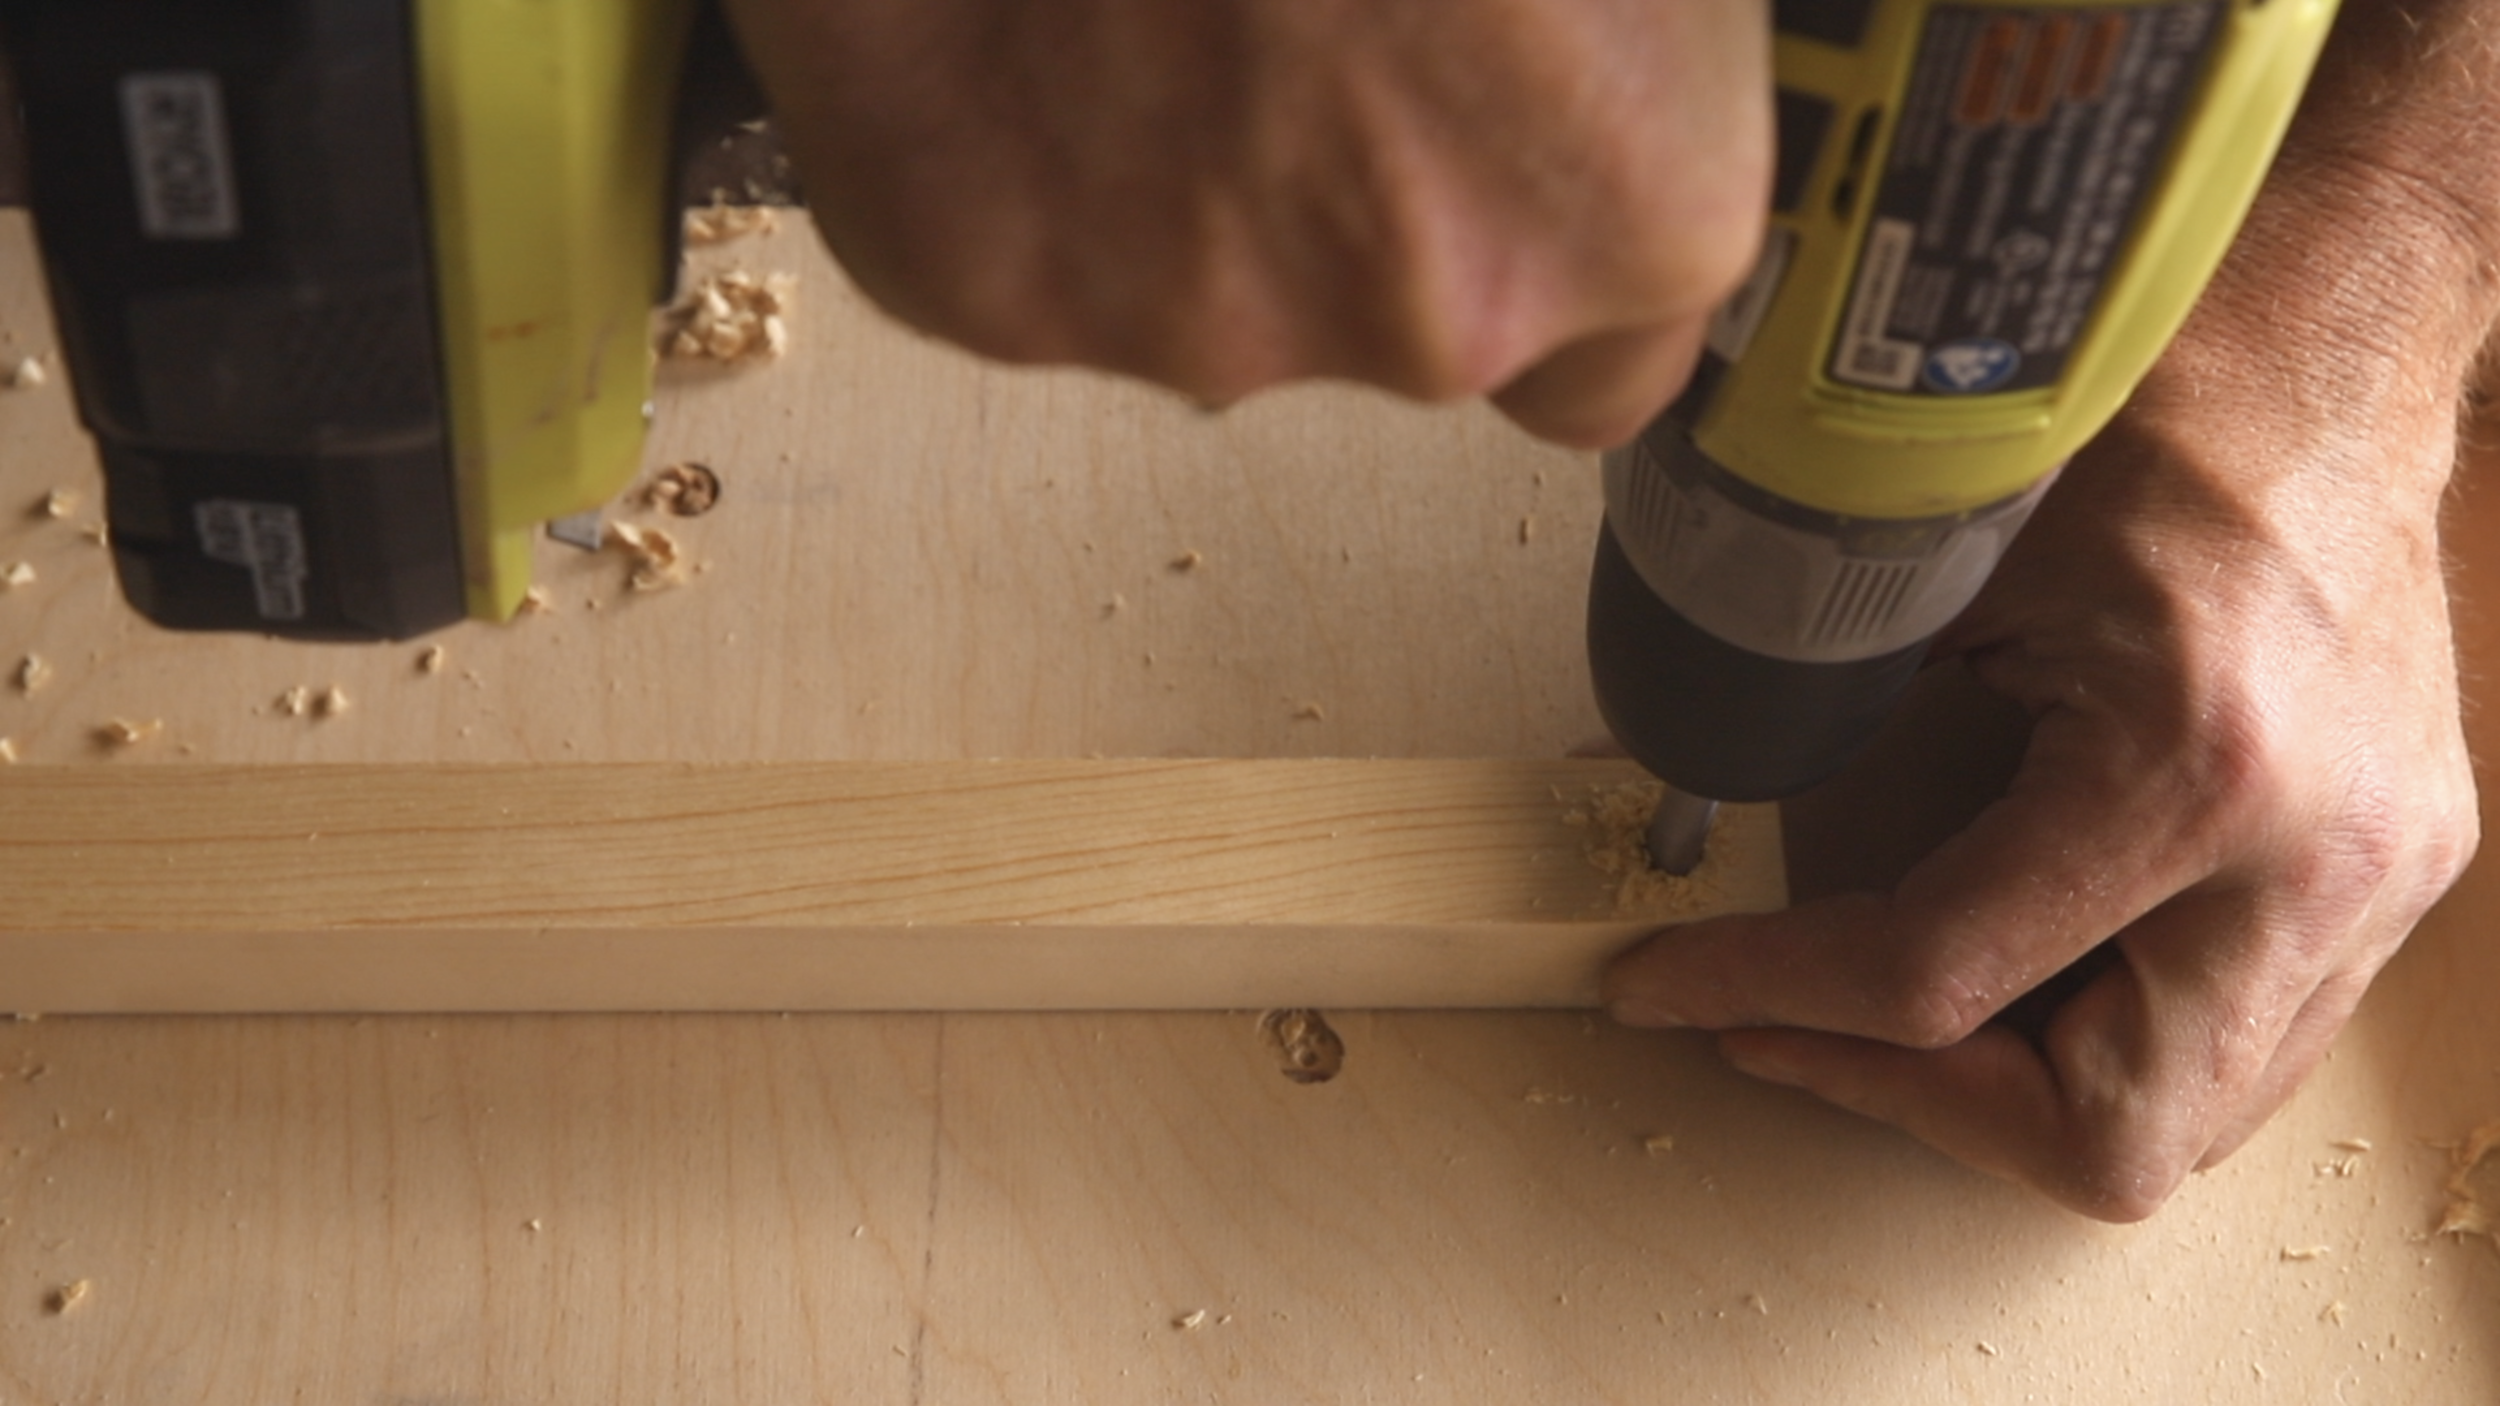
Using the same center as the 5/8” hole drill the rest of the way through the dowel with a 3/8” forester bit.
Use the first dowel as a drilling guide to mark the hole location on the other lower vertical support. Drill a 3/8” hole all the way through this second dowel.

Leaving a 6 inch over hang to the rear of the lamp place the upper light support vertical between the two lower verticals, and transfer the hole location in the center of this dowel.

Drill a 3/8” hole through the upper light support vertical.
On the bottom of the lower vertical supports mark out the center of the dowel 1/2 inch from the bottom.

Drill a 3/8” hole through the bottom of both lower vertical supports.
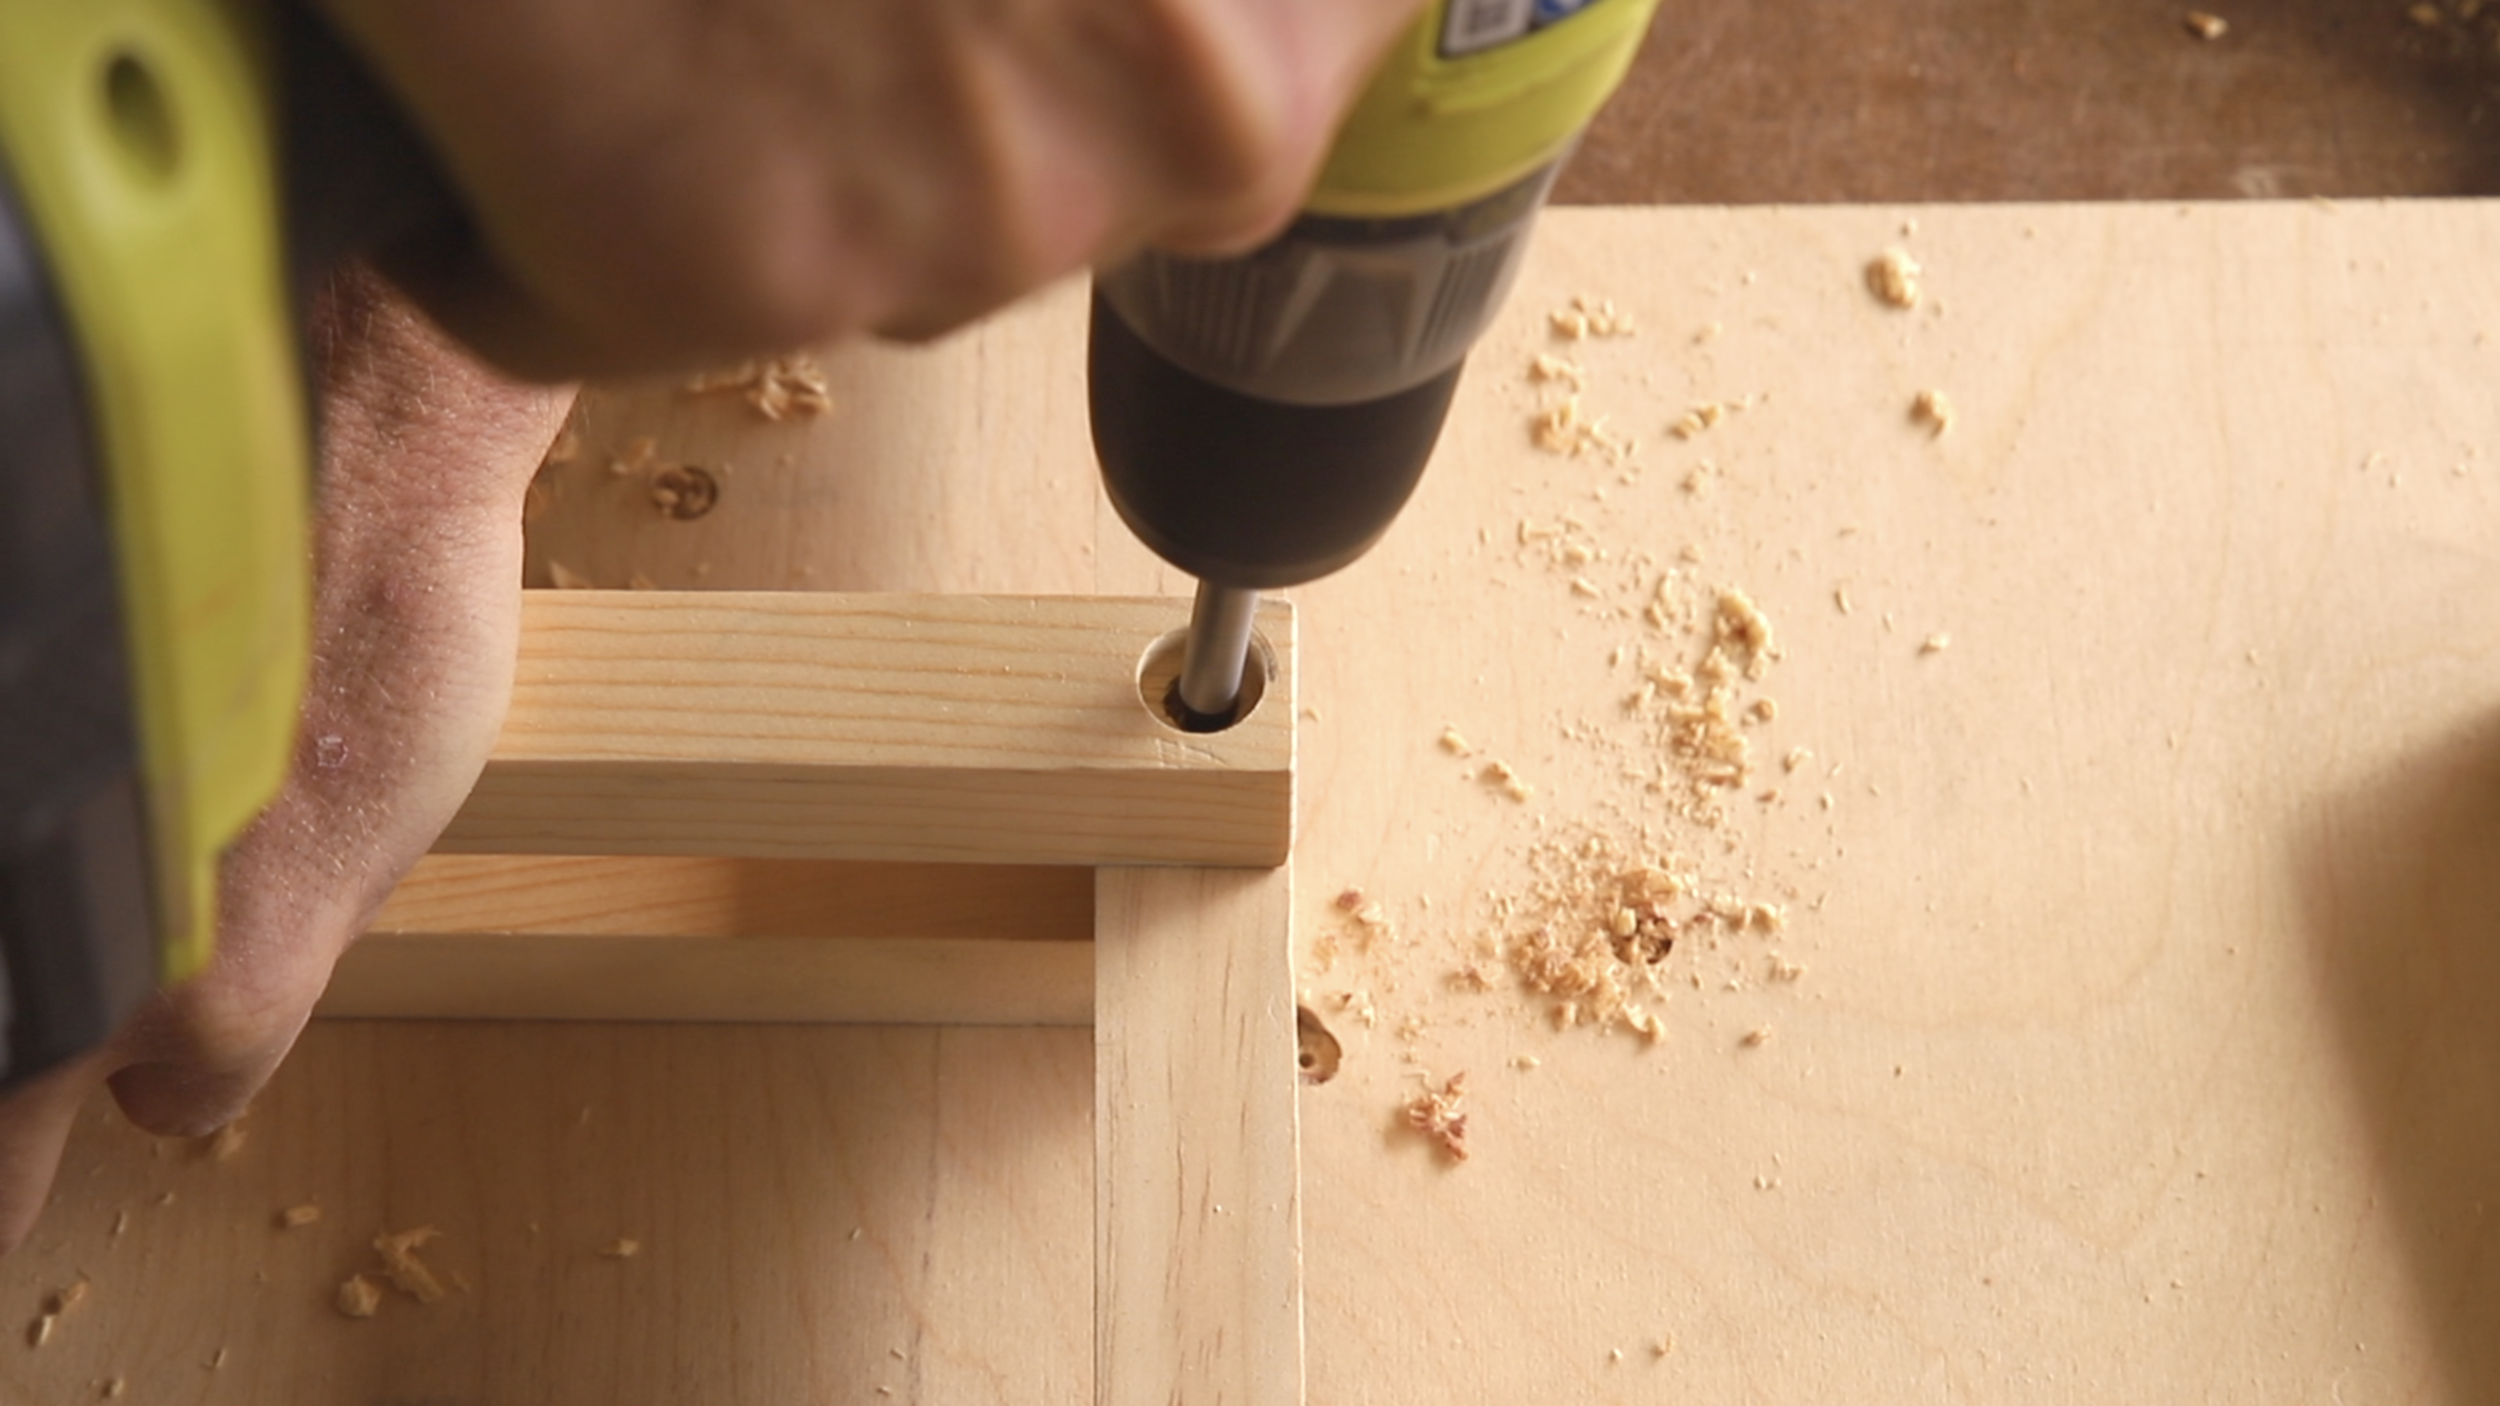
Mark the center of one of the 18 inch base sections that will go in between the lower verticals. Drill a 3/8” inch hole through the center of this base section.

Two of the 2 inch base sections will flank the lower vertical supports. Drill a 3/8” hole through the exact center of the first 2” block, and use this as a guide to drill through the second 2 inch block.

On the 18 inch base section that will face out into the room you need to first drill a 5/8” hole 1/4 inch deep into both ends and the center. Again this will allow the head of the carriage bolts to sit flush.
Mark out hole locations 1/2” and centered from each end, and centered on the middle of the outer 18 inch base section.
Drill 1/4” inch deep with the 5/8” Forstner bit, and then all the way through with the 3/8” bit. Use this first 18 inch section as a drilling guide for the other two sections, and drill out these same 3/8” holes.
Mark out the center 1/2” inch in on one of the remaining 2 inch blocks. Drill this out with the 3/8” bit, and this is now your drilling guide for the remaining 7 2 inch blocks. Drill the remaining blocks in the same location.

Now it’s time to assemble lamp.

Assemble the vertical pieces by threading through the 3 1/2” carriage bolt with the head of the bolt through the 5/8” outer face hole. Add a washer, a lock washer, a wing nut, and tighten.
Add the two 2 inch blocks drilled in the center to the middle section of the base. Add the outer 18 inch sections to both sides of the base and thread through a 7 inch bolt. Add a washer, a lock washer, a wing nut, and tighten.
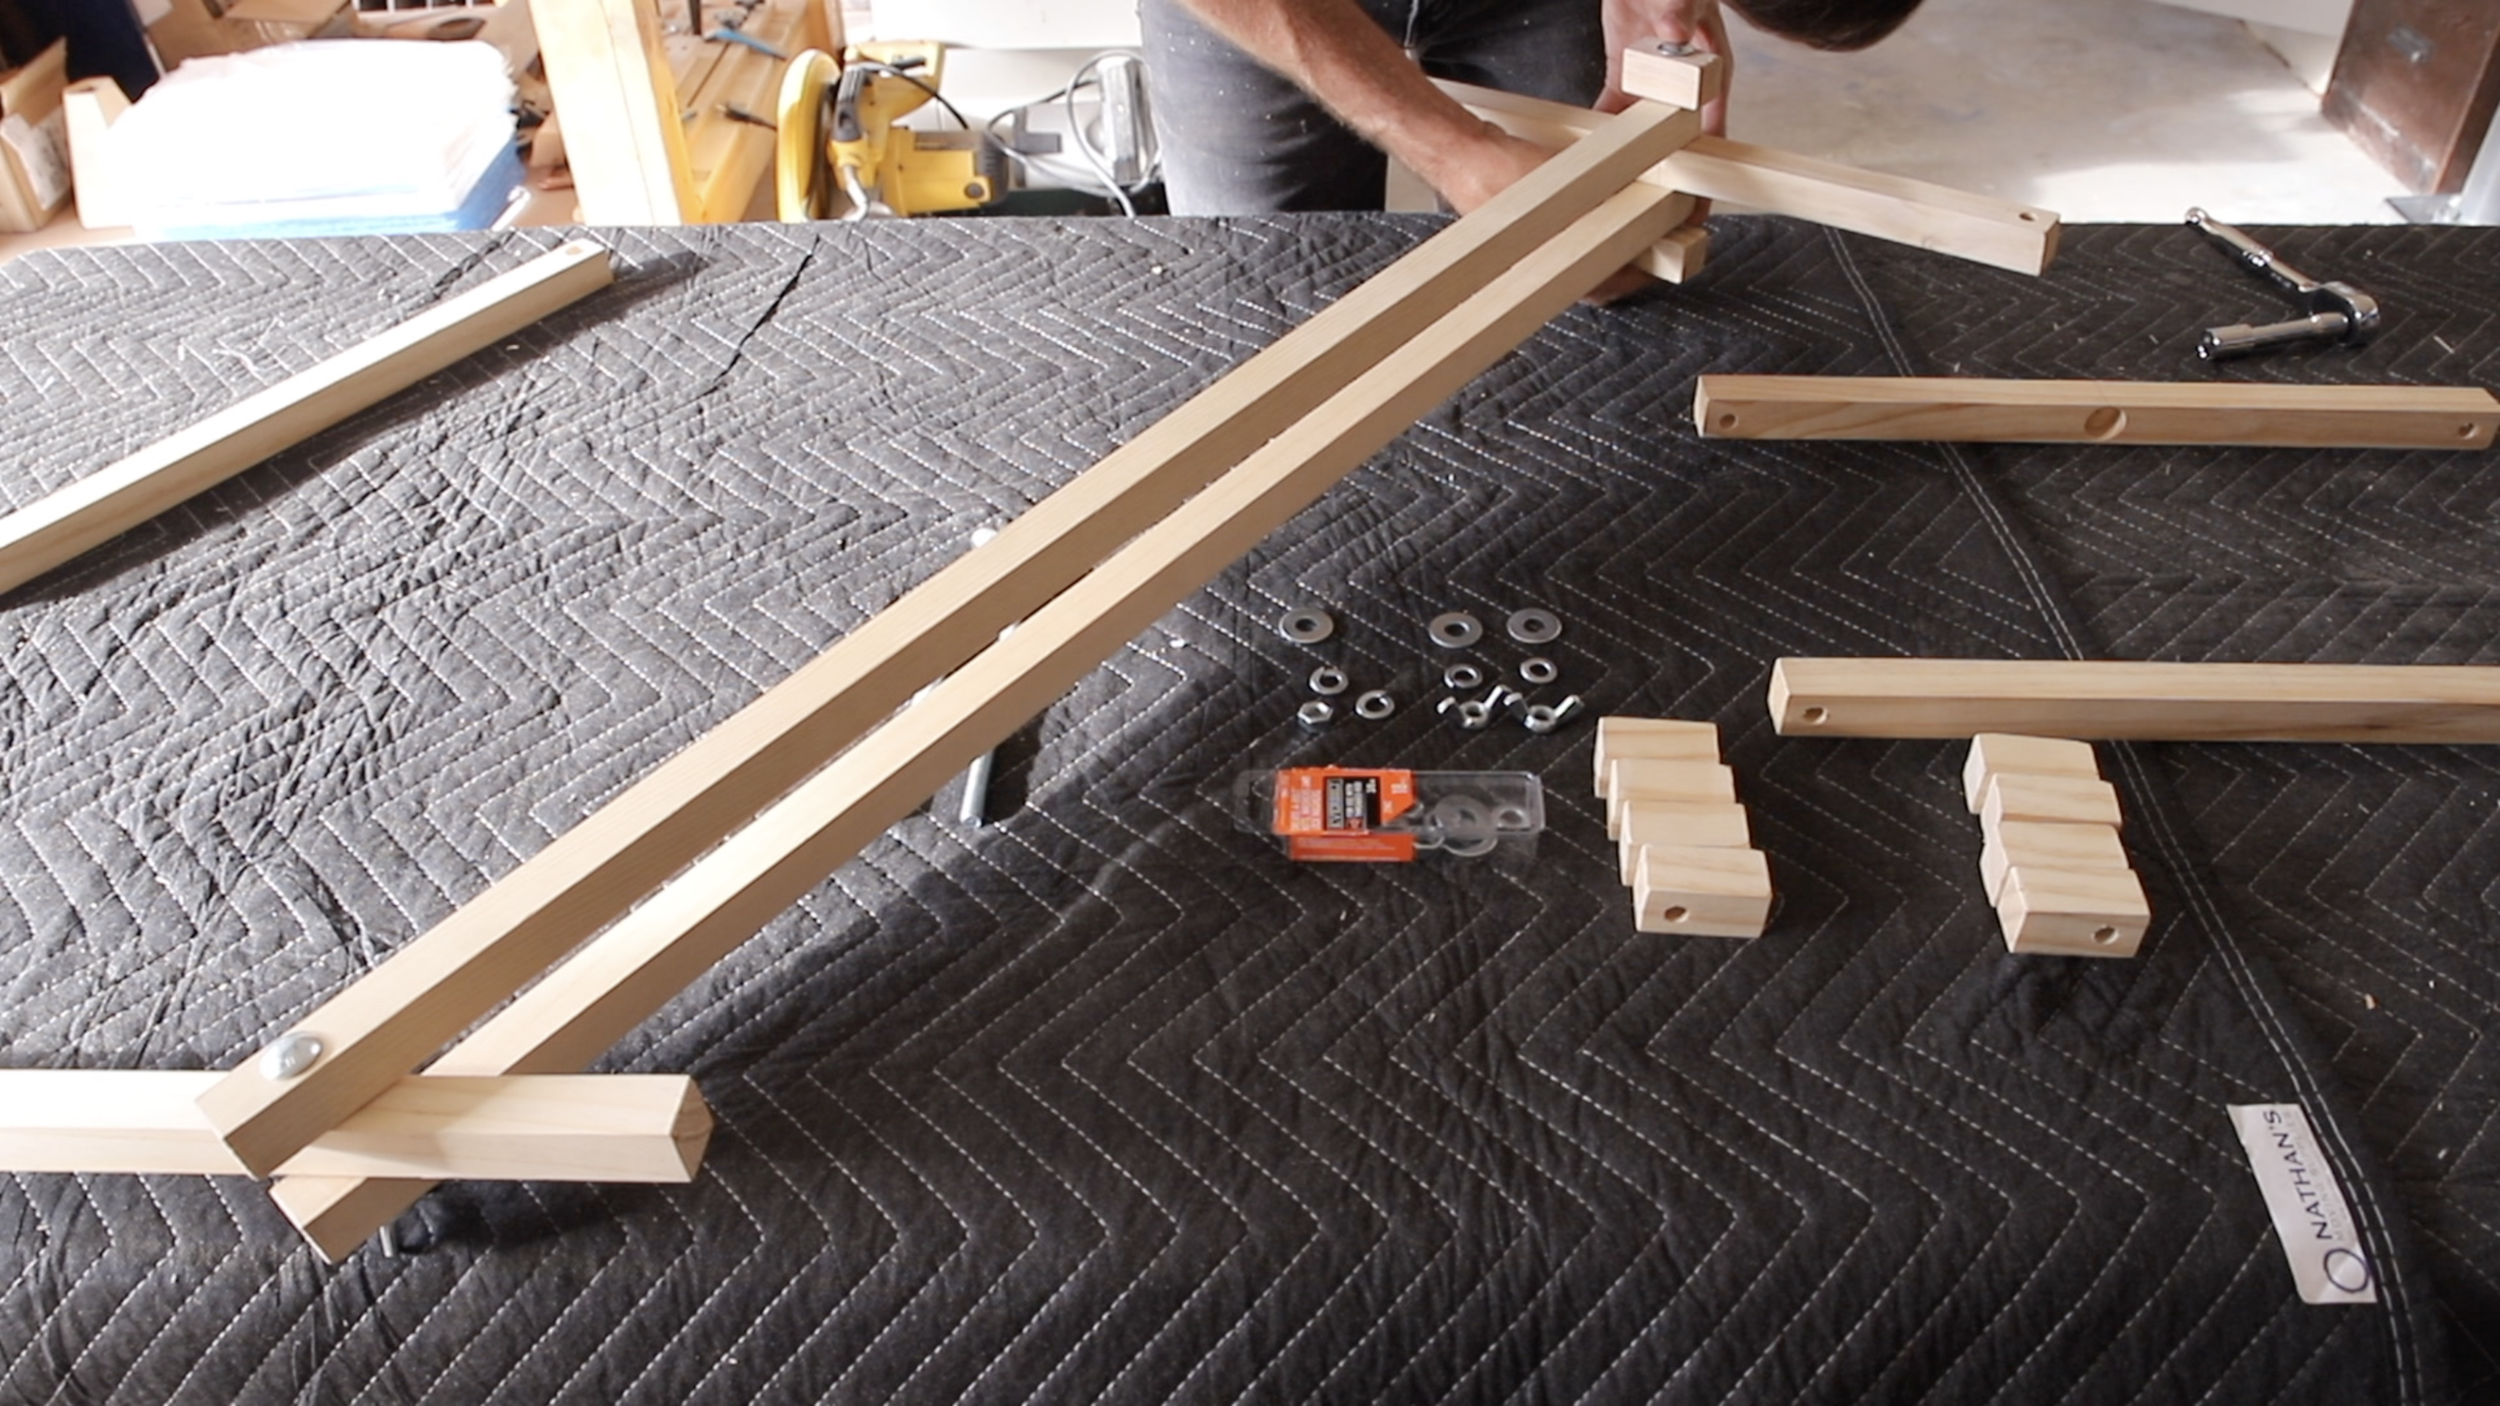
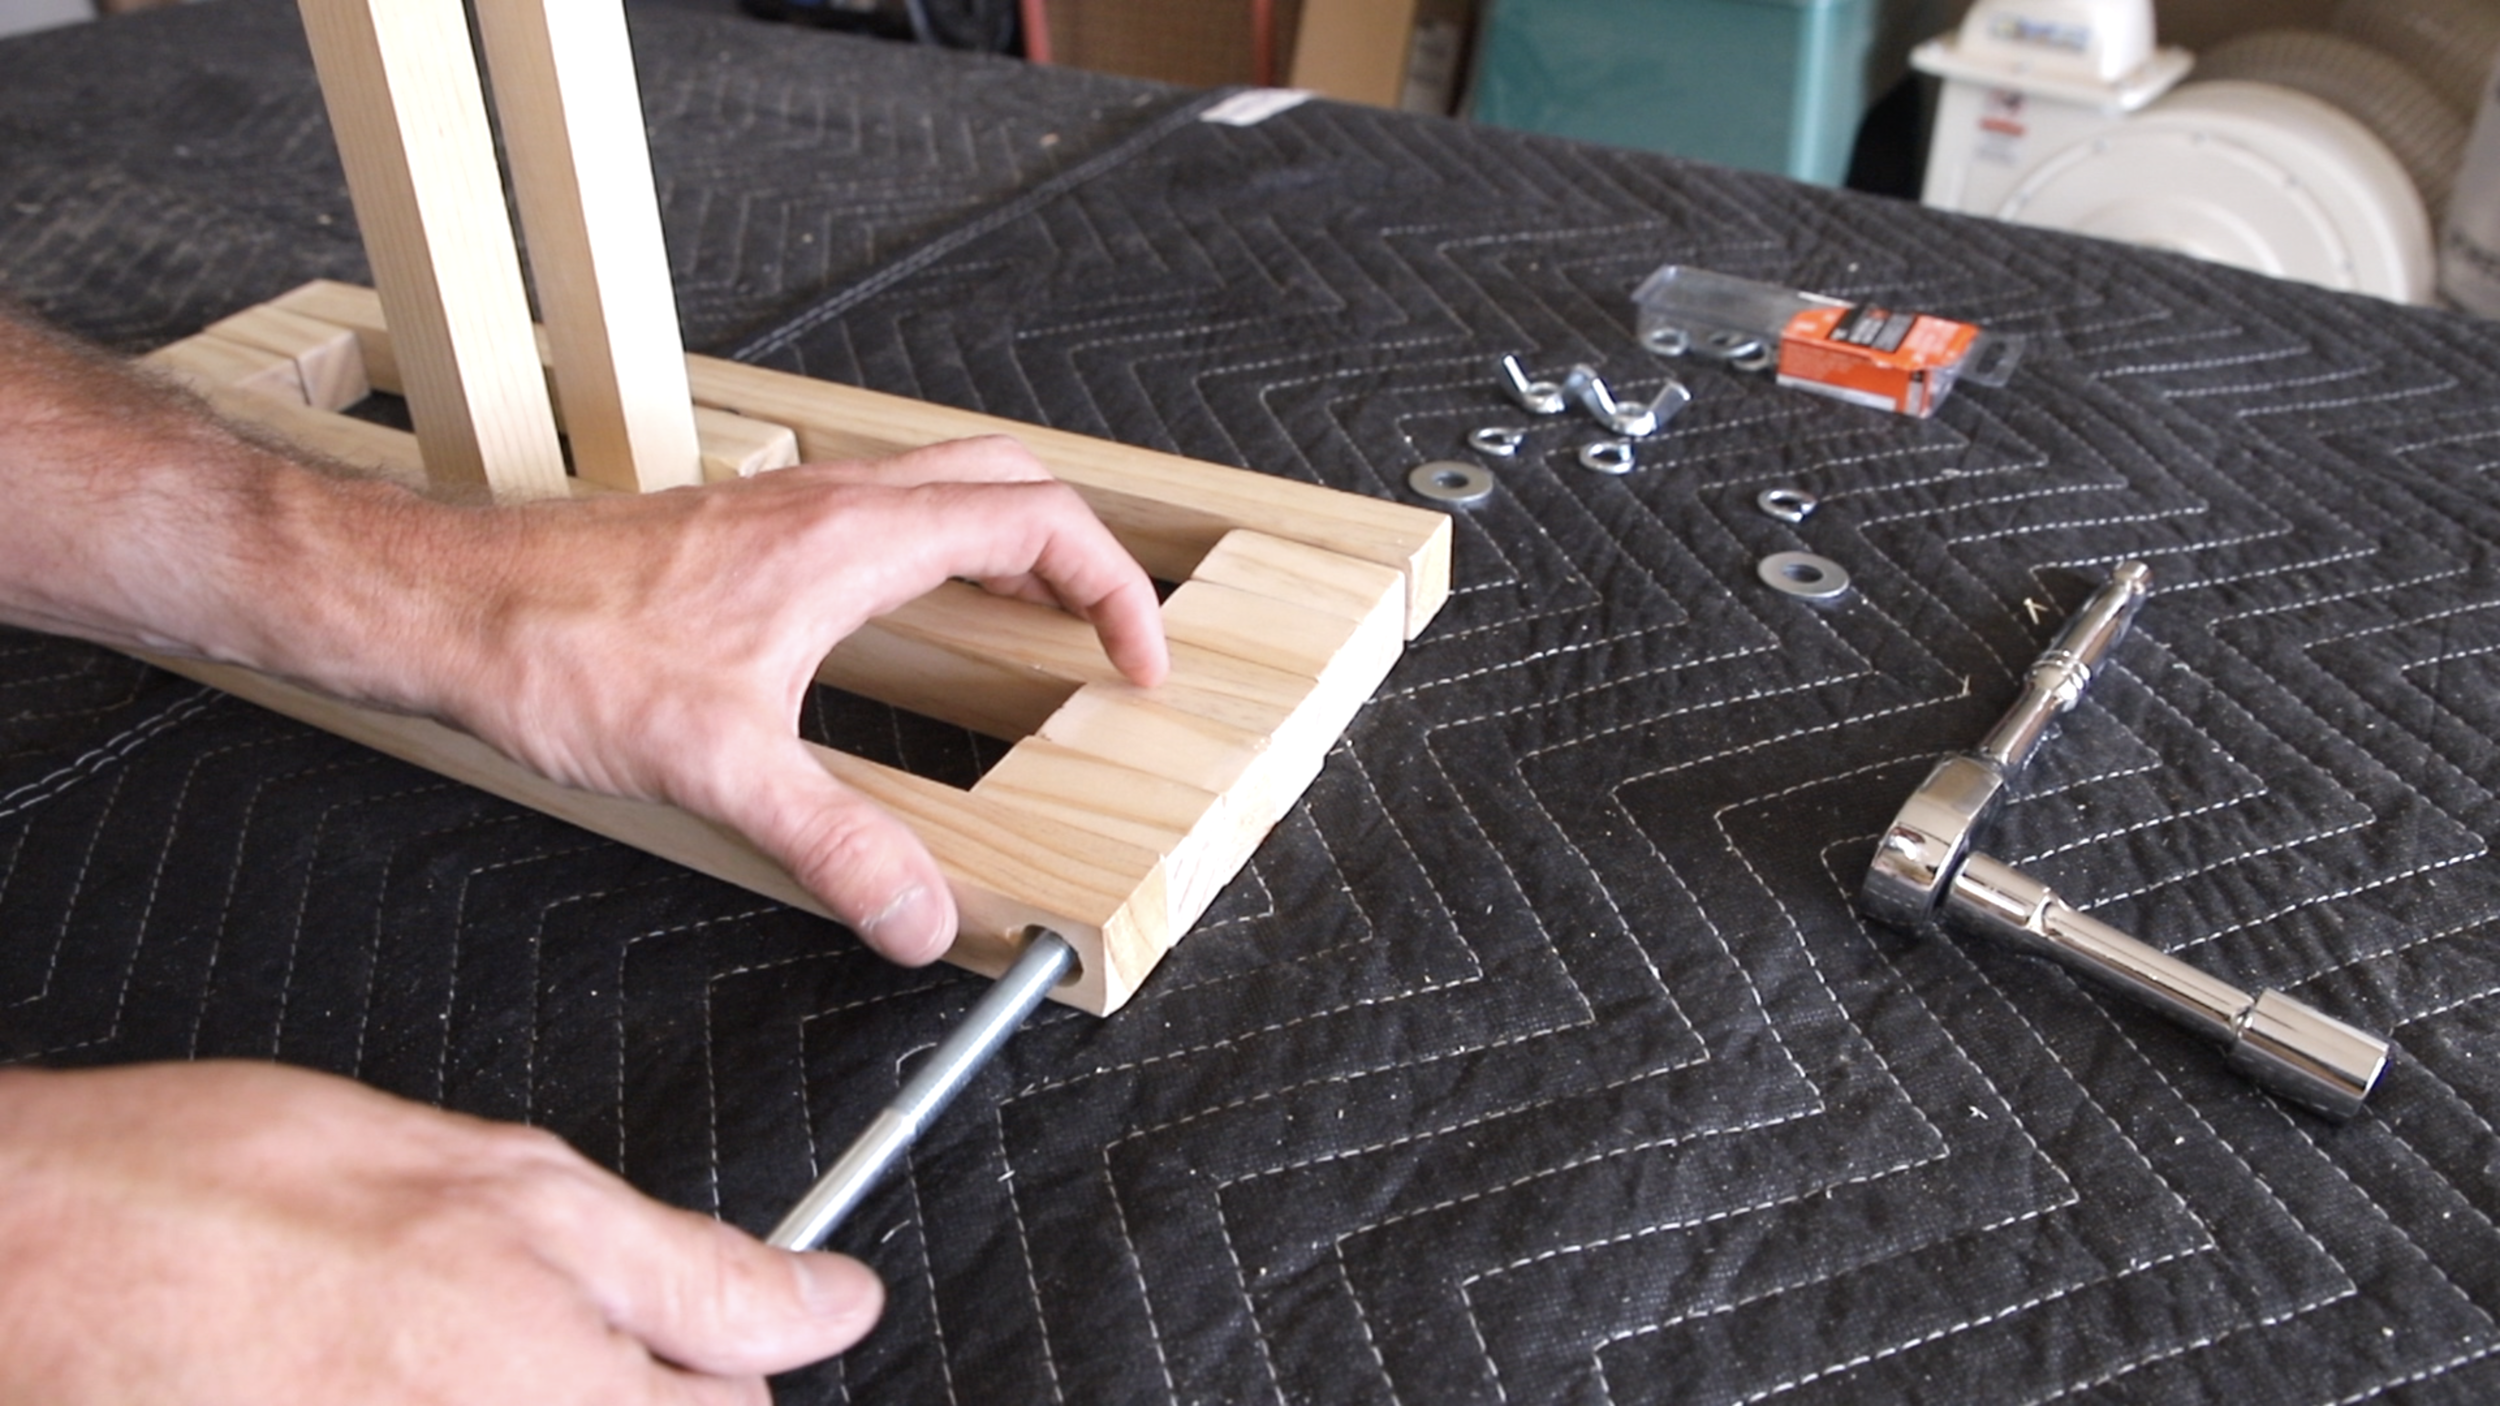
On both ends add two 2 inch blocks to either side of the center 18 inch section. Thread the 7 inch bolt through the outer 18 inch sections, and all the way through. Add a washer, a lock washer, a wing nut, and tighten.

Starting 1 inch in from the end of the upper vertical light support mark a hole in the center of the dowel every two inches.

Drill out these holes for the light cord with a 3/8” bit.

6 inches down from where the verticals connect mark out holes for the light cord every 3 inches on one side.
Drill these out with the 3/8” bit.
Transfer the hole locations to the opposite side.

Drill out these holes as well.

Sand all the holes you just drilled with 220 grit sandpaper.

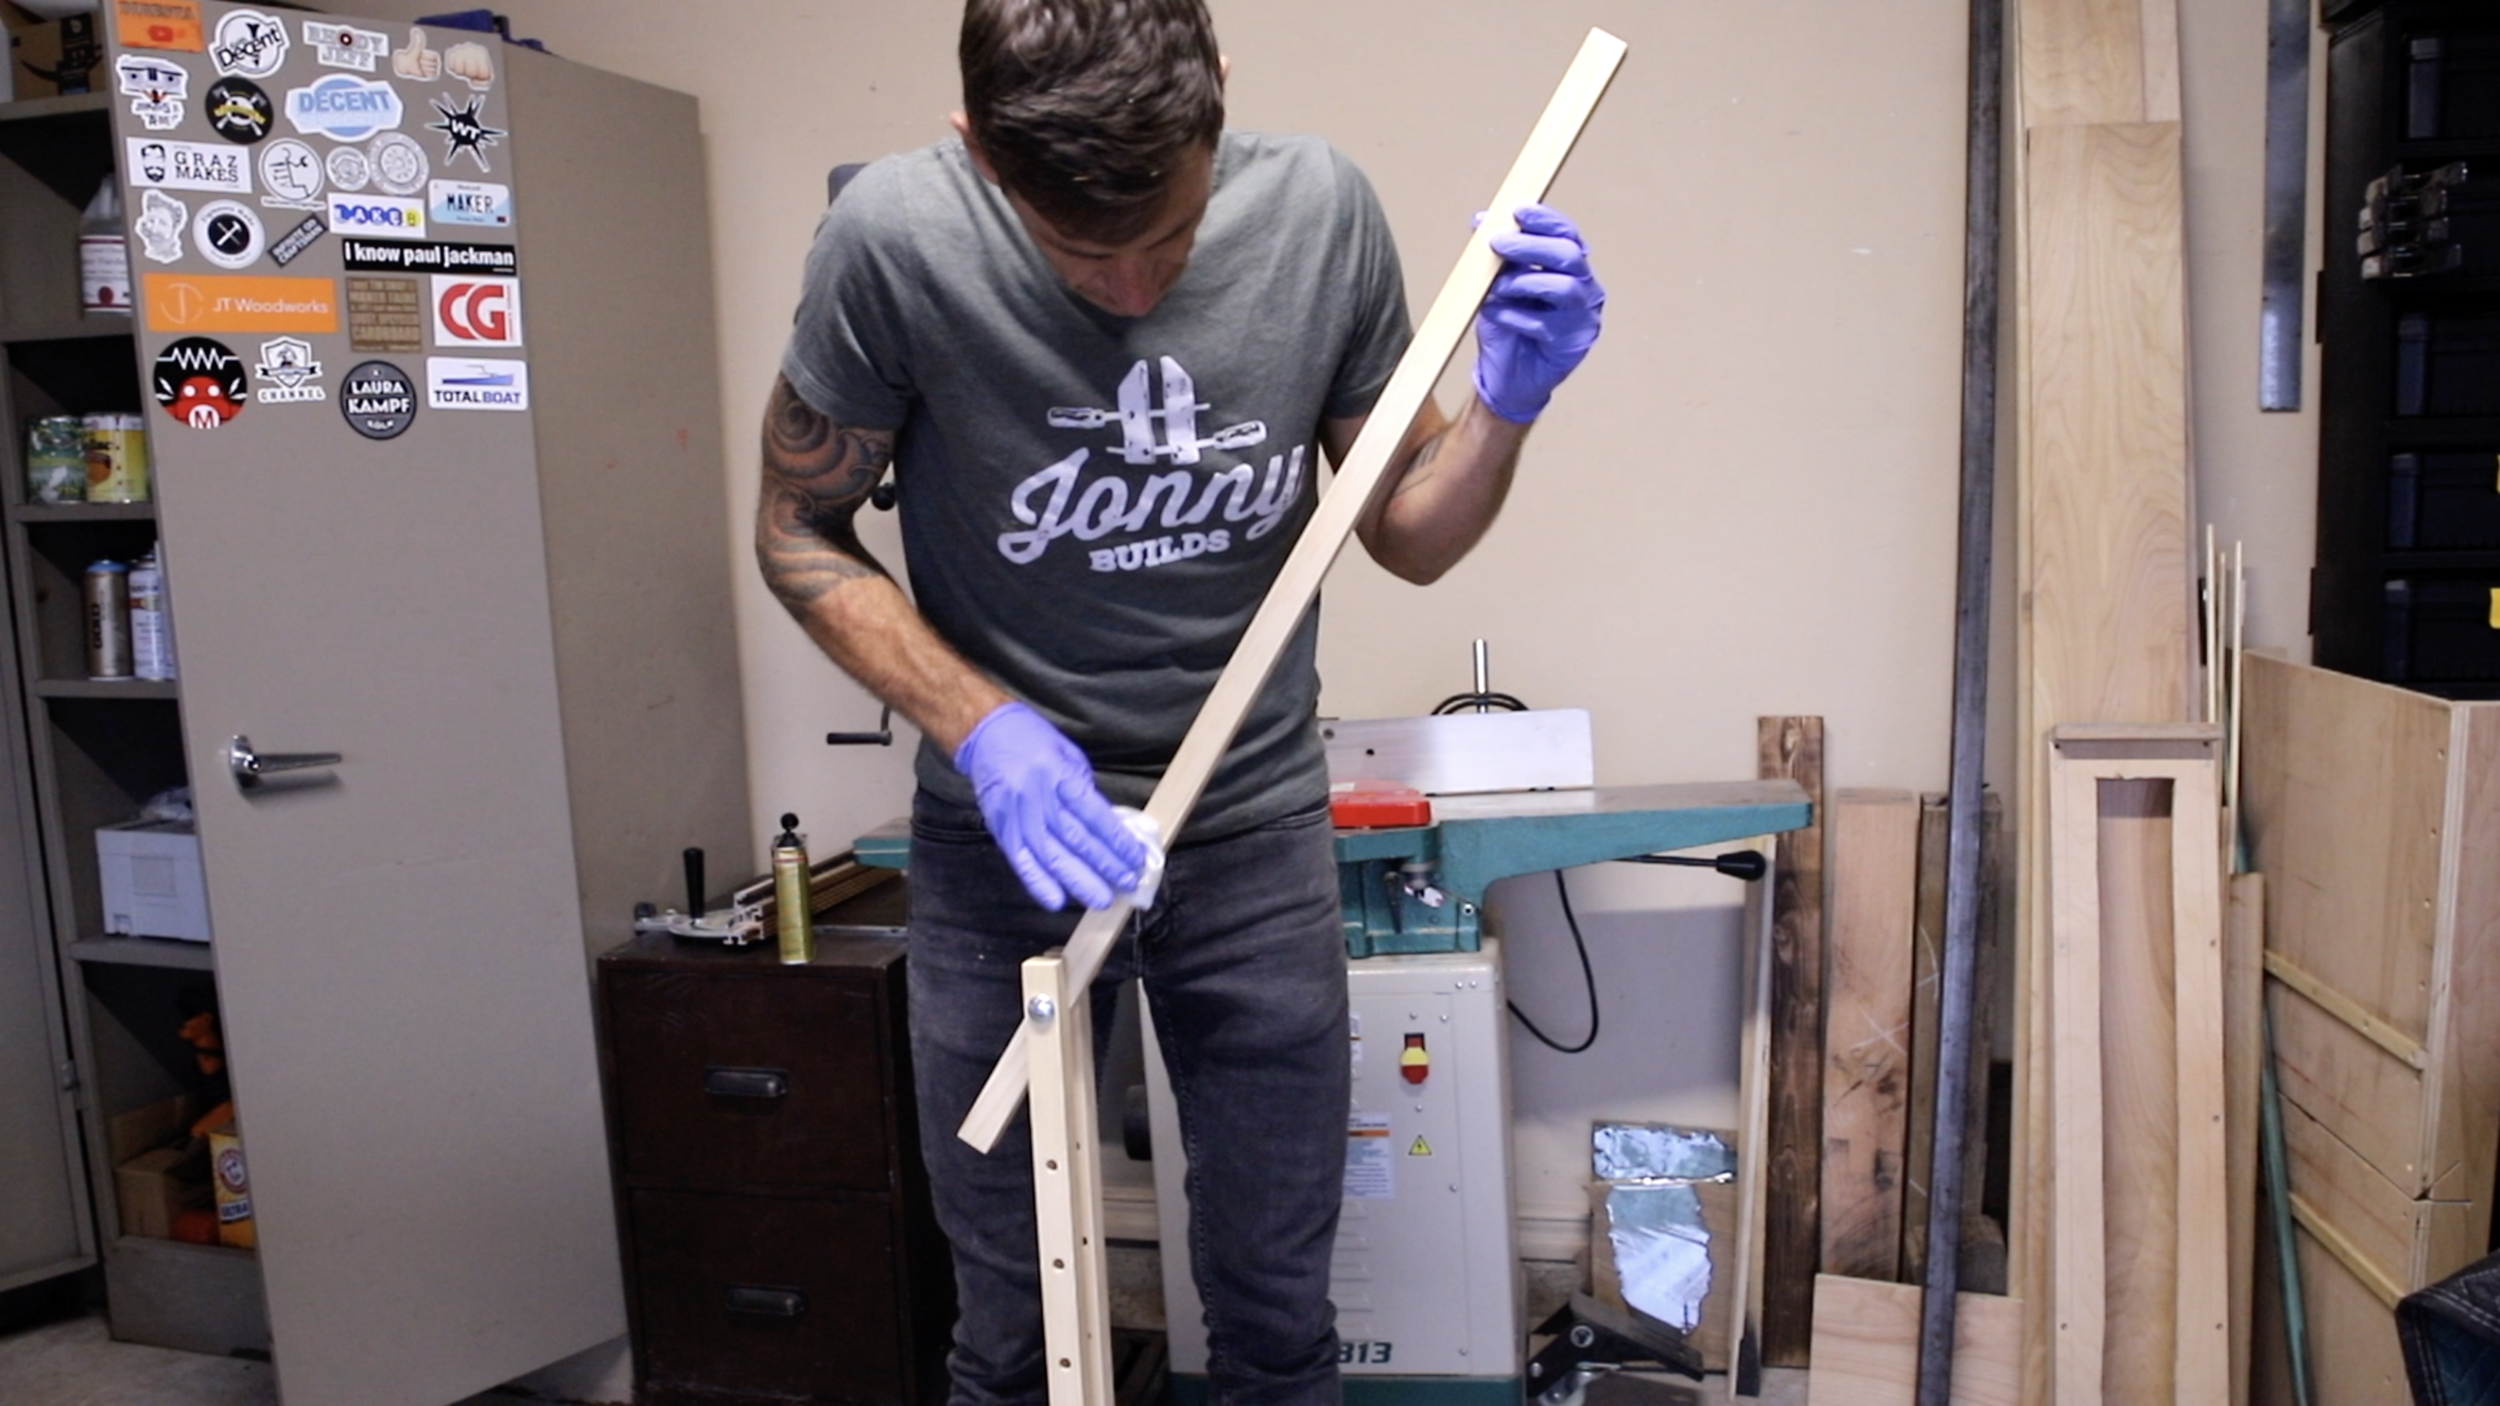
Apply two coats of wipe on poly or finish of your choice.

Starting on the end thread the light cord through the bottom and out the top leaving some length for the light to hang down.

Continue to thread the cord through the lower verticals and out the bottom.

Wire up your light socket and plug per manufacturer’s directions. Consult an electrician to be safe.

Screw in a 40 watt LED bulb, and you’re all done.
