
Hand Carved Spoons
Materials & Tools I used:
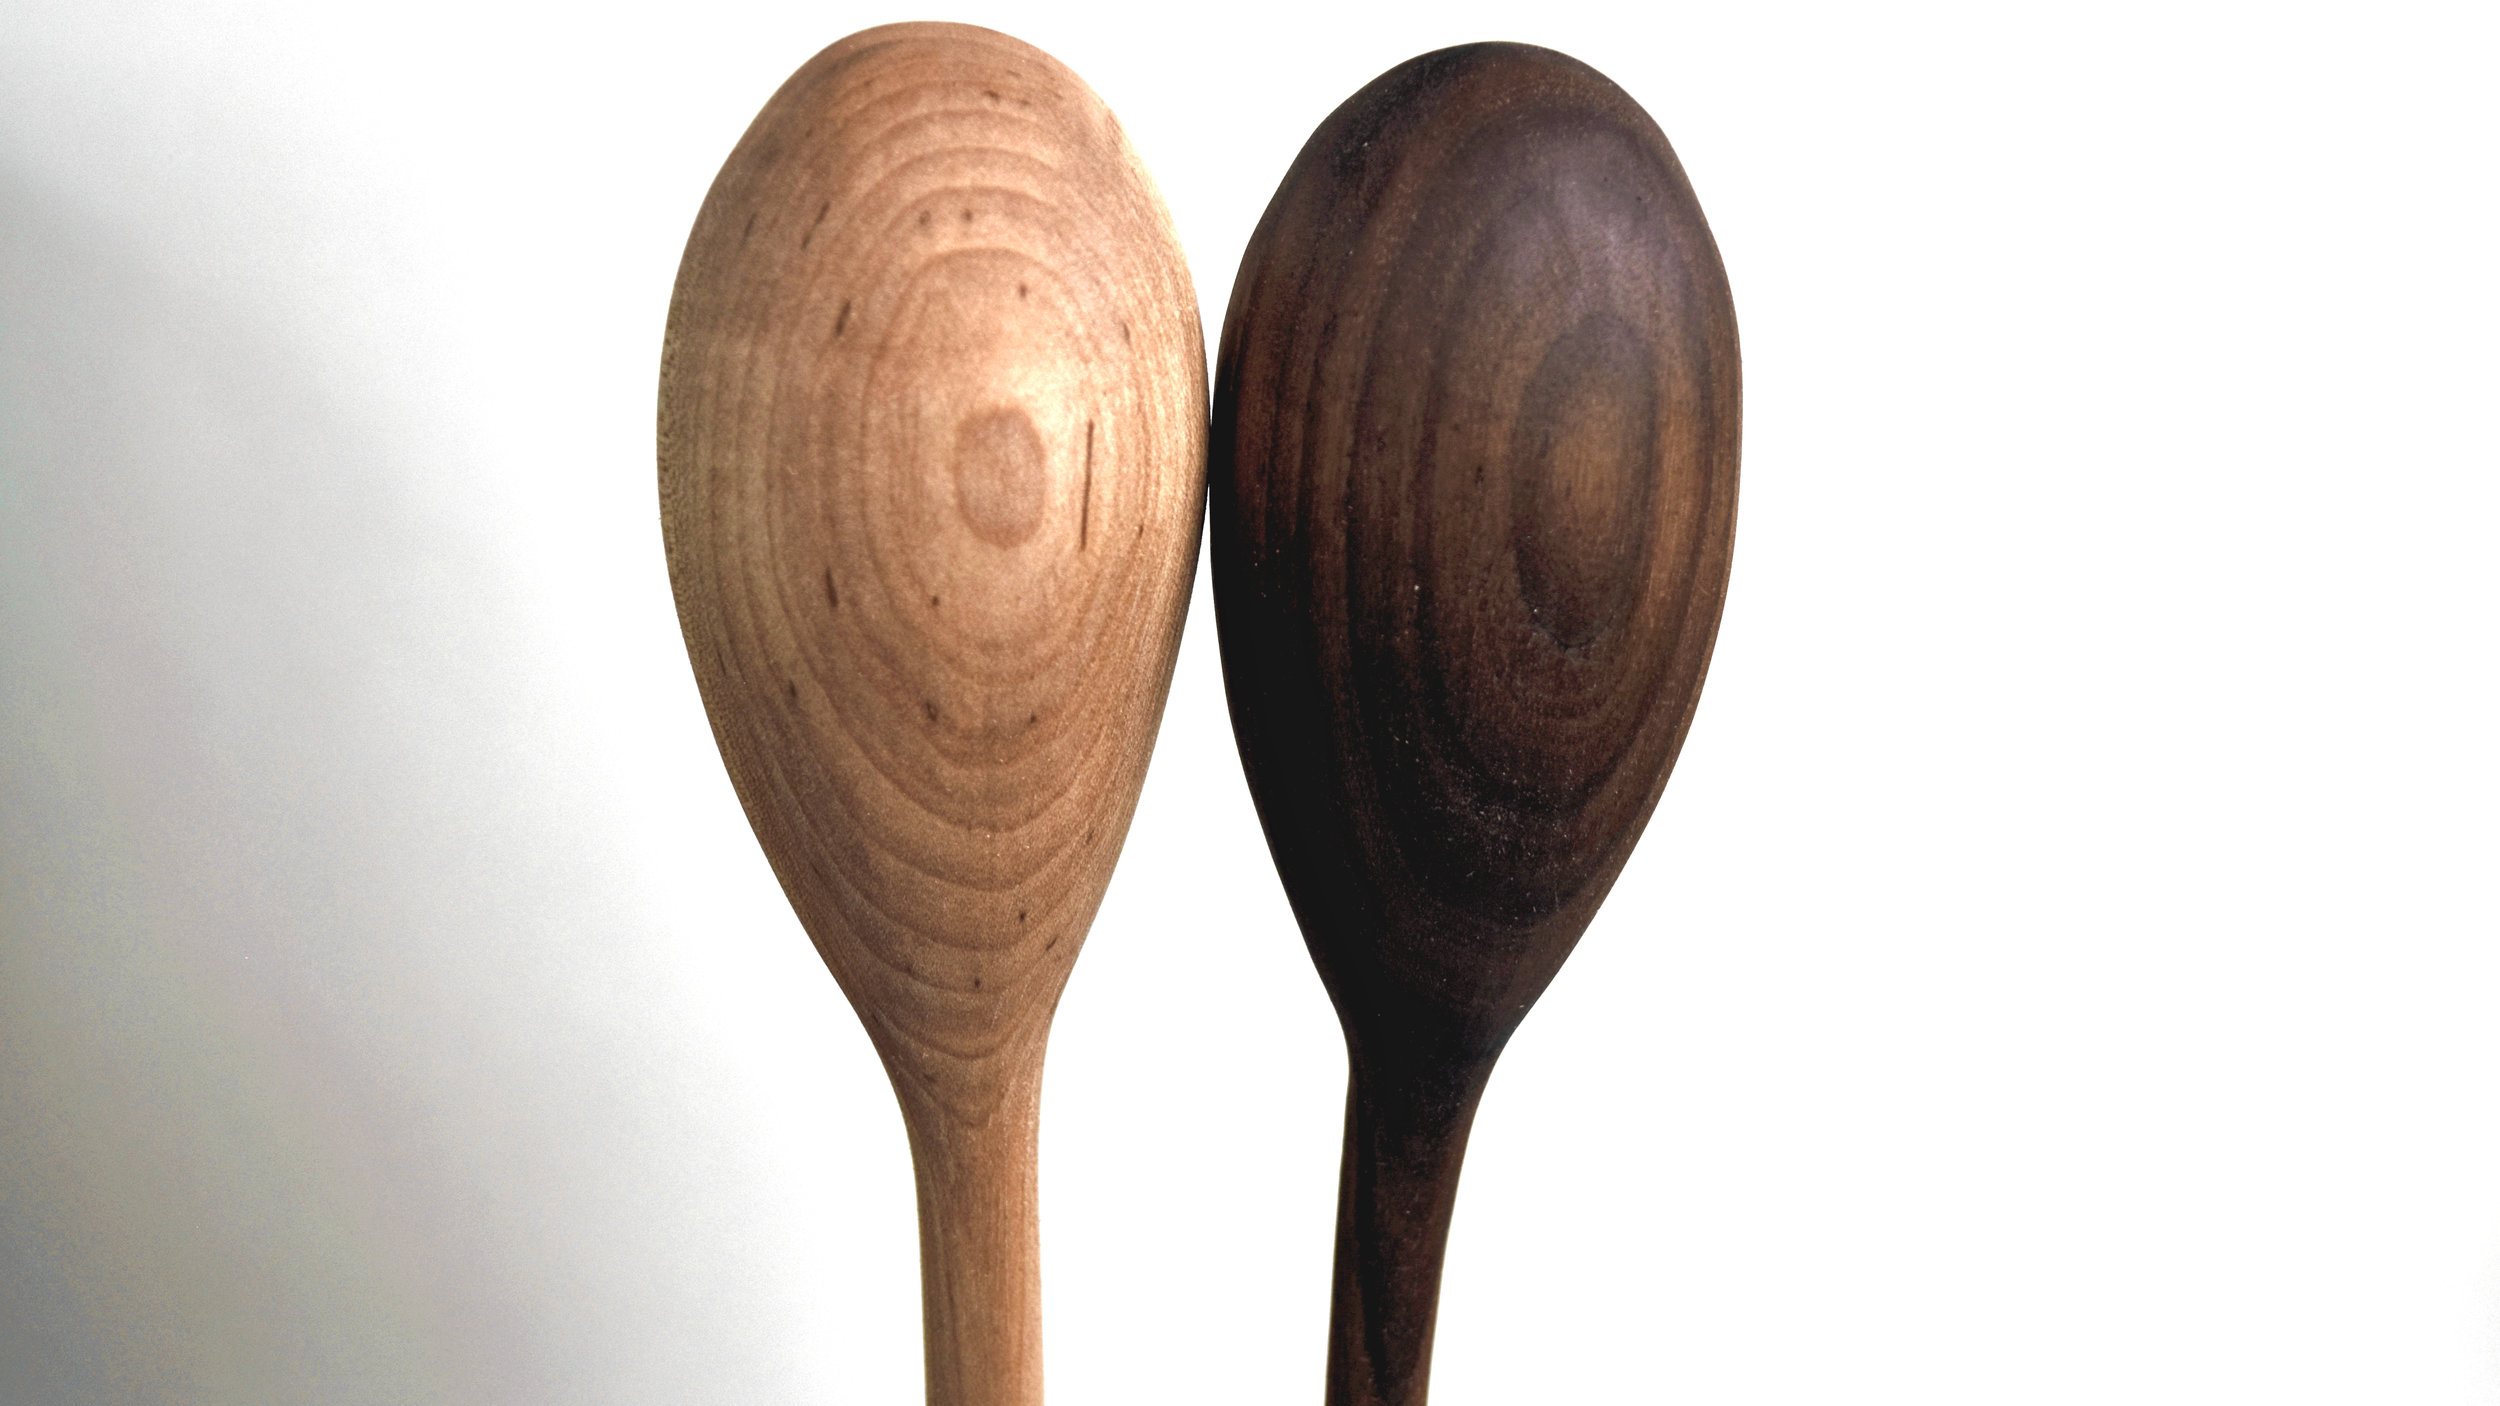
12” x 6” blocks of 6/4 walnut & maple
Chisels - http://amzn.to/2CcAVtJ
Spoon Gouge - http://amzn.to/2qfUAY8
3/4” Gouge - http://amzn.to/2lJpnqF
Saw Rasp - http://amzn.to/2CupYHc
Bandsaw - http://amzn.to/2l0KvIK
3/16 Blade - http://amzn.to/2BjhmiL
Orbital Sander - http://amzn.to/2CZvUEz
RZ Mask - http://amzn.to/2l0McG6
Bessey Clamps - http://amzn.to/2CZwF0n
Glue - http://amzn.to/2Dyej7N
Sanding Pads - http://amzn.to/2zgSaHK
Spray Adhesive - http://amzn.to/2BpqXVa
Glue Bot - http://amzn.to/2kYwc7A

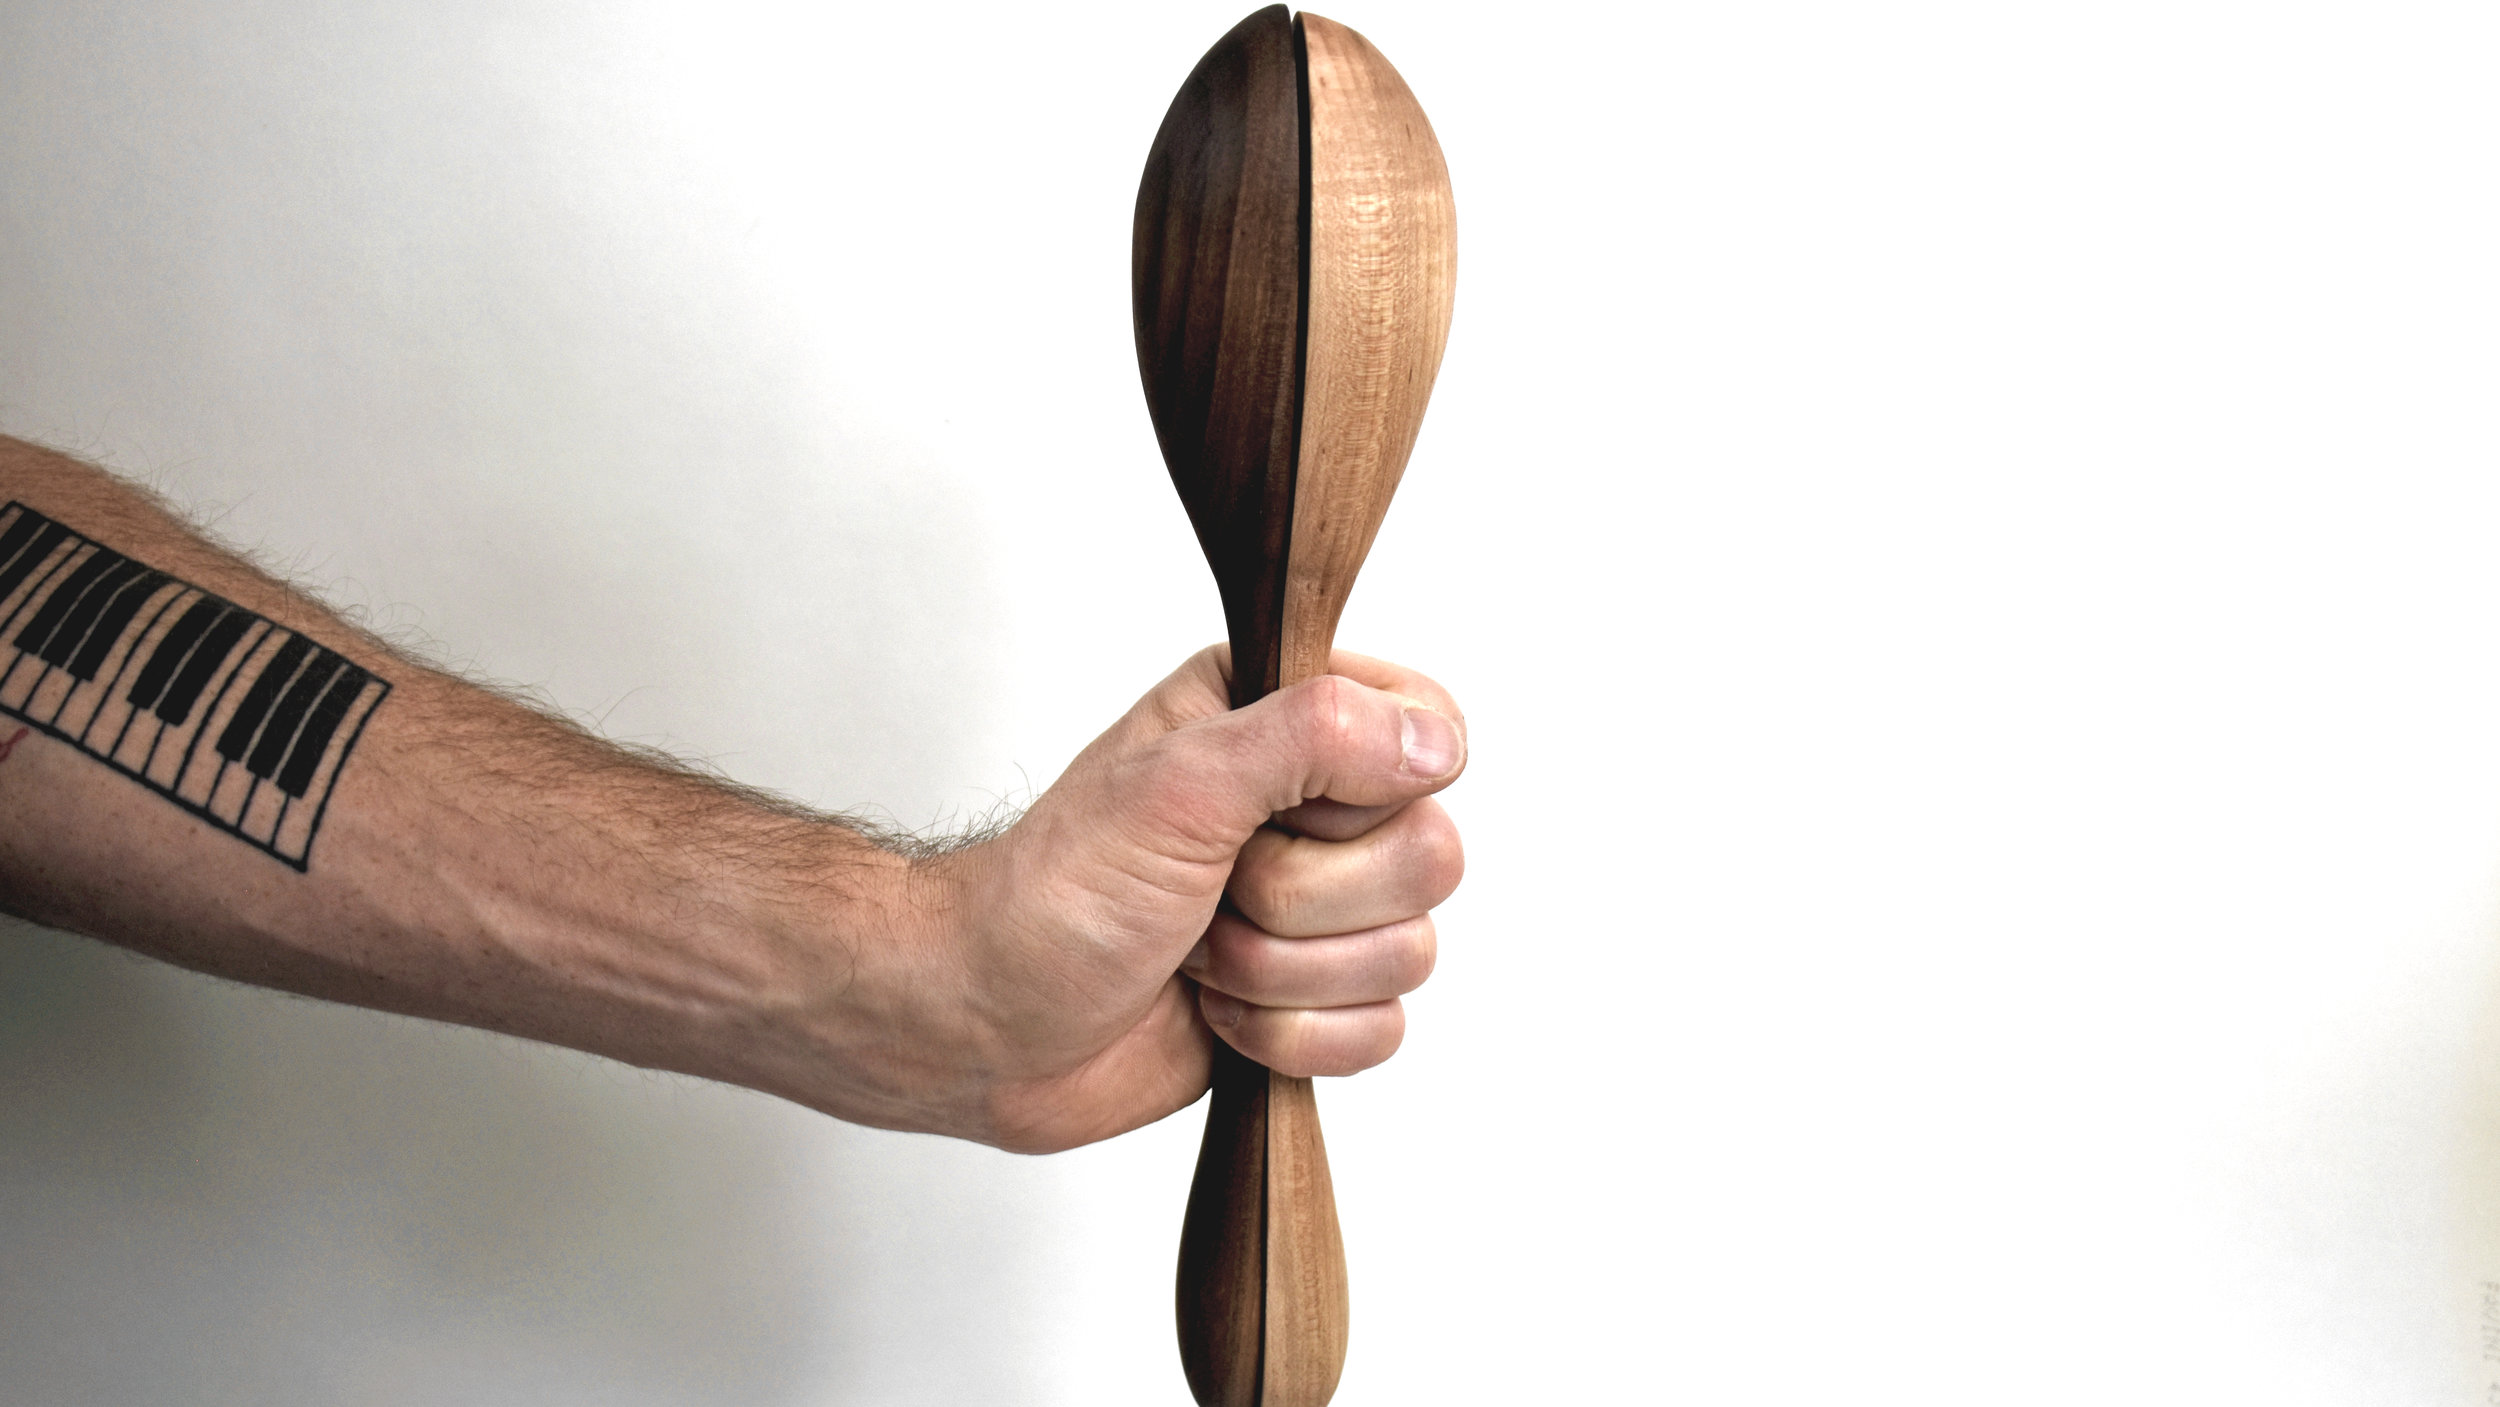
I wanted these spoons to be symmetrical when they were held together as to when they are each held face on. To accomplish this I traced the two blanks on their side while held together. This allows me to draw a template on half the page. The side profile is half of the front profile. You'll see what I am talking about in the pics below.
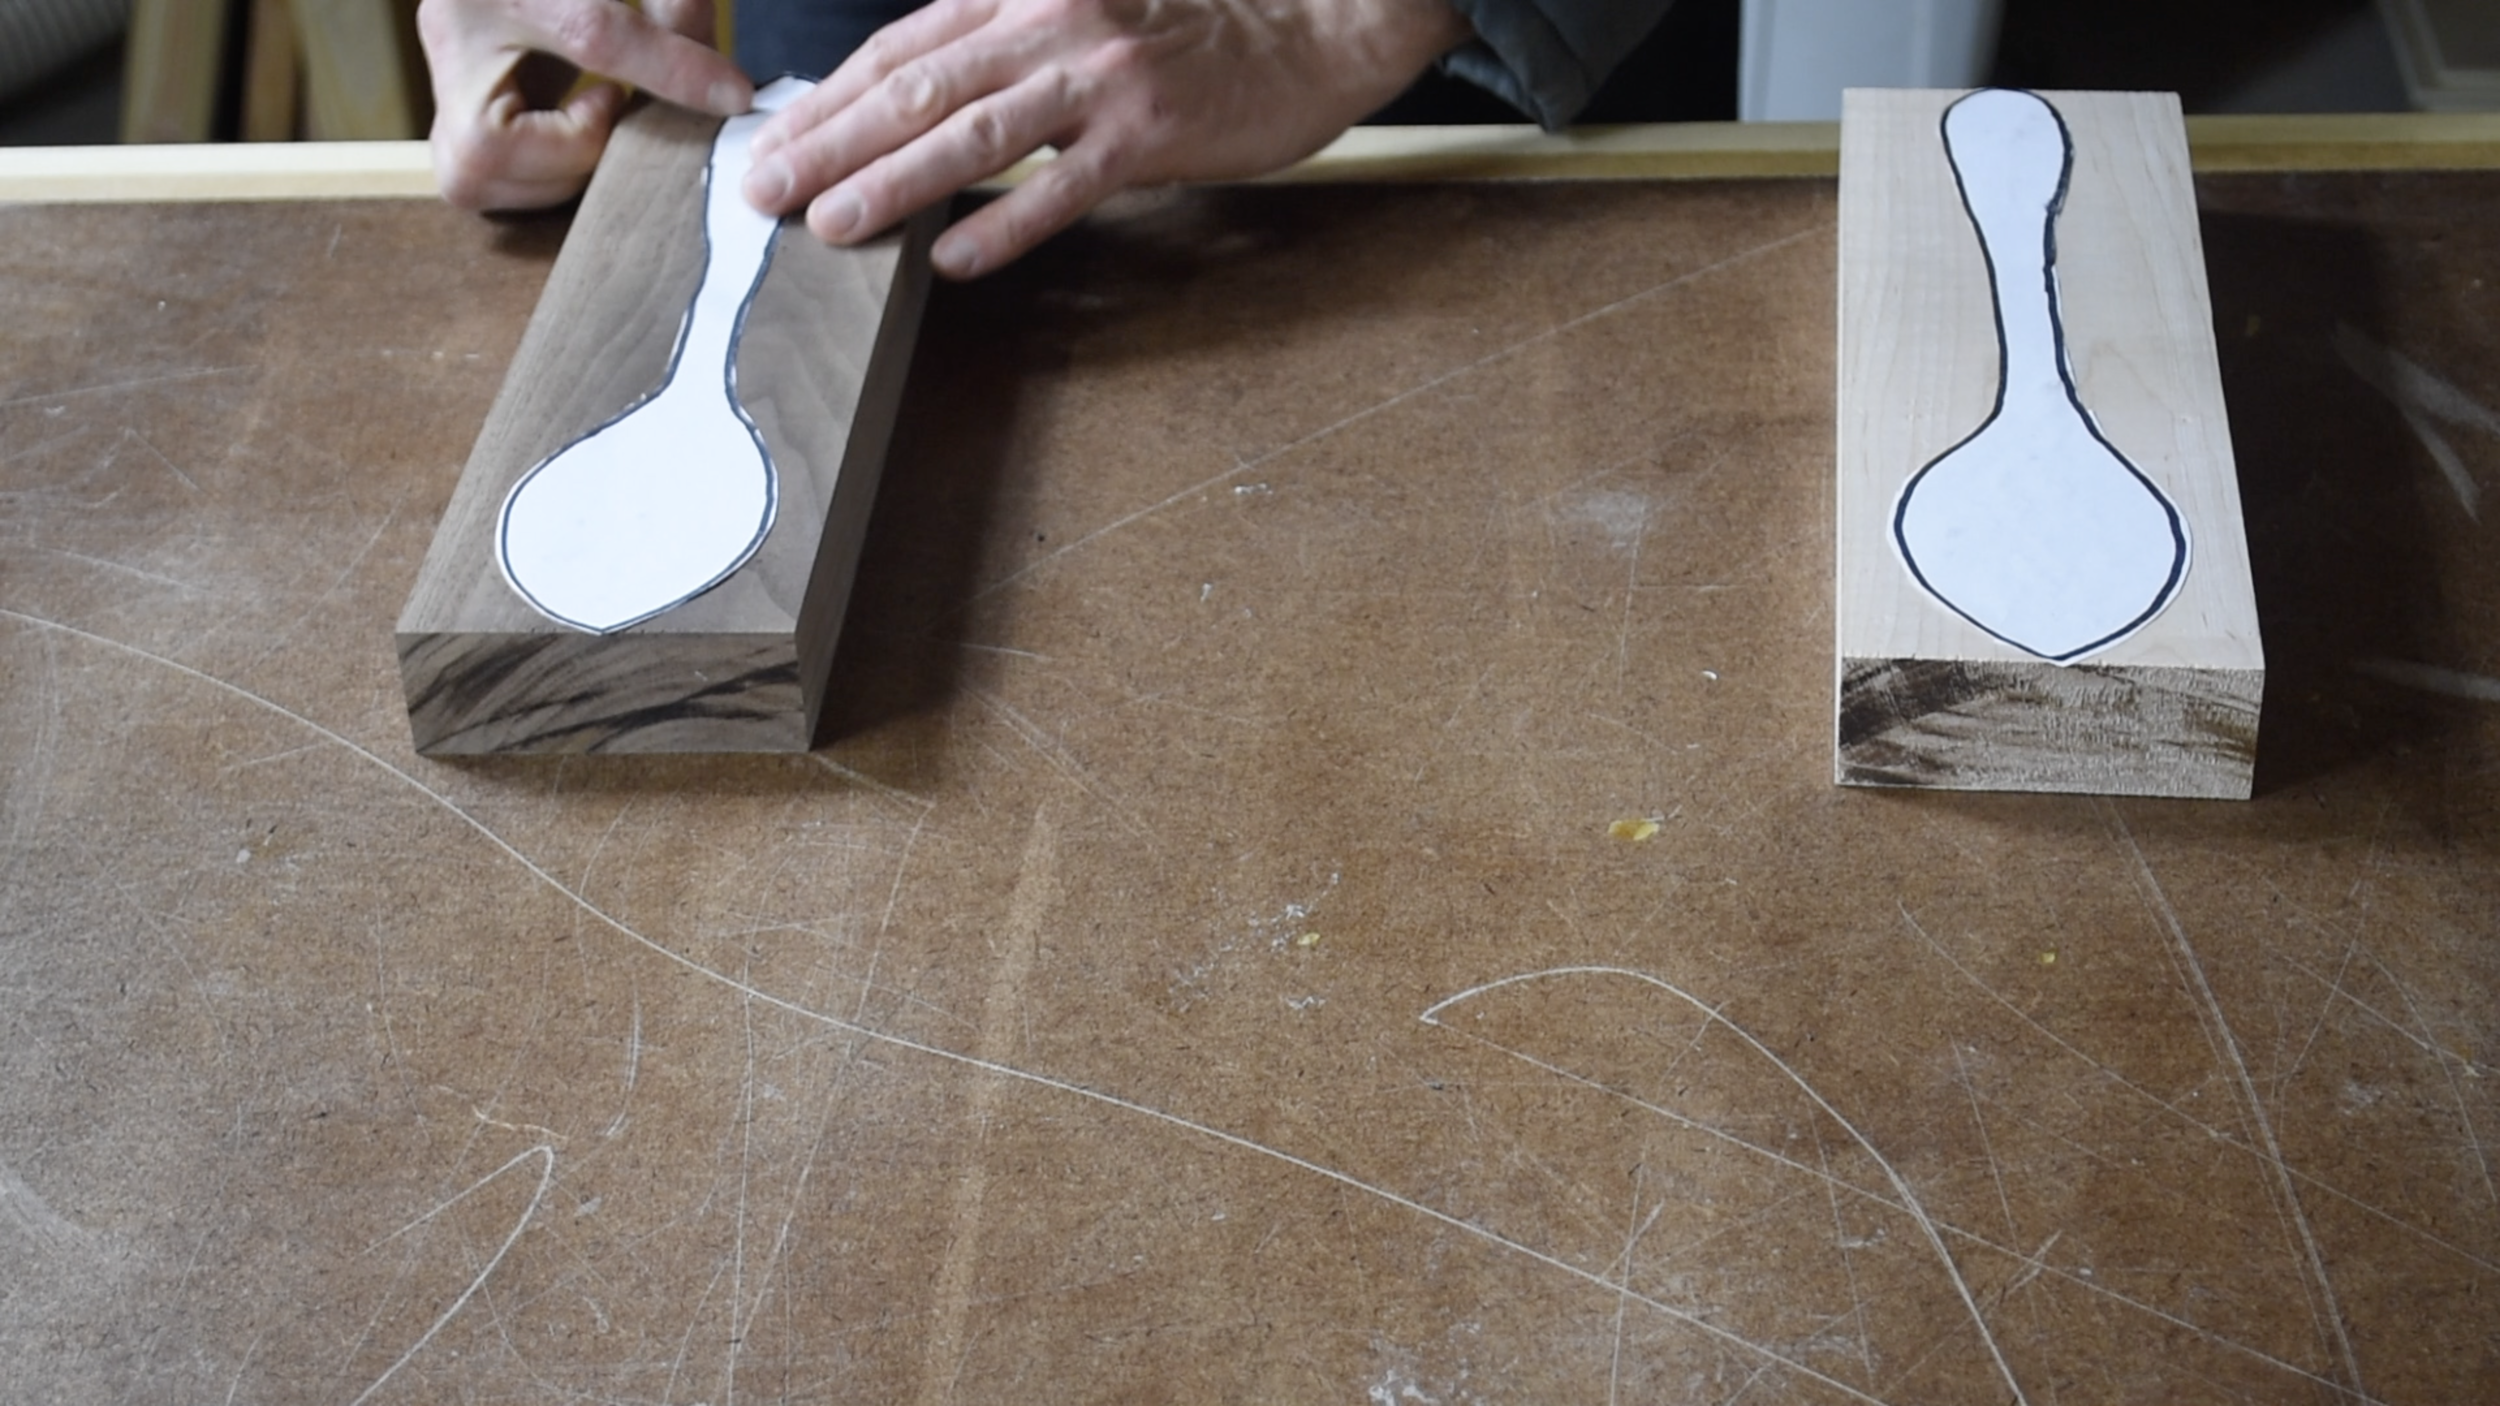
I copied the template twice and glued them to the blanks with spray adhesive. The blanks are 6/4 hardwood maple & walnut roughly 12" x 6".

Cut them out on the bandsaw.

Hot glue the blanks back together so you can cut the side profile.


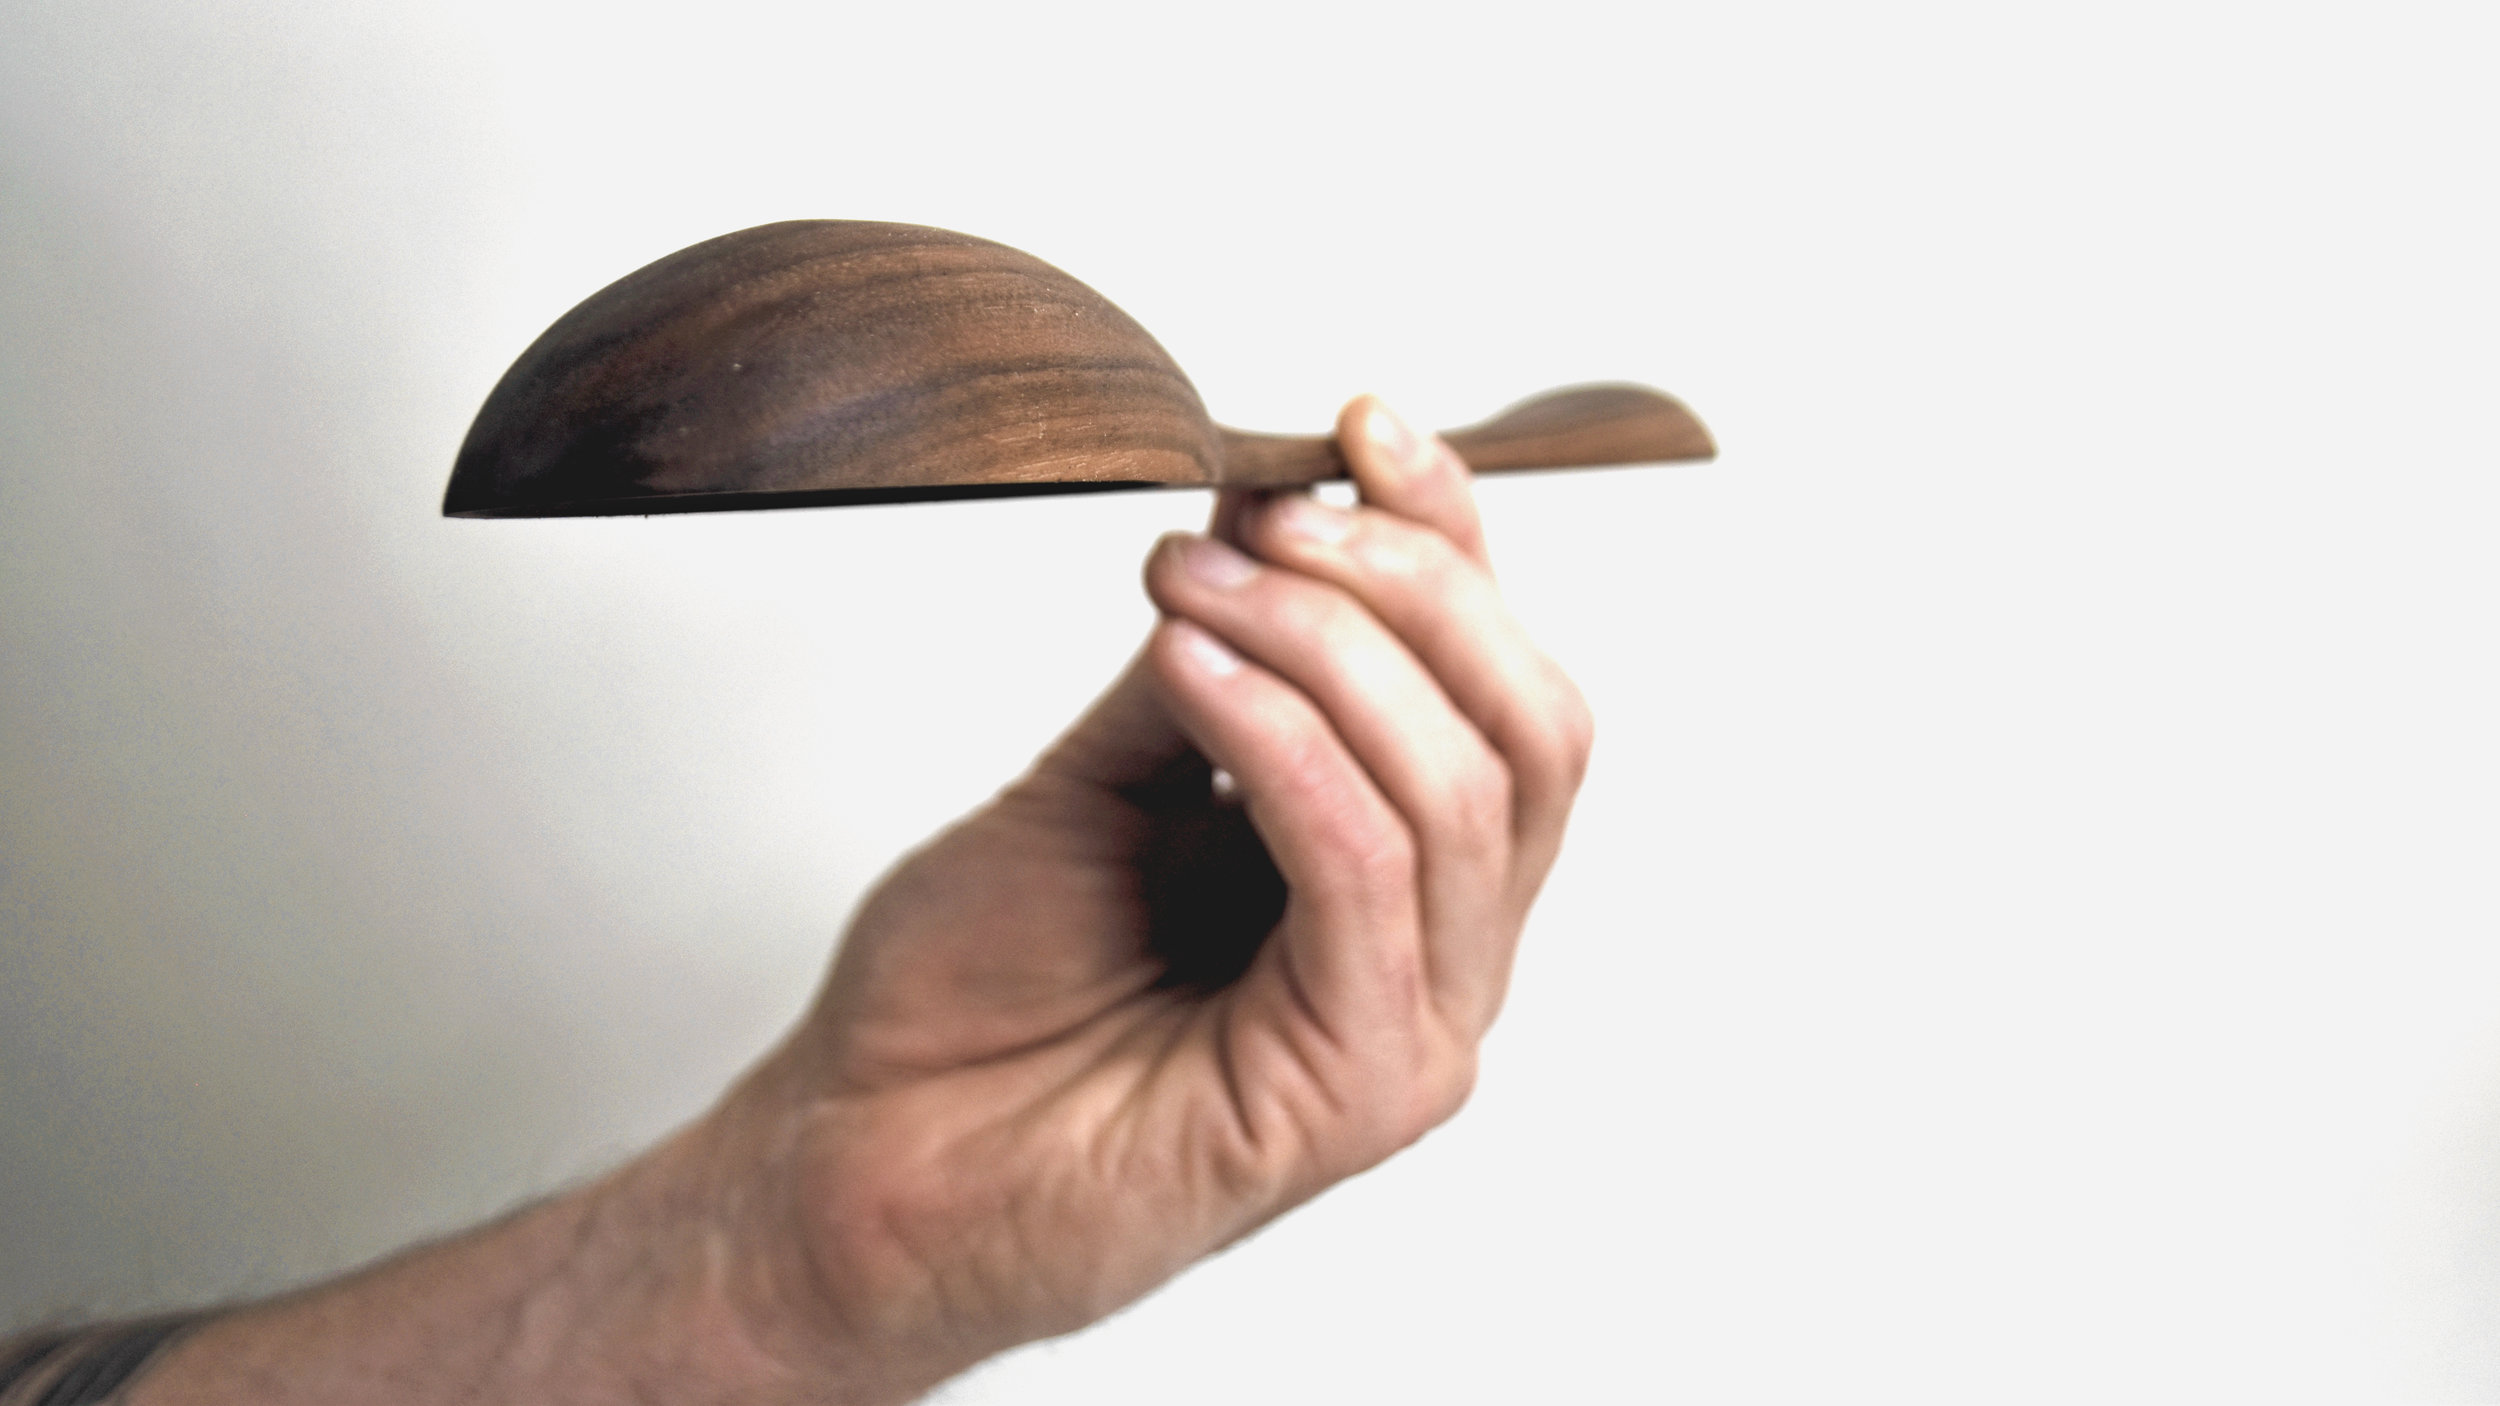
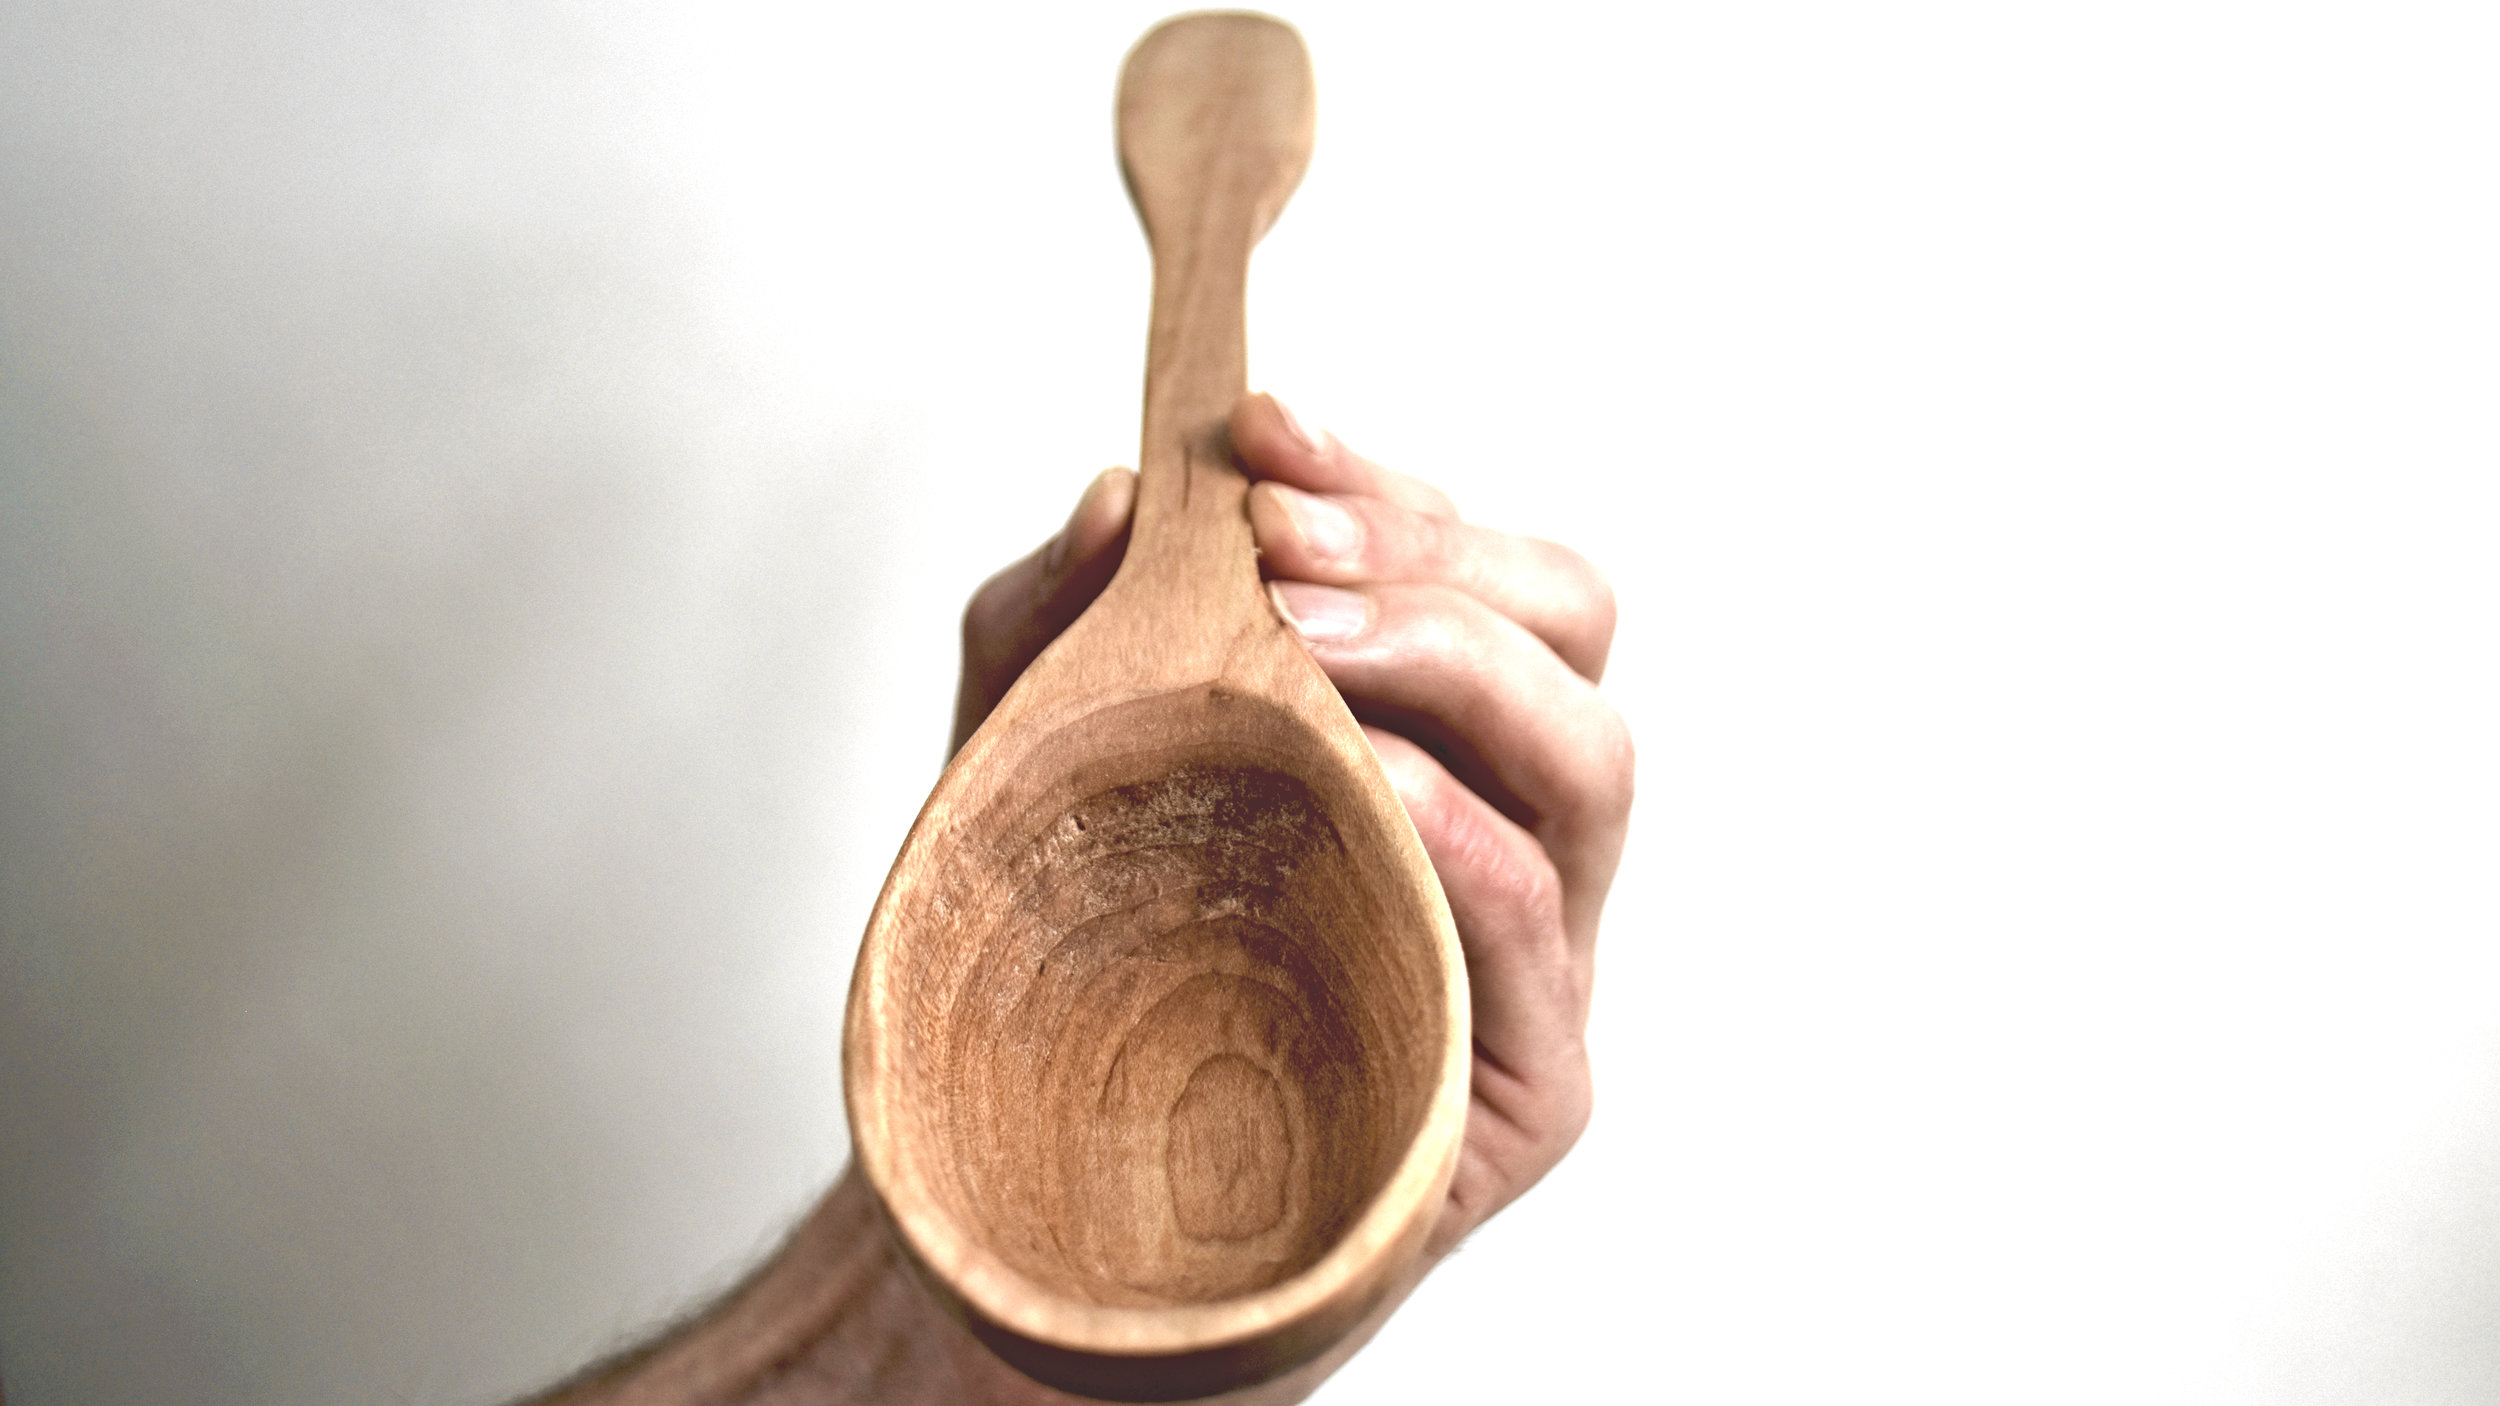
Draw out the shape of the spoon bowl and start carving. I first defined the edge with a 3/4 straight gouge.

I used a chisel to remove a lot of material fast.
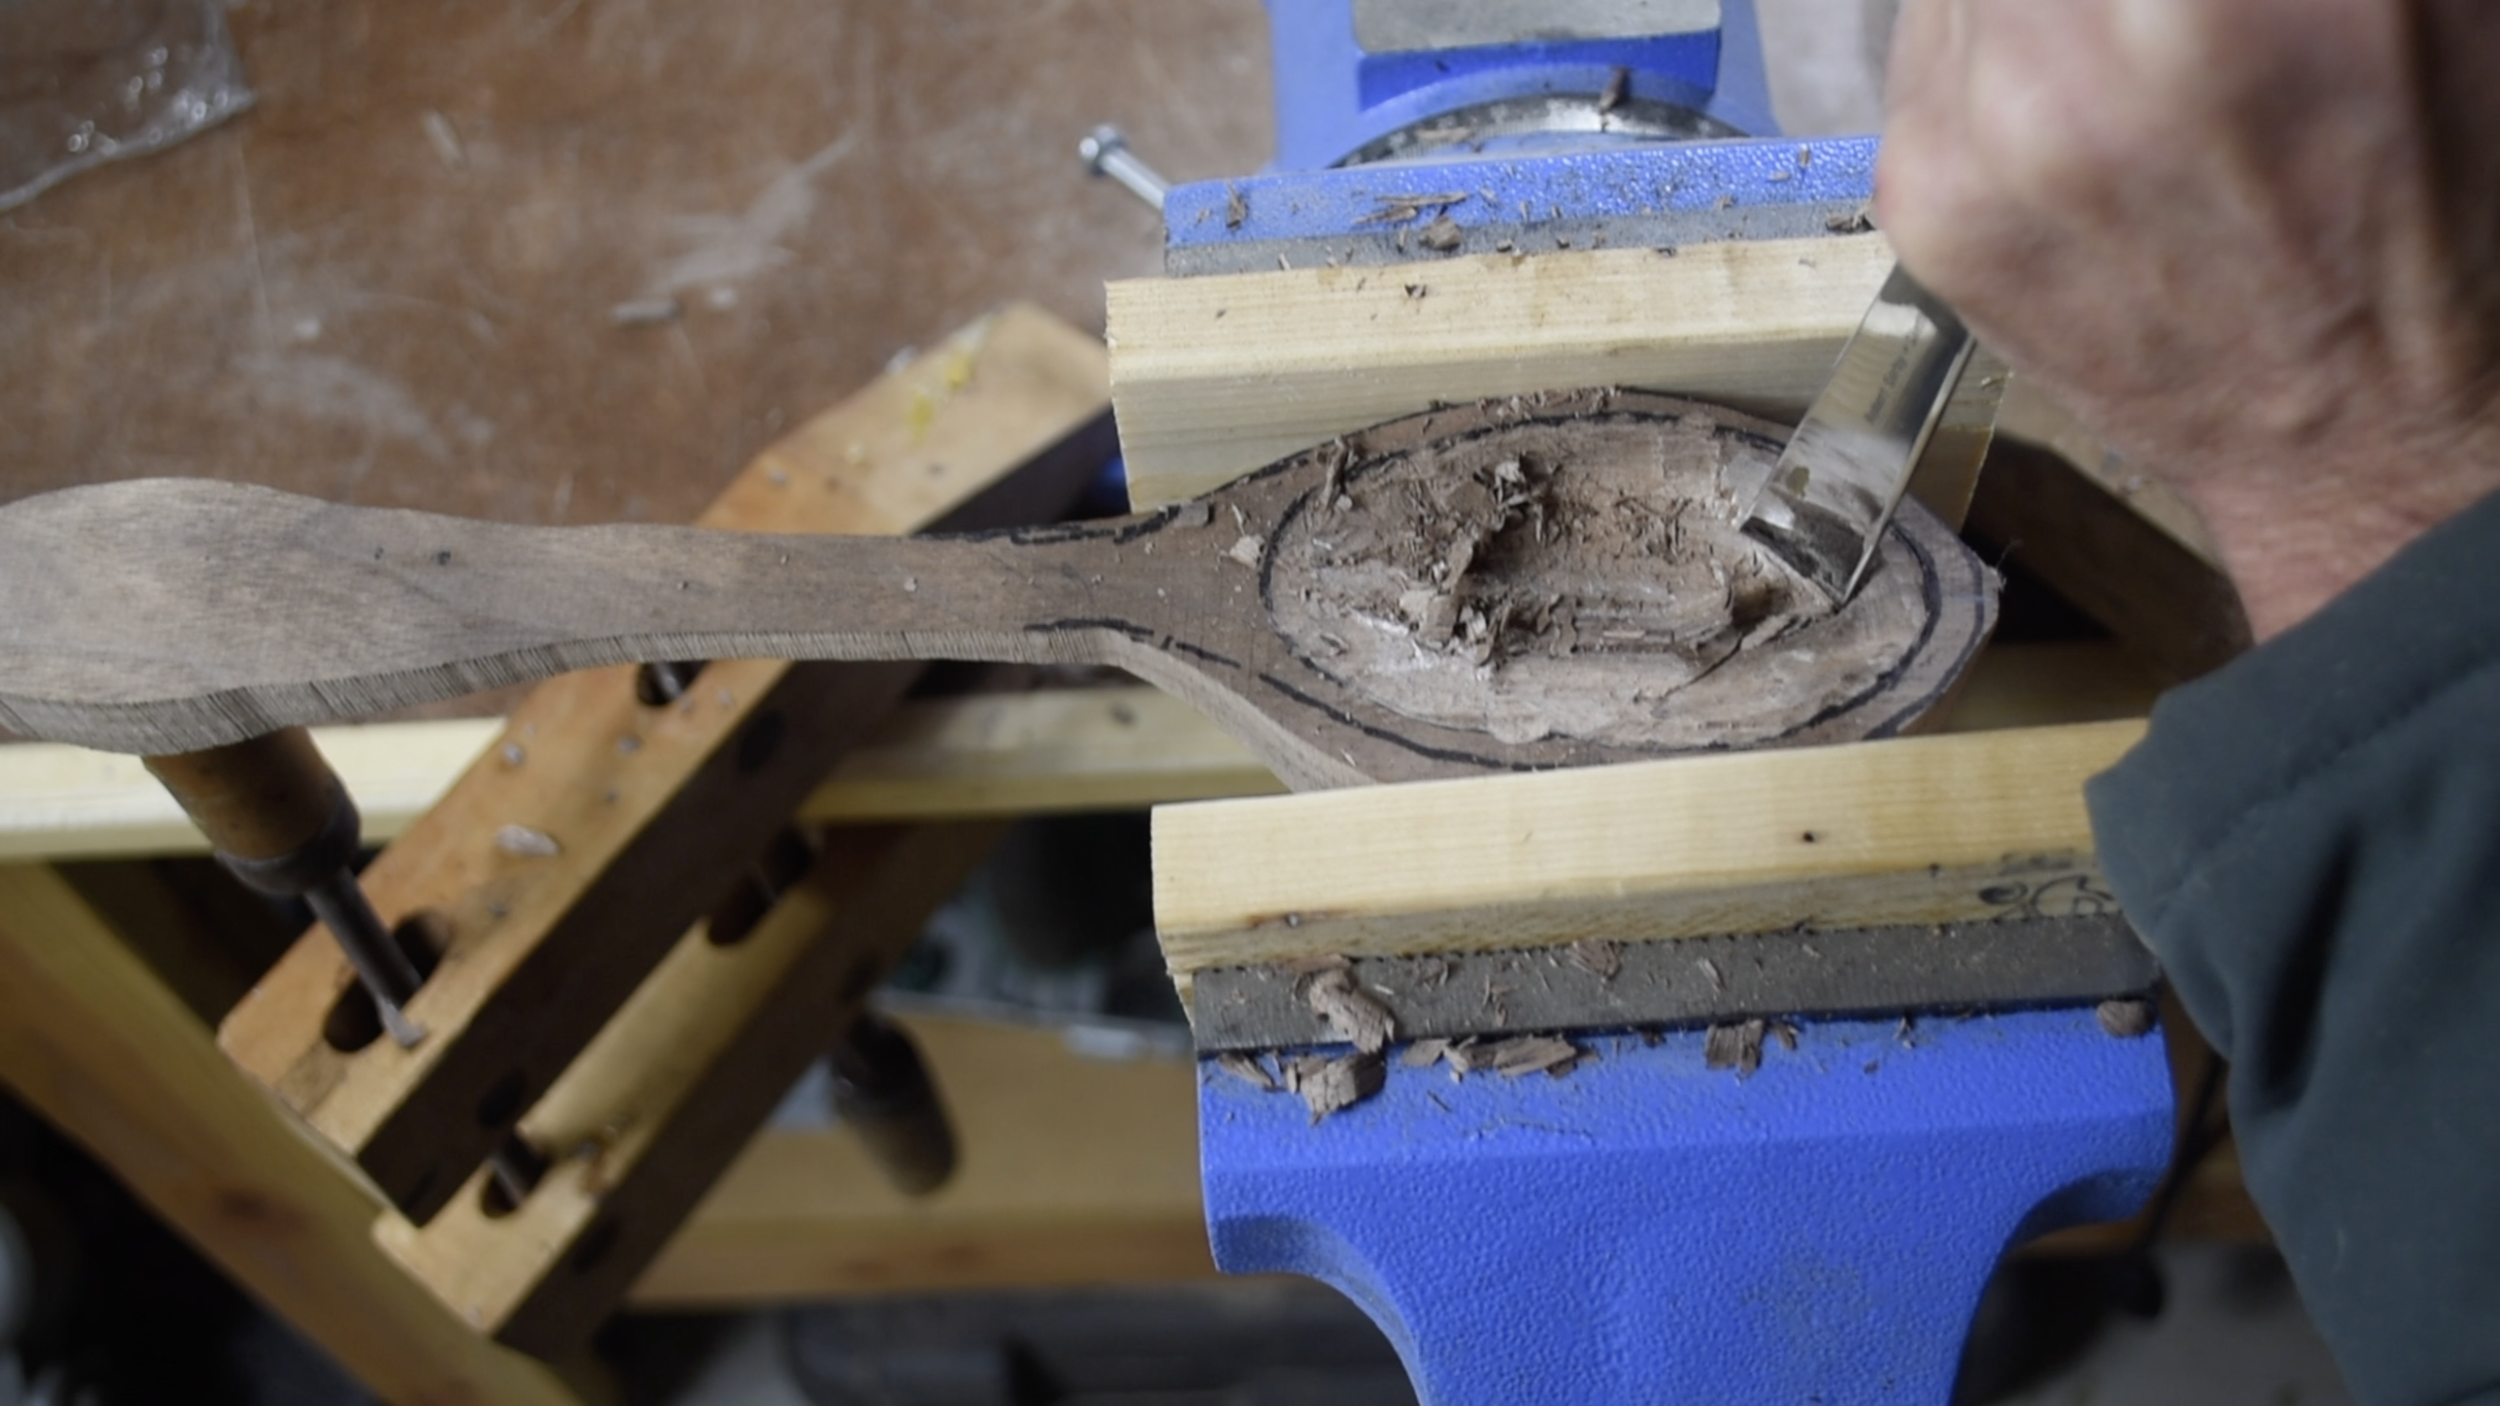
I went back to the 3/4" gouge to shape out the bowl.

I used a bent spoon gouge as well. The one I used was too small for this project, but it worked okay.

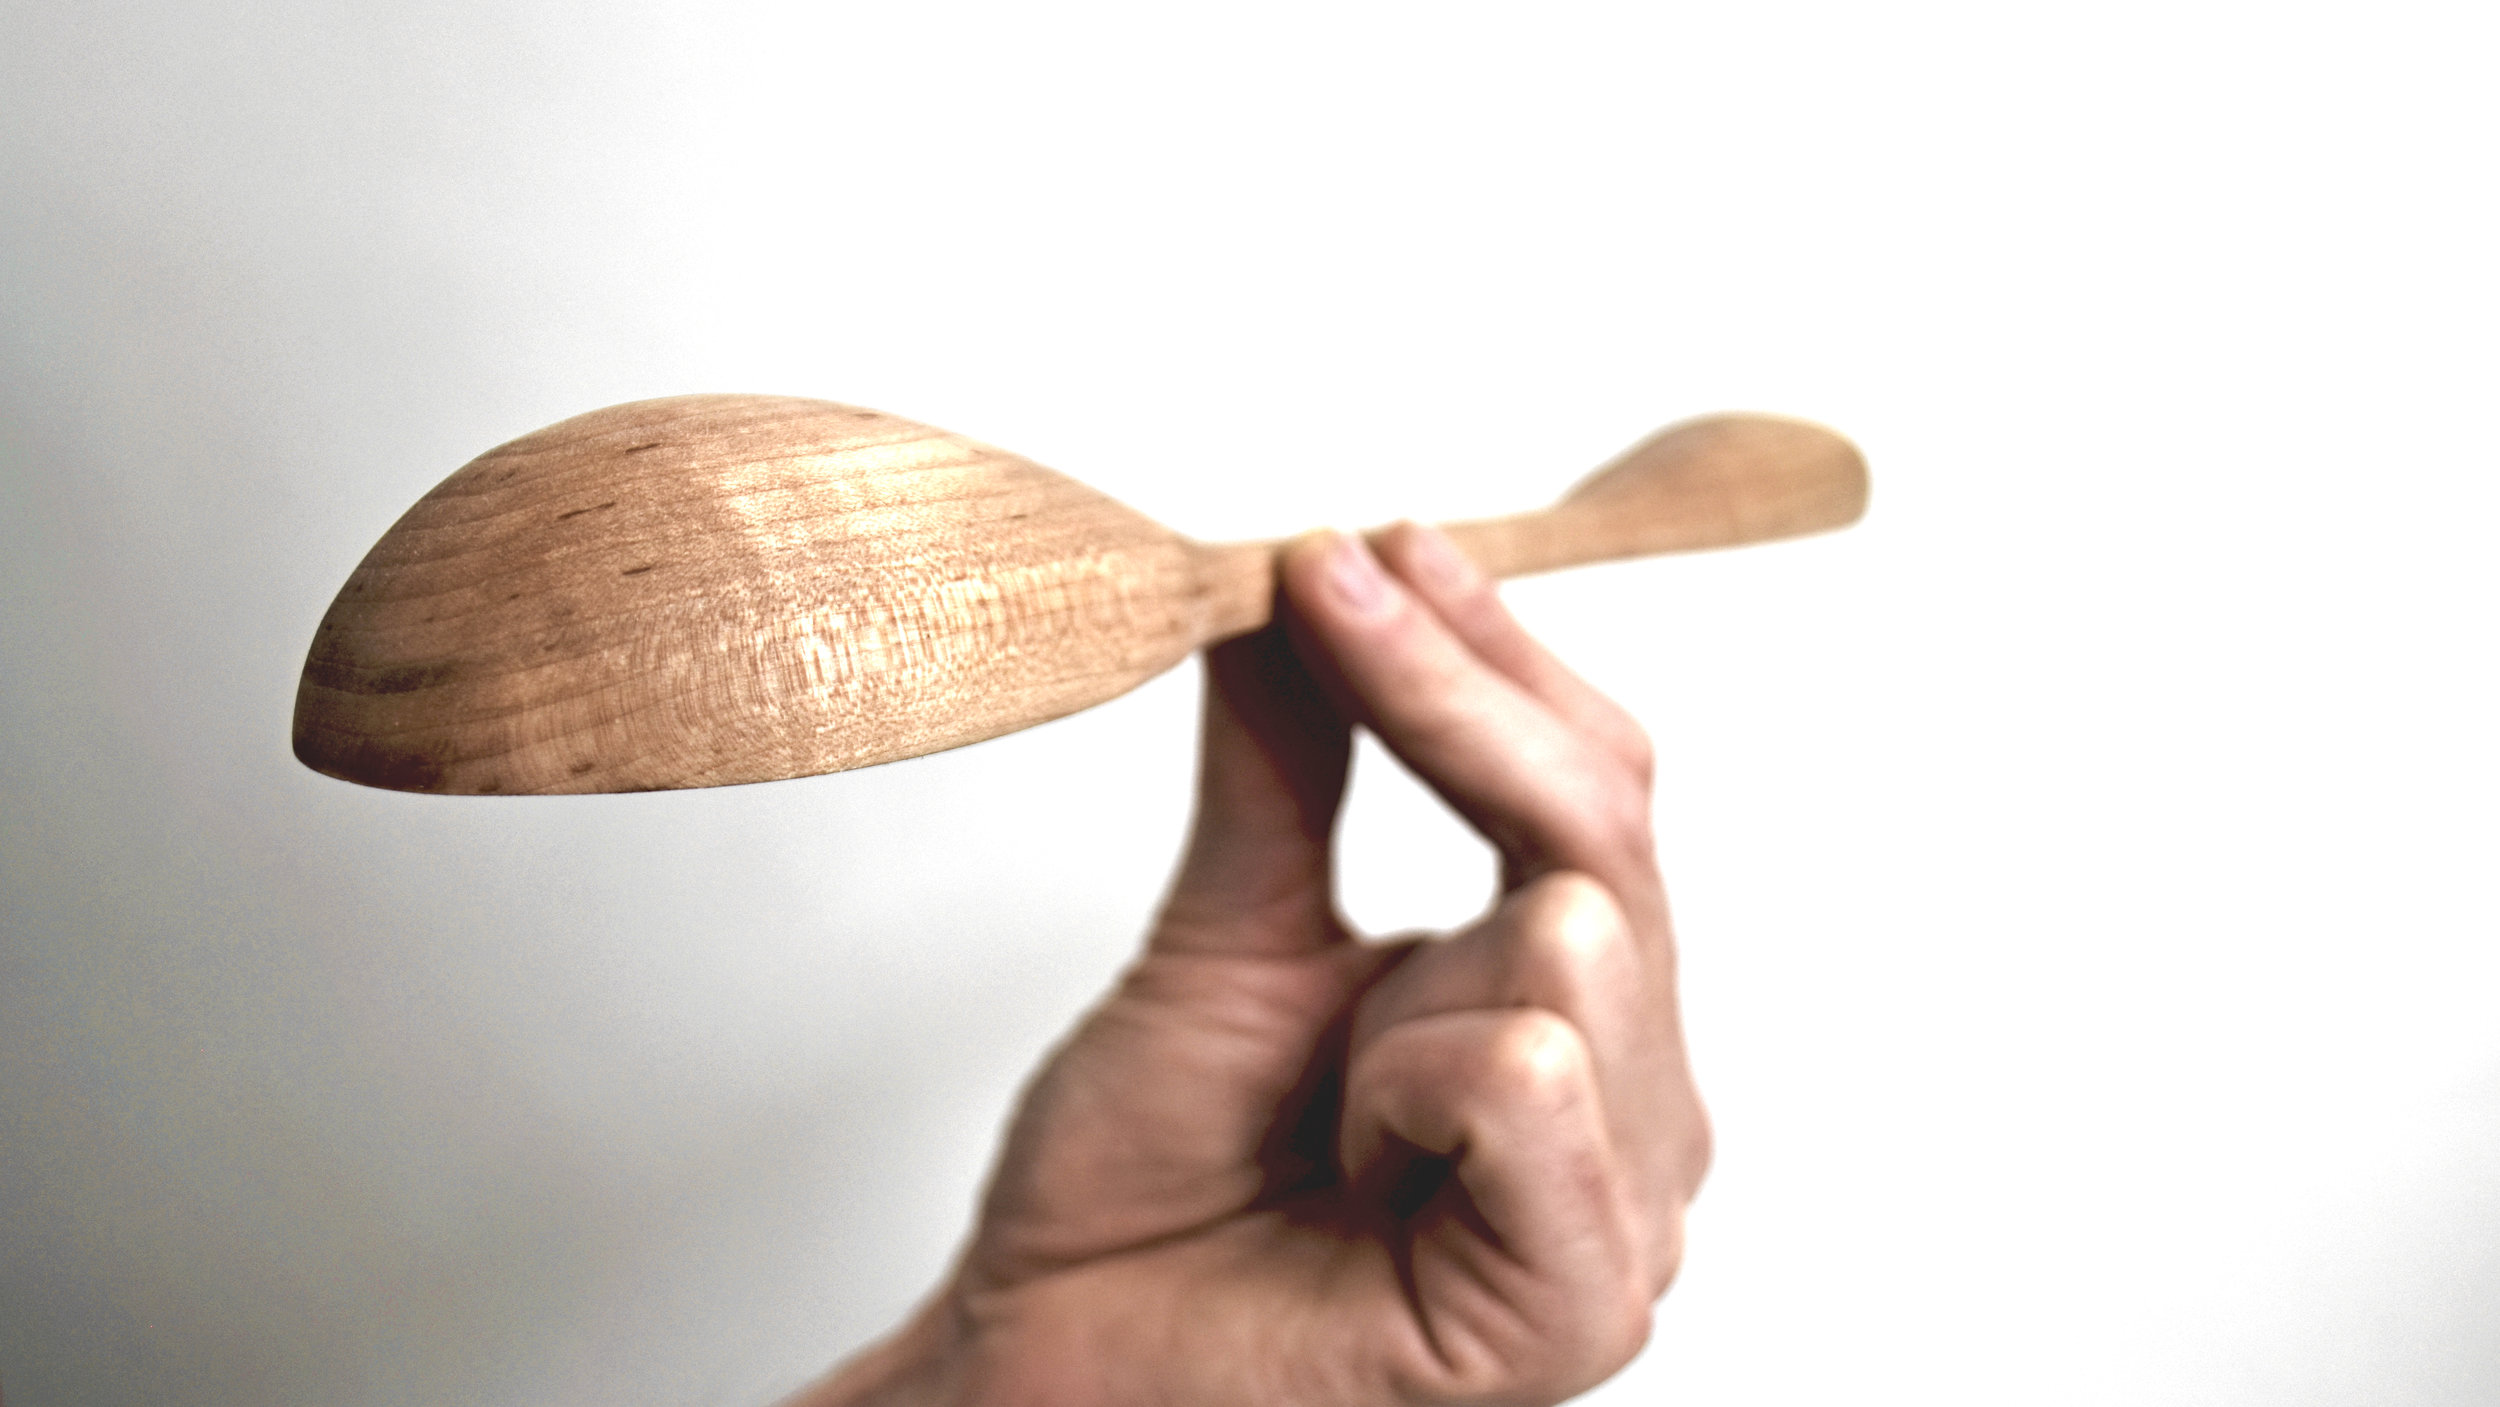
I did the bulk of the shaping of the outside of the spoon bowl on my belt sander using 80 grit paper.

I shaped the handle with a saw rasp.

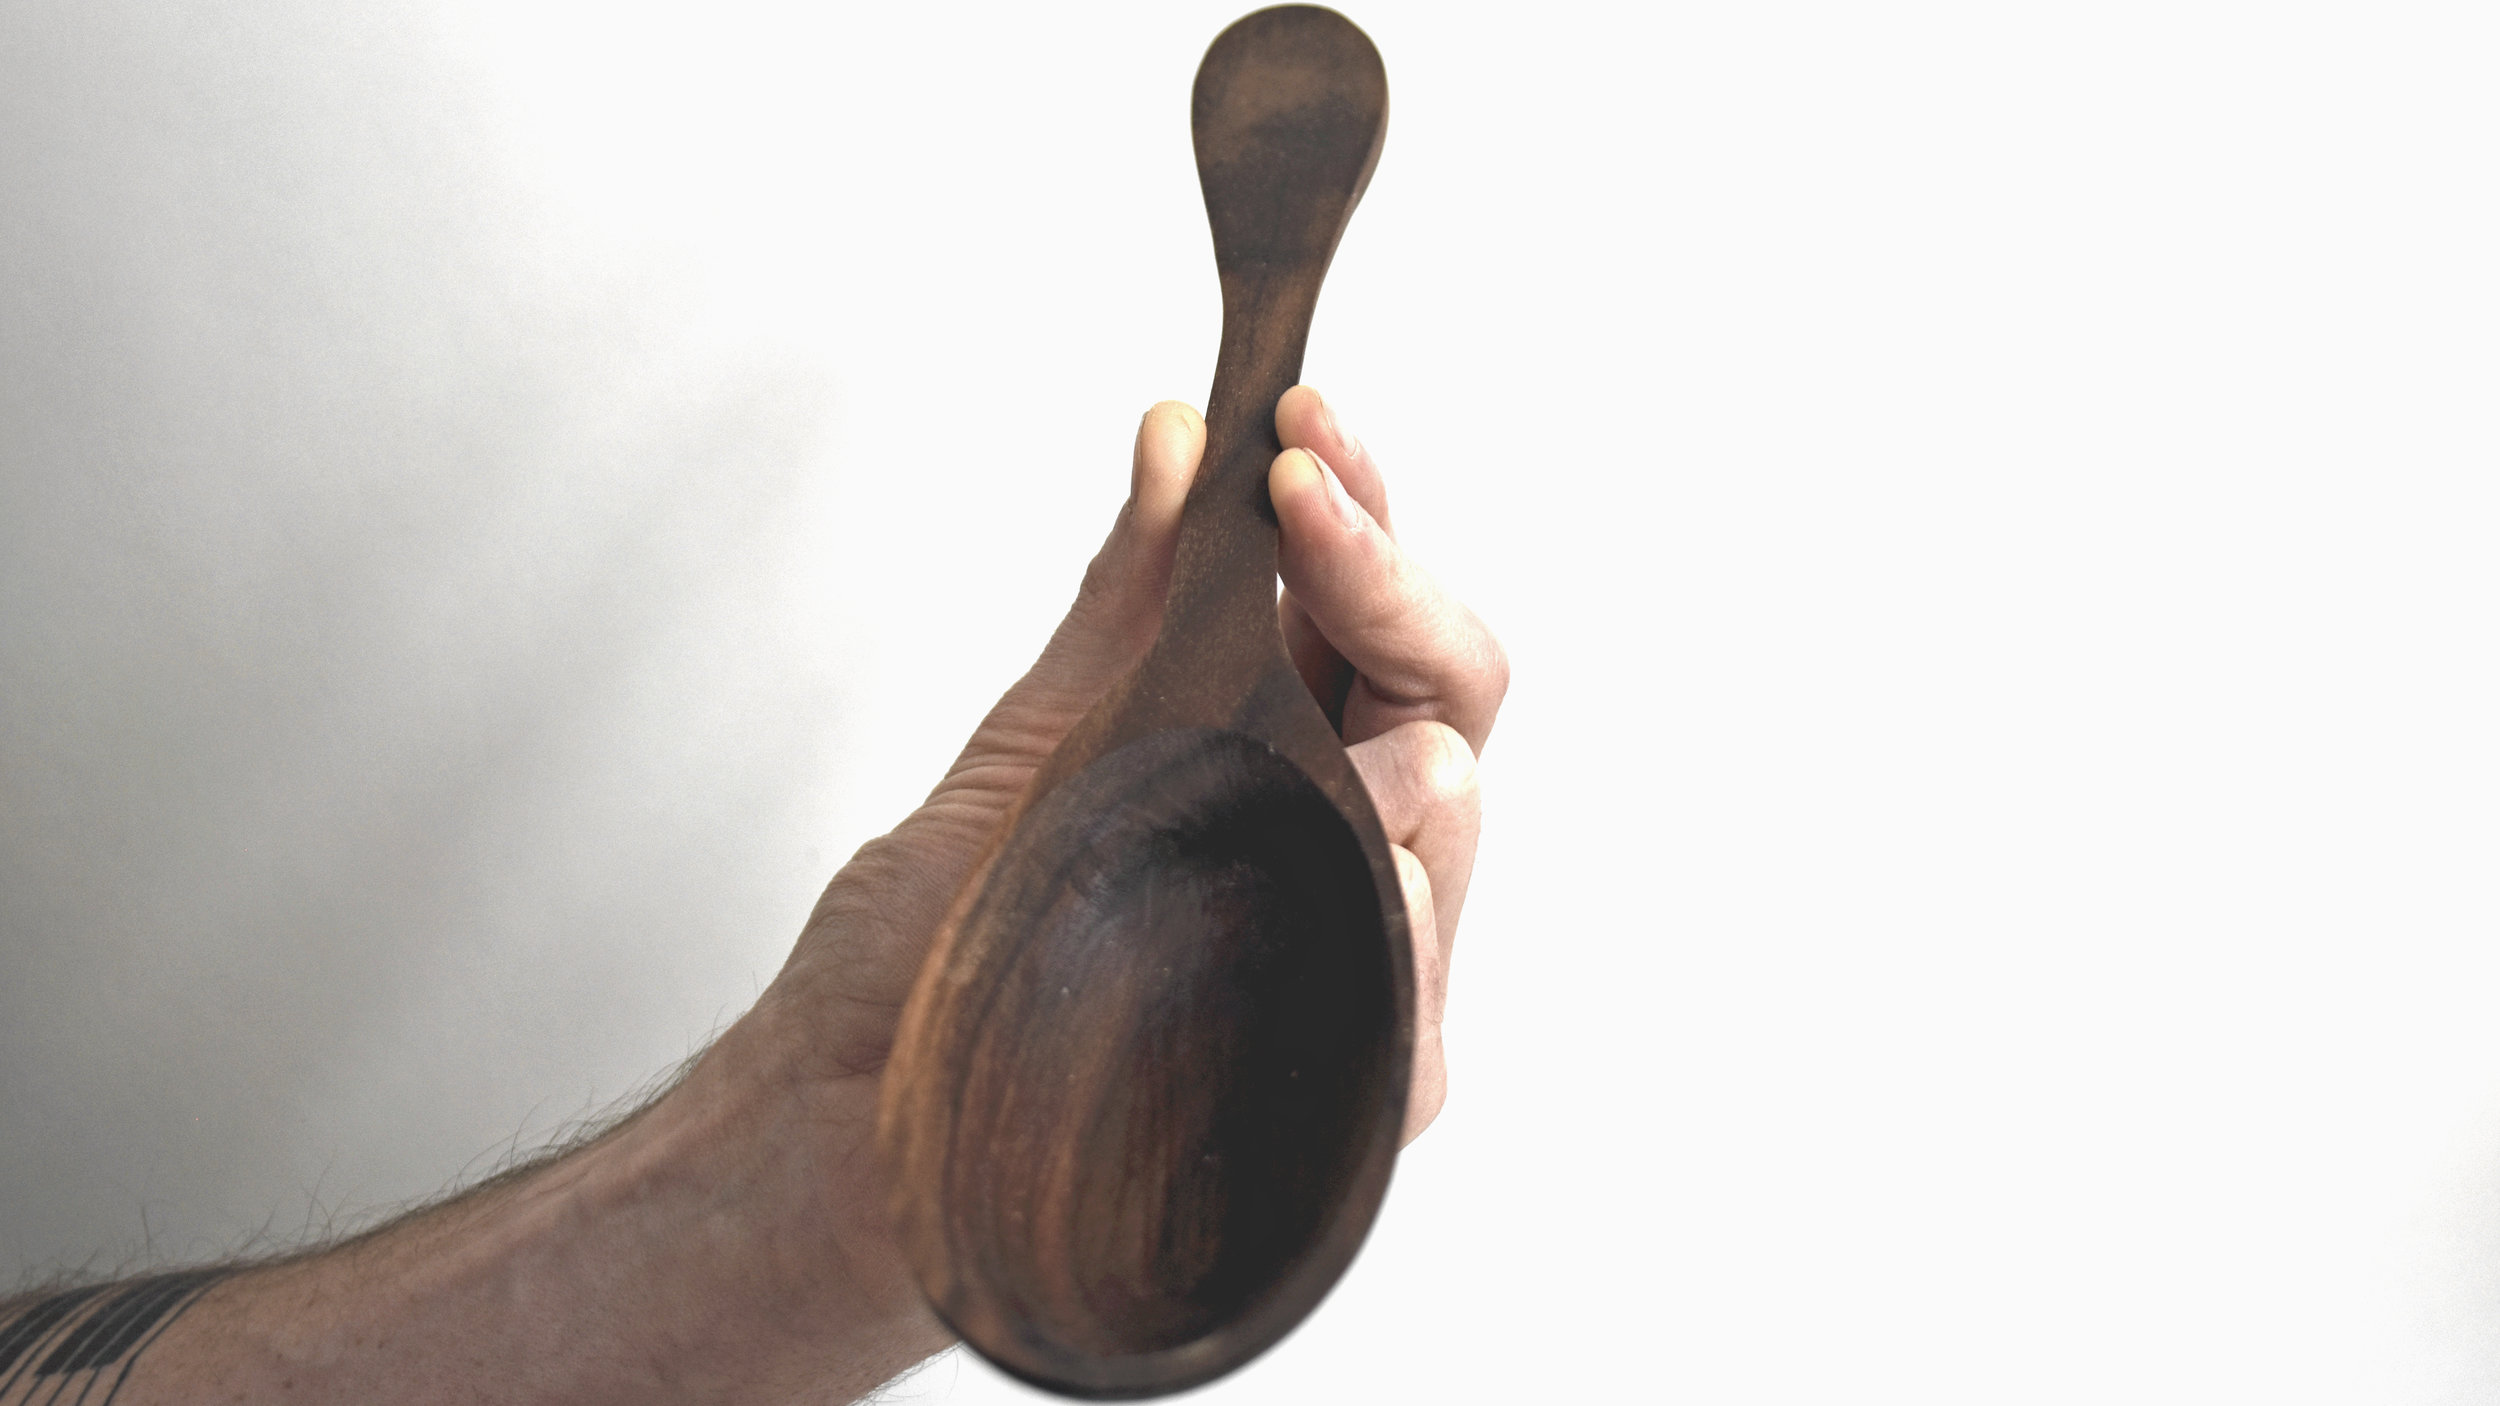
I made a scraper out of a razor blade to clean the inside of the spoon. Just sand down one side into a curve that fits the spoon, and then give it a bevel.

This spoon is deep, and the scraper made smoothing out the inside much easier. The second spoon I made was using hard maple, and it didn't work as well.

Be prepared to sand for days! Well, not literally, but its a lot of sanding.

I finished my spoons by soaking them in mineral oil overnight.

Magic a second spoon out of thin air... or just build it at the same time, but not film it to prevent redundency.

I made a gift box from some reclaimed wood and filled it with shavings from my Stanley #5.