

Industrial Standing Desk
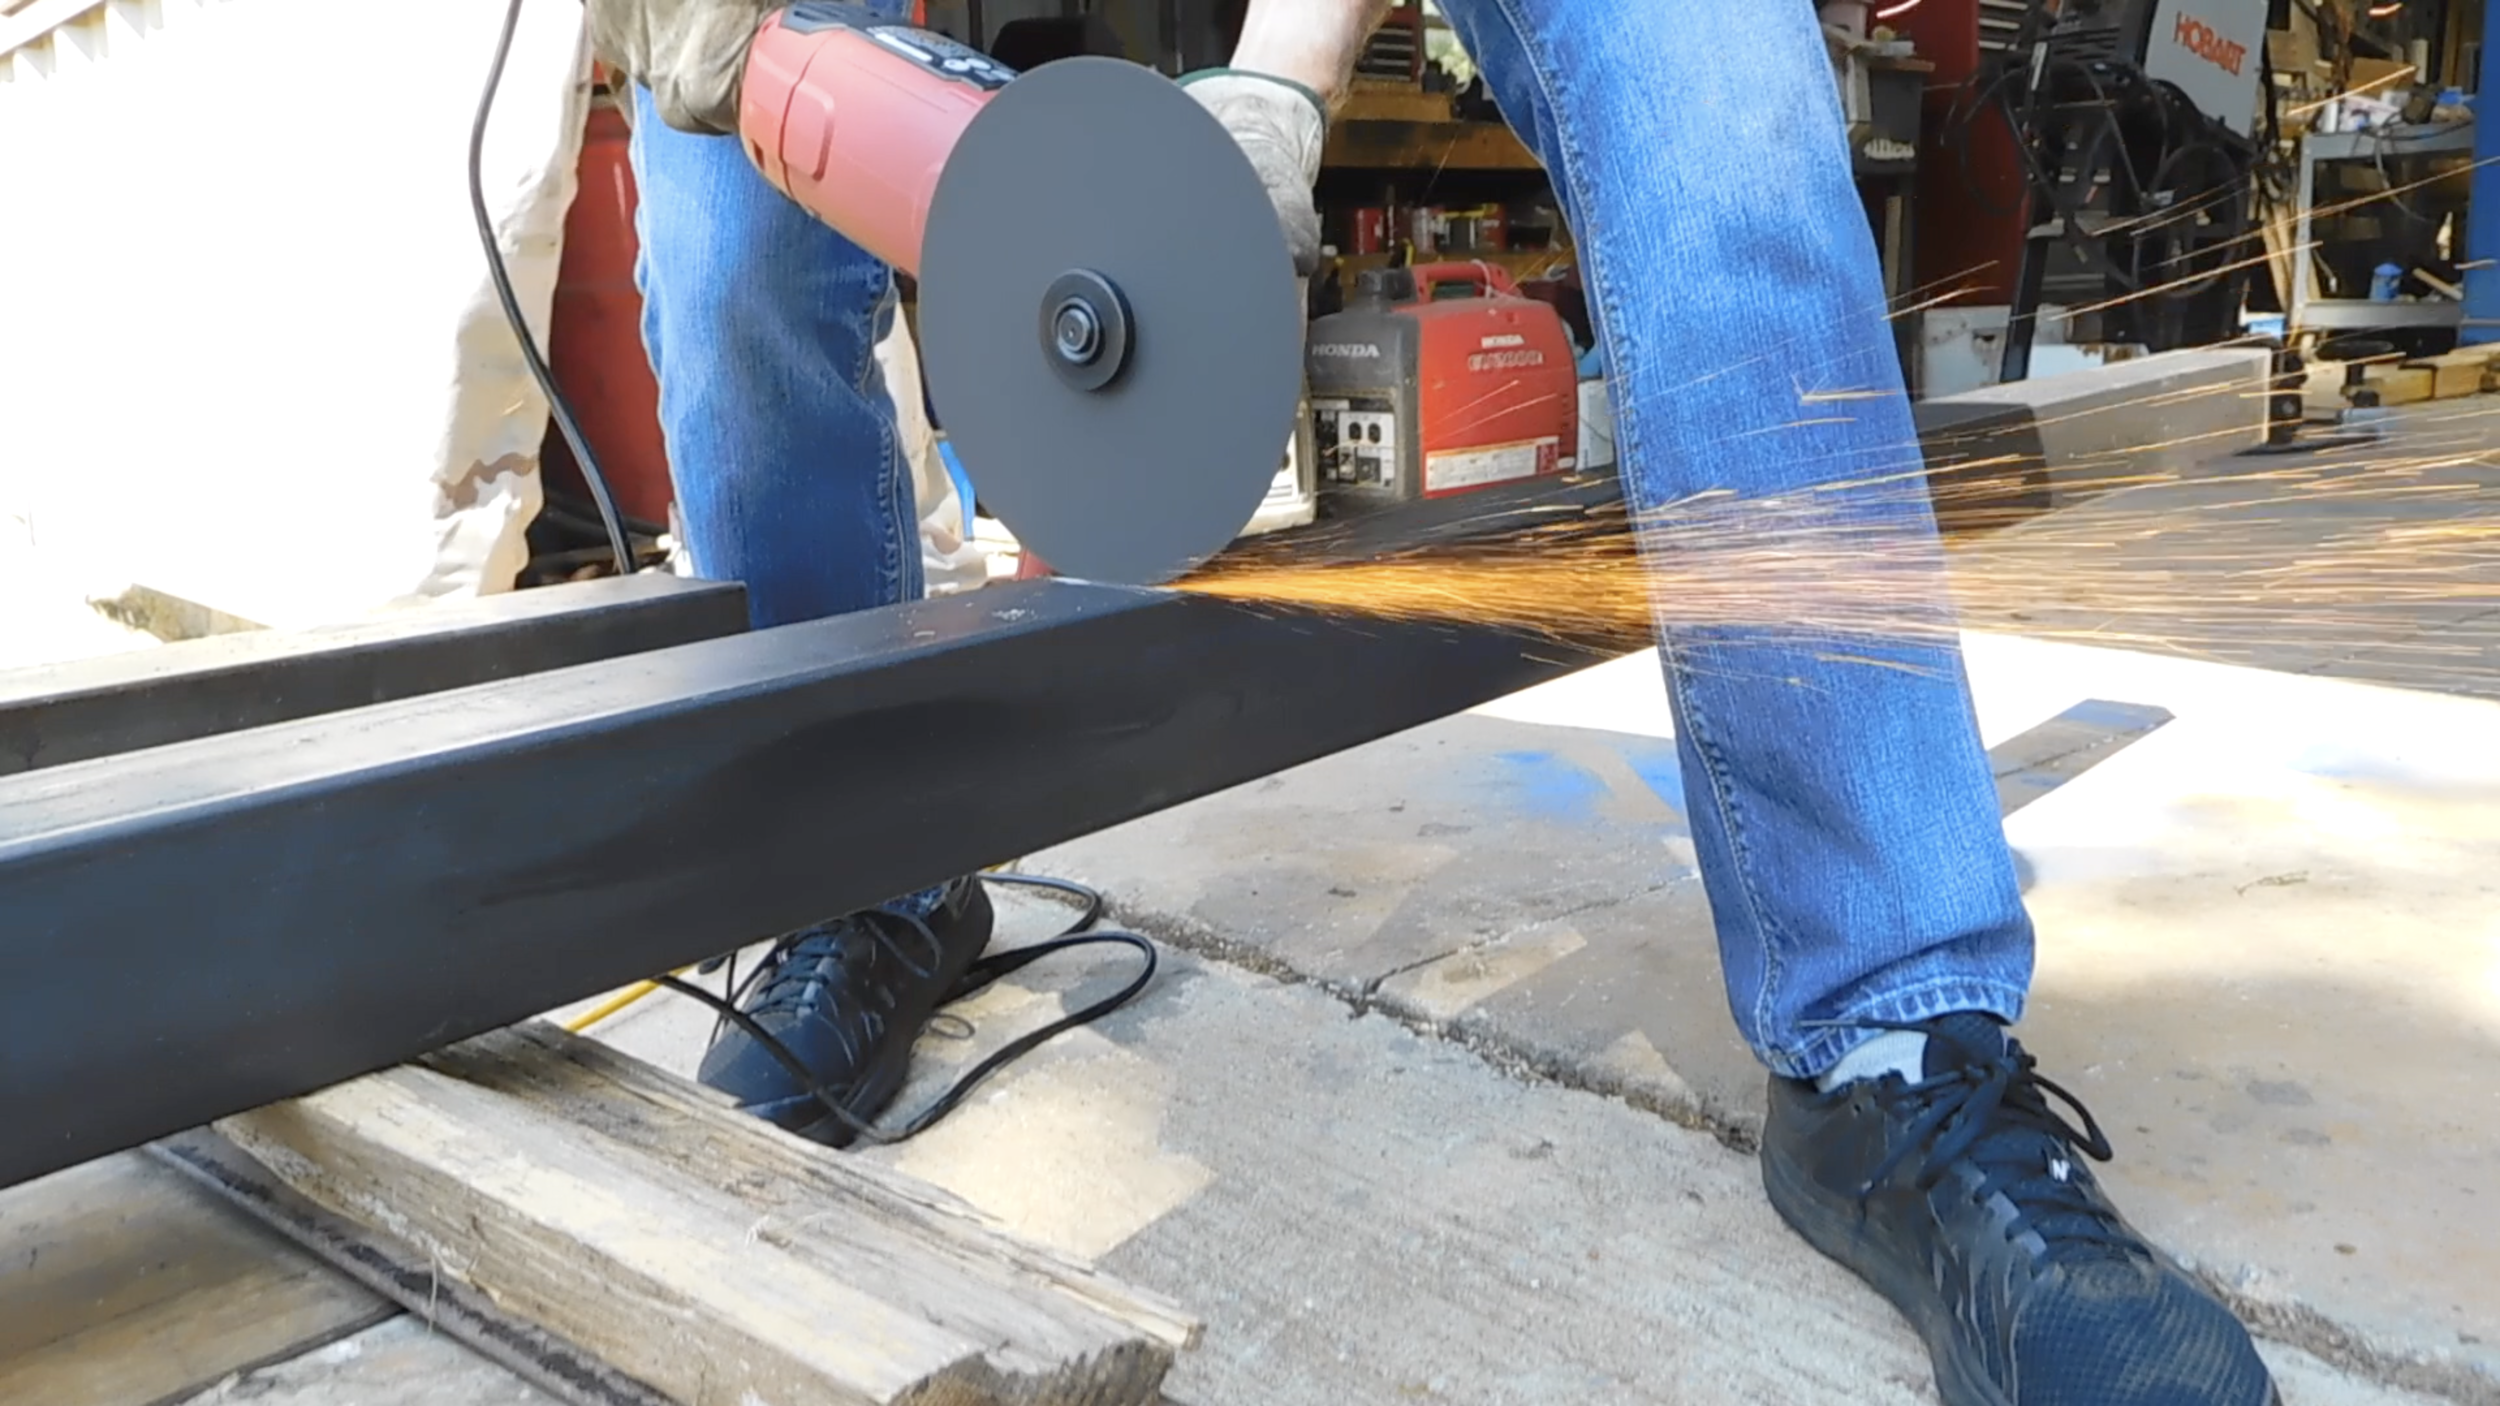
This project was built with one 20 foot length of 3" x3" tube steel. I cut the steel into rough lengths with a cut off disk on my angle grinder.

I laid out a template on the shop floor and used this to lay out my pieces and find the correct angles.

The base is 40 inches tall. This diagram will give you all the needed dimensions for the three pieces that make up each leg.

I cut all of these angles with my angle grinder.

First I tack welded the leg pieces together and then ran full beads. This is my first time mig welding and my welds were super sloppy. I guess I can only get better.

Those ugly welds get ground down. This actually gives them a cool looking rough industrial look. The whole leg assembly gets polished with a flap disk.

After the two leg assemblies are complete a 40" stretcher gets welding between them. You can choose to weld this at a 90 degree angle like I did, or at a 45 to match the legs.

The tablke top is made from 3/4 inch walnut plywood. Here I am using my kreg rip jig to rip down the width to 34 1/2 inches.

I added a 3" wide support frame around the underside making sure to pre drill and countersink the screw holes. This give the table top an appearance of being 1 1/2" thick.
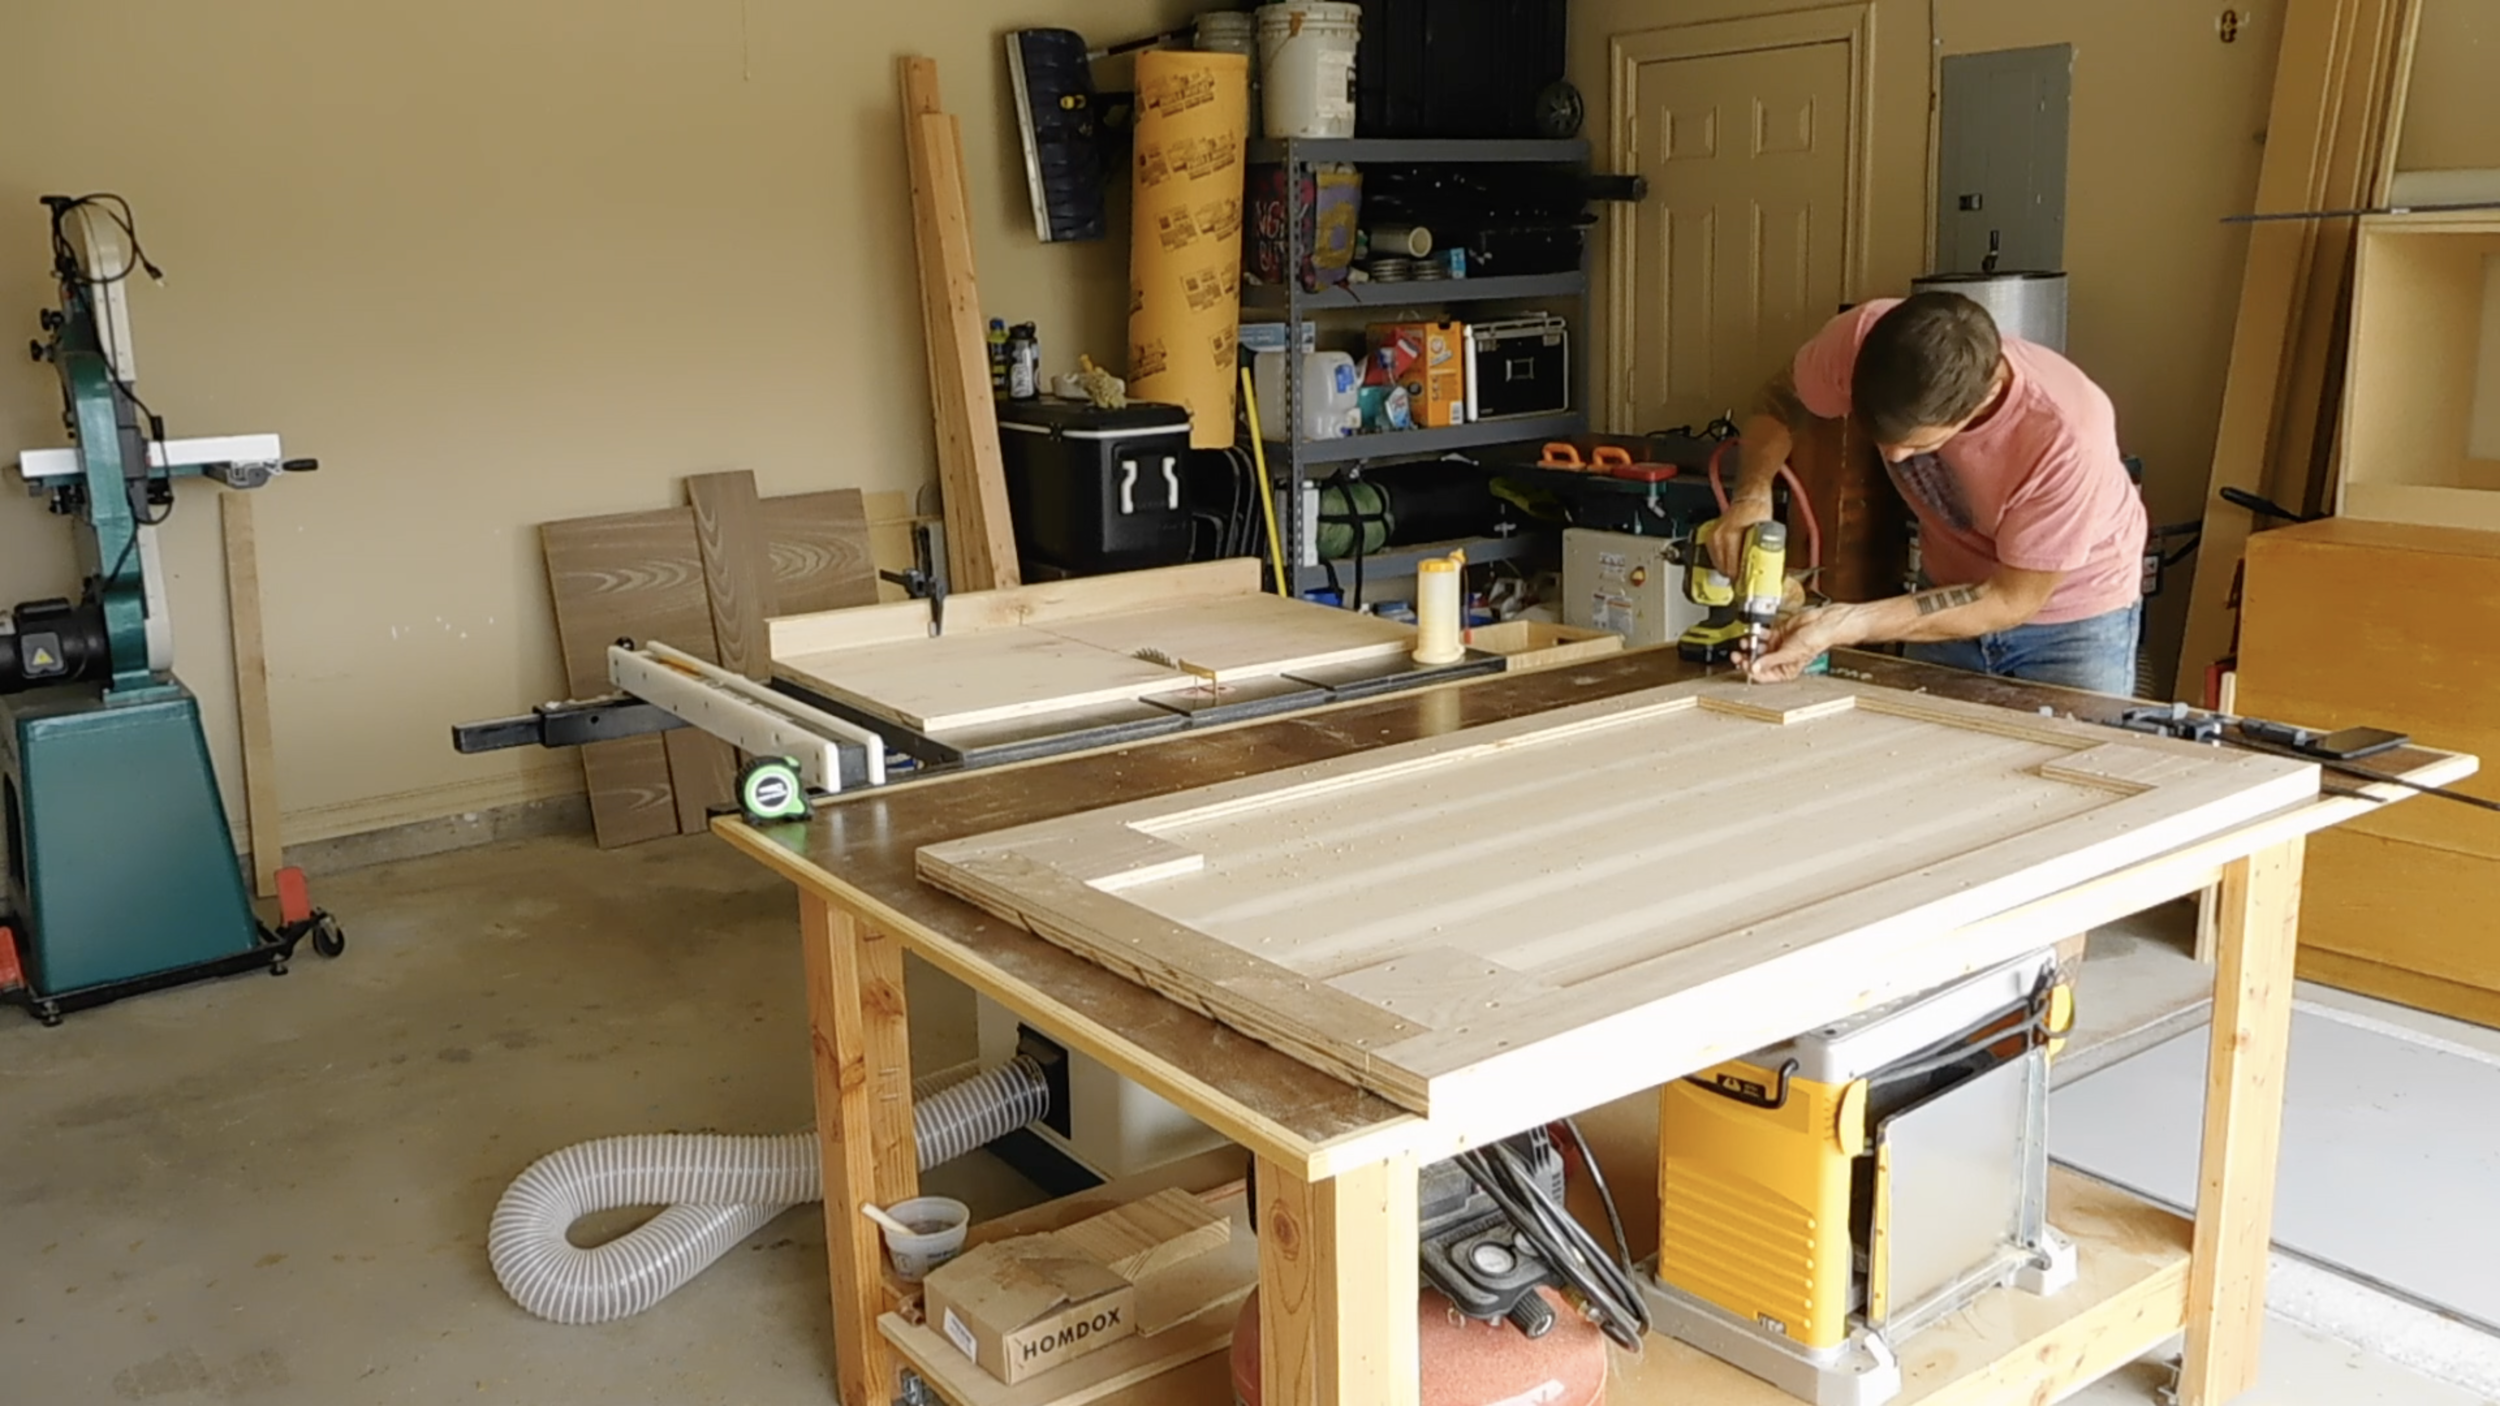
I added 6" x 6" leg support pieces to the four corners. This gives the leg assembly real estate to attach to.

The desk top gets sanded to 220 grit. Be careful not to sand through the top veneer. Don't ask me how I know that...

I milled up some 4/4 hard maple to use for the face frame. This board got planed down to 3/4 inch thick, and then ripped to 1 1/2" strips.

I used my miter sled to cut the frame pieces to fit around the desk top.

The frame is glued on. I added a few brad nails to hold everything in place.

I applied a few coats of danish oil for the finish. Once that was dry I added a few coats of paste wax.

I drilled two screw holes into the mounting brackets.

The top was attached to the base, and this standing desk was complete. Watch the full build video below.