
DIY Industrial Sconce Wall Lamp
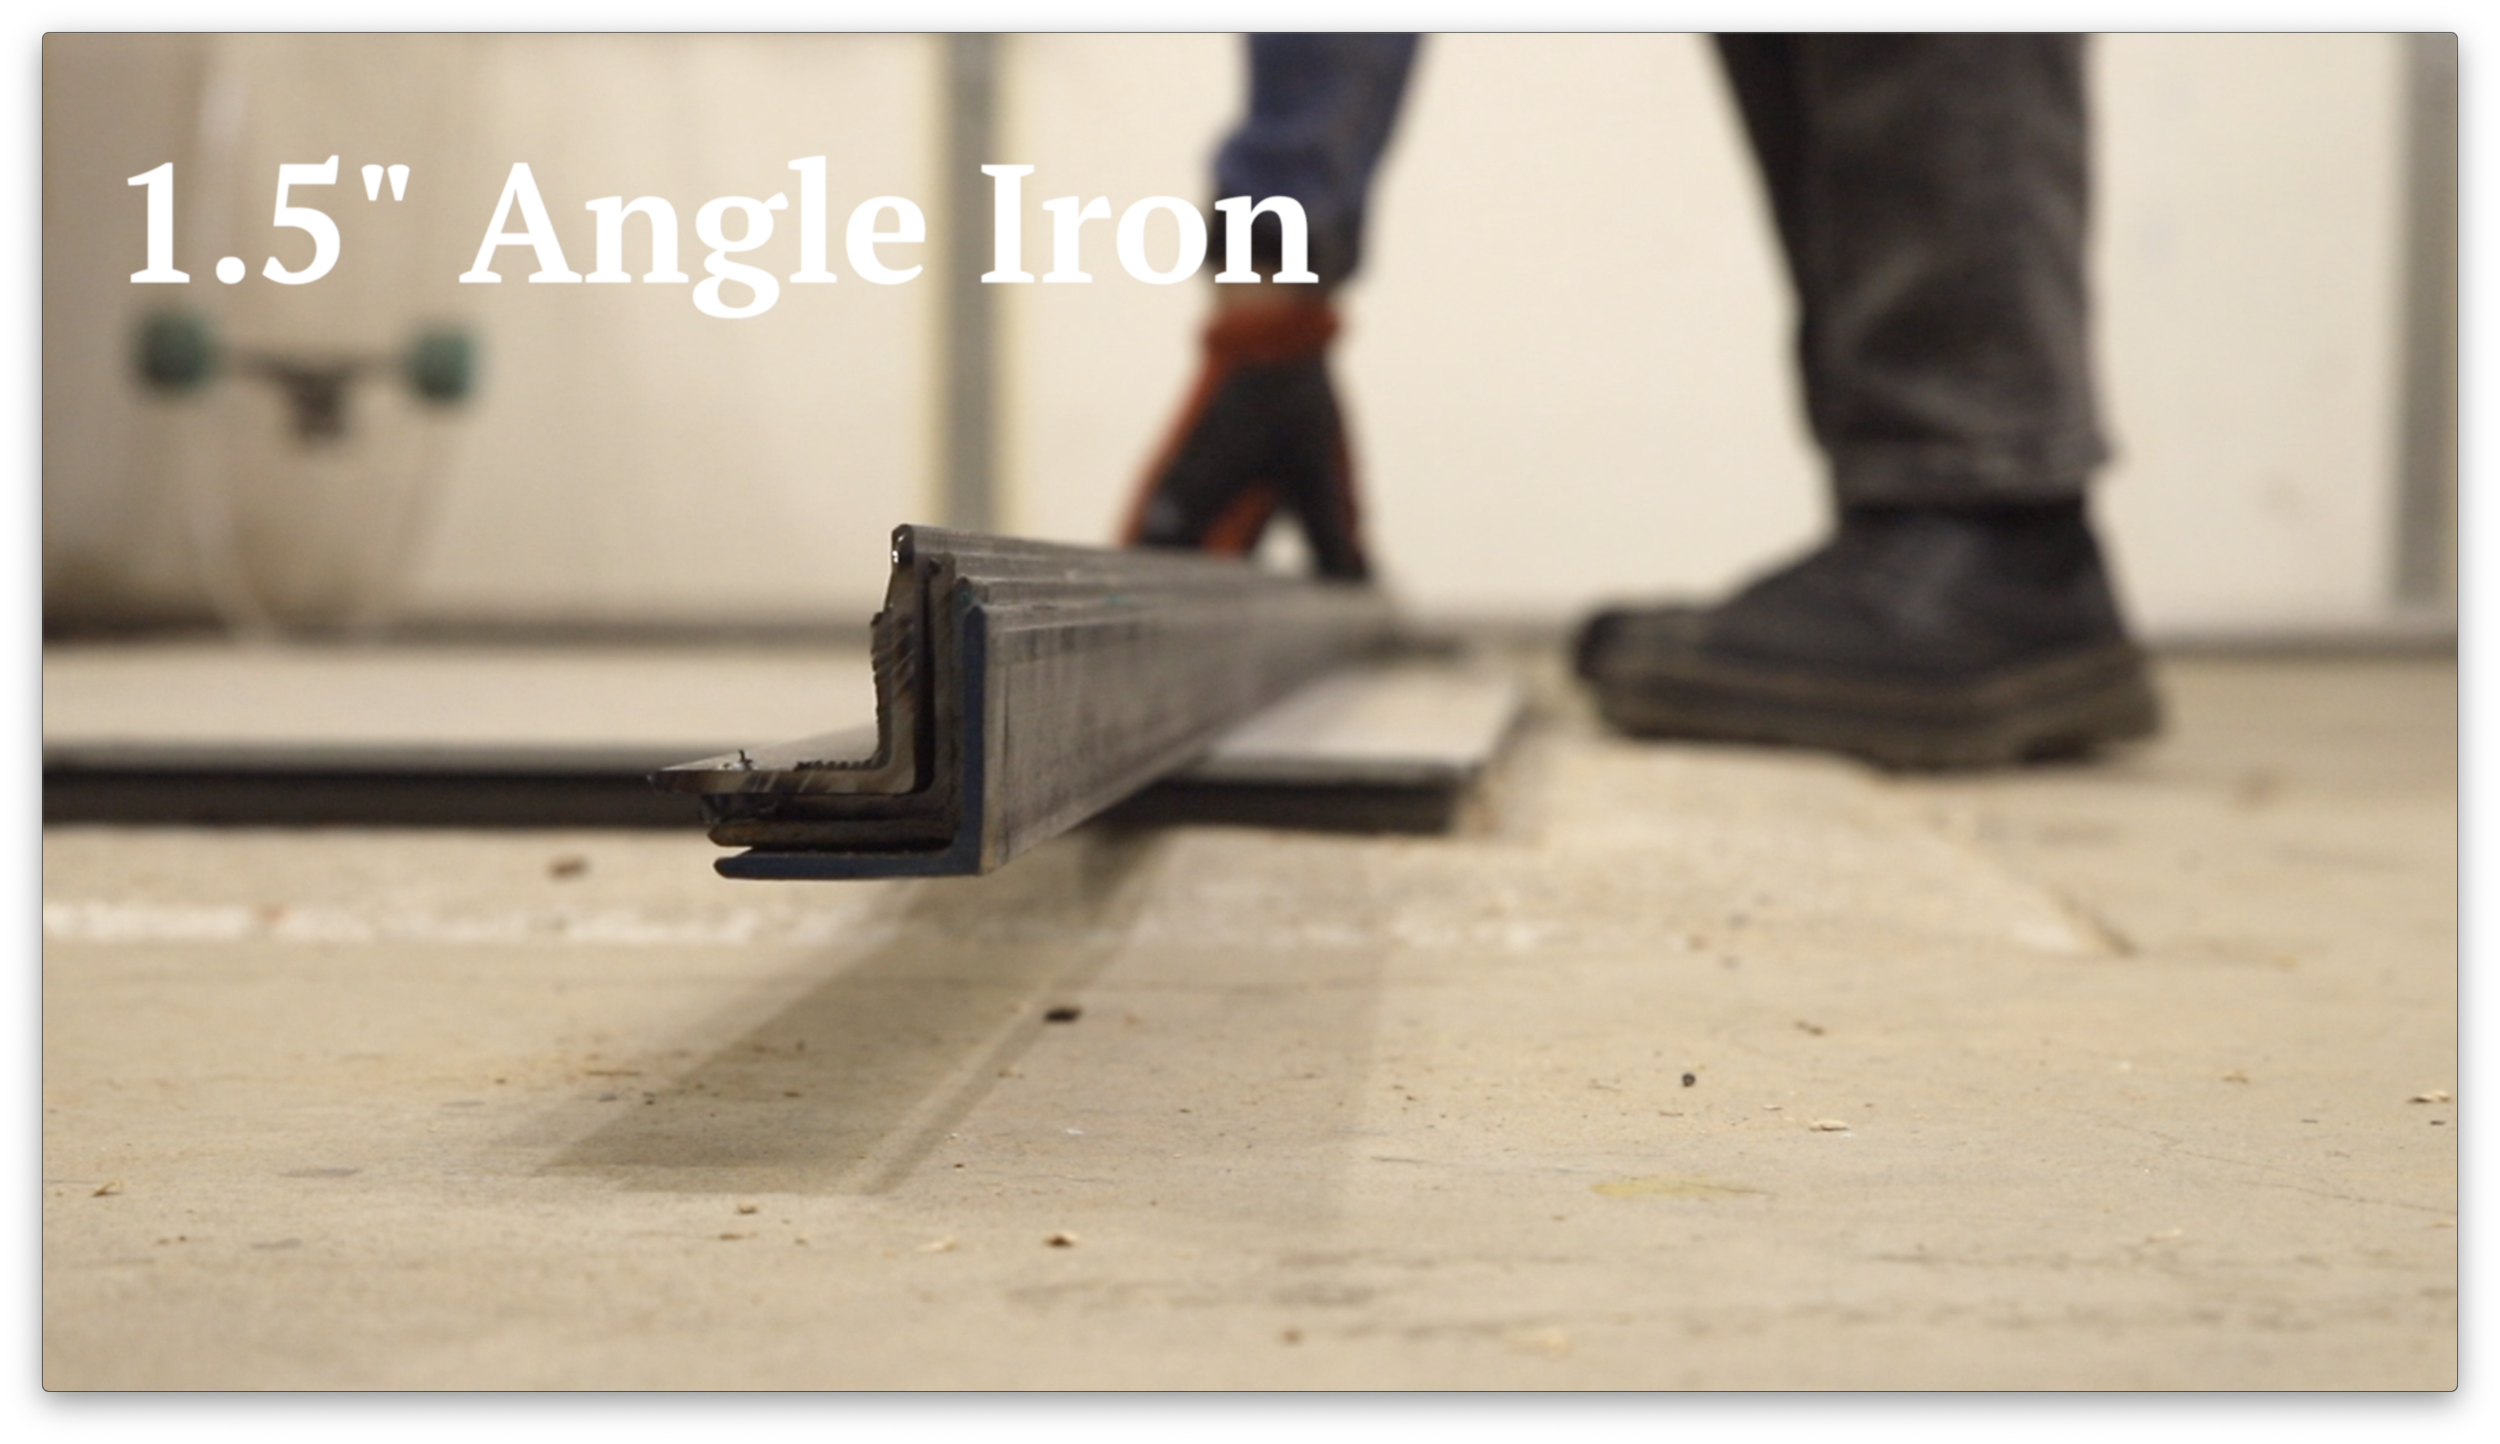
/This Industrial Sconce is made using 1.5” angle iron and scrap oak. It may look somewhat complicated, but this is a beginner level welding project that can be tackled in one or two weekends. This article walks you through making a pair of sconces. Check out my video for more on how I made this lamp.


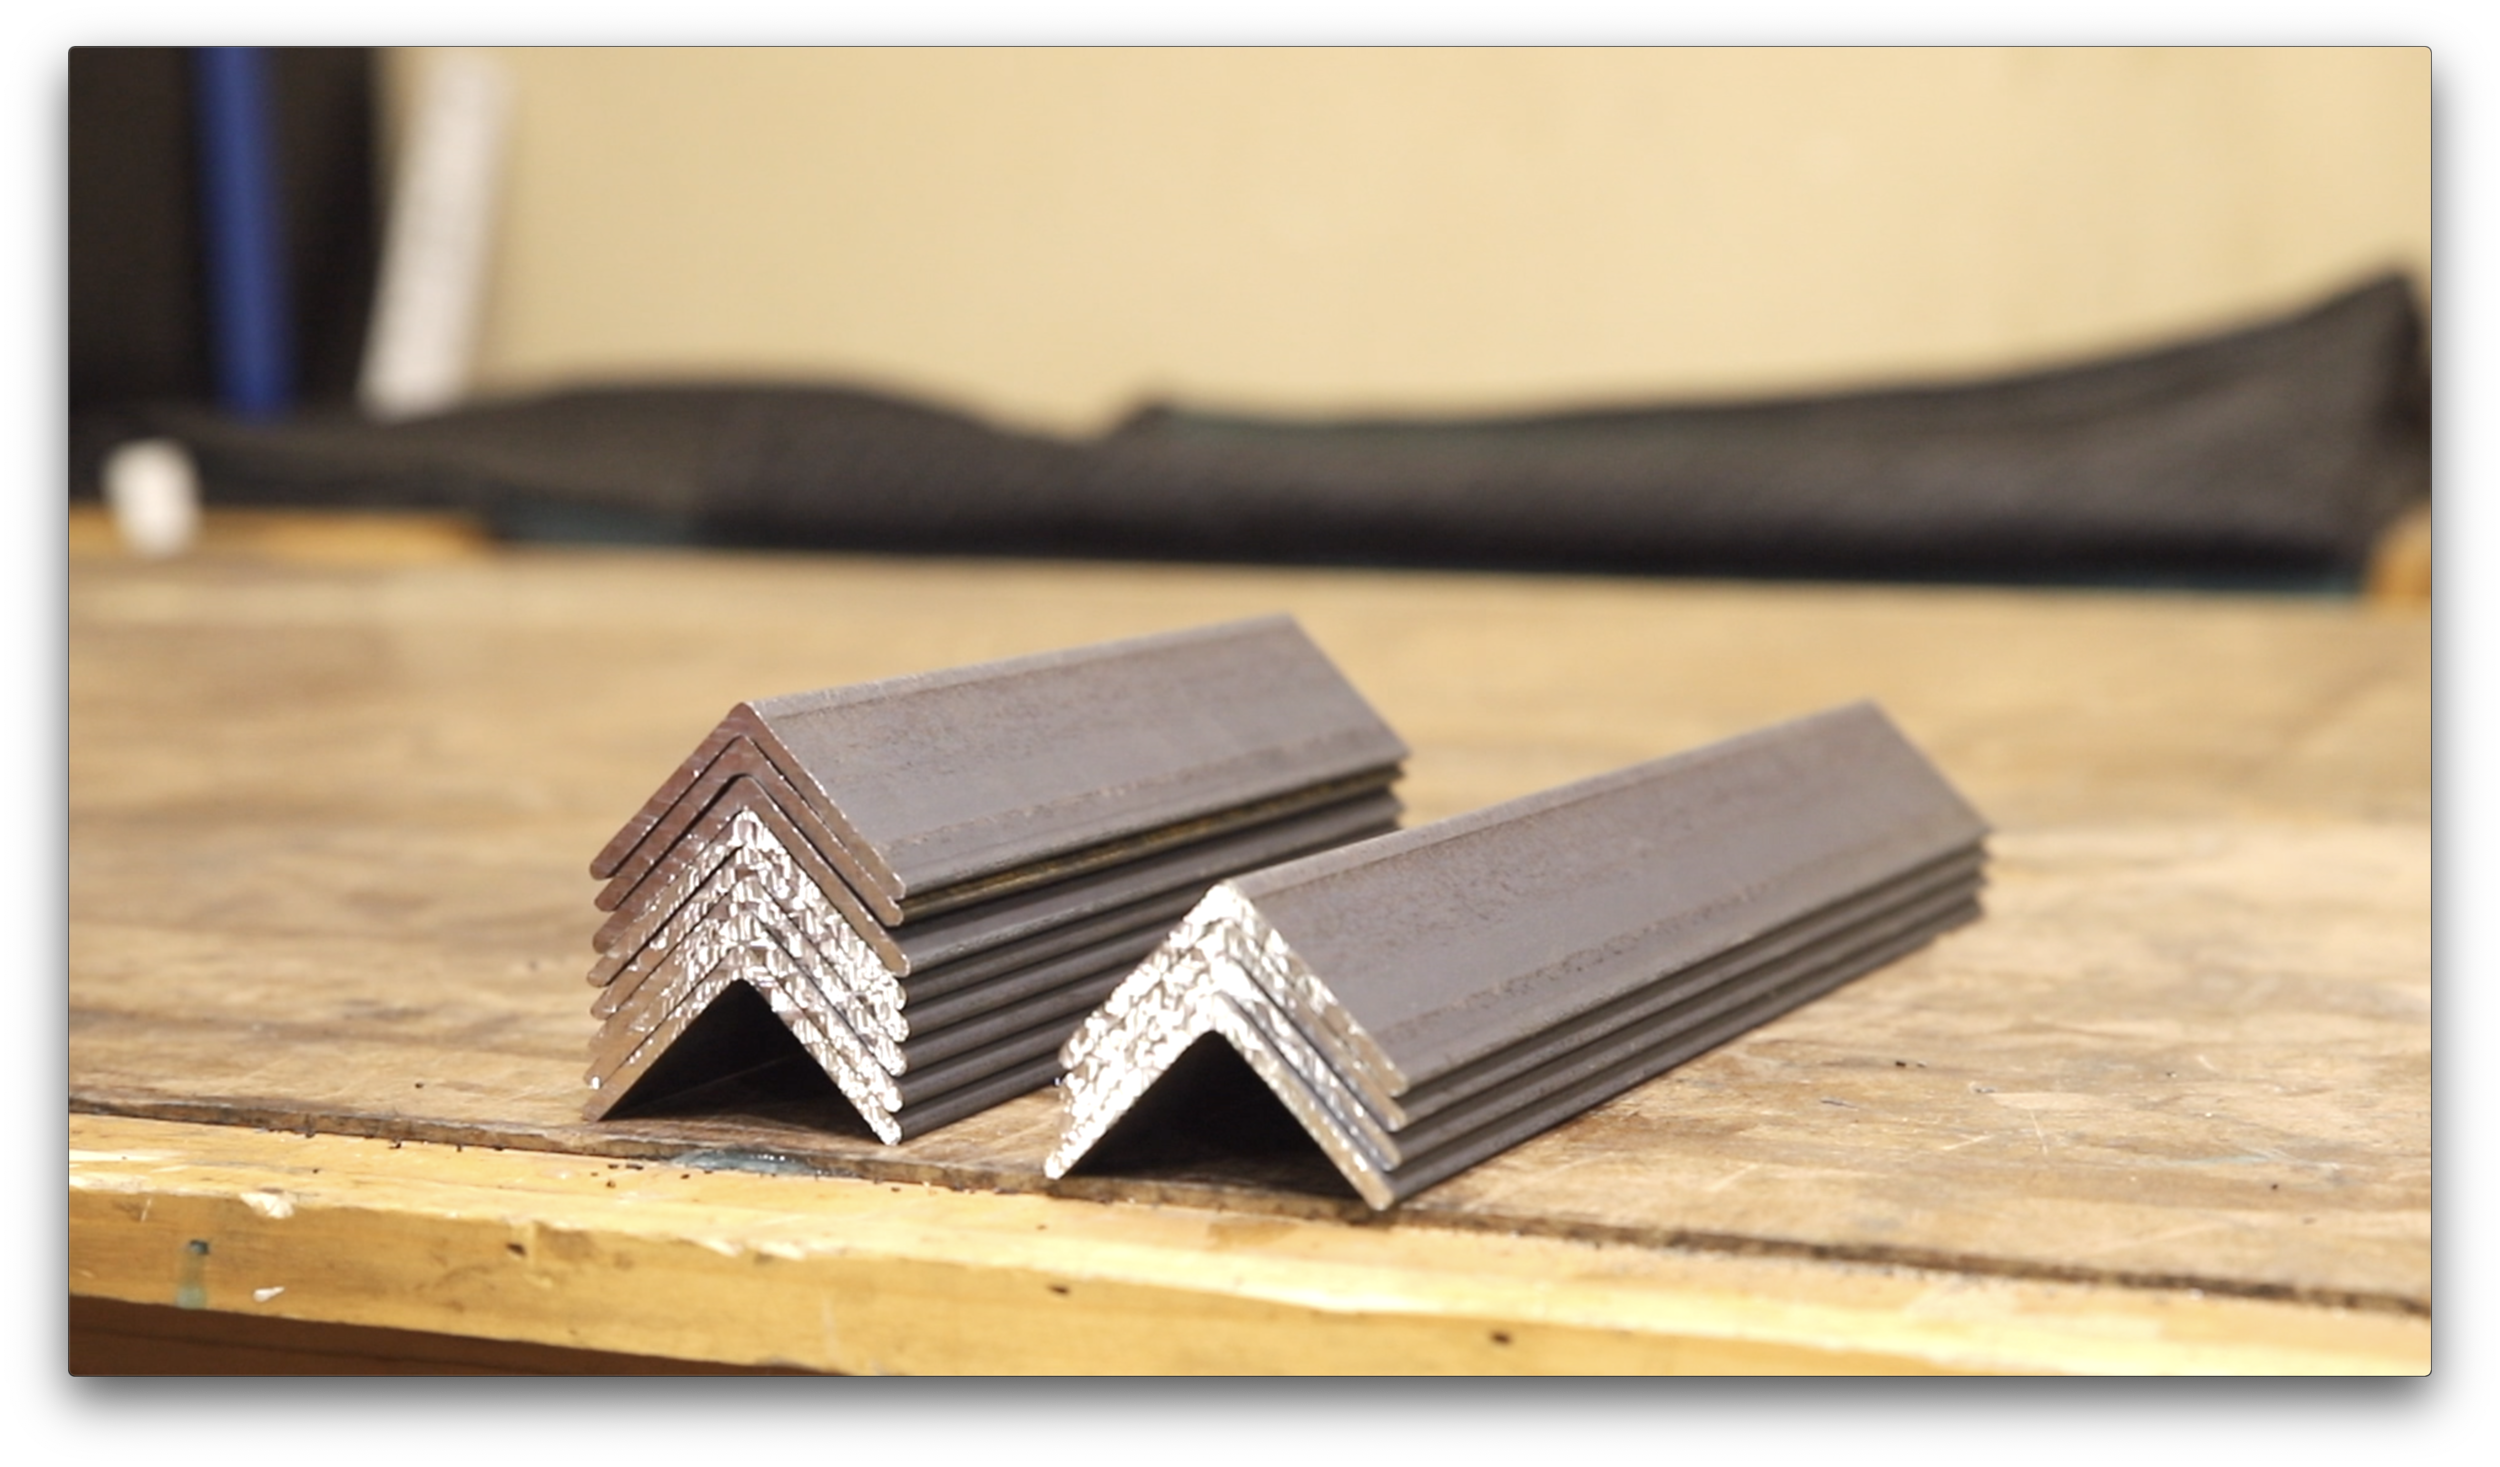
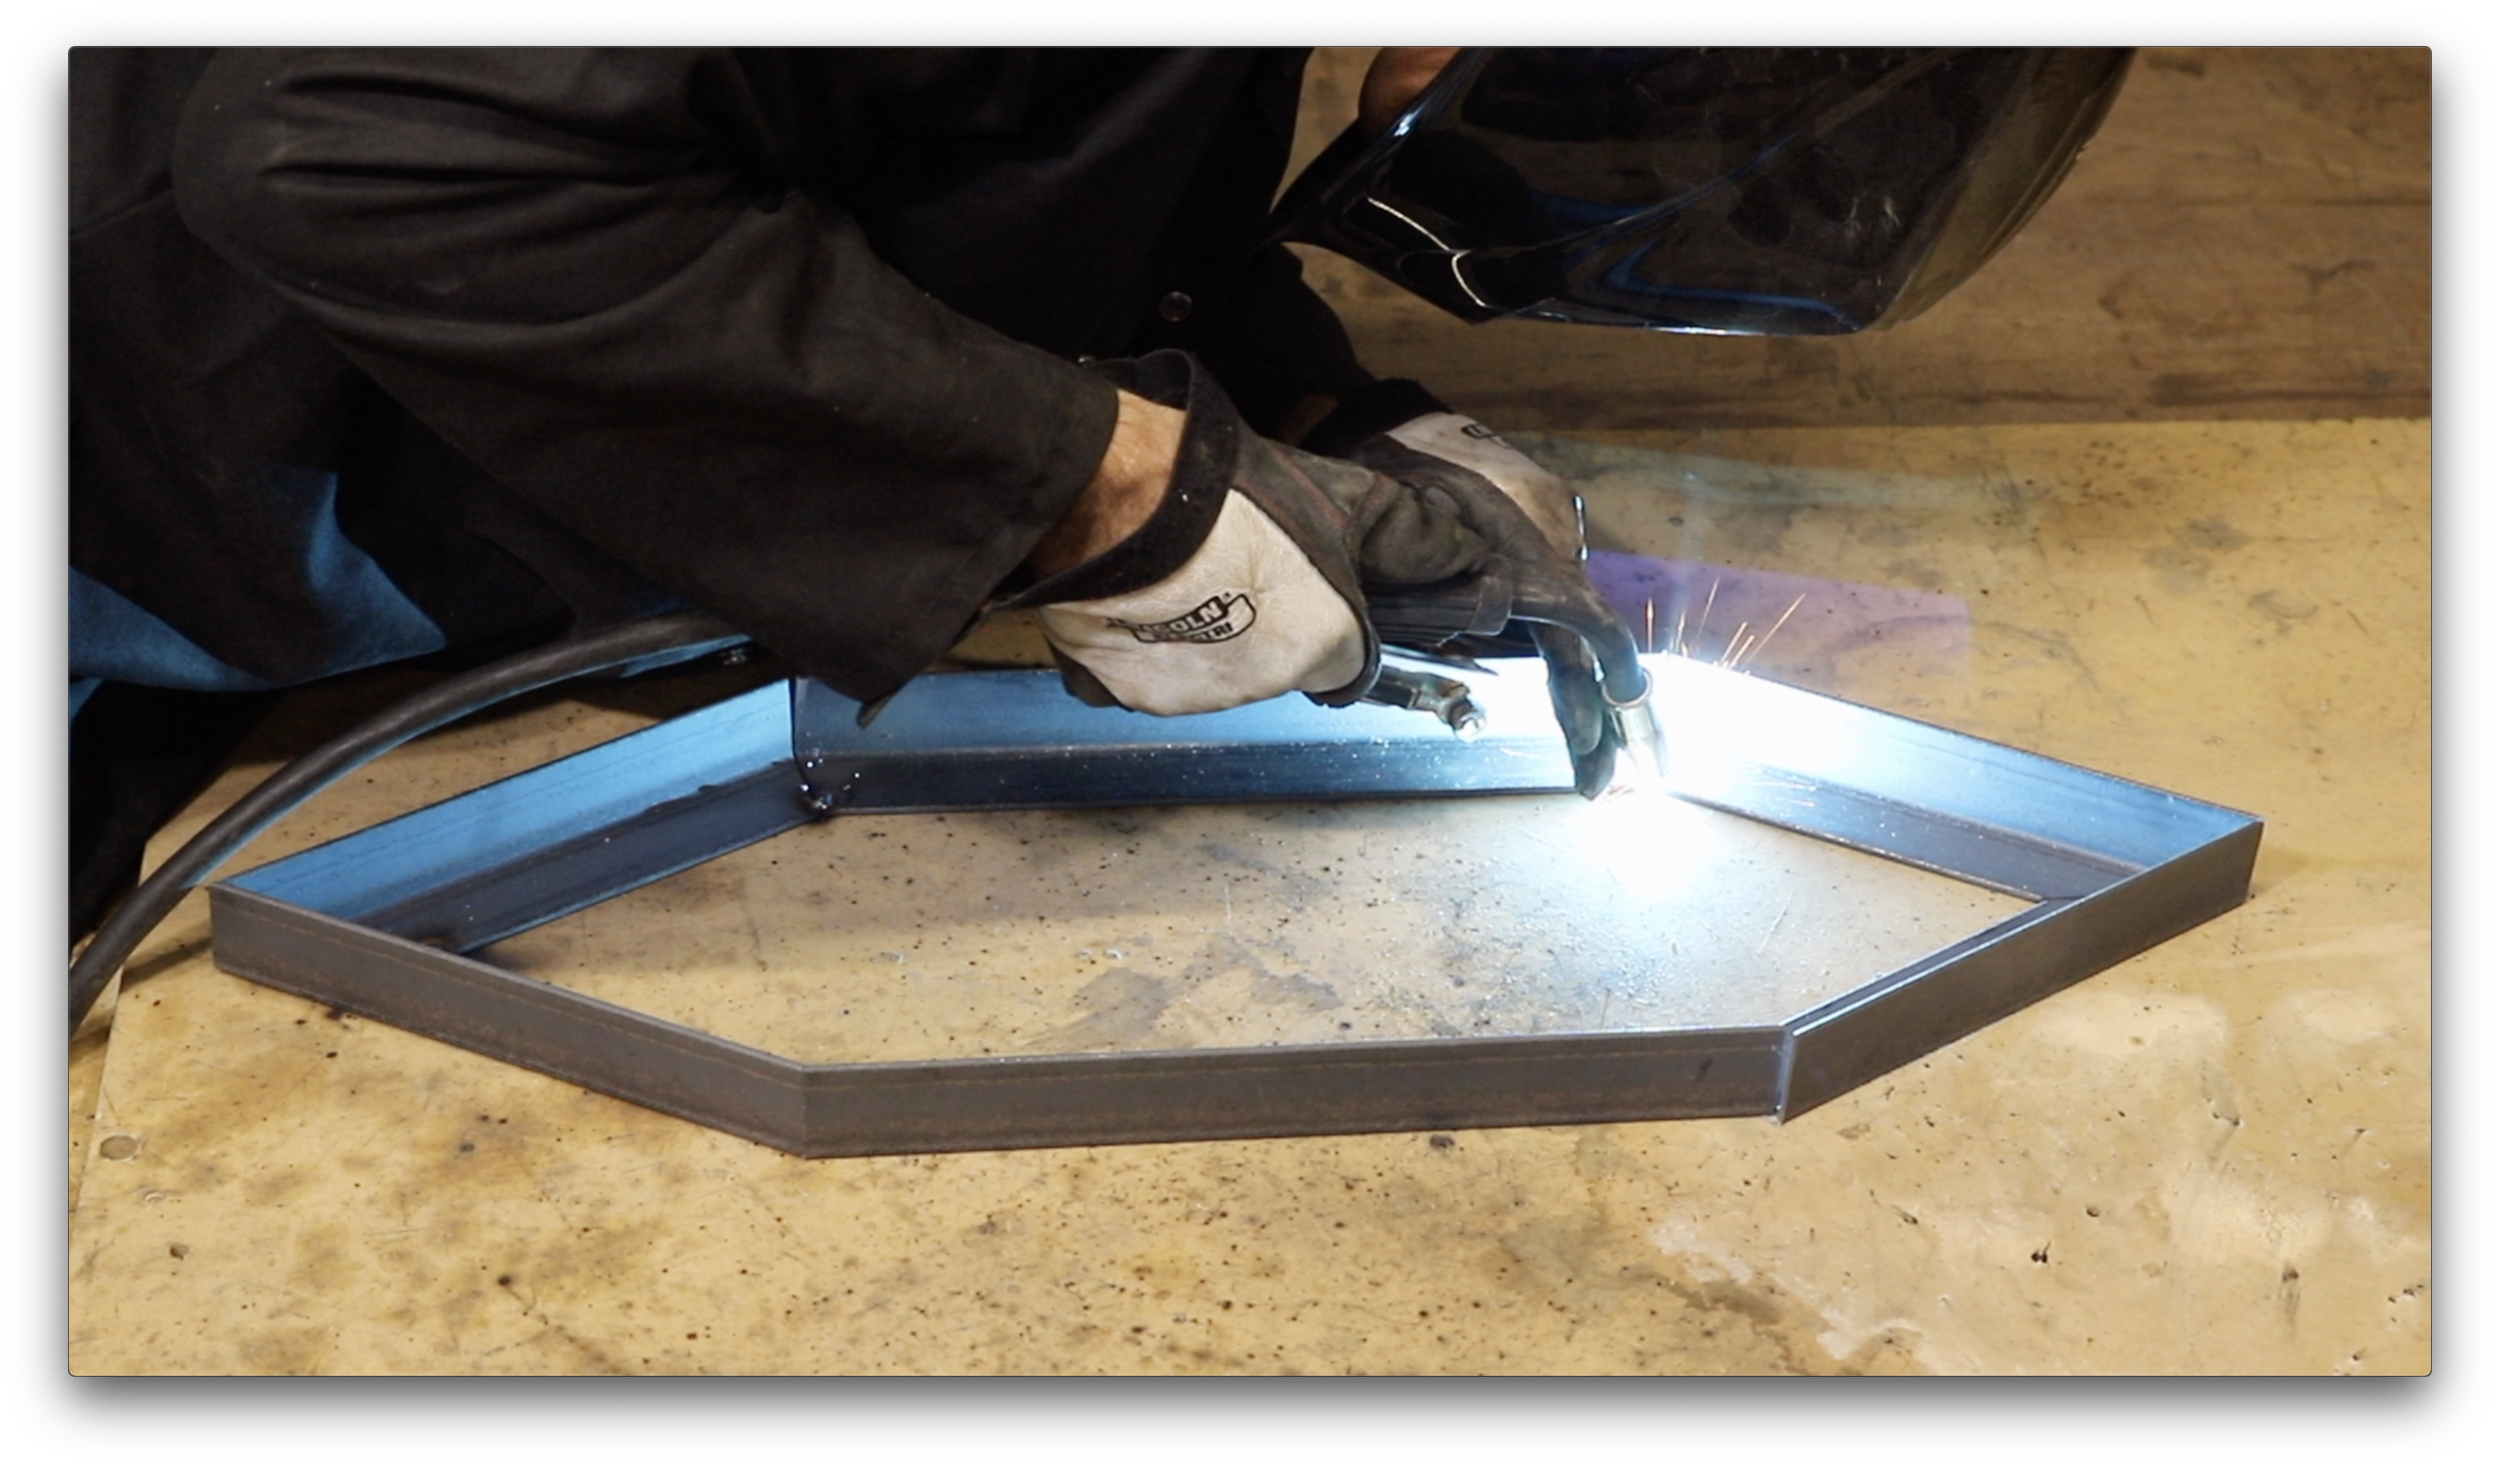


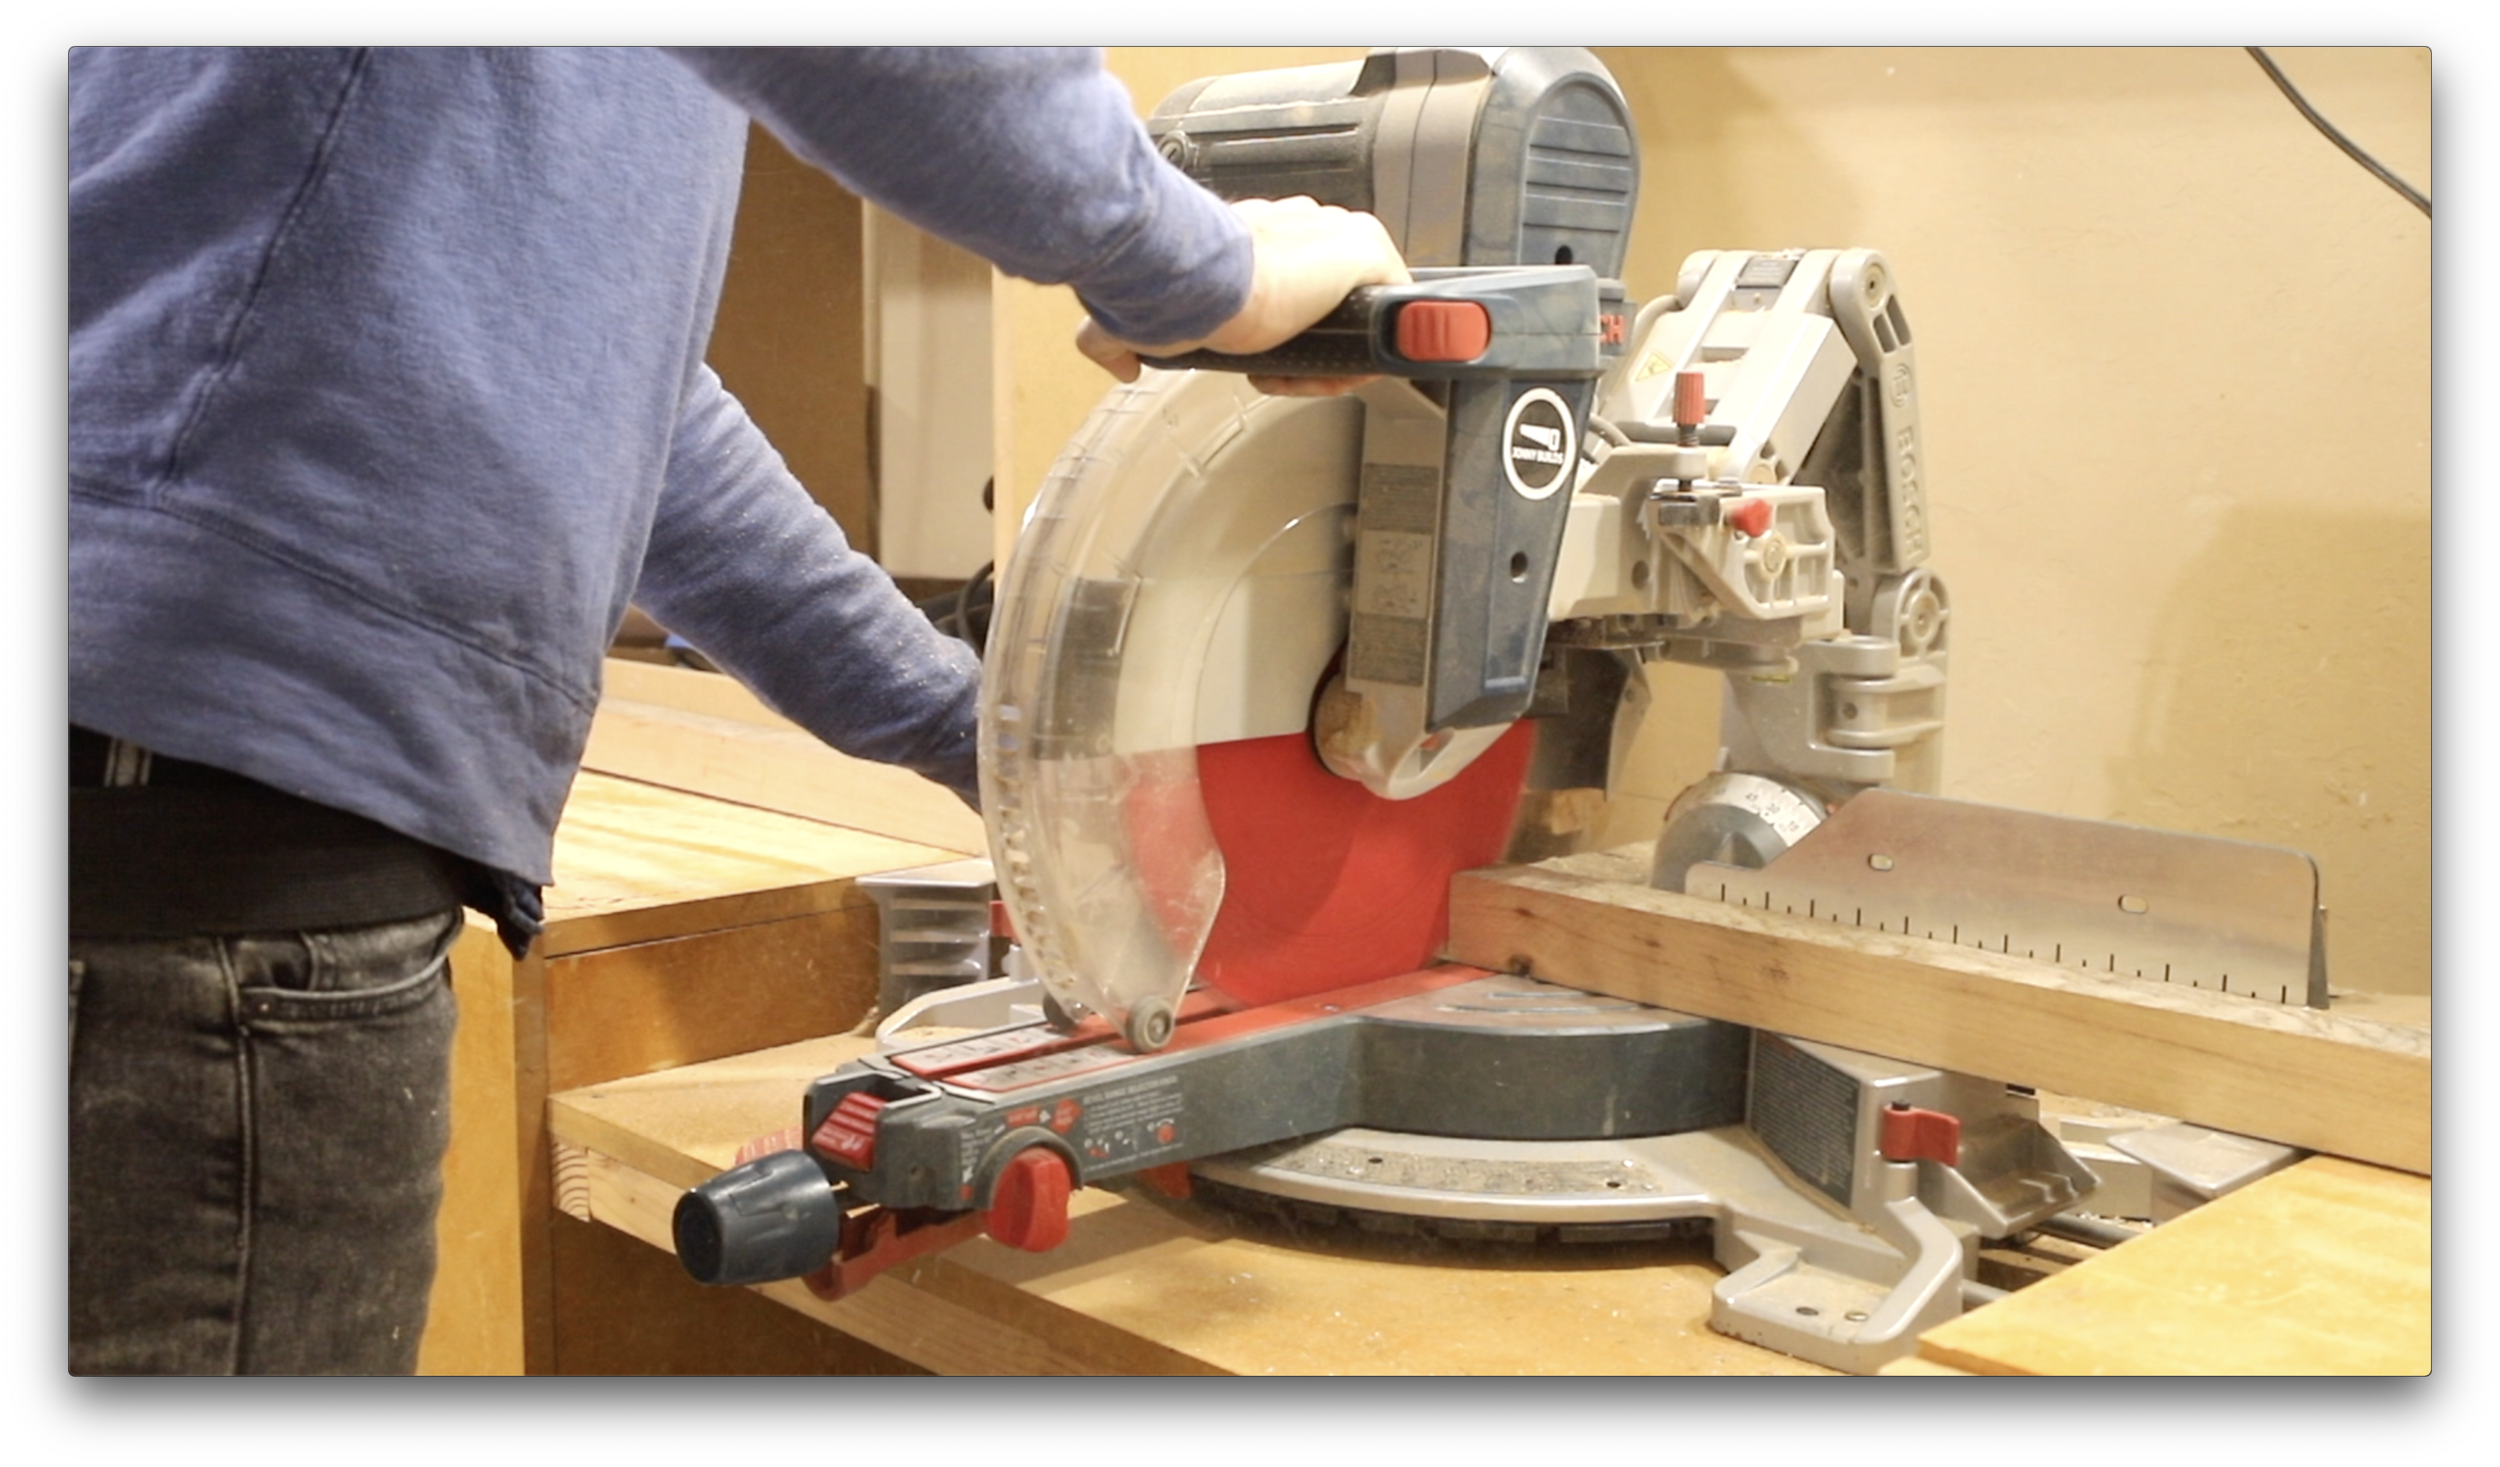
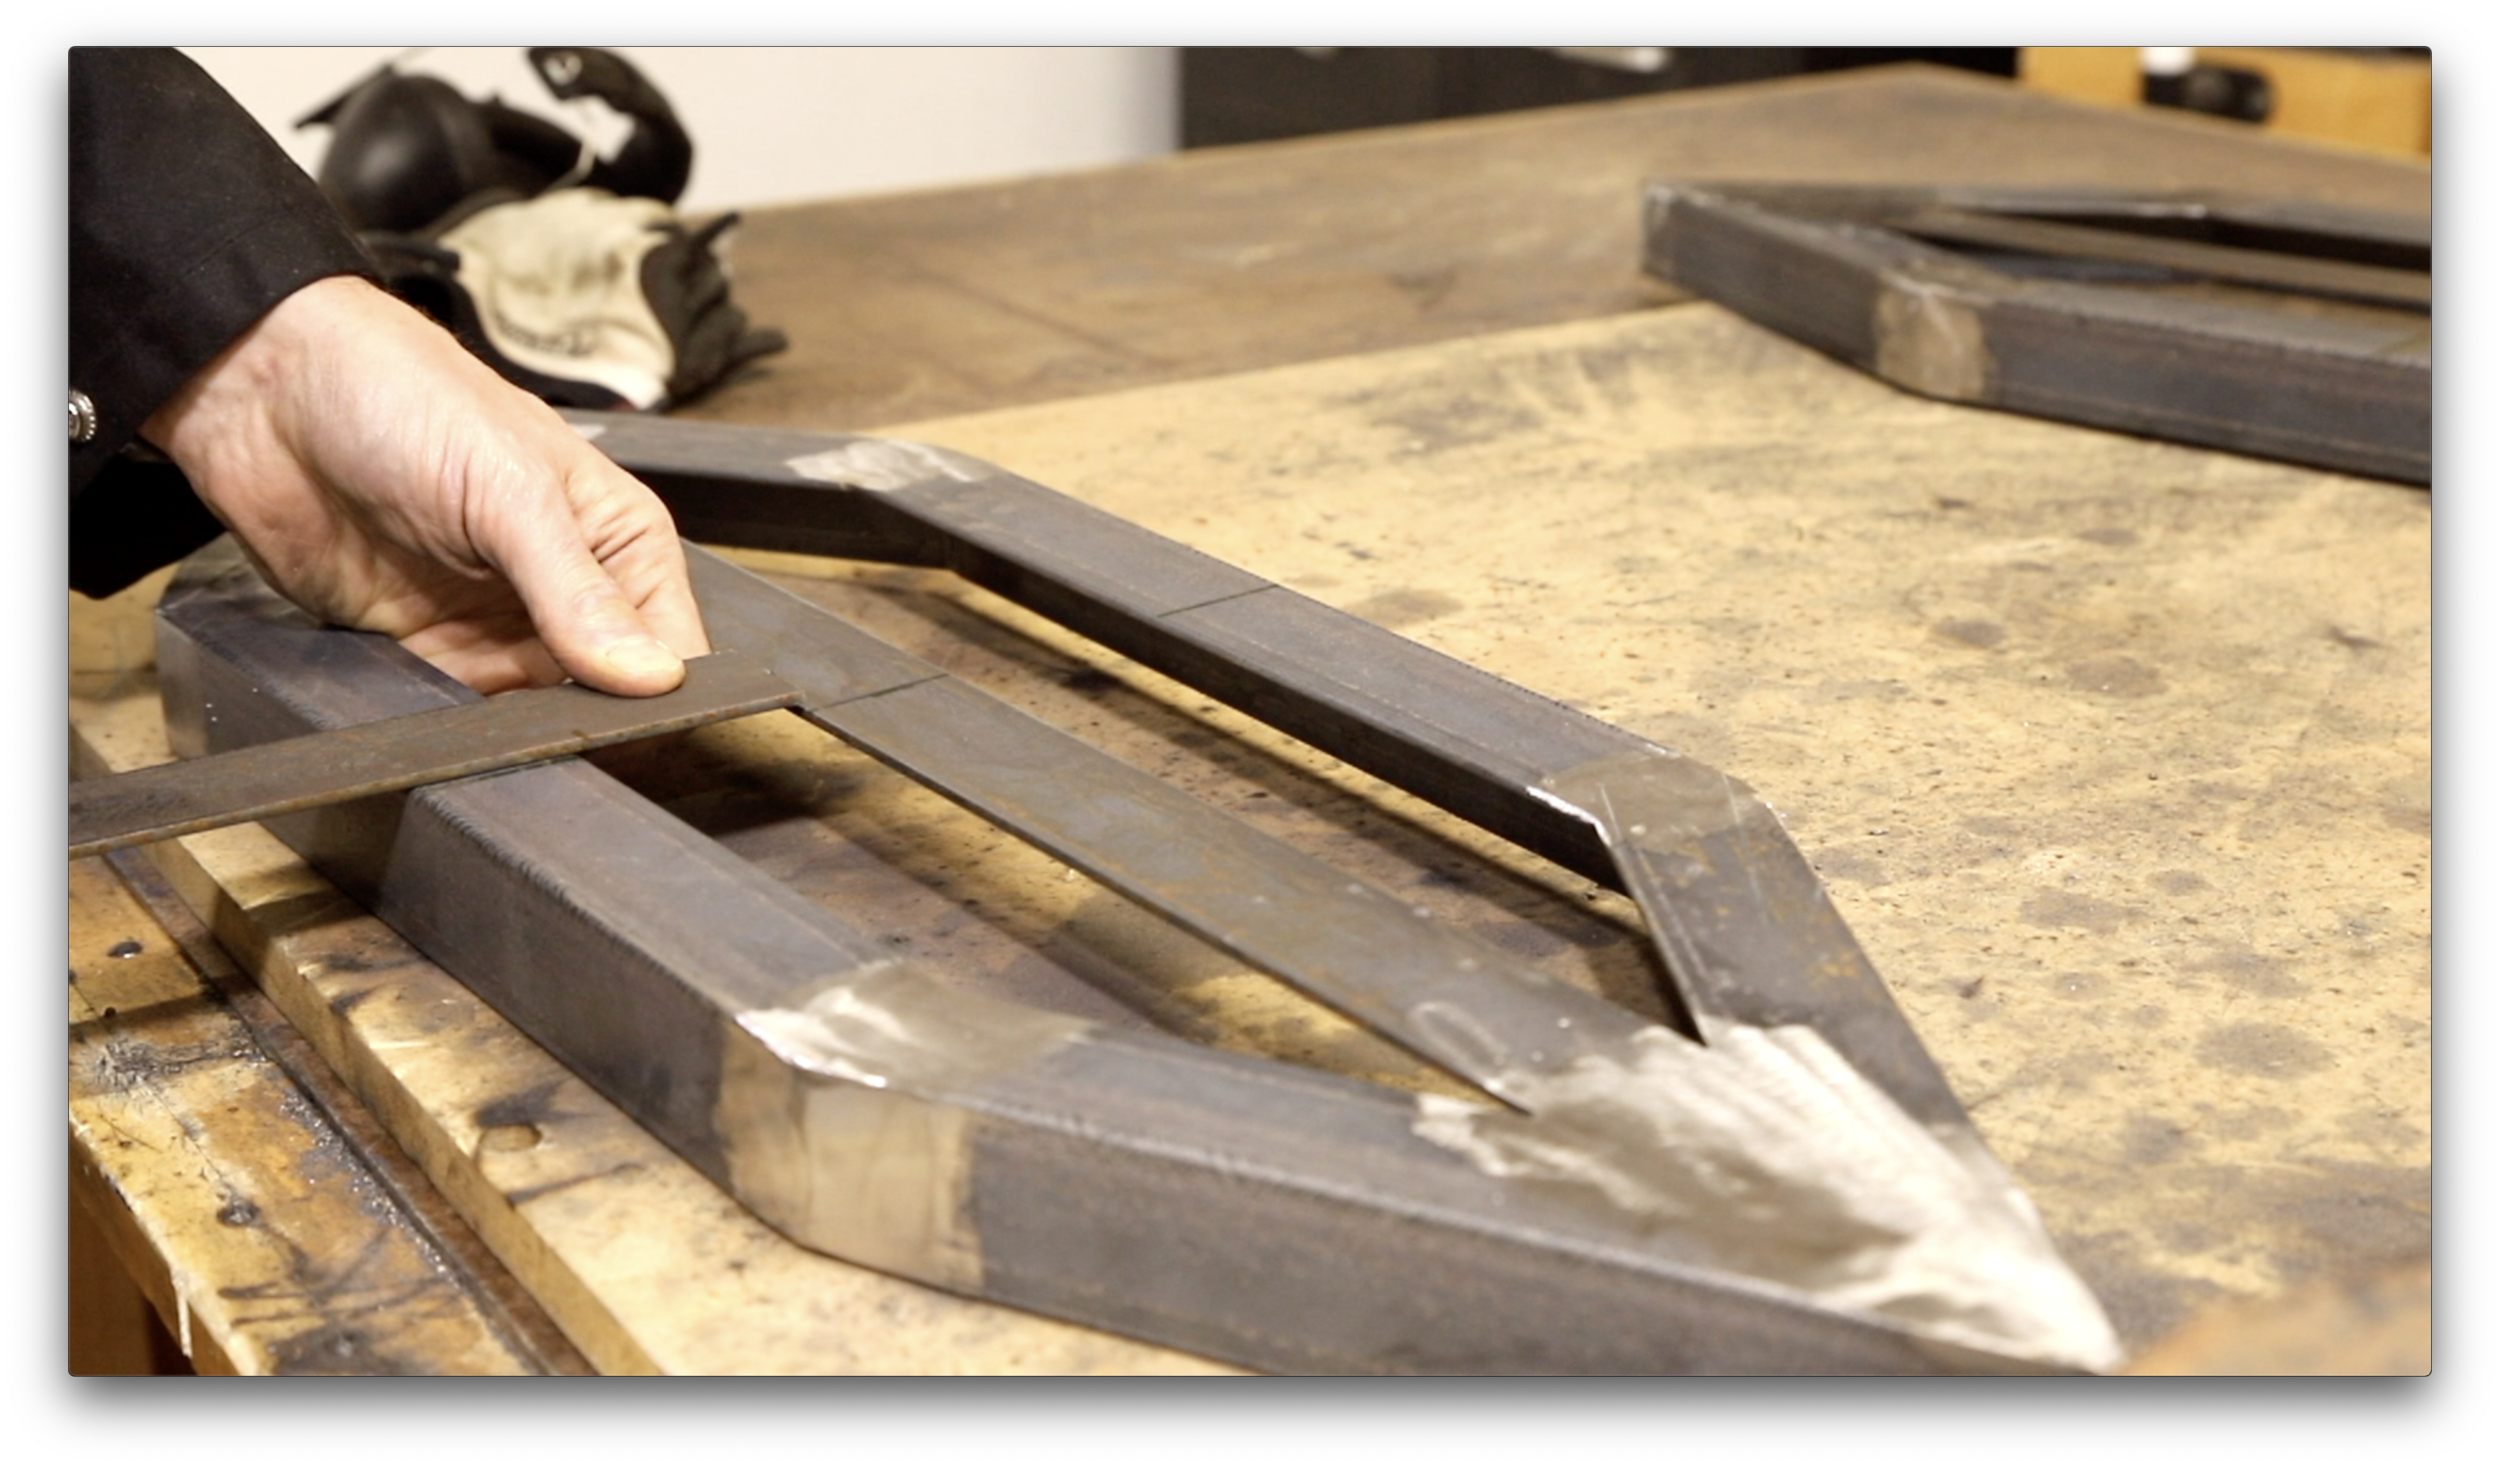
First you’ll need to cut the angle iron down to size from the frames. The long pieces are 13 inches, and the long pieces are 9 inches.
Cut (4) lengths of angle iron at 13 inches, and (8) at 9 inches. Note that I choose to cut these at 90 degrees on my metal chop saw, and then mark and cut the angles on my bandsaw. This is quicker for me, and I get somewhat more accurate angles this way.
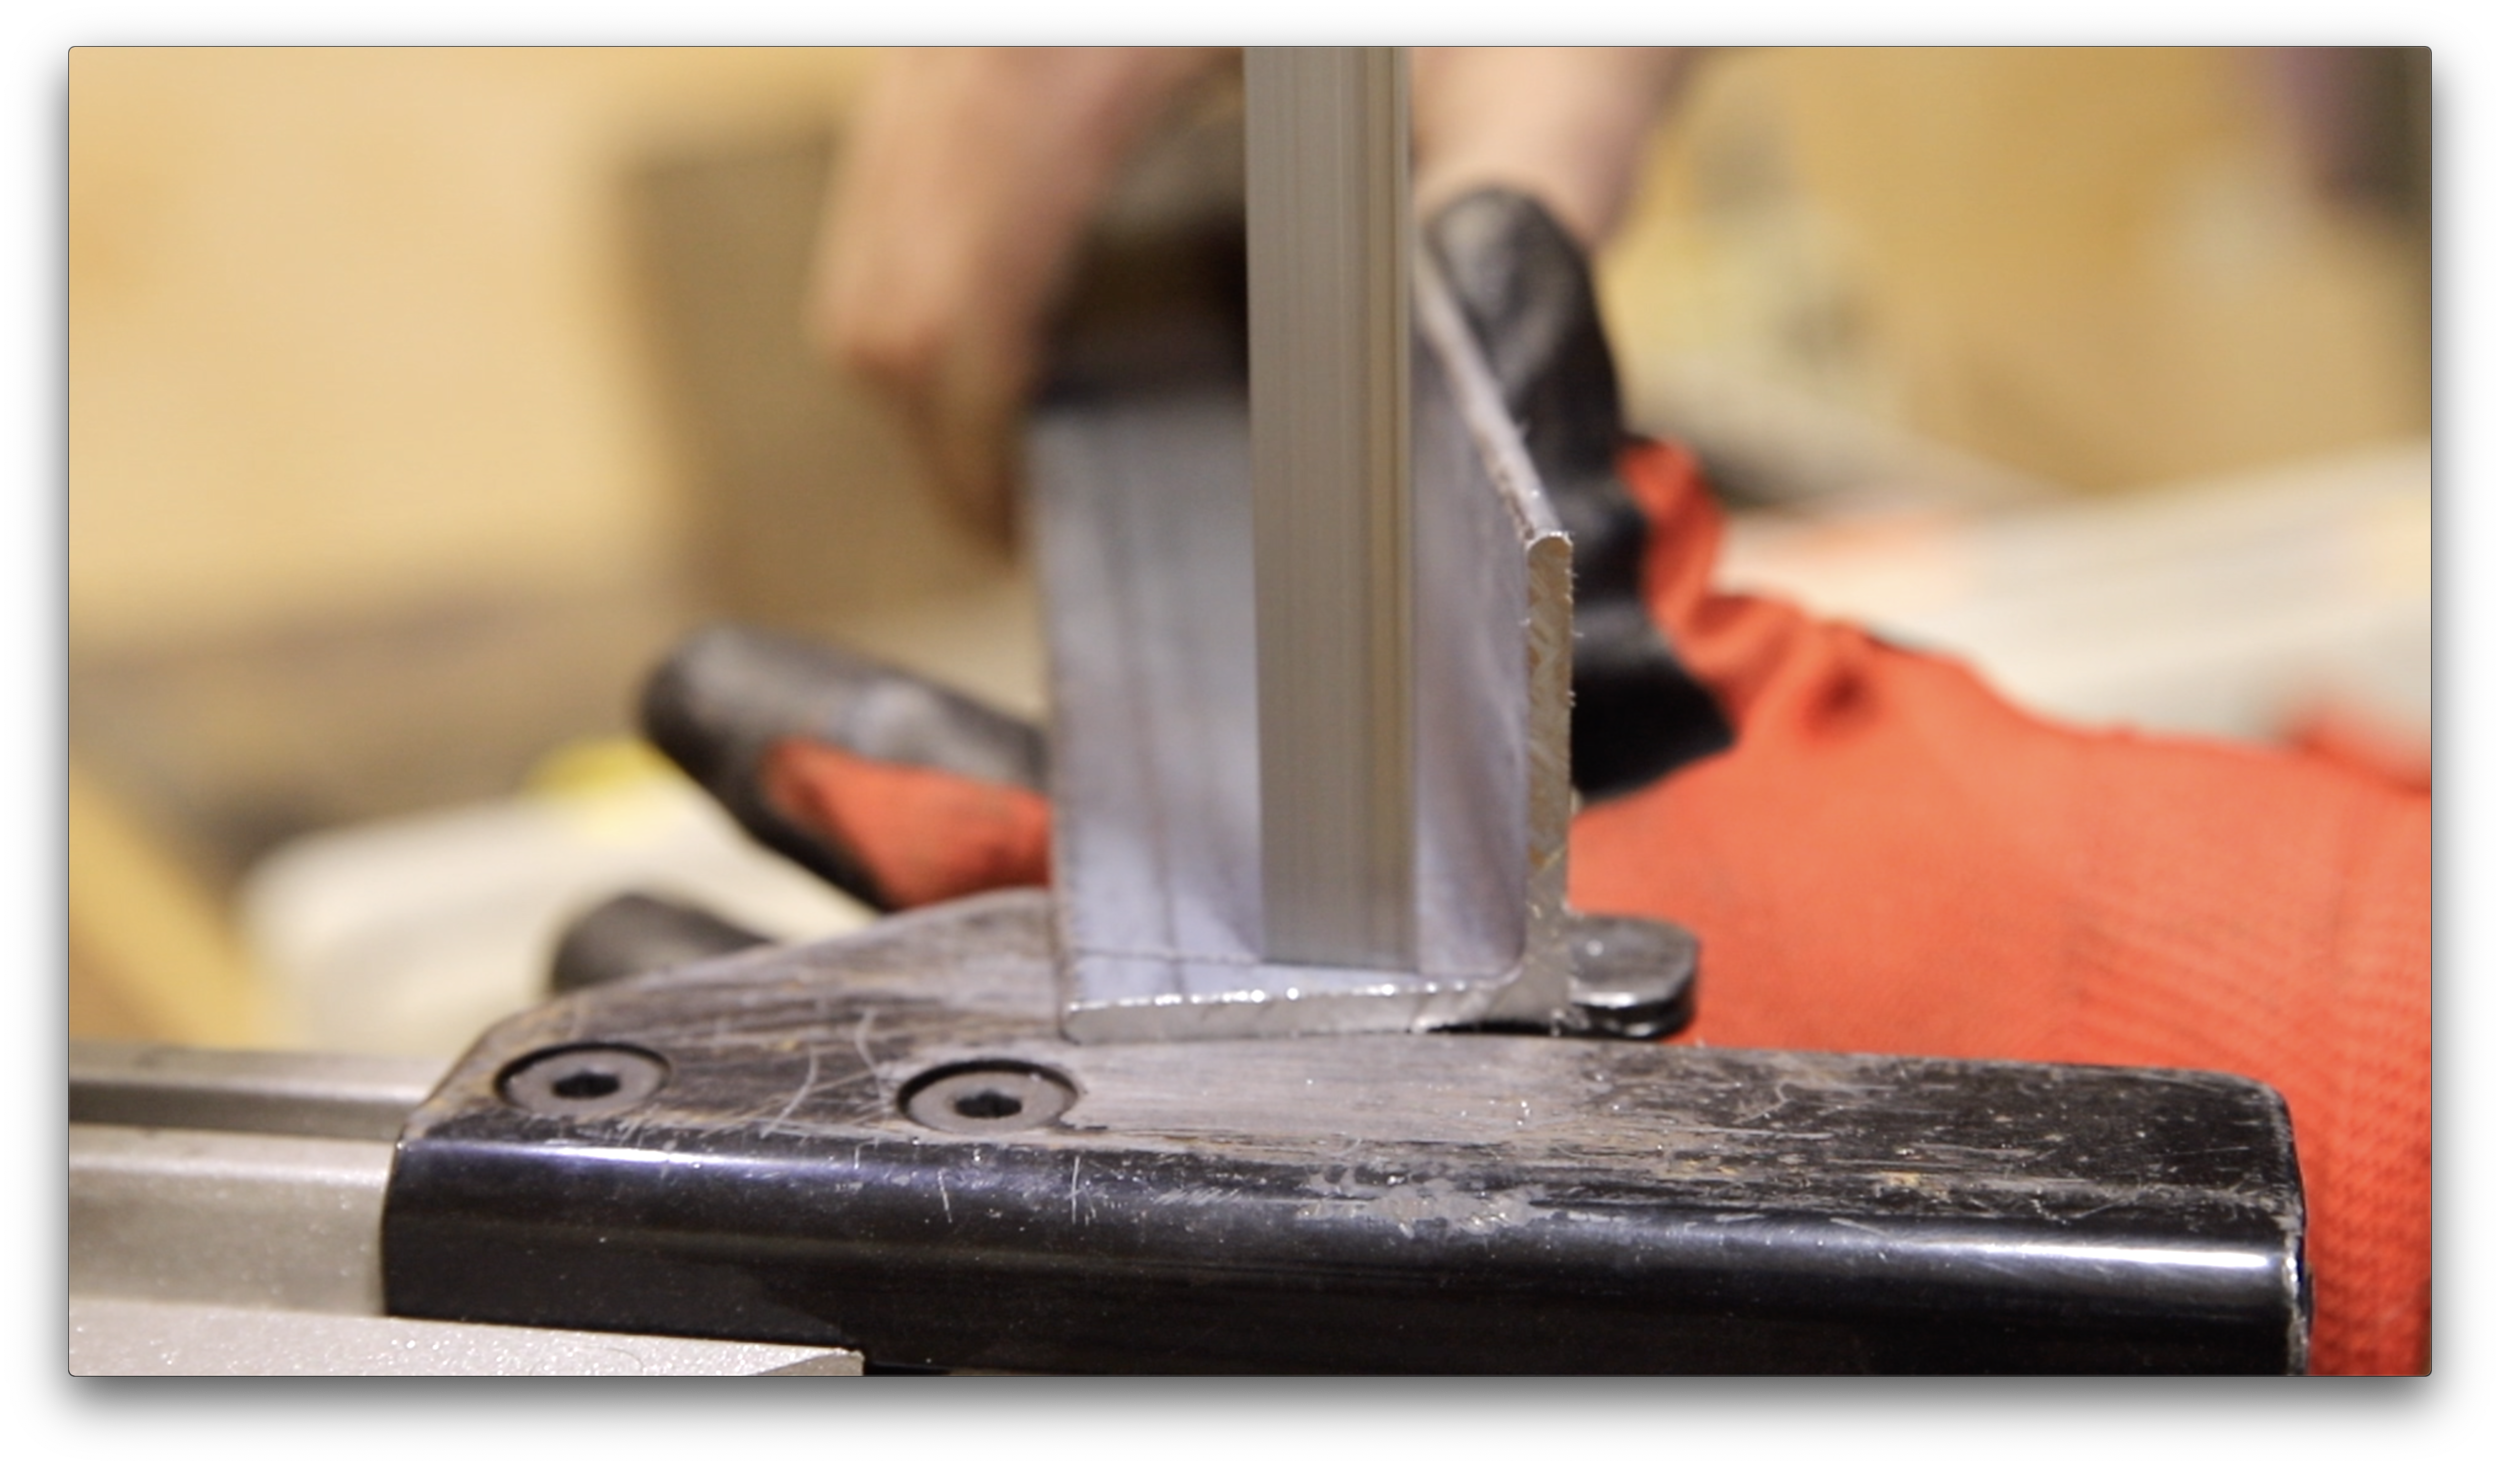
Cut in the angles, and refer to the diagram for correct angle positioning. The 9 inch pieces get 15 degree angles on each end. The 13 inch pieces get a 15 degree and a 60 degree angle. Cut the angles so each piece has an opposing piece. Again refer to the diagram.
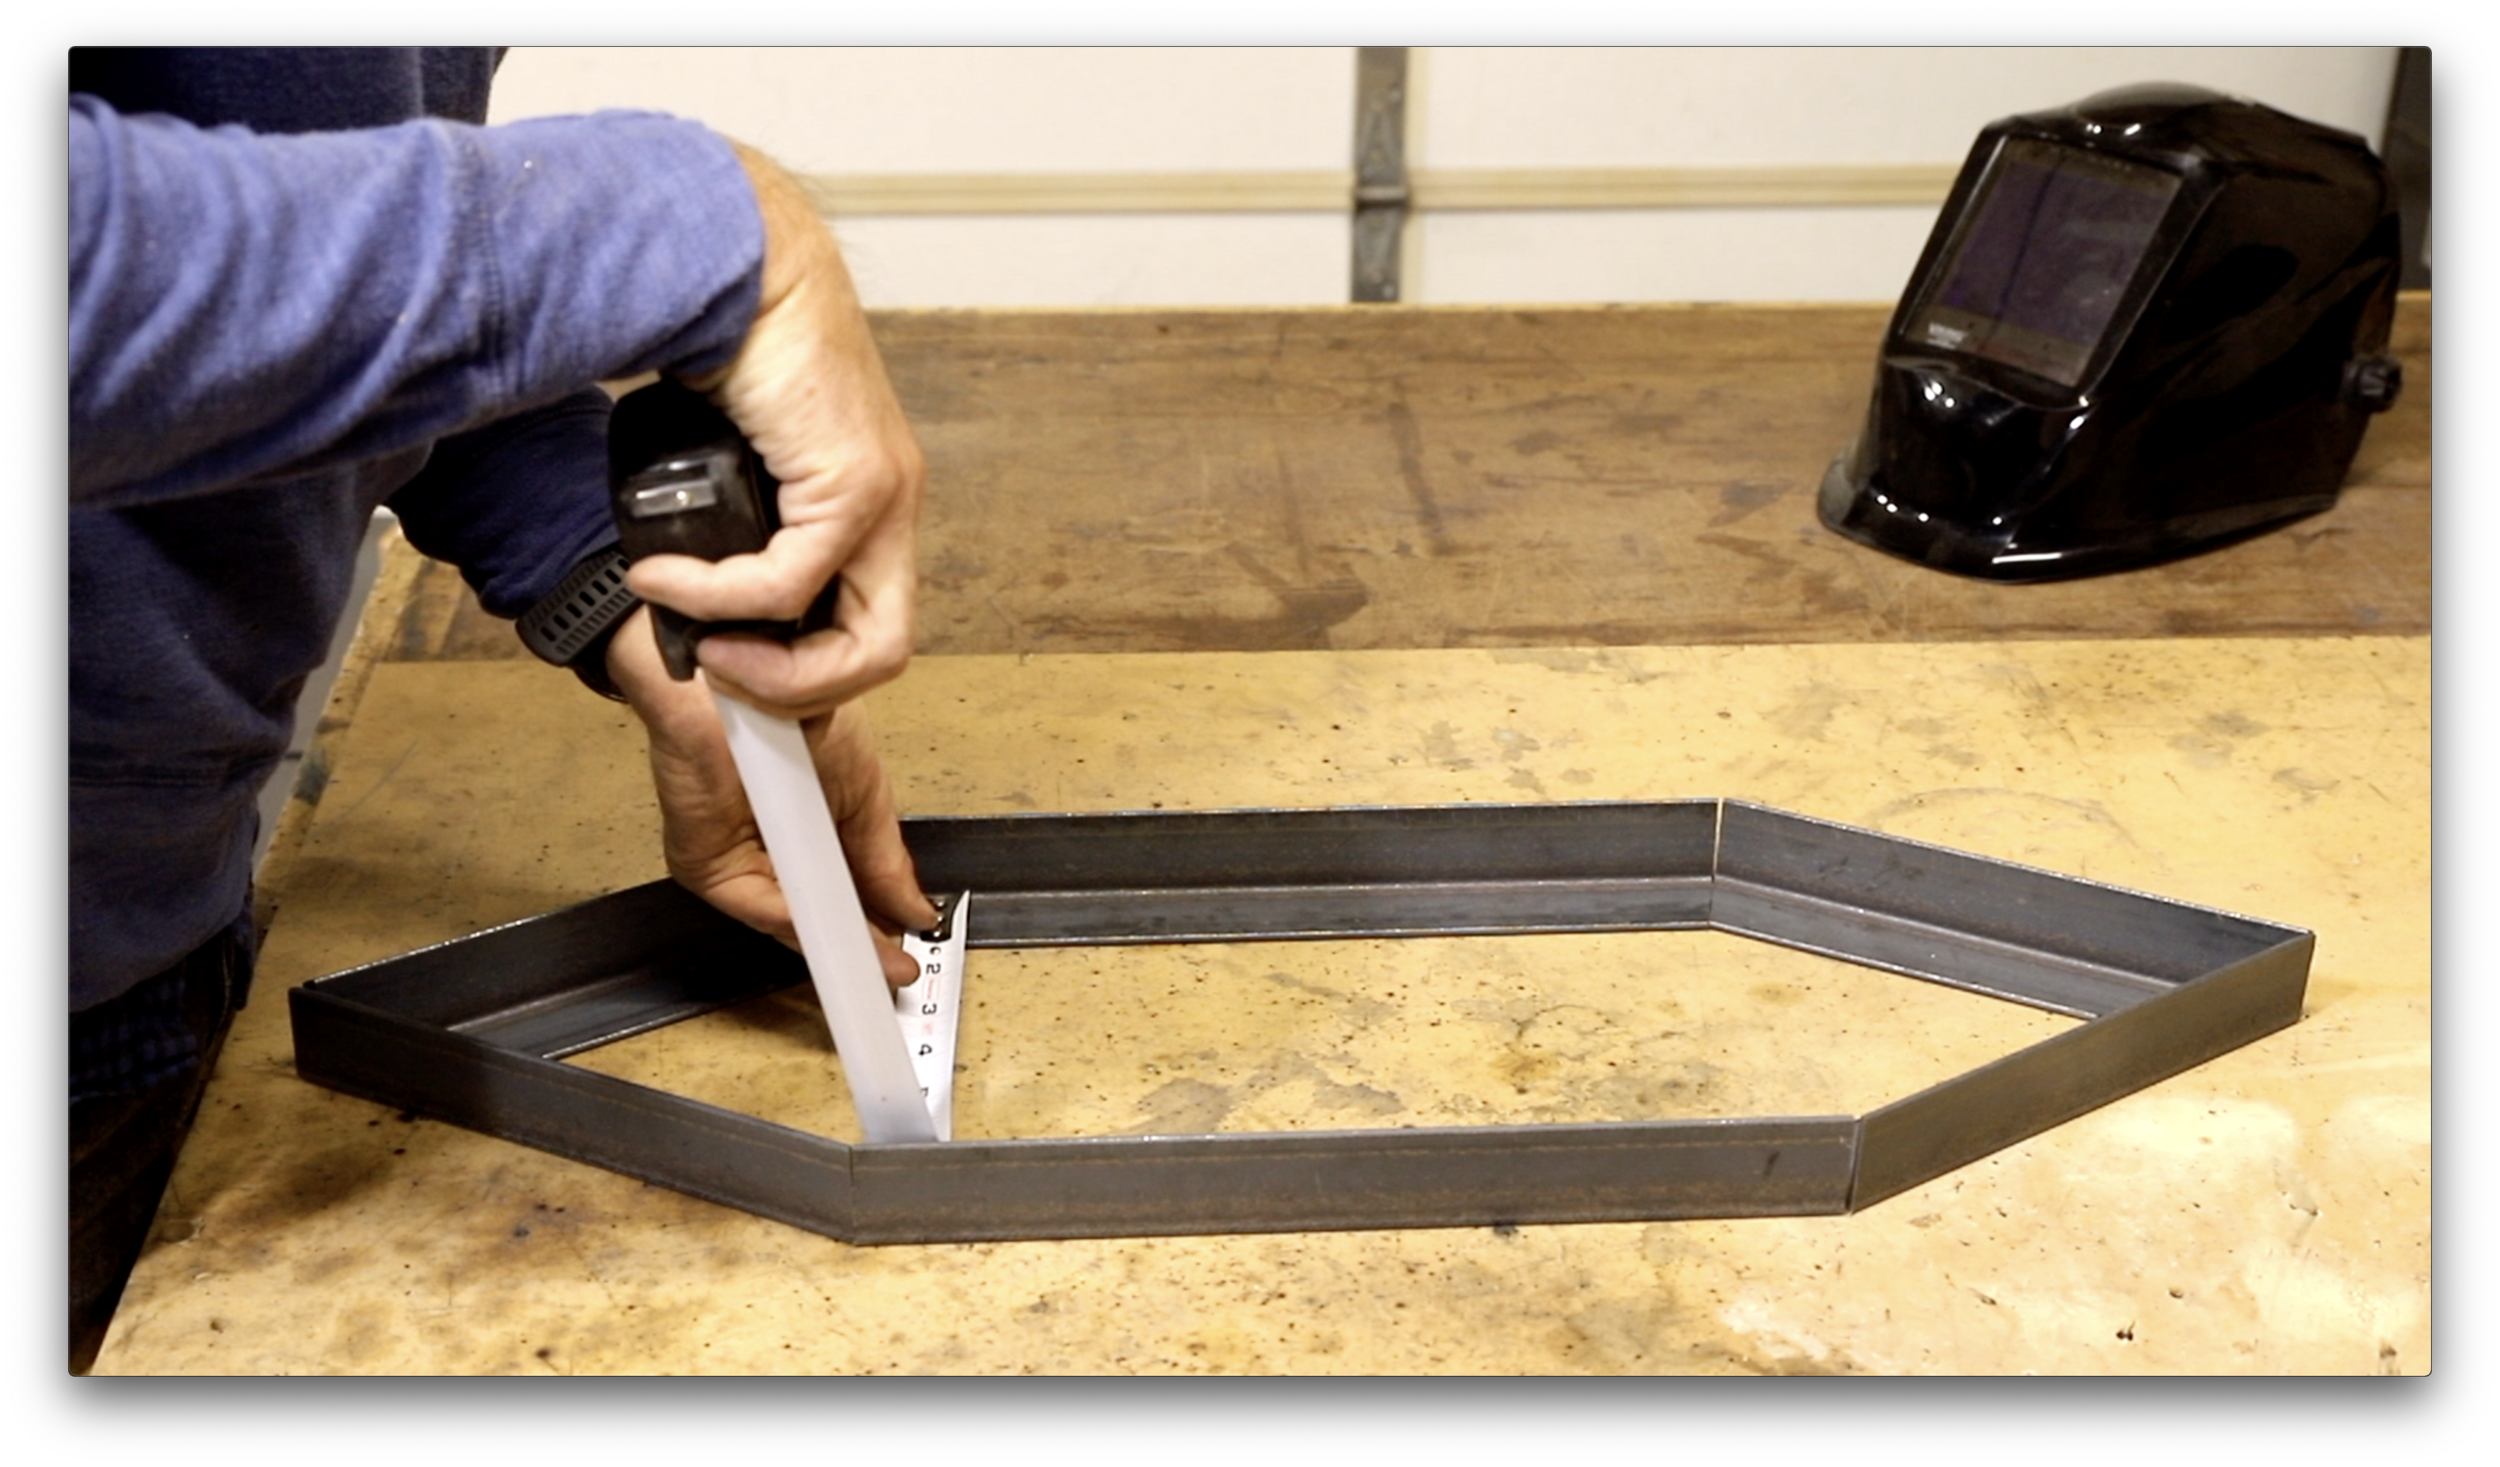
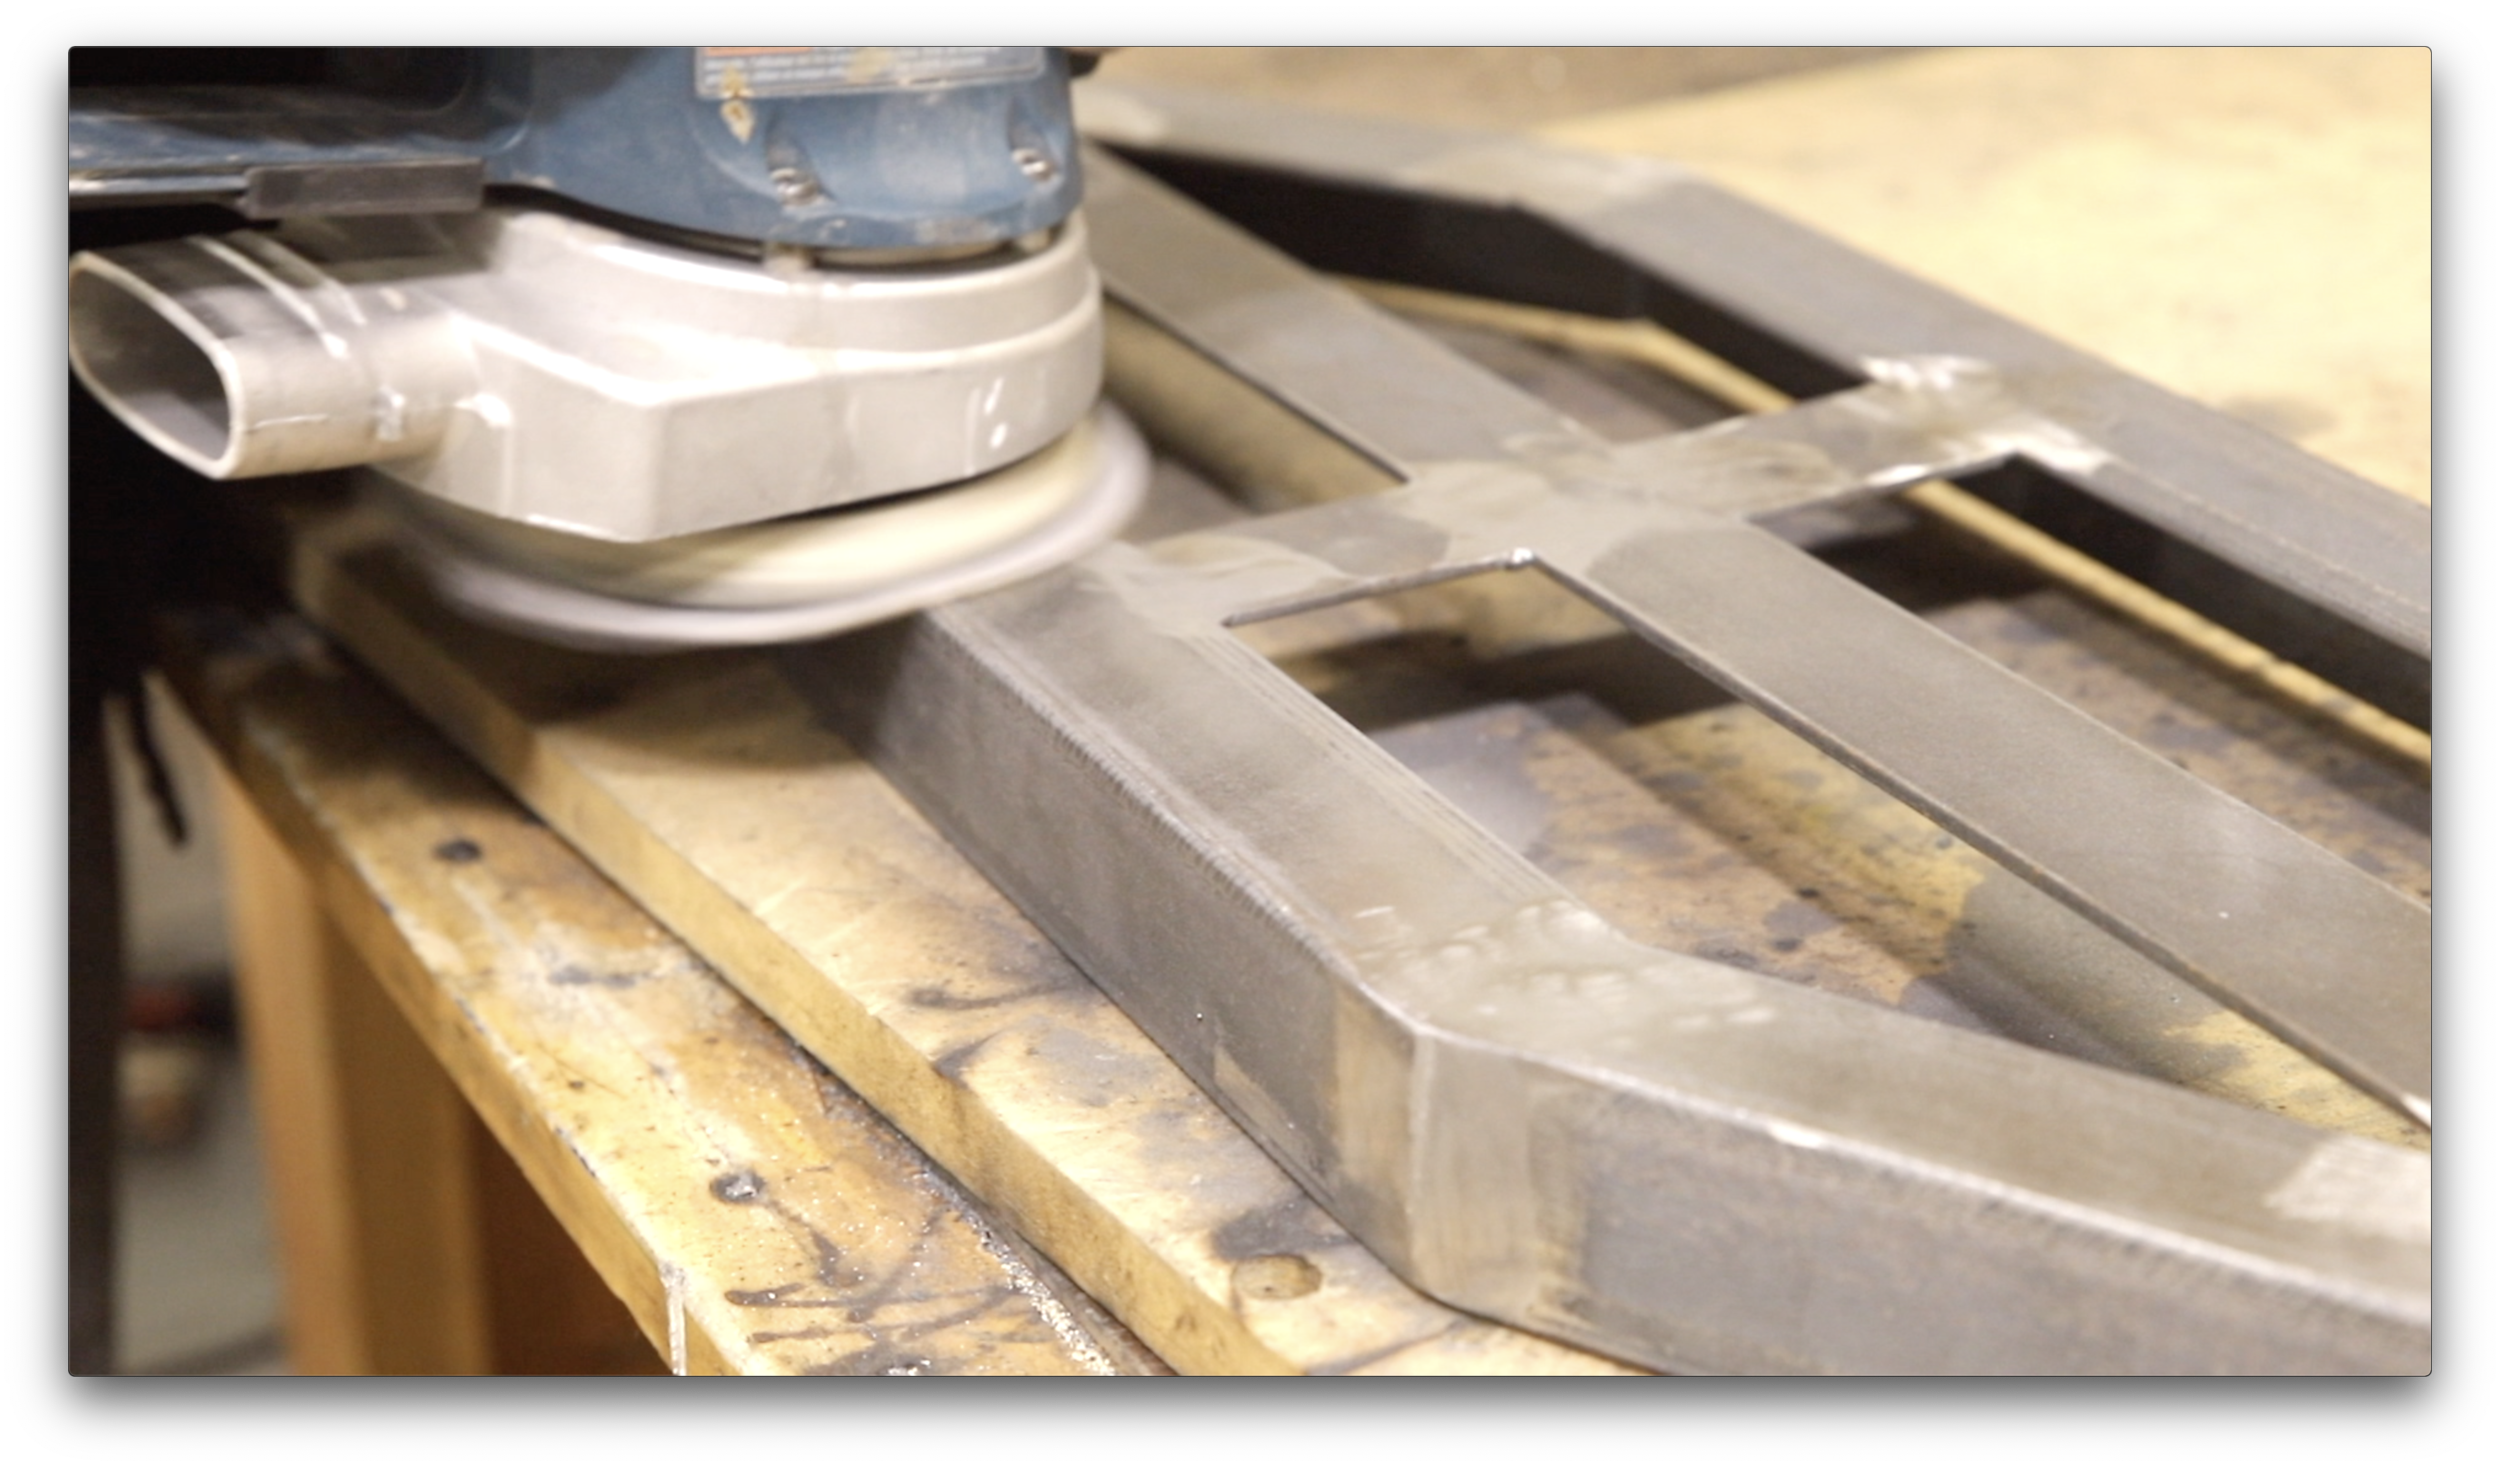
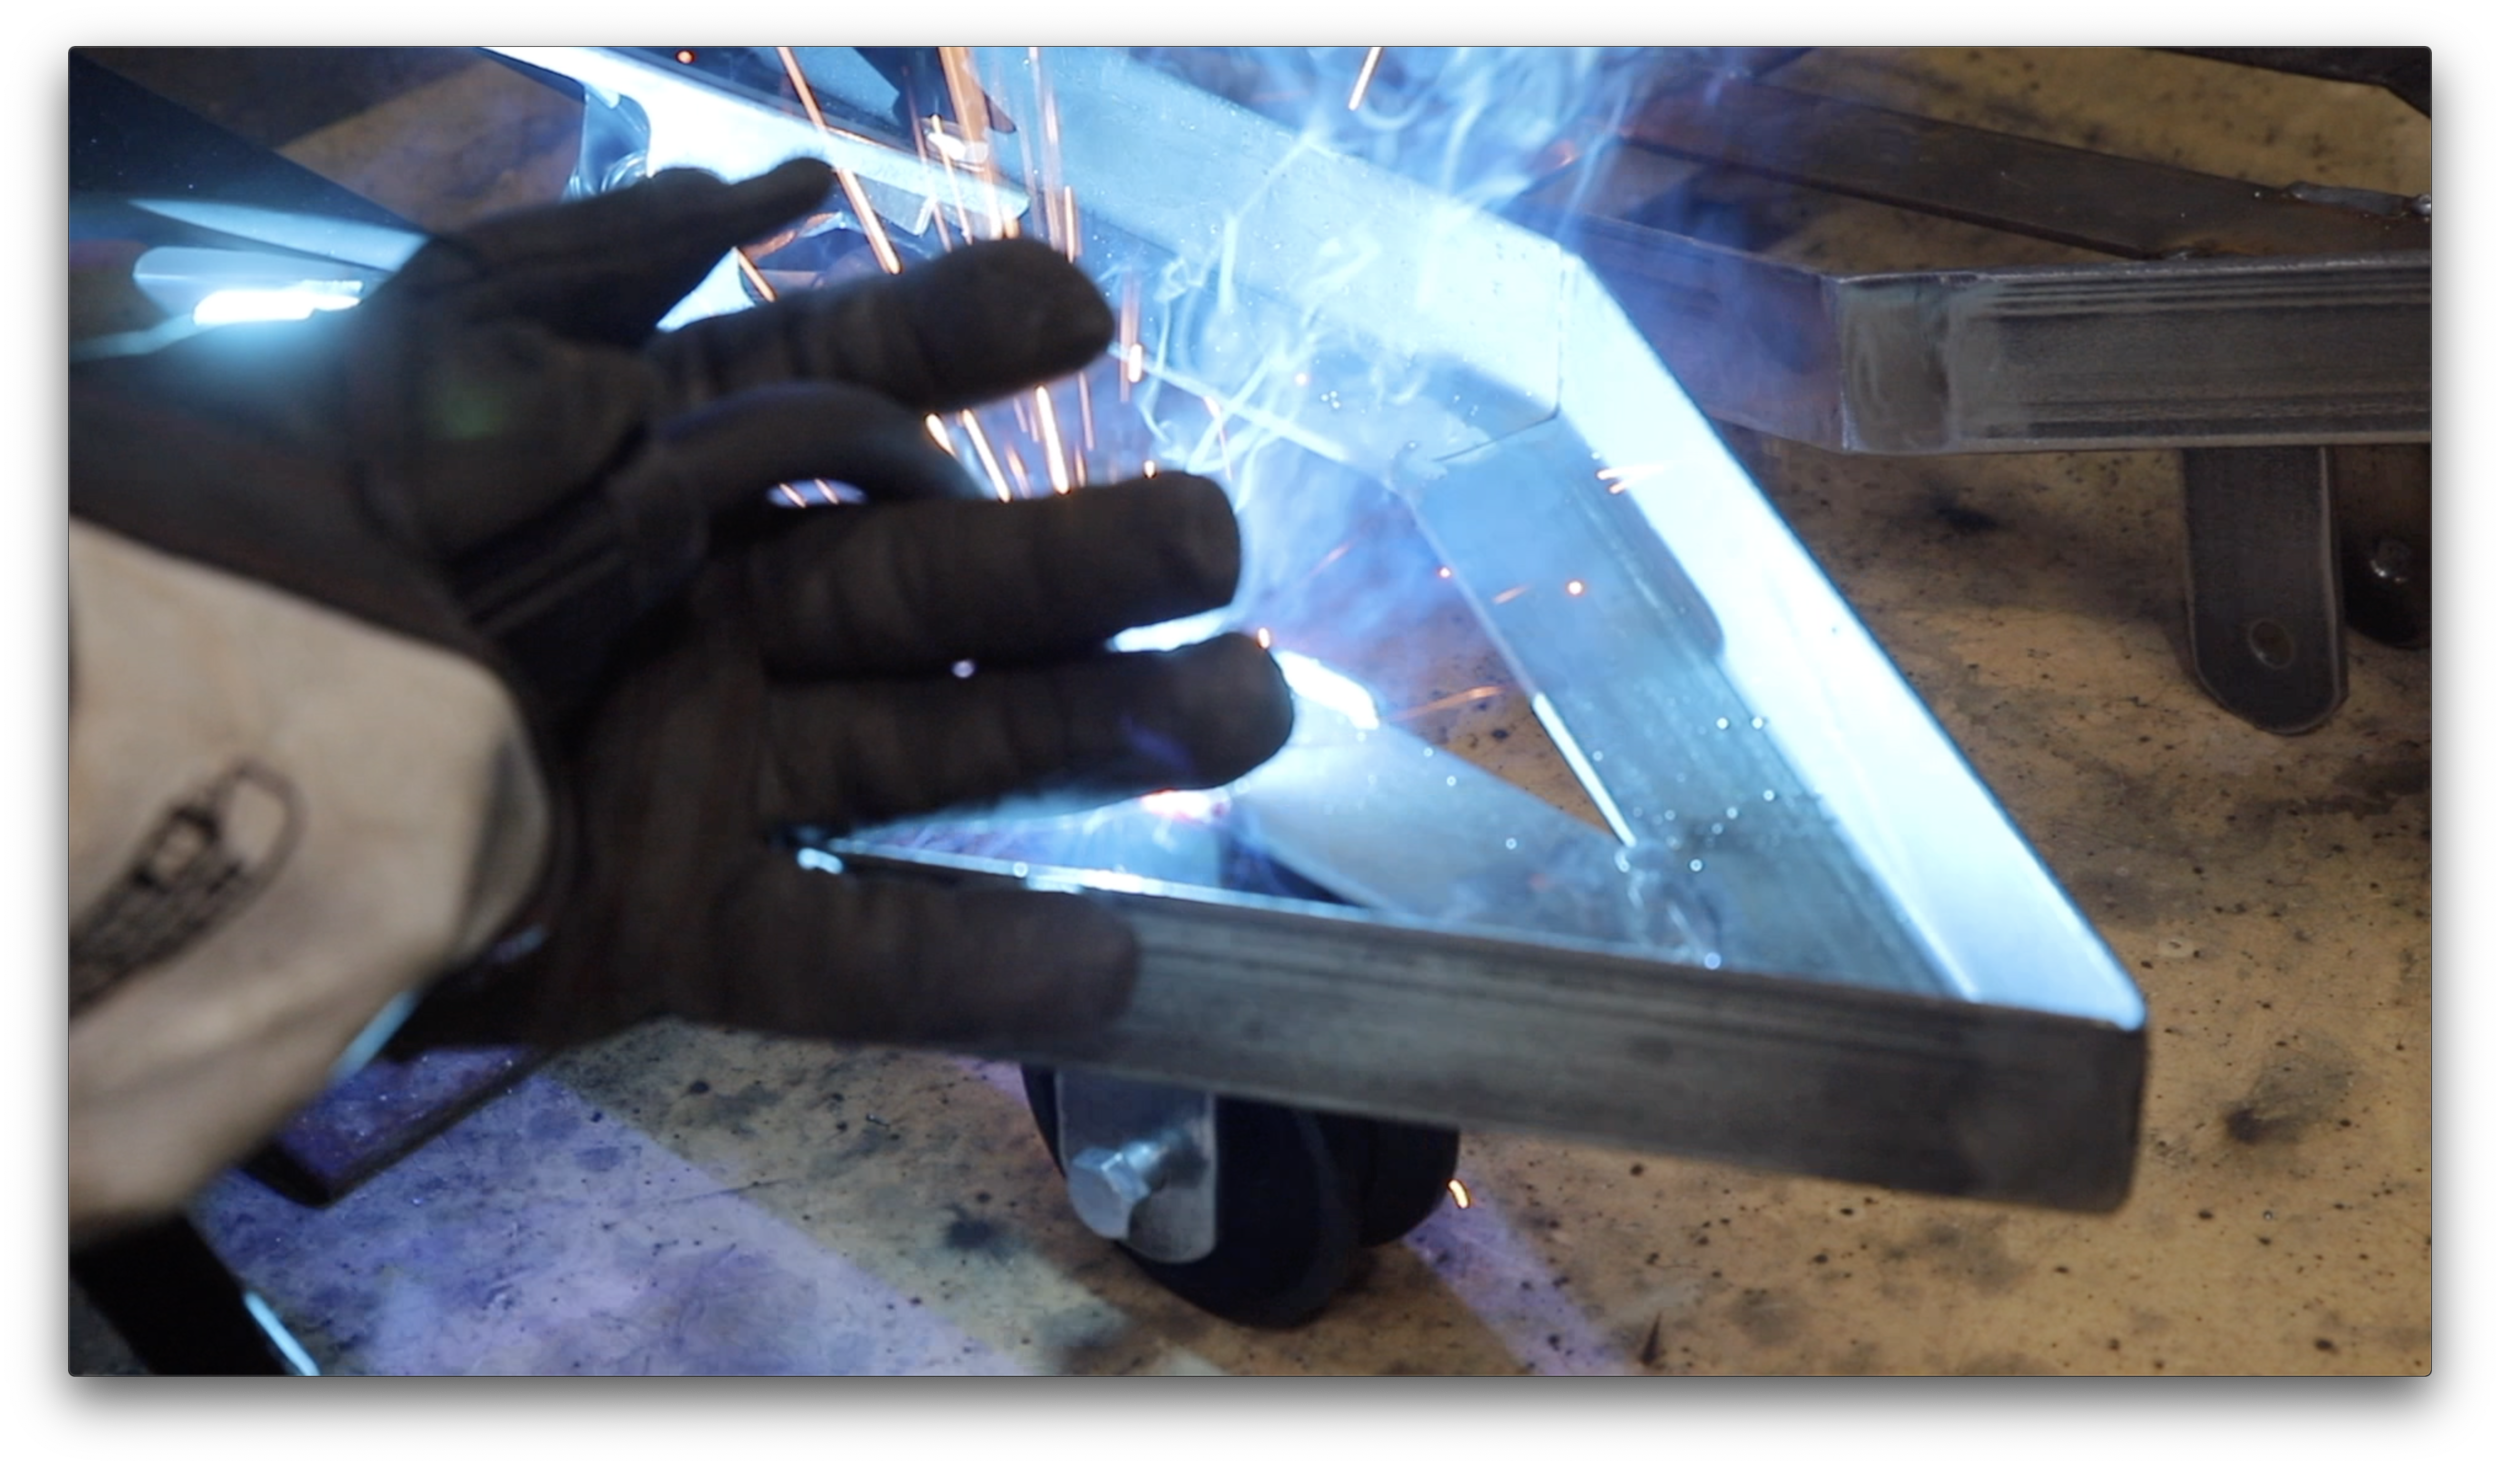
First tack weld the underside of the frame. Flip the frame over and run a weld bead on all the joints. Use a flap disc to grind the welds flush.
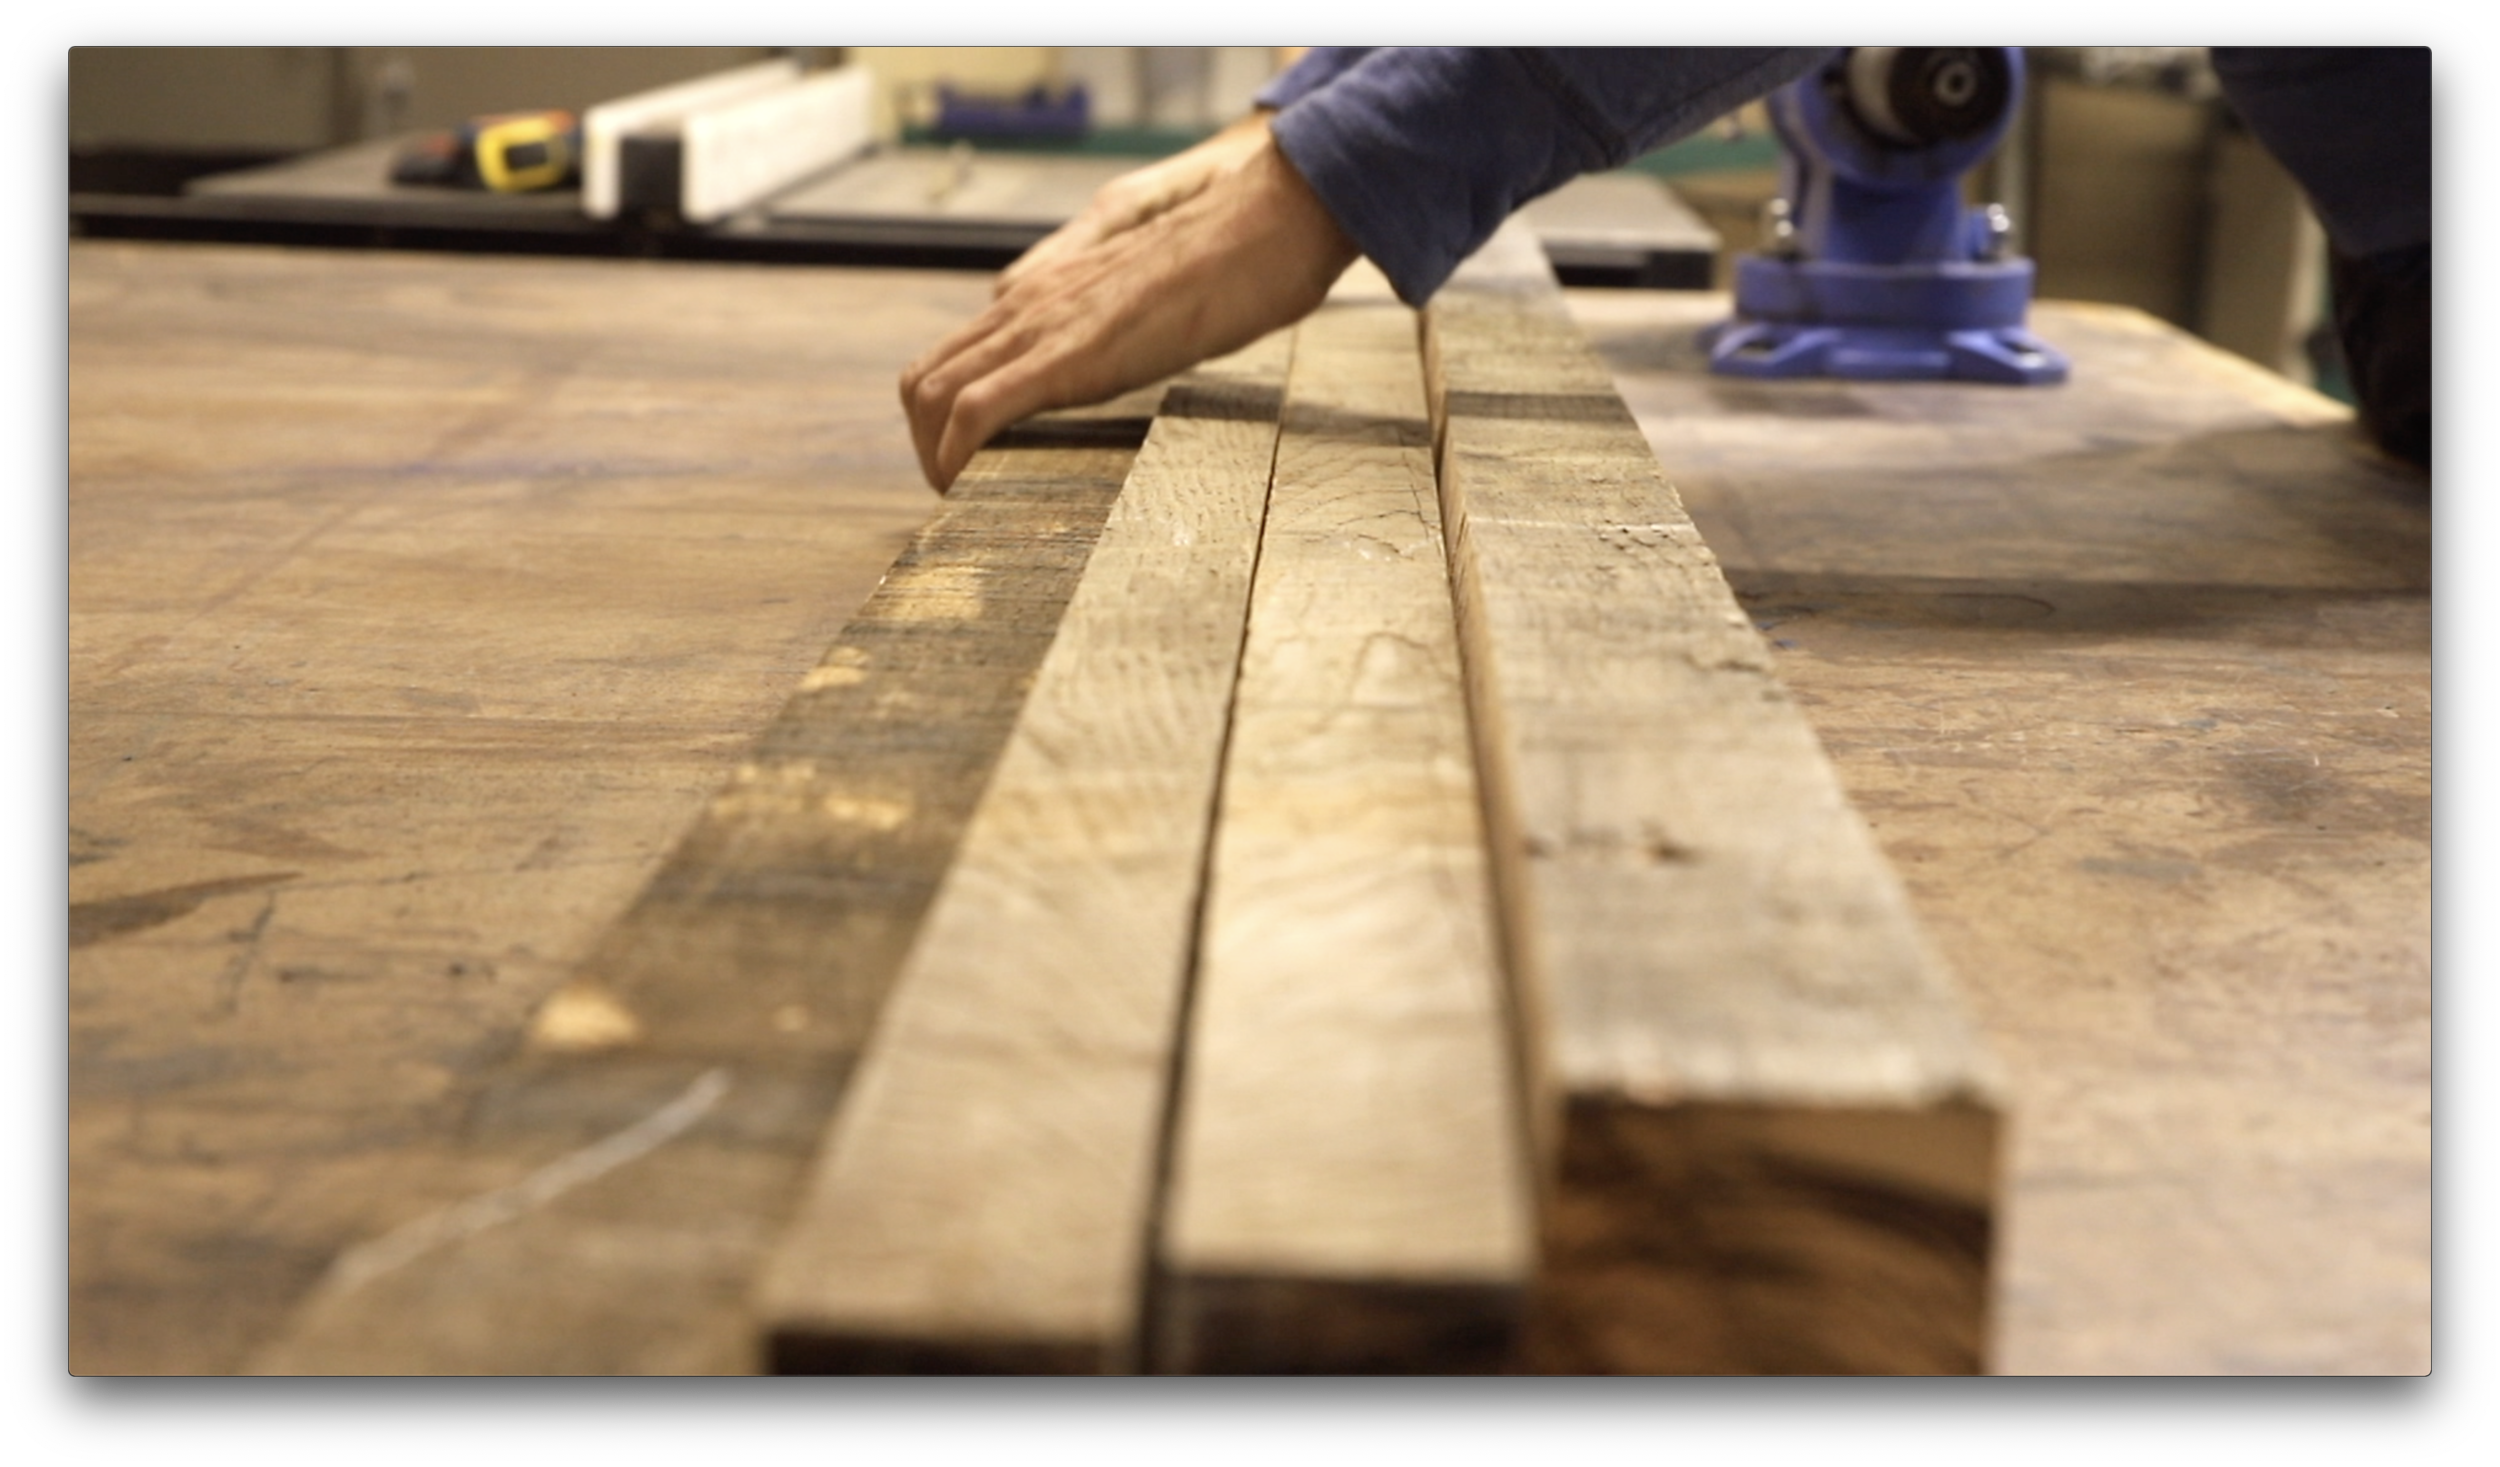

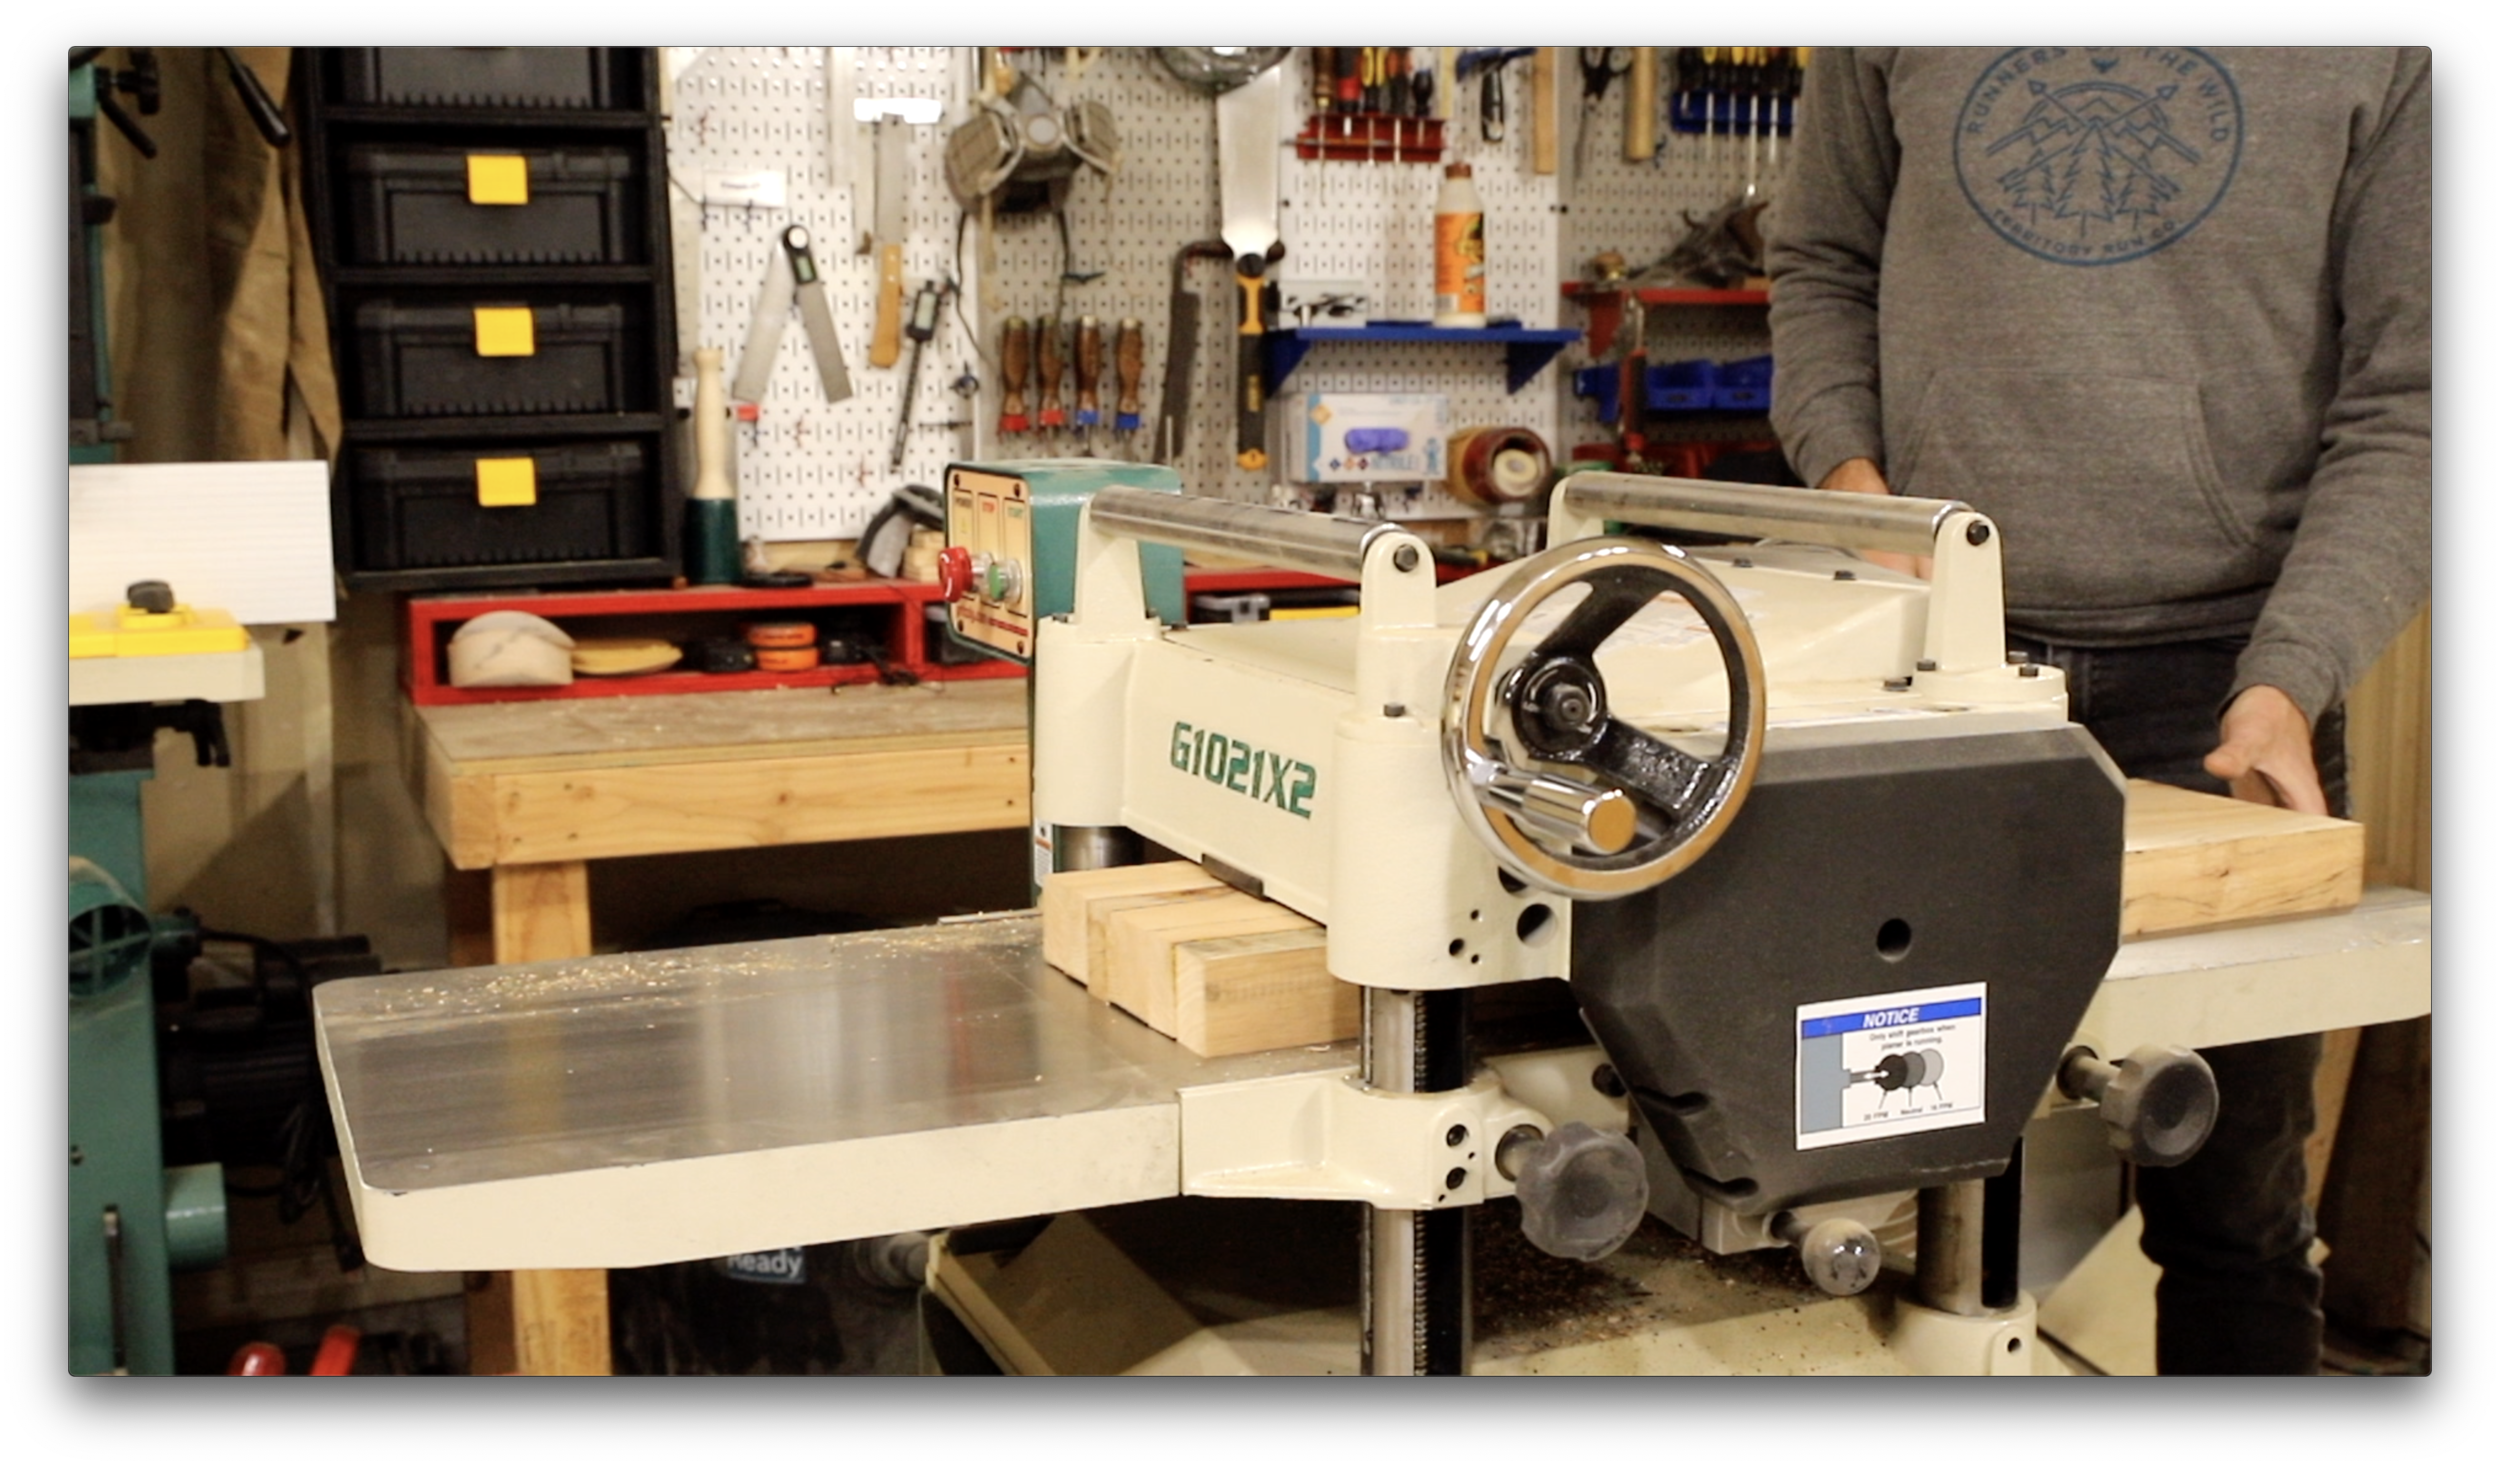
For this project I used scraps of oak barn wood I had left over from other projects. You can use pine if you don’t have access to oak.
First cut your planks to 30 inches long. My planks were about 2 inches wide, but it’s more important to ensure your final panel width is at least 9 inches.
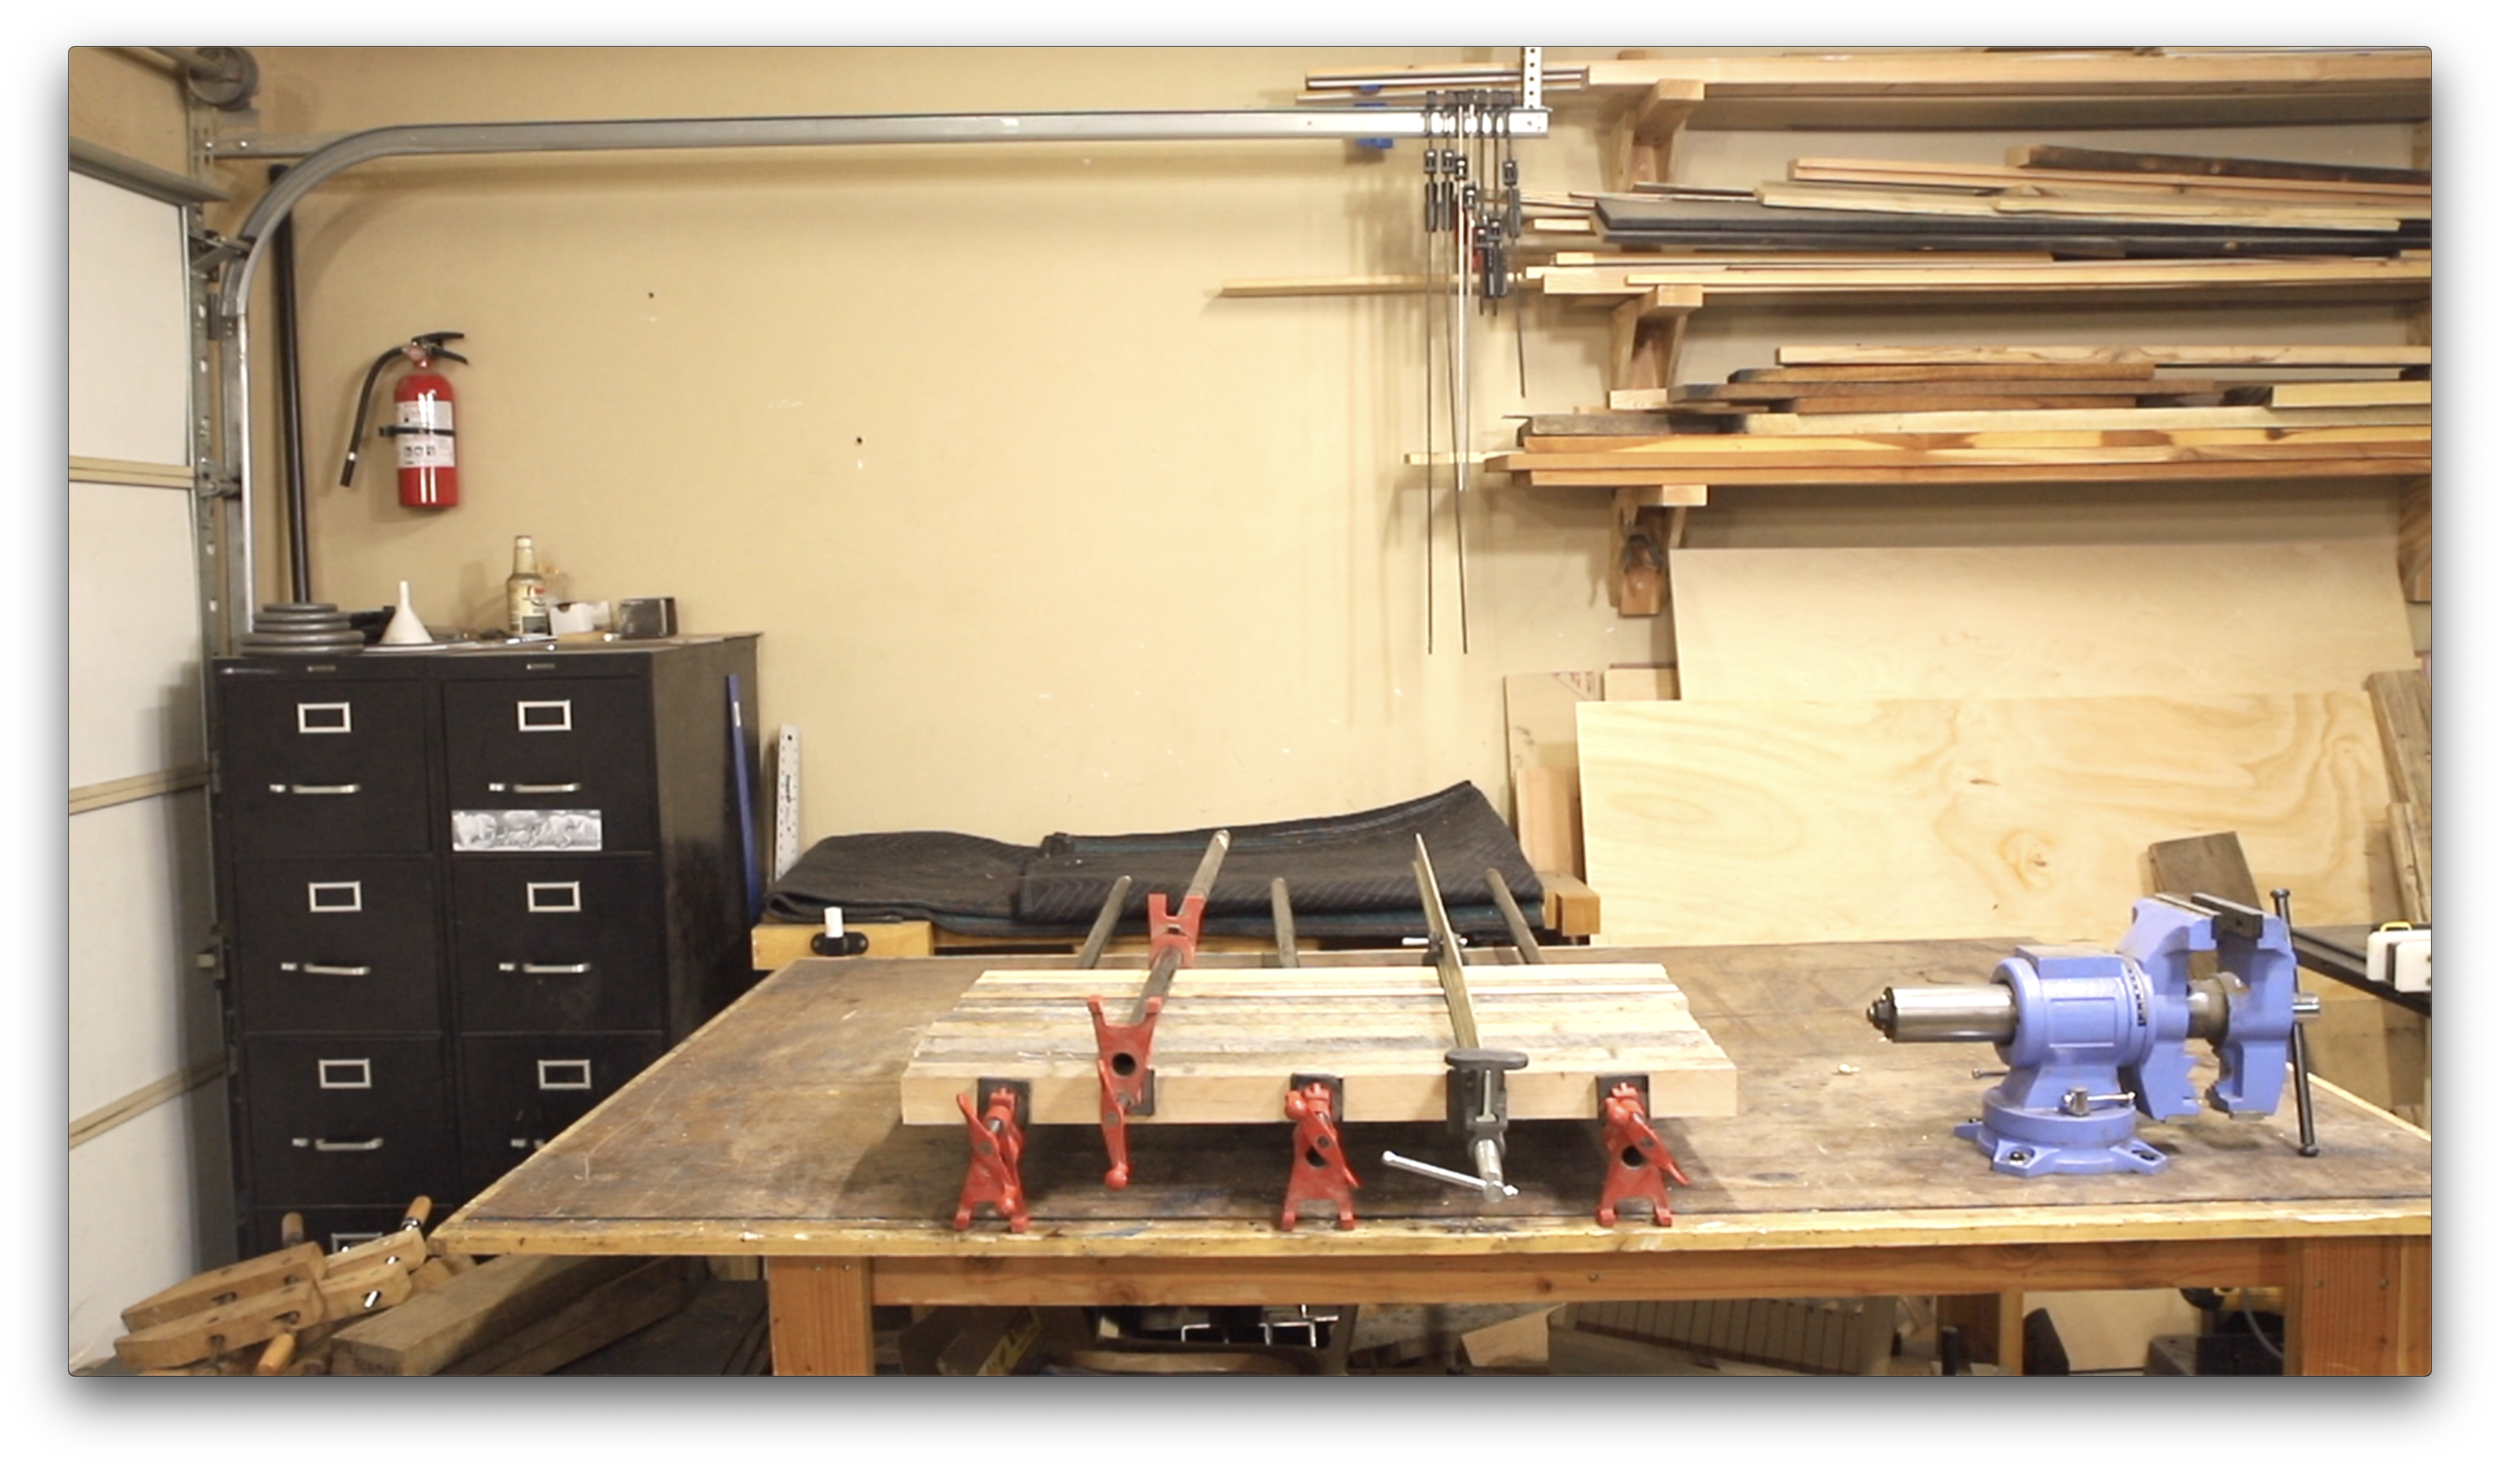
Glue you planks together. I used a planer to flatten my panels, but if you don’t have a planer just ensure your glue up is as flat as possible.
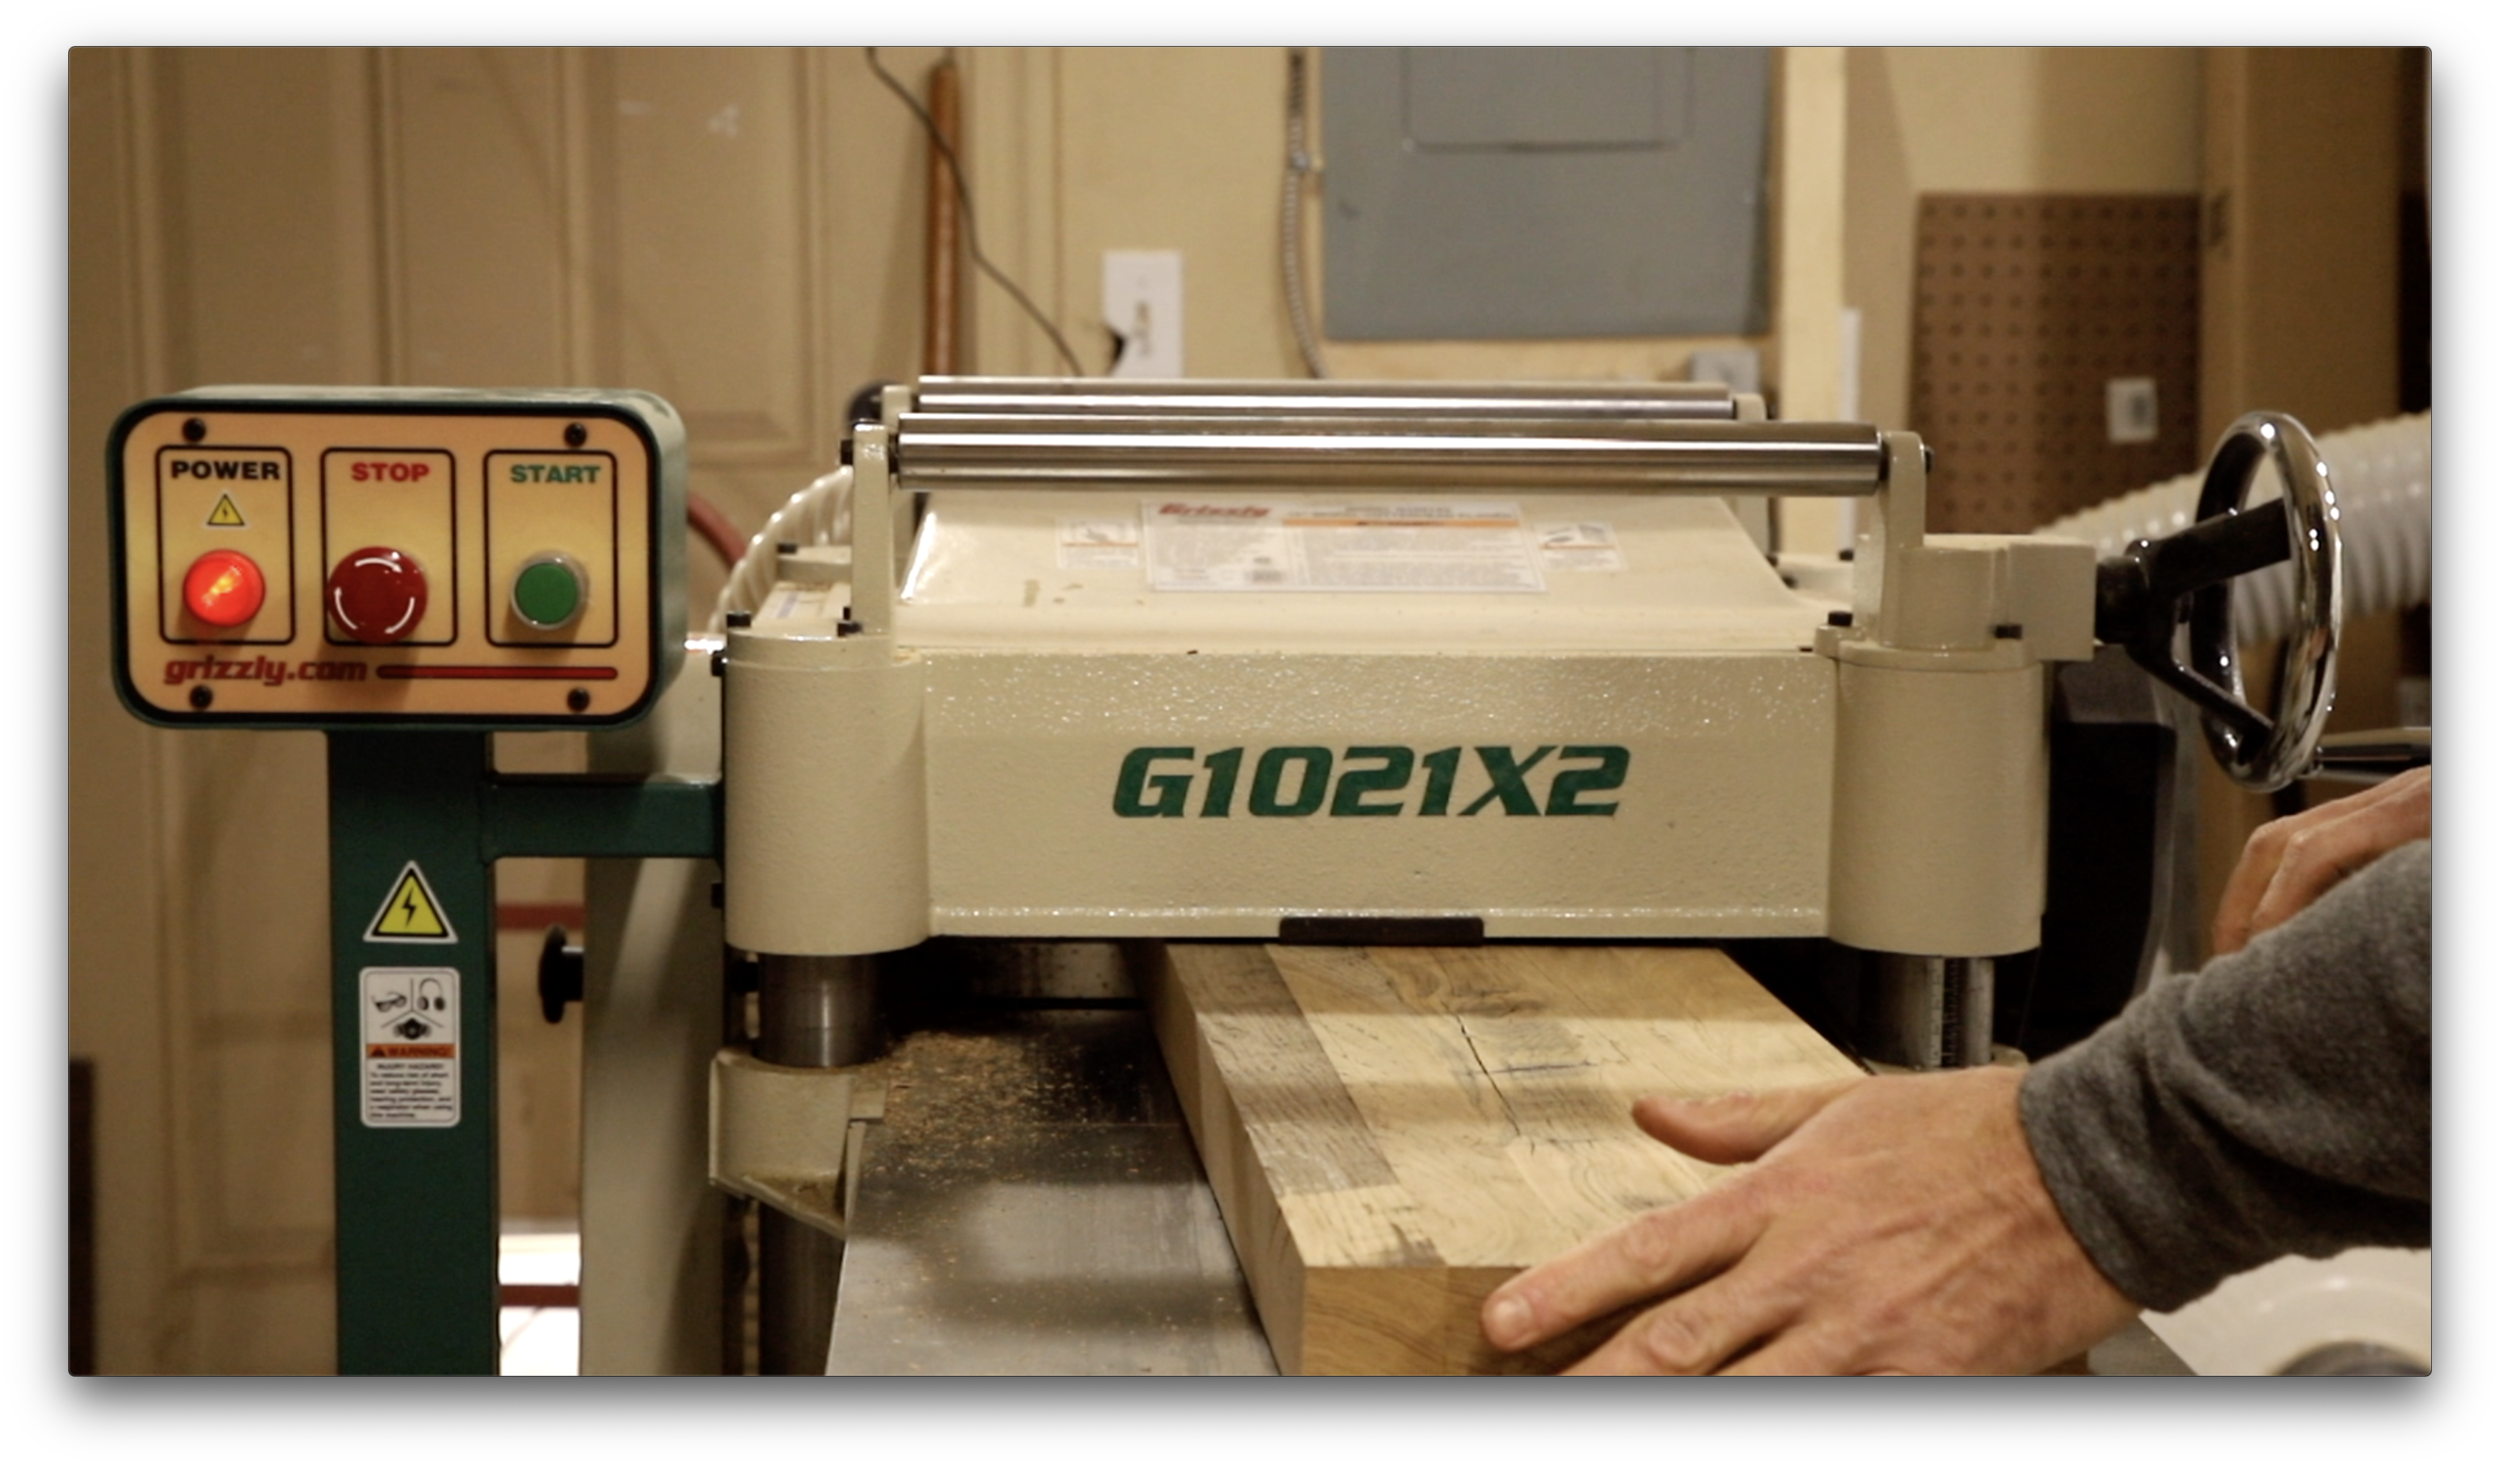
Plane the panels down to about 1 1/4” thick. This will ensure they fit into the angle iron frames perfectly.
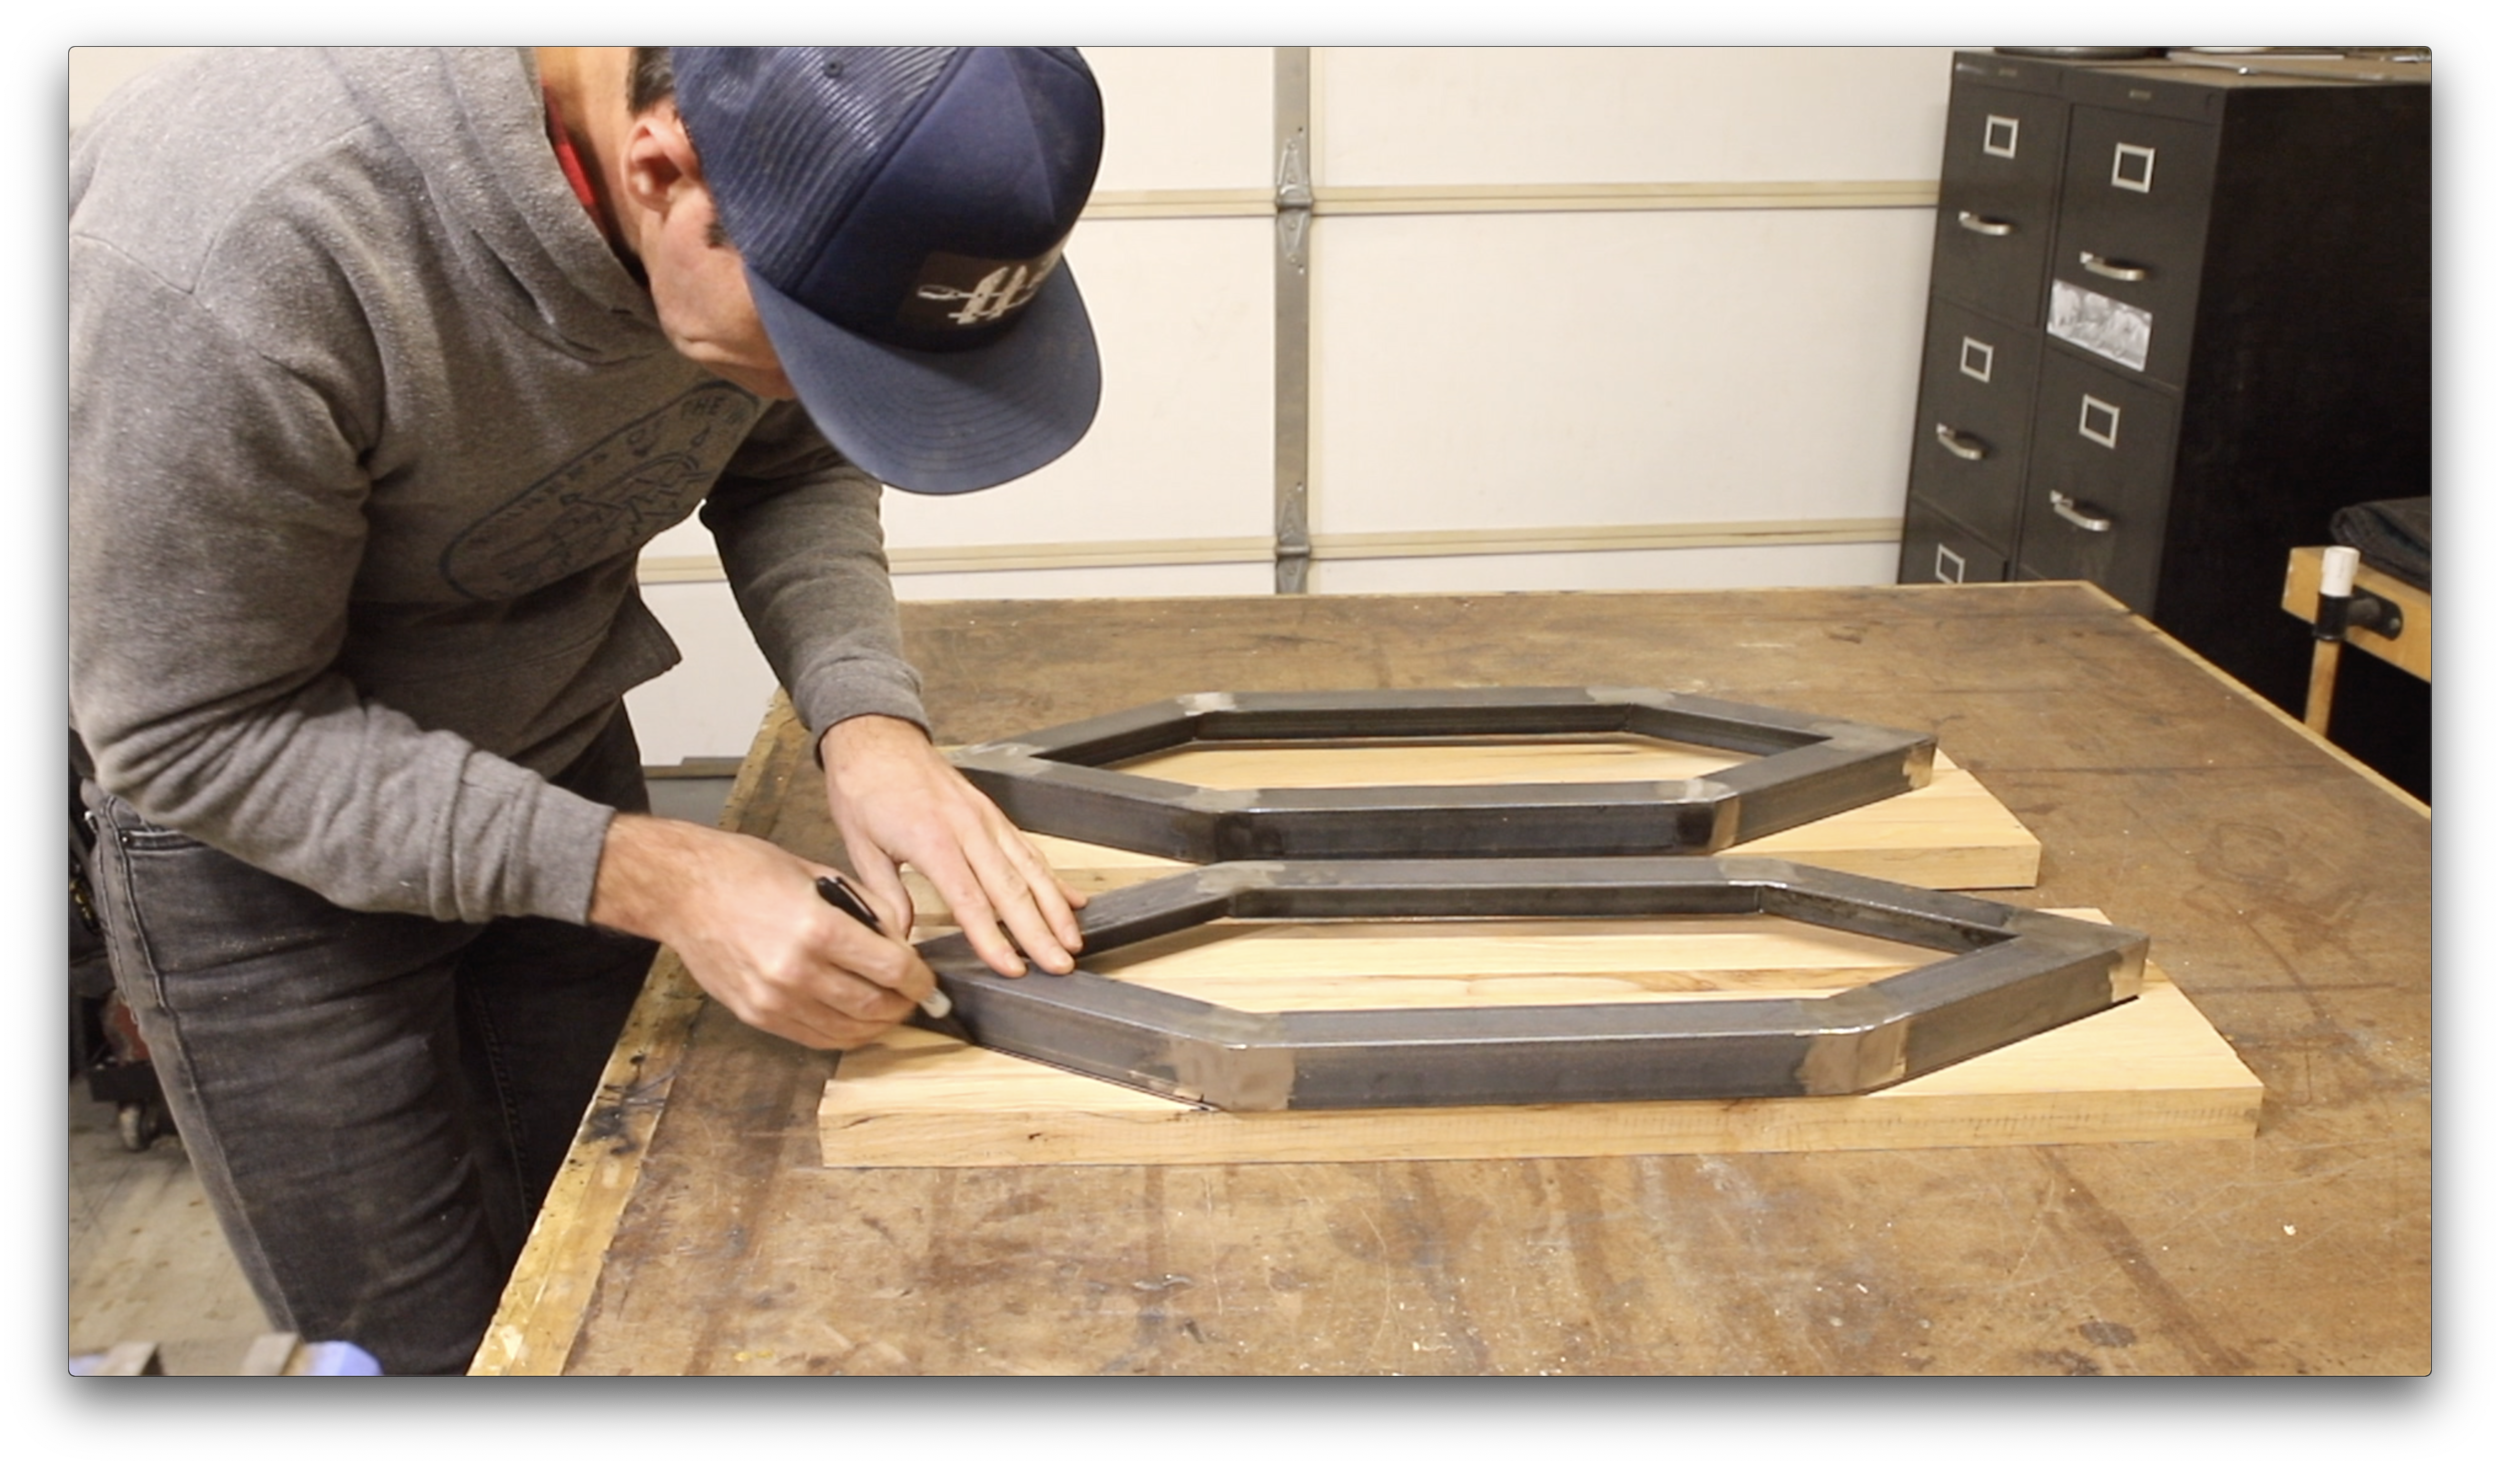
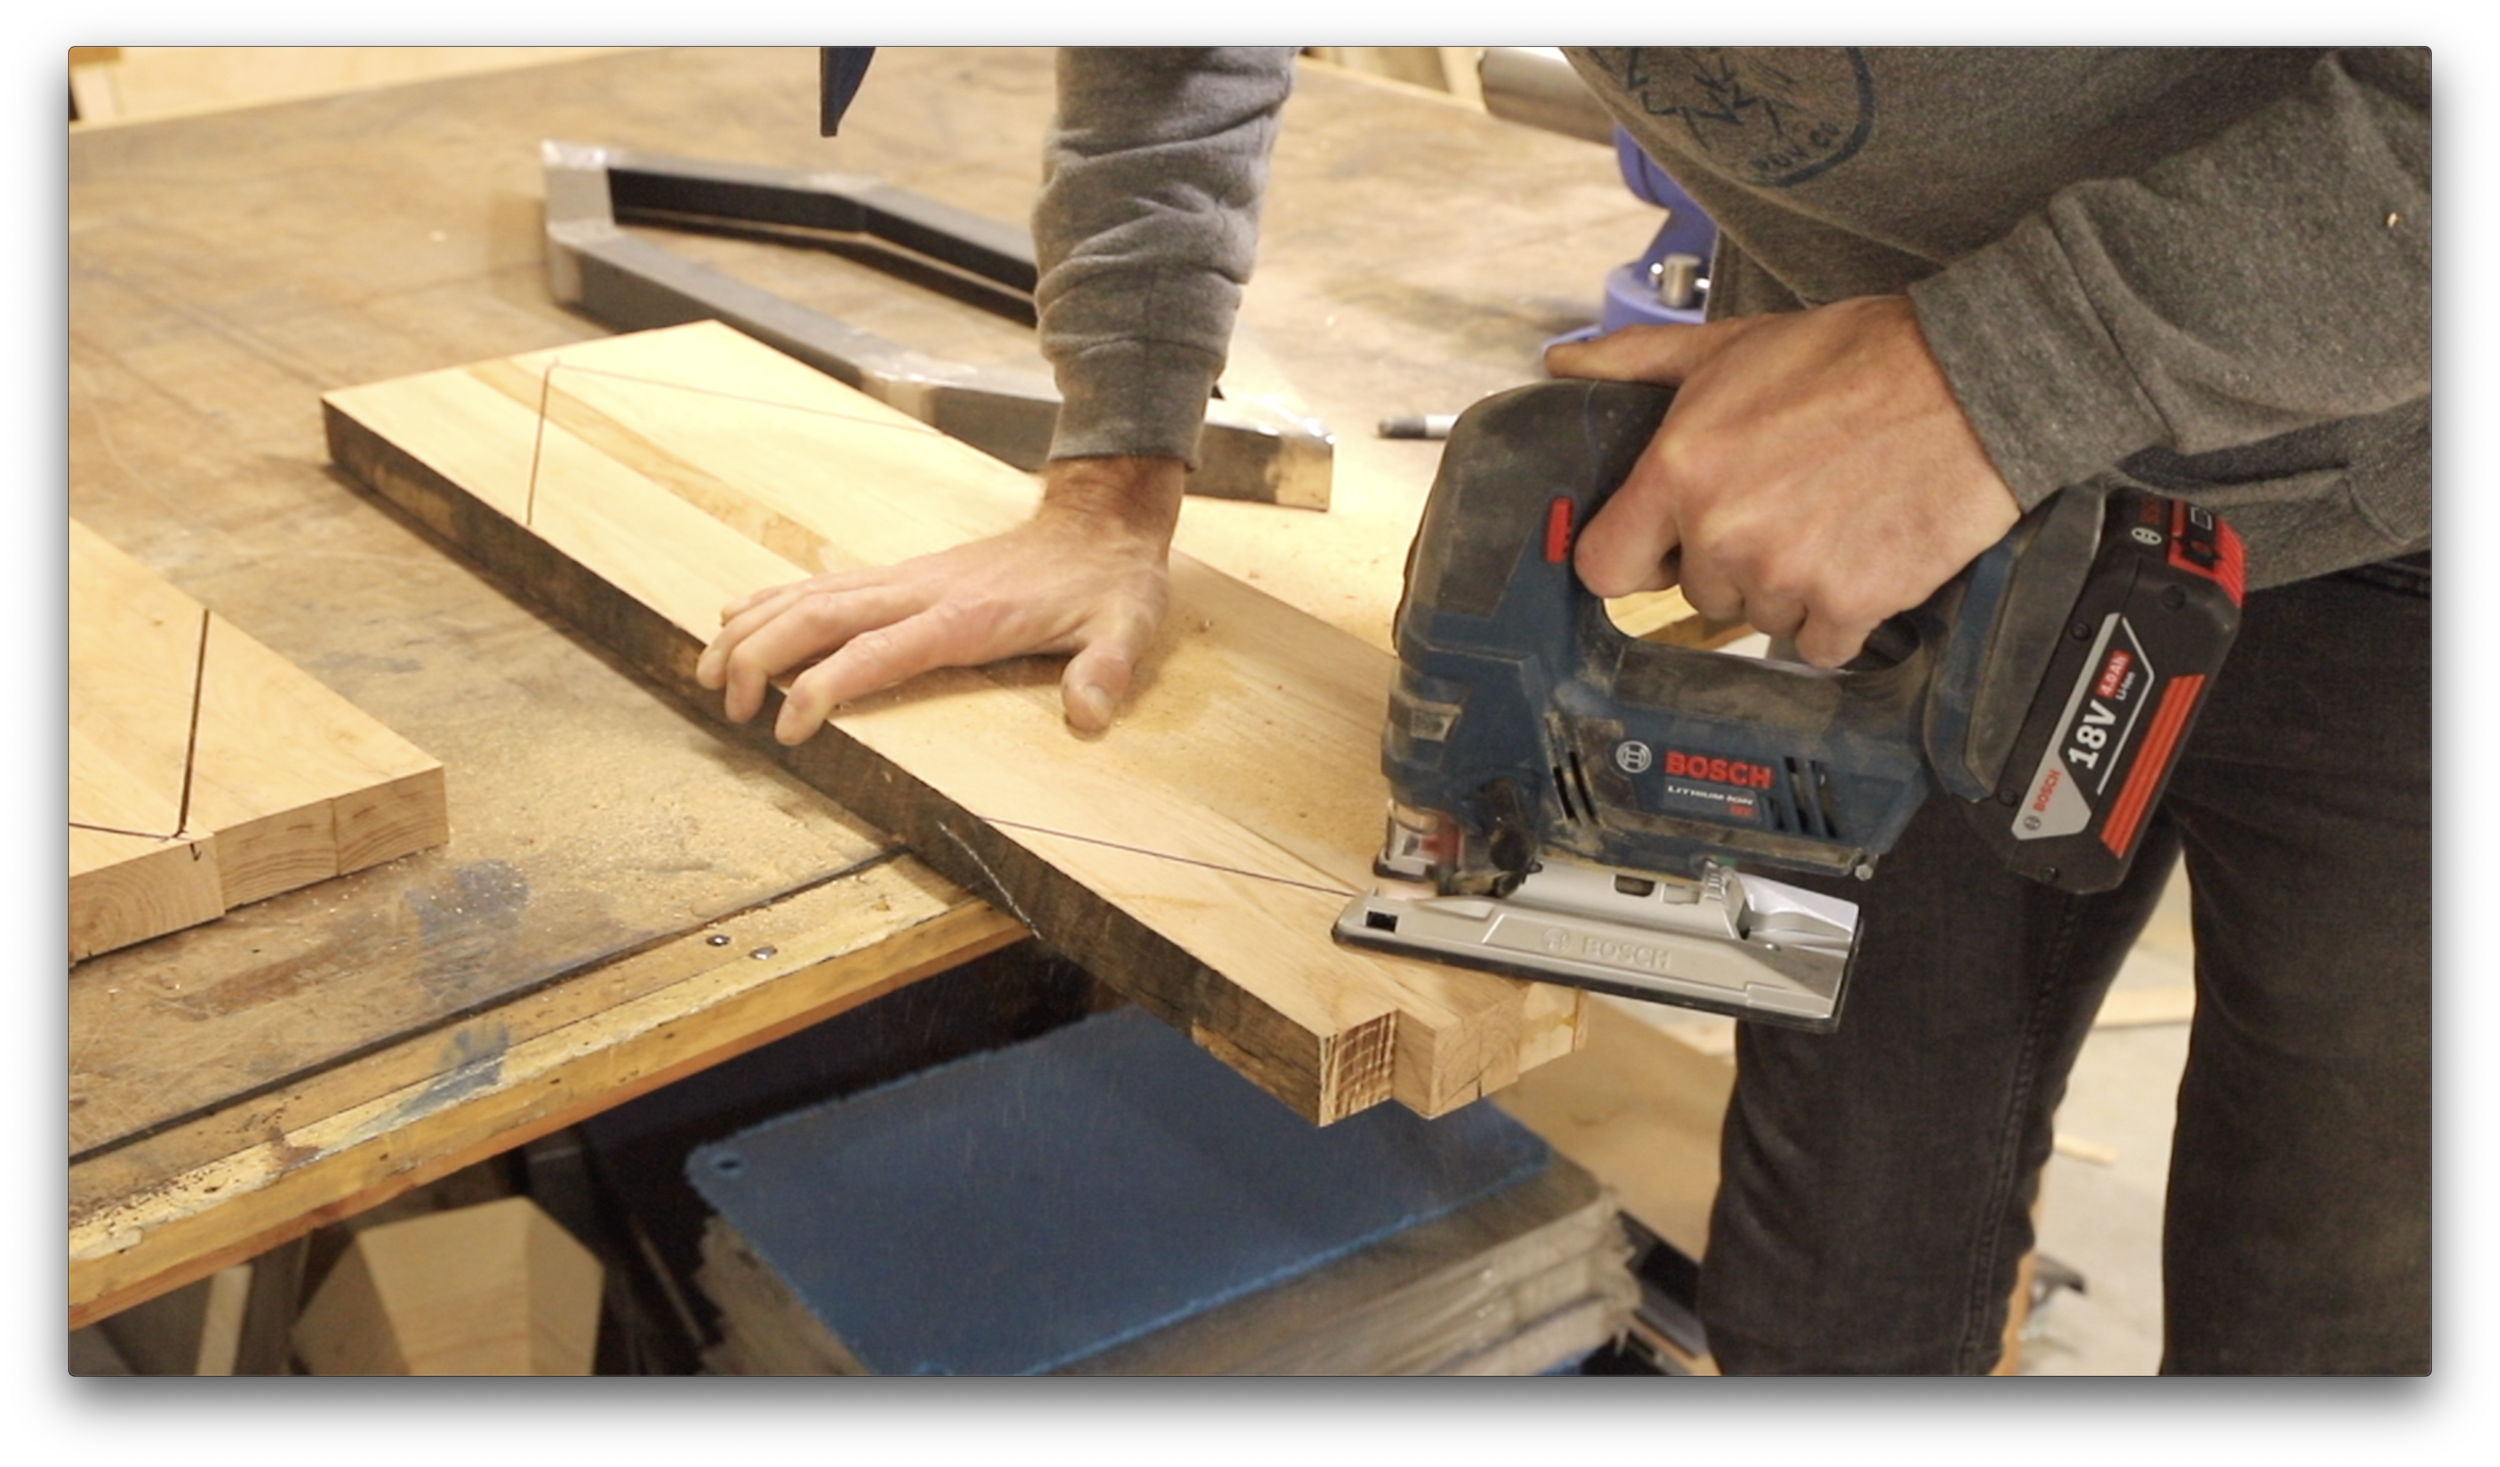
Use the metal frames to trace their shape onto the wood panels.
Cut the panels with a jigsaw to match the frames.

Now it’s time to finish up the frames.
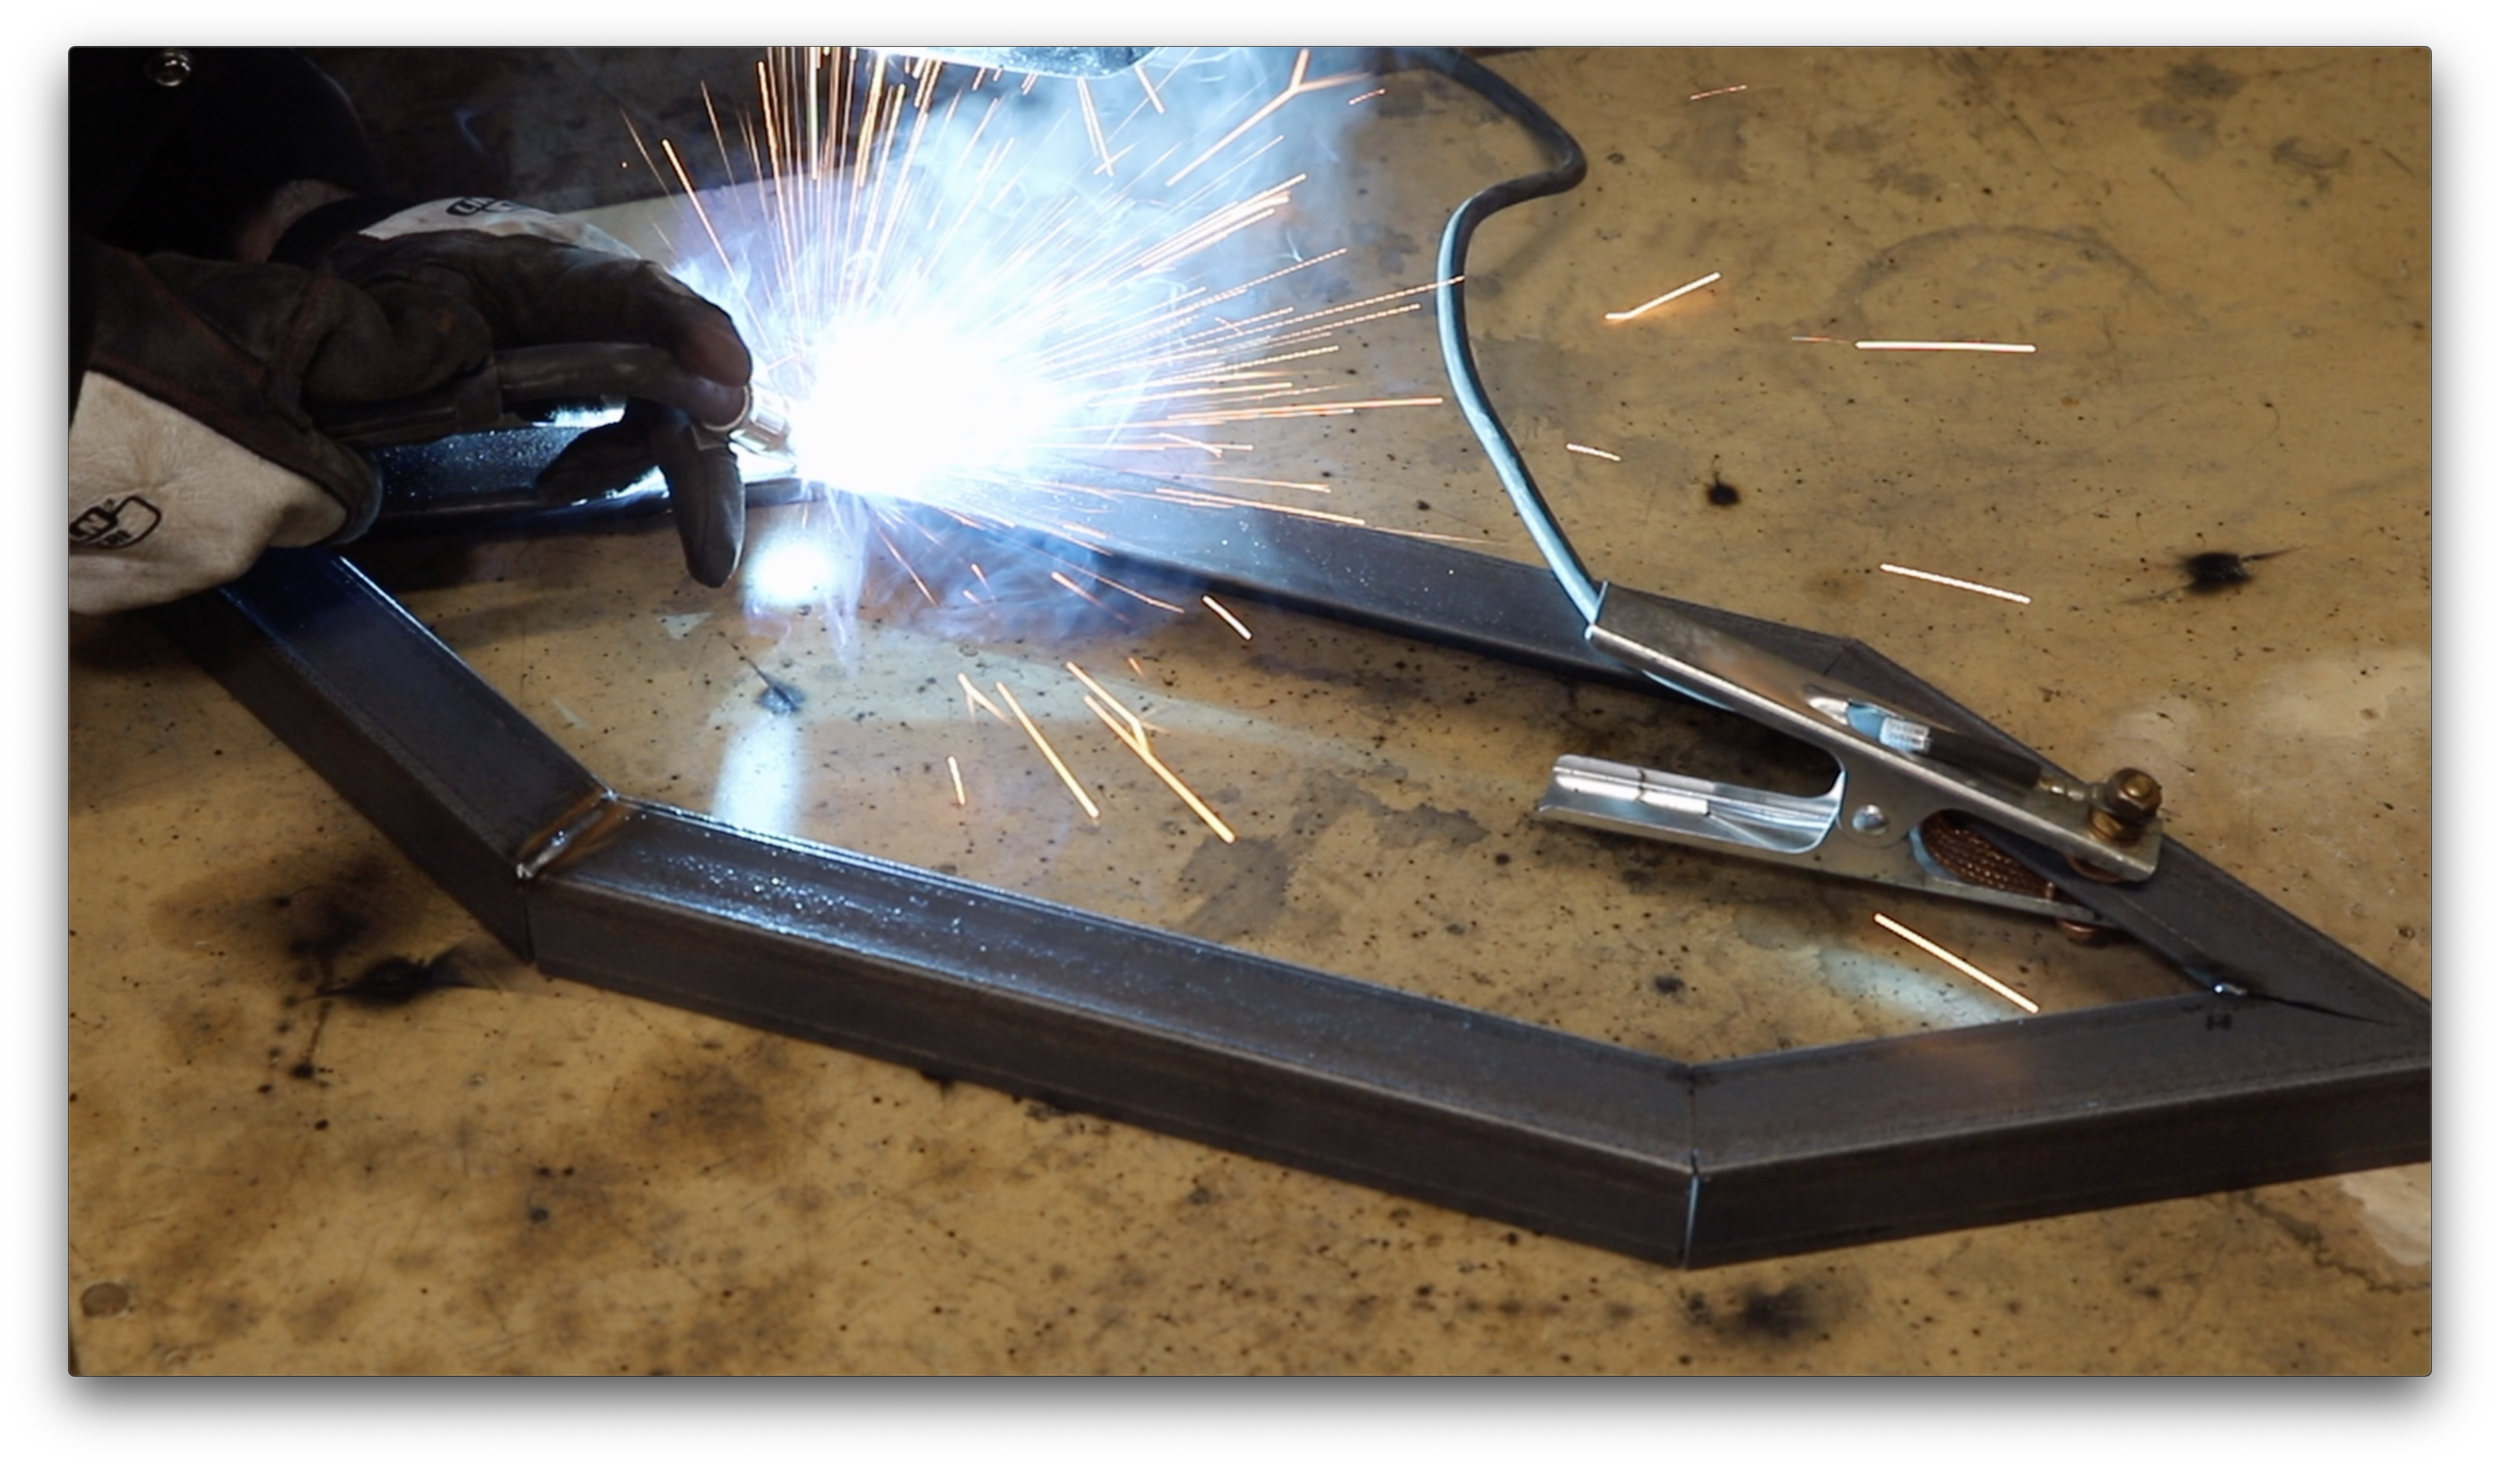
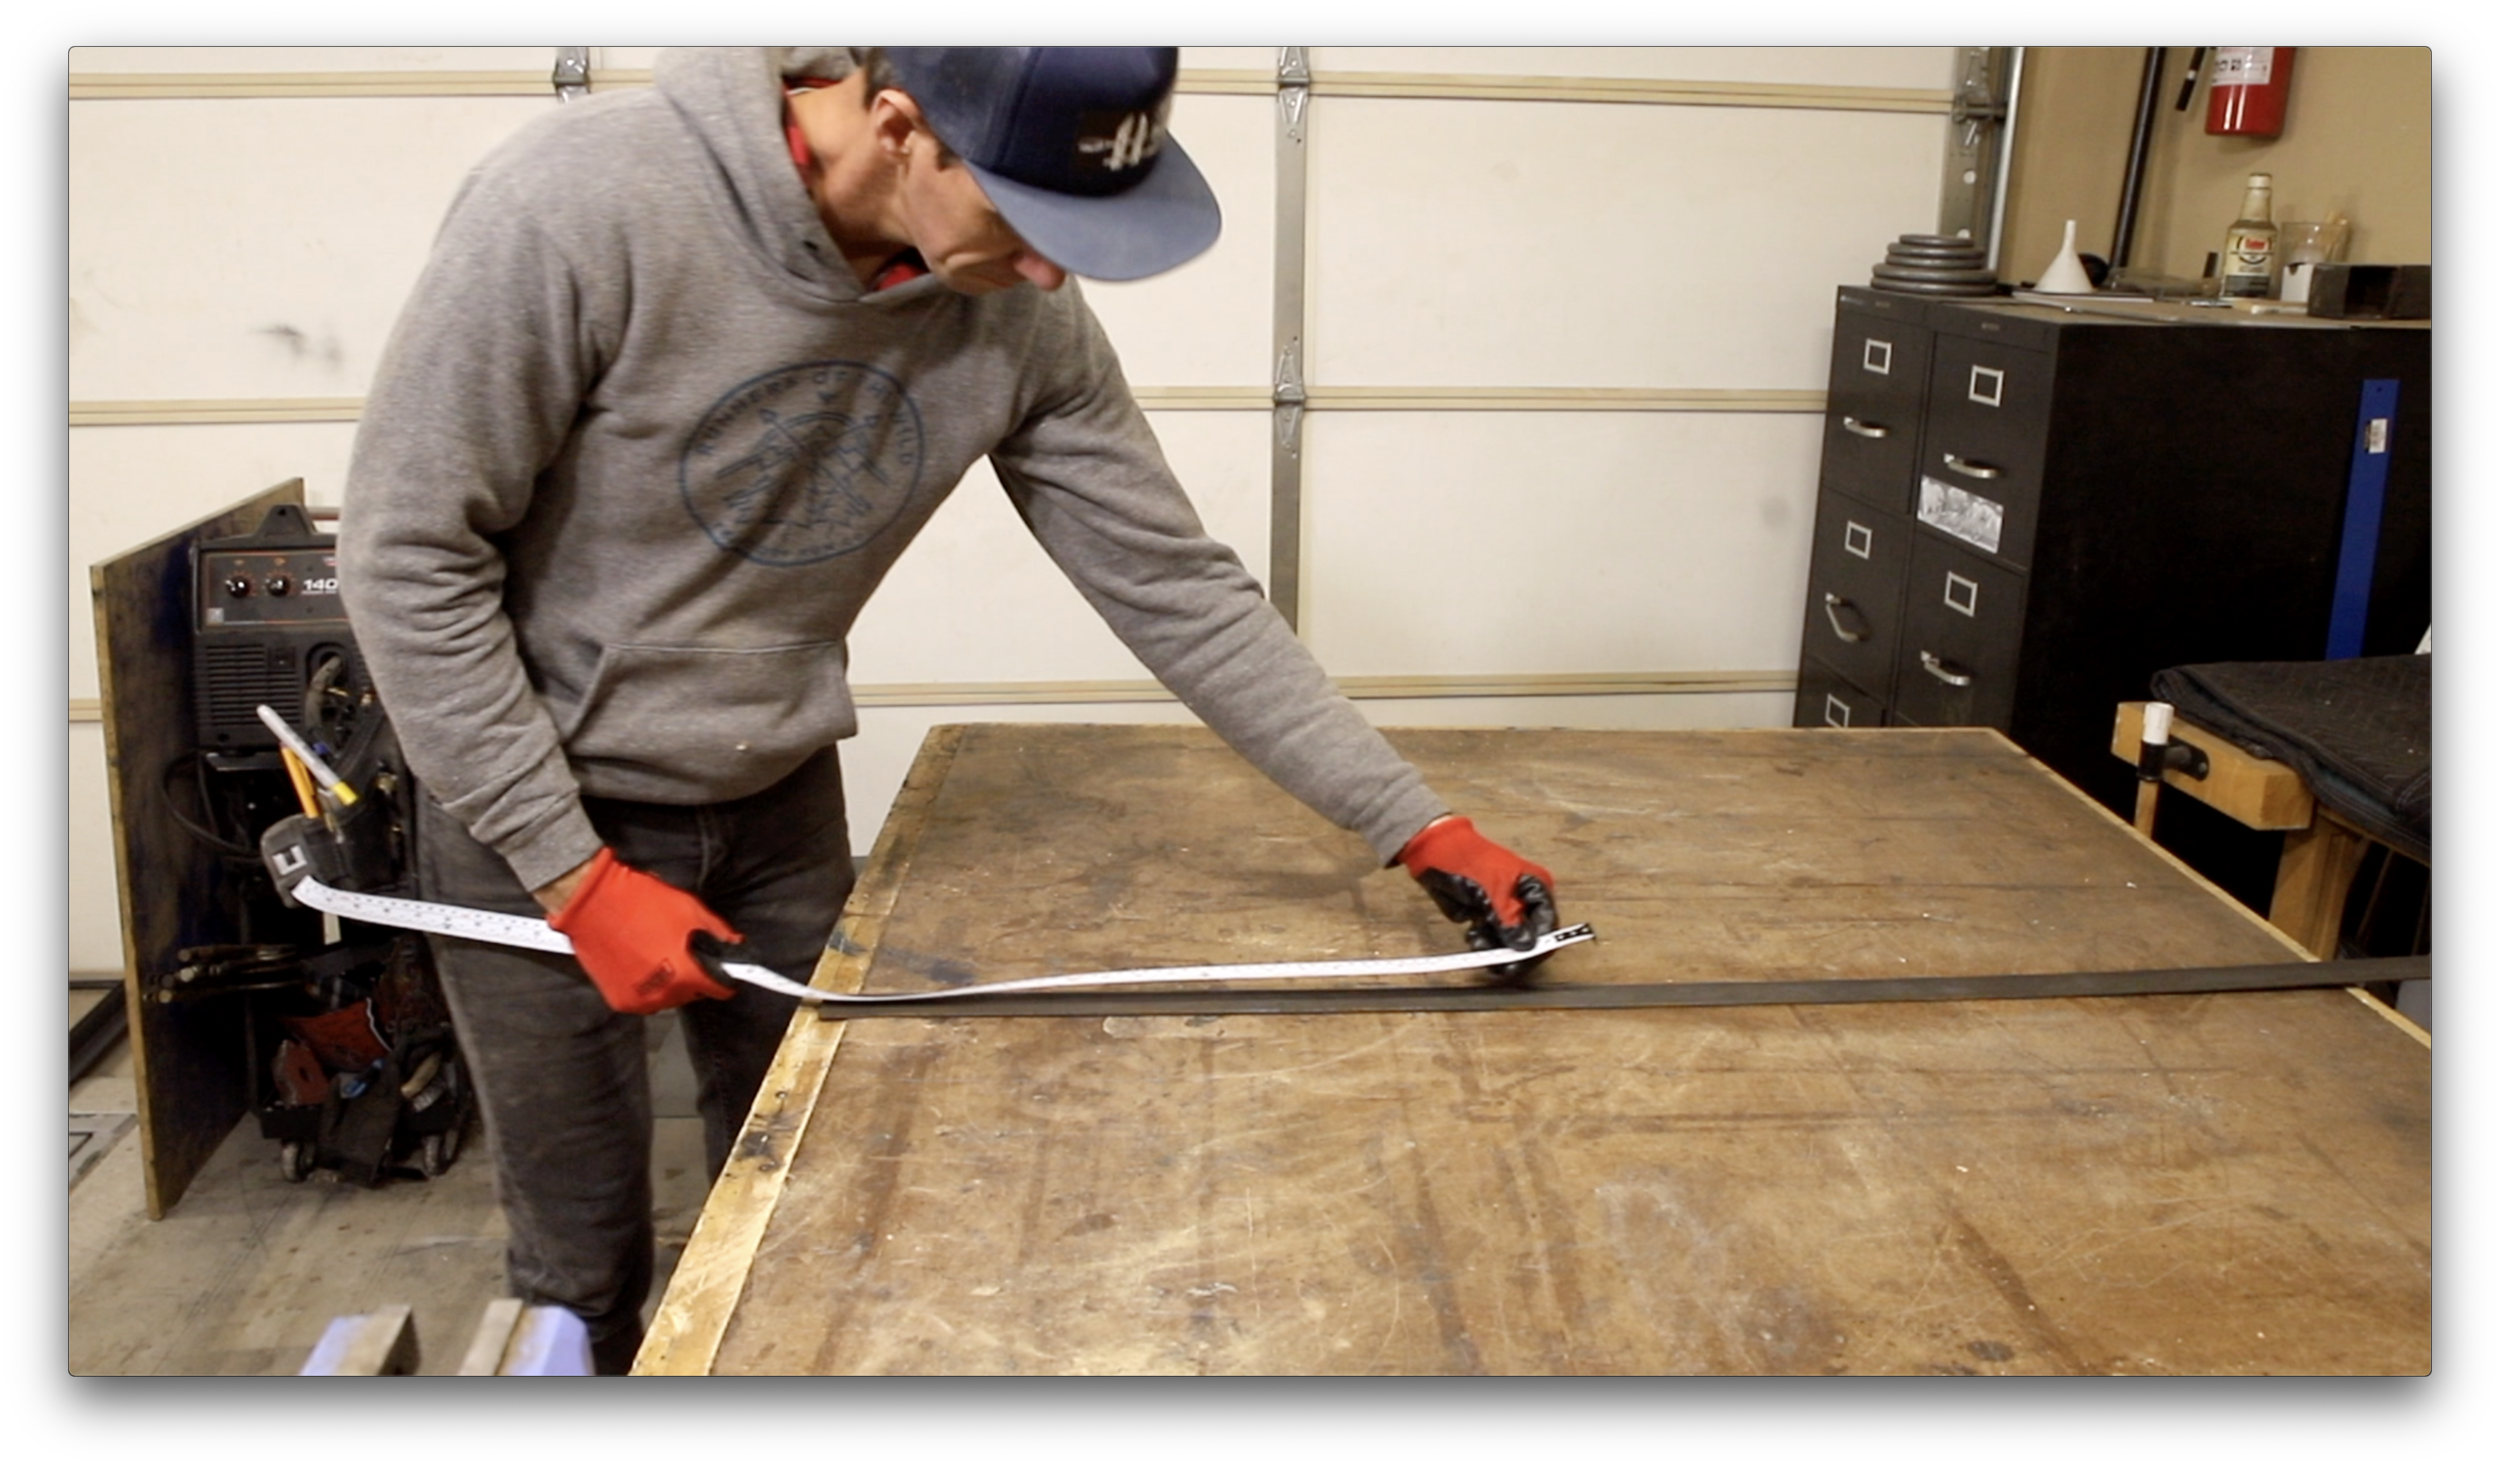
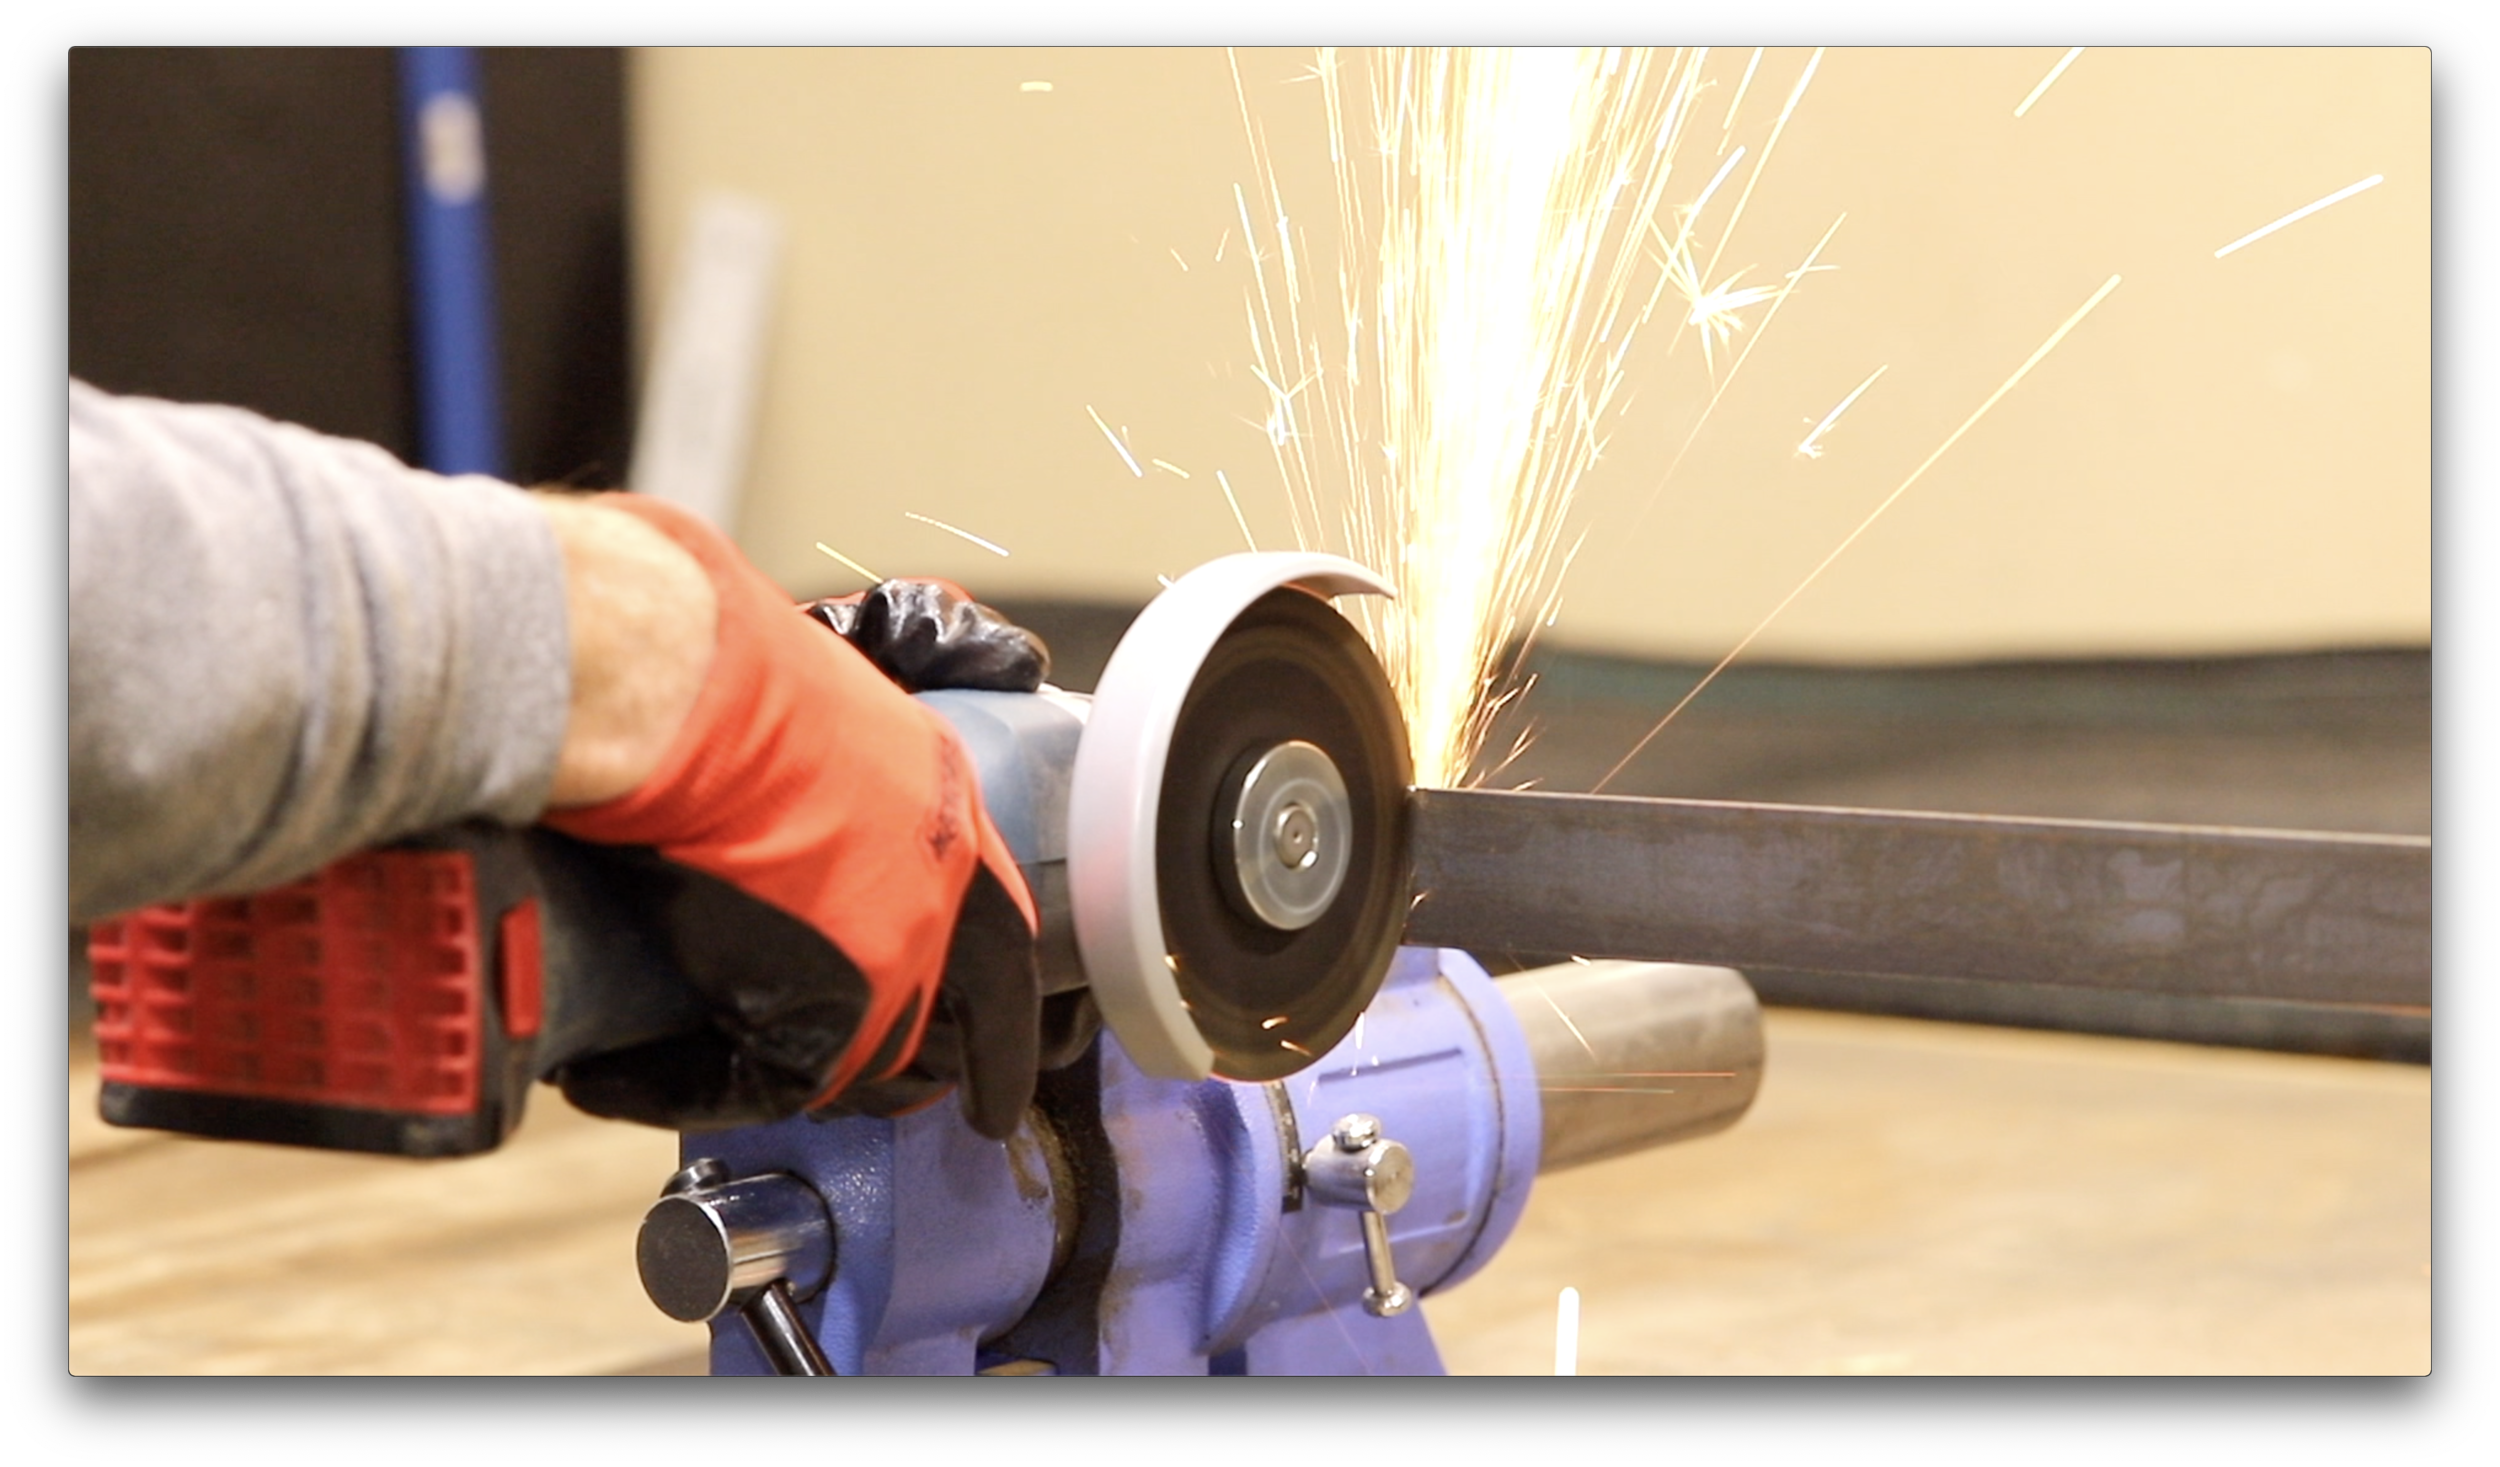
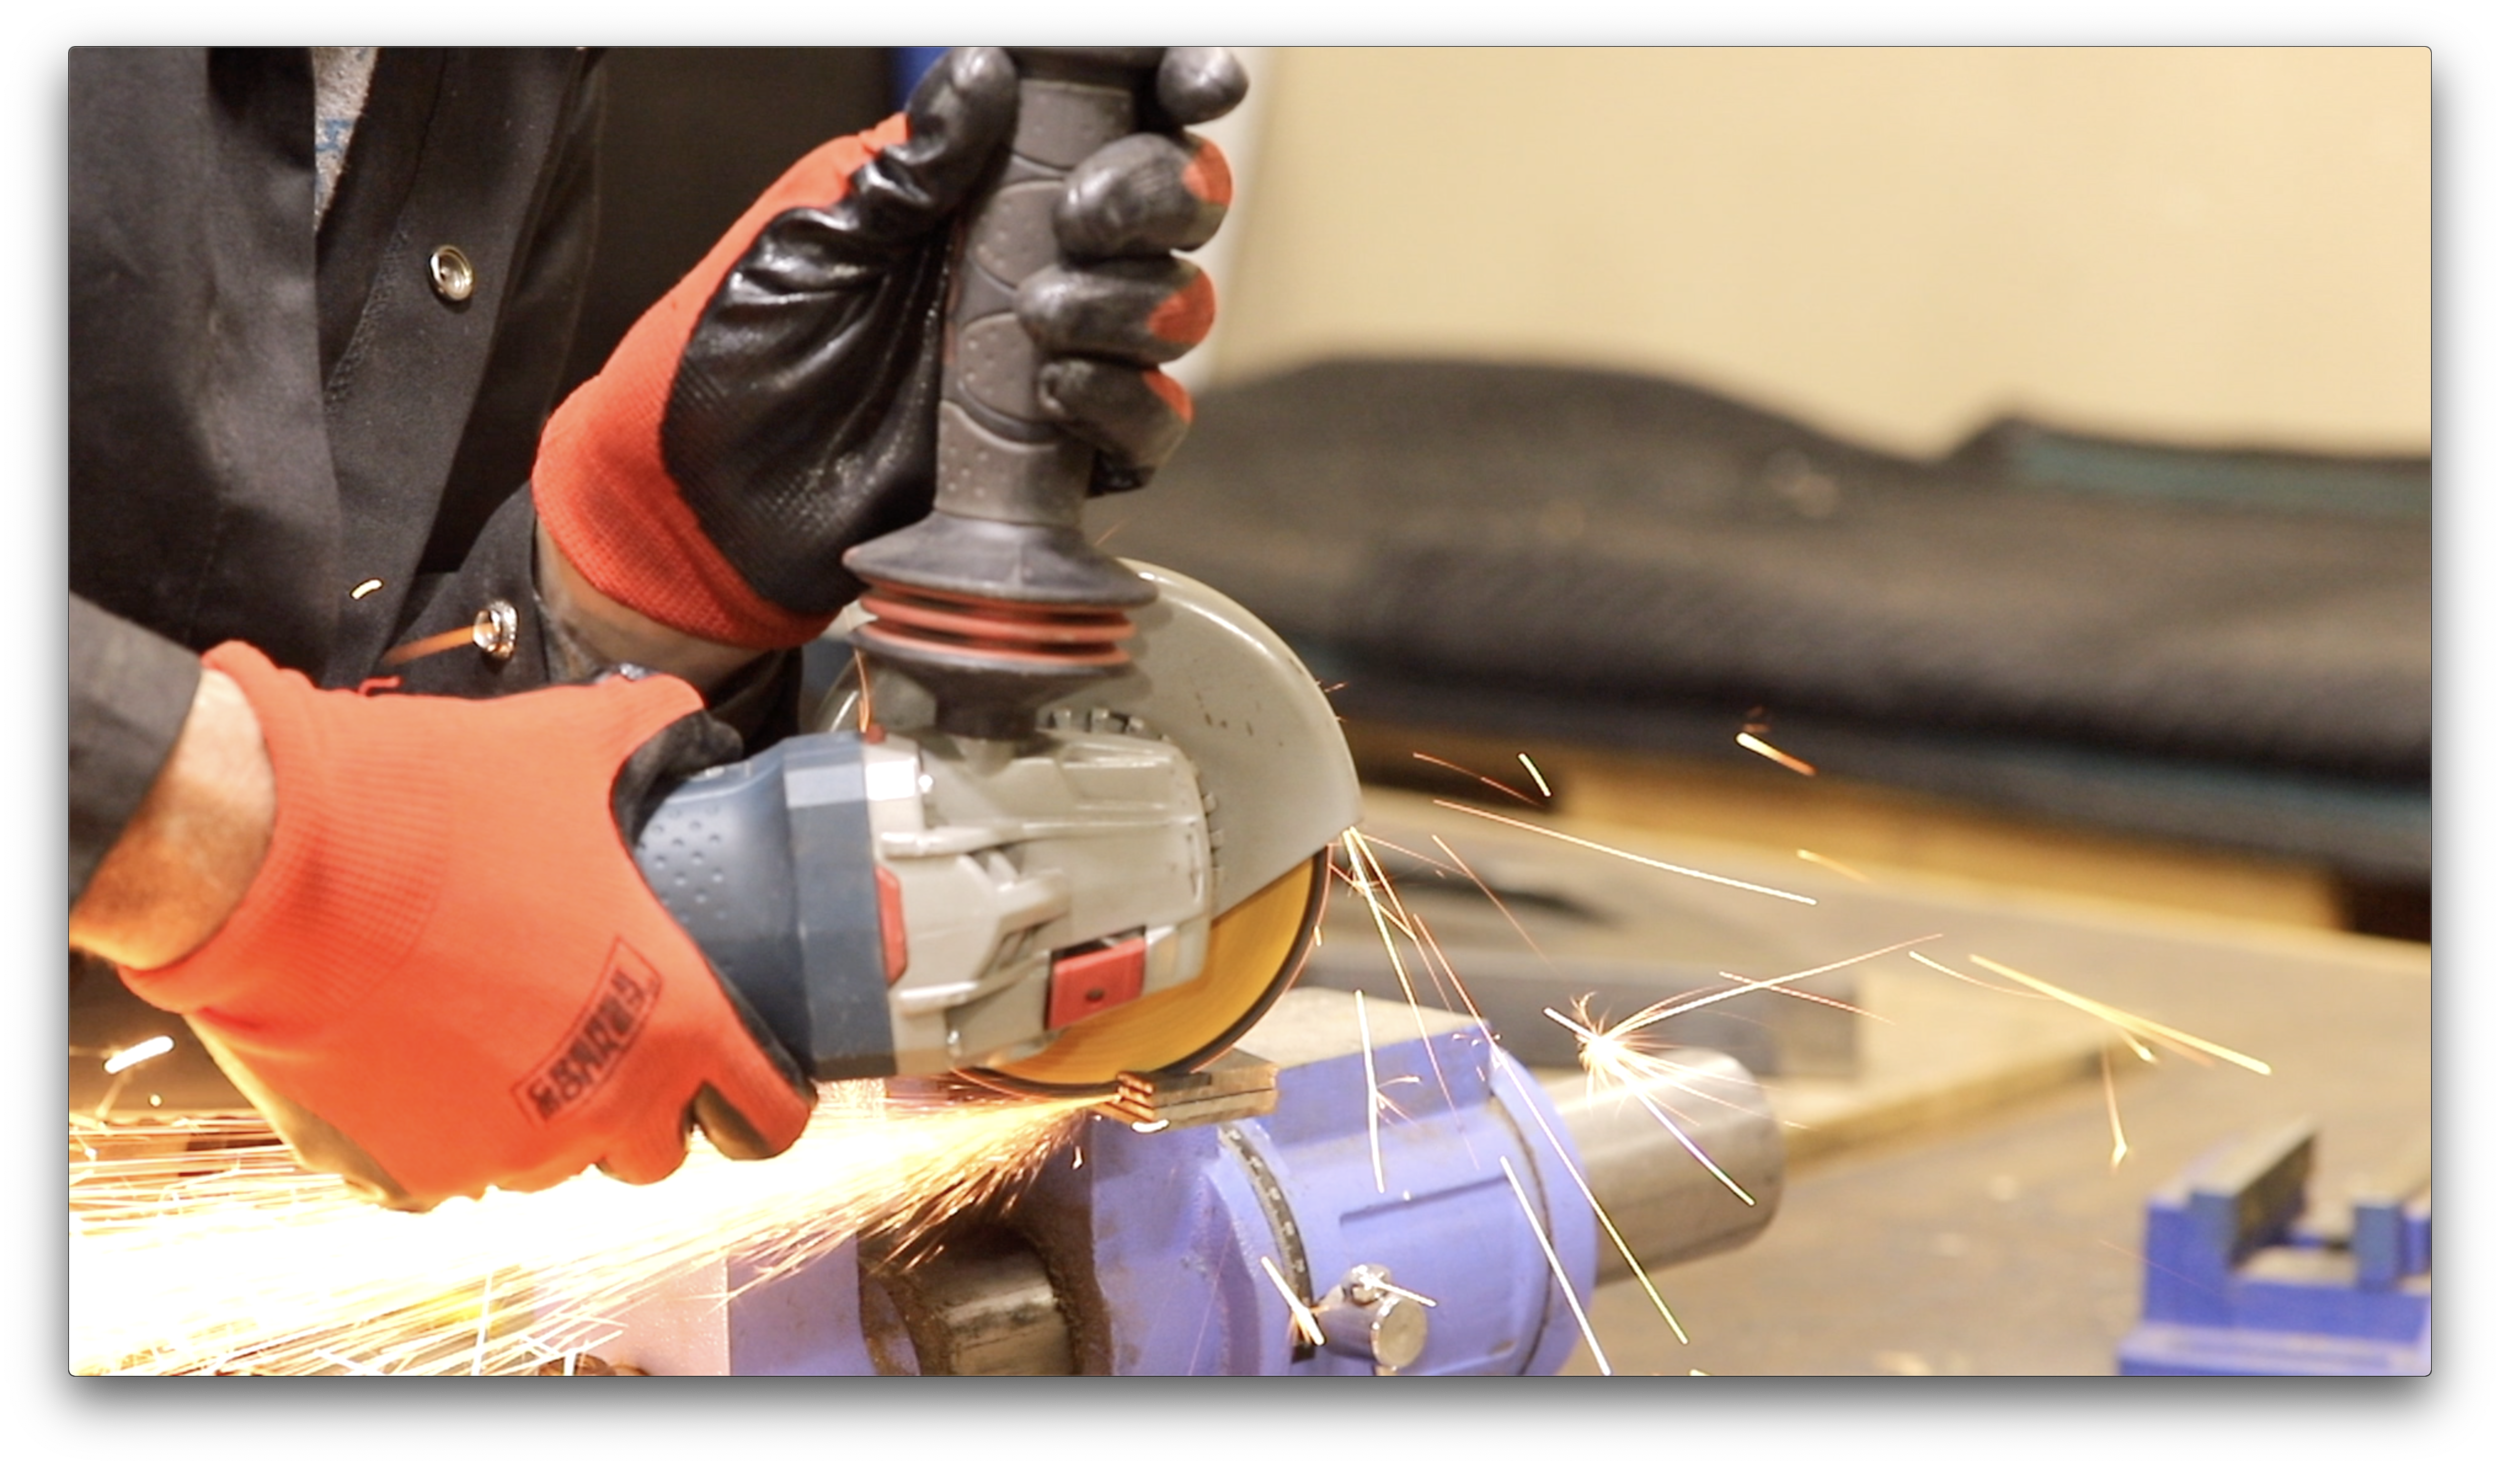
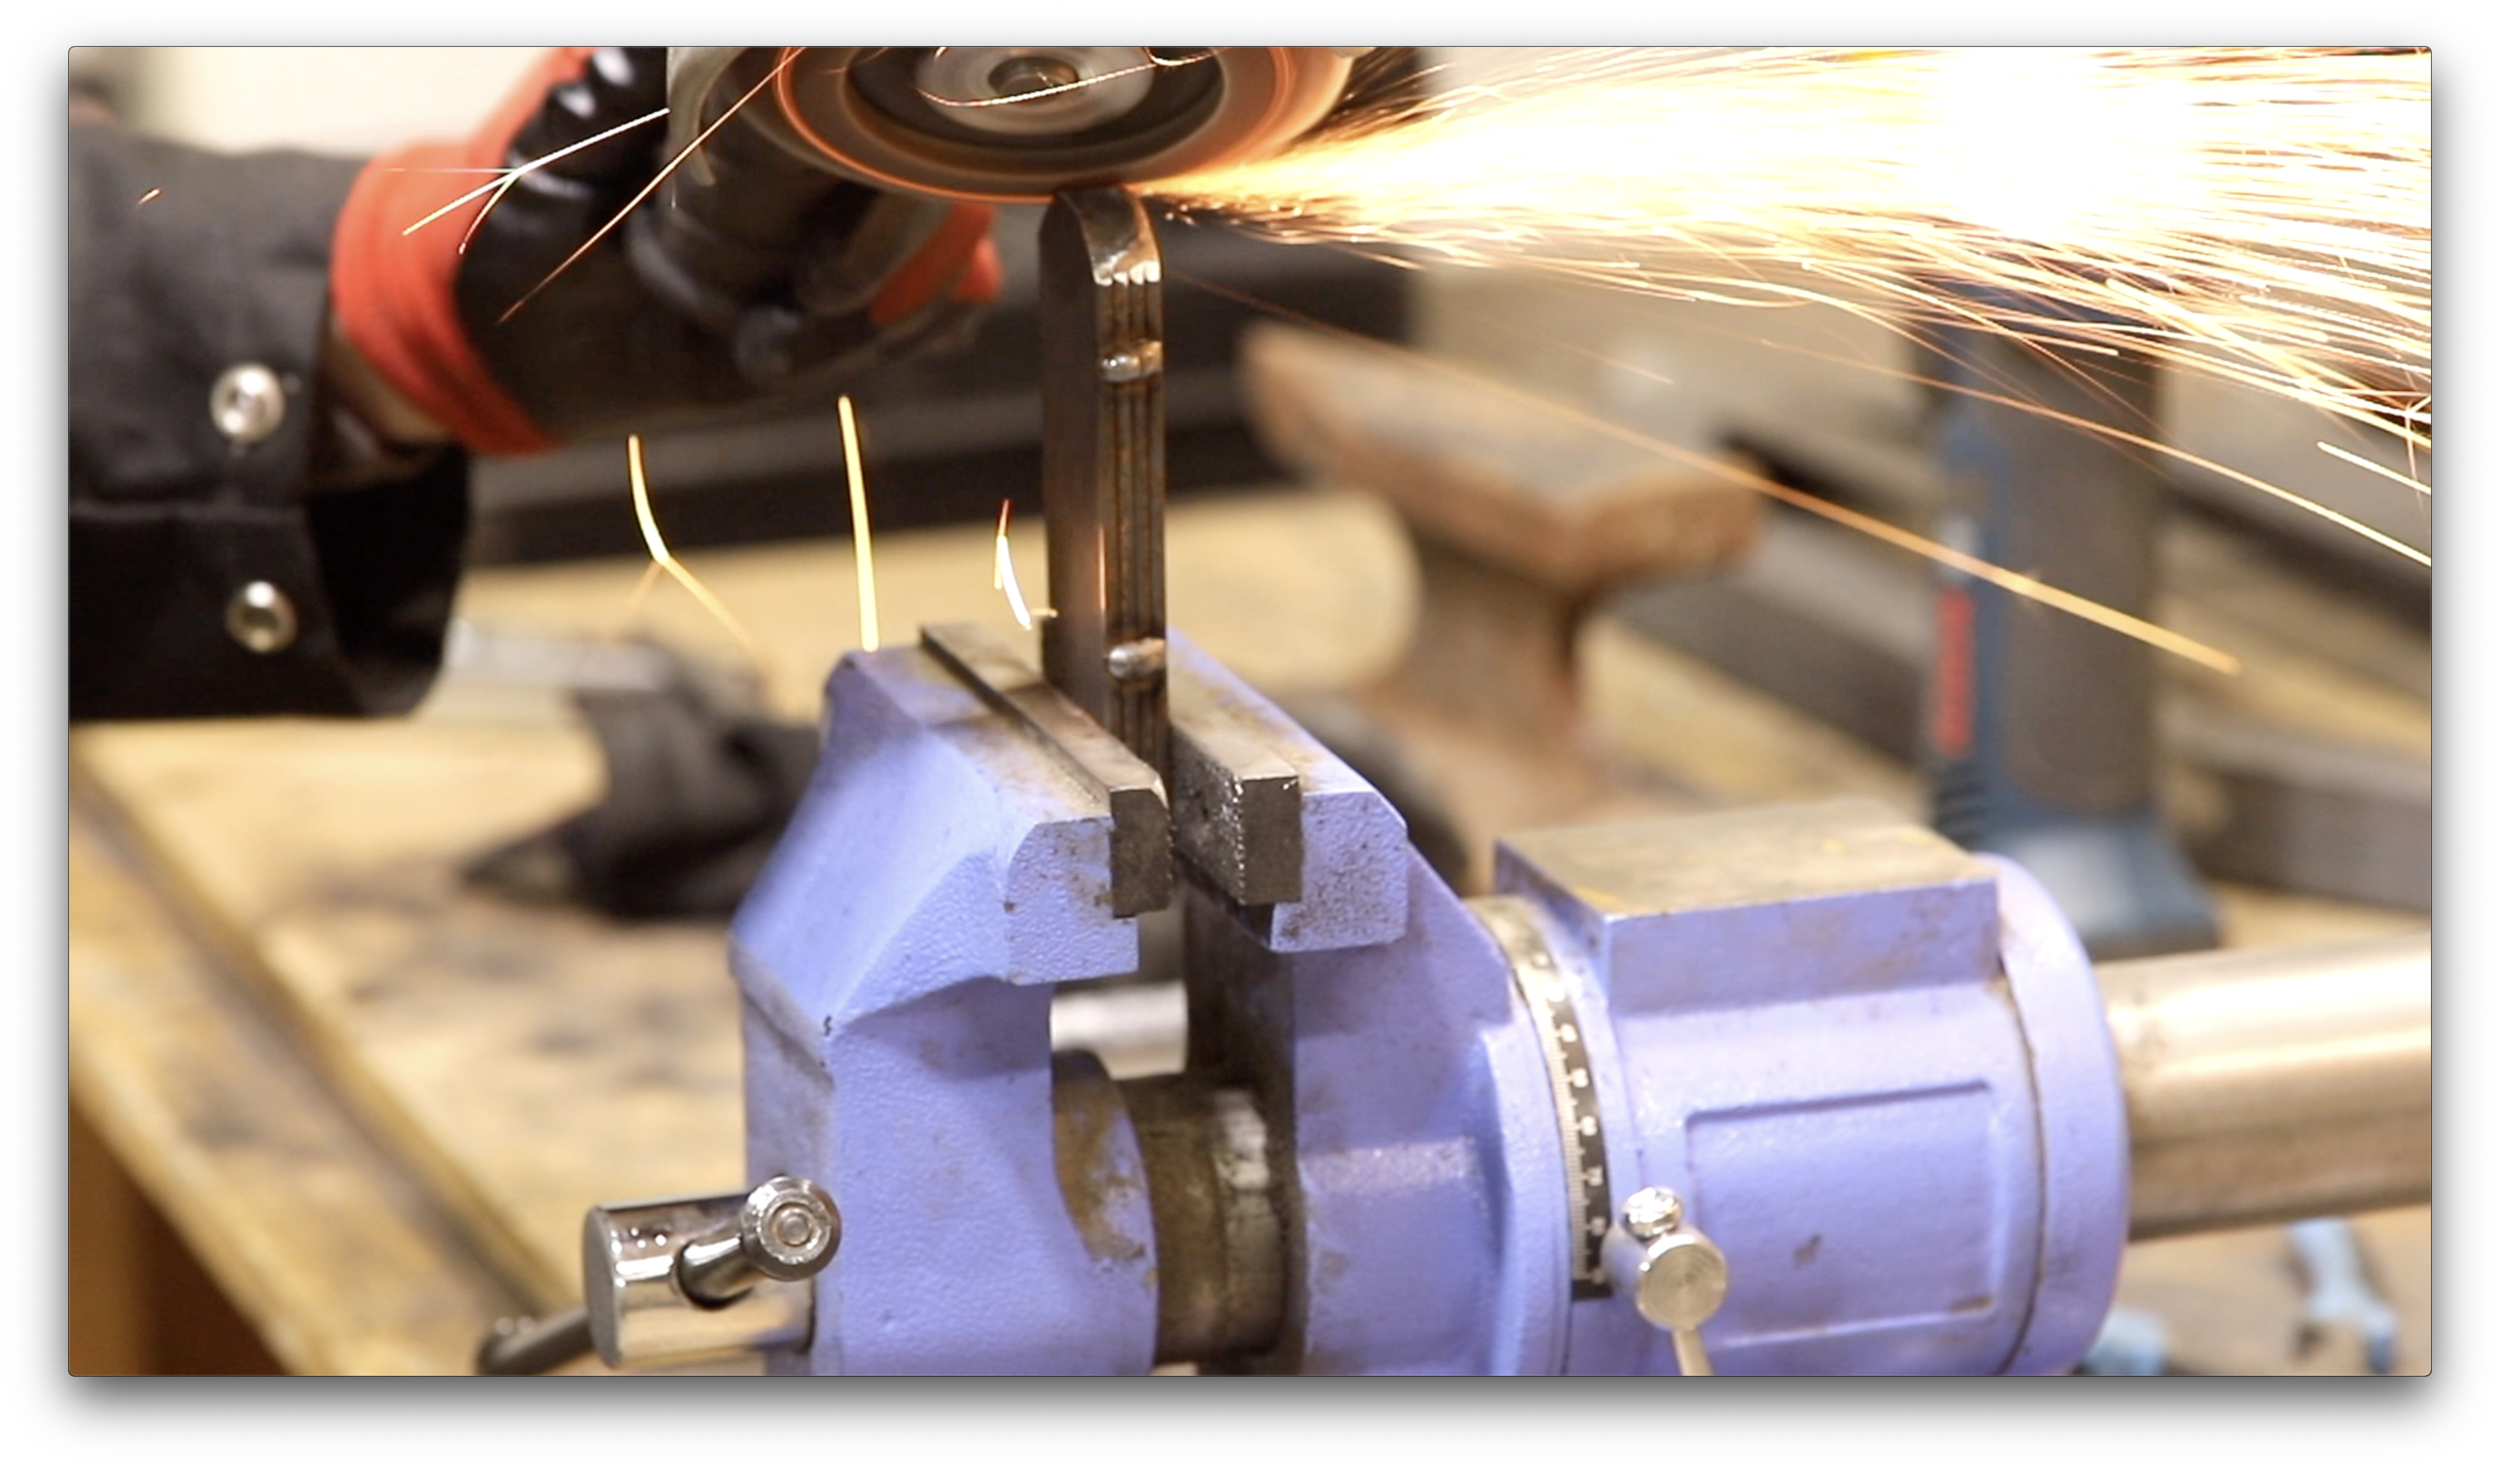
Cut two pieces of 1.5” flat bar steel to 28 inches long. I use an angle grinder and a cut off disc to do this.
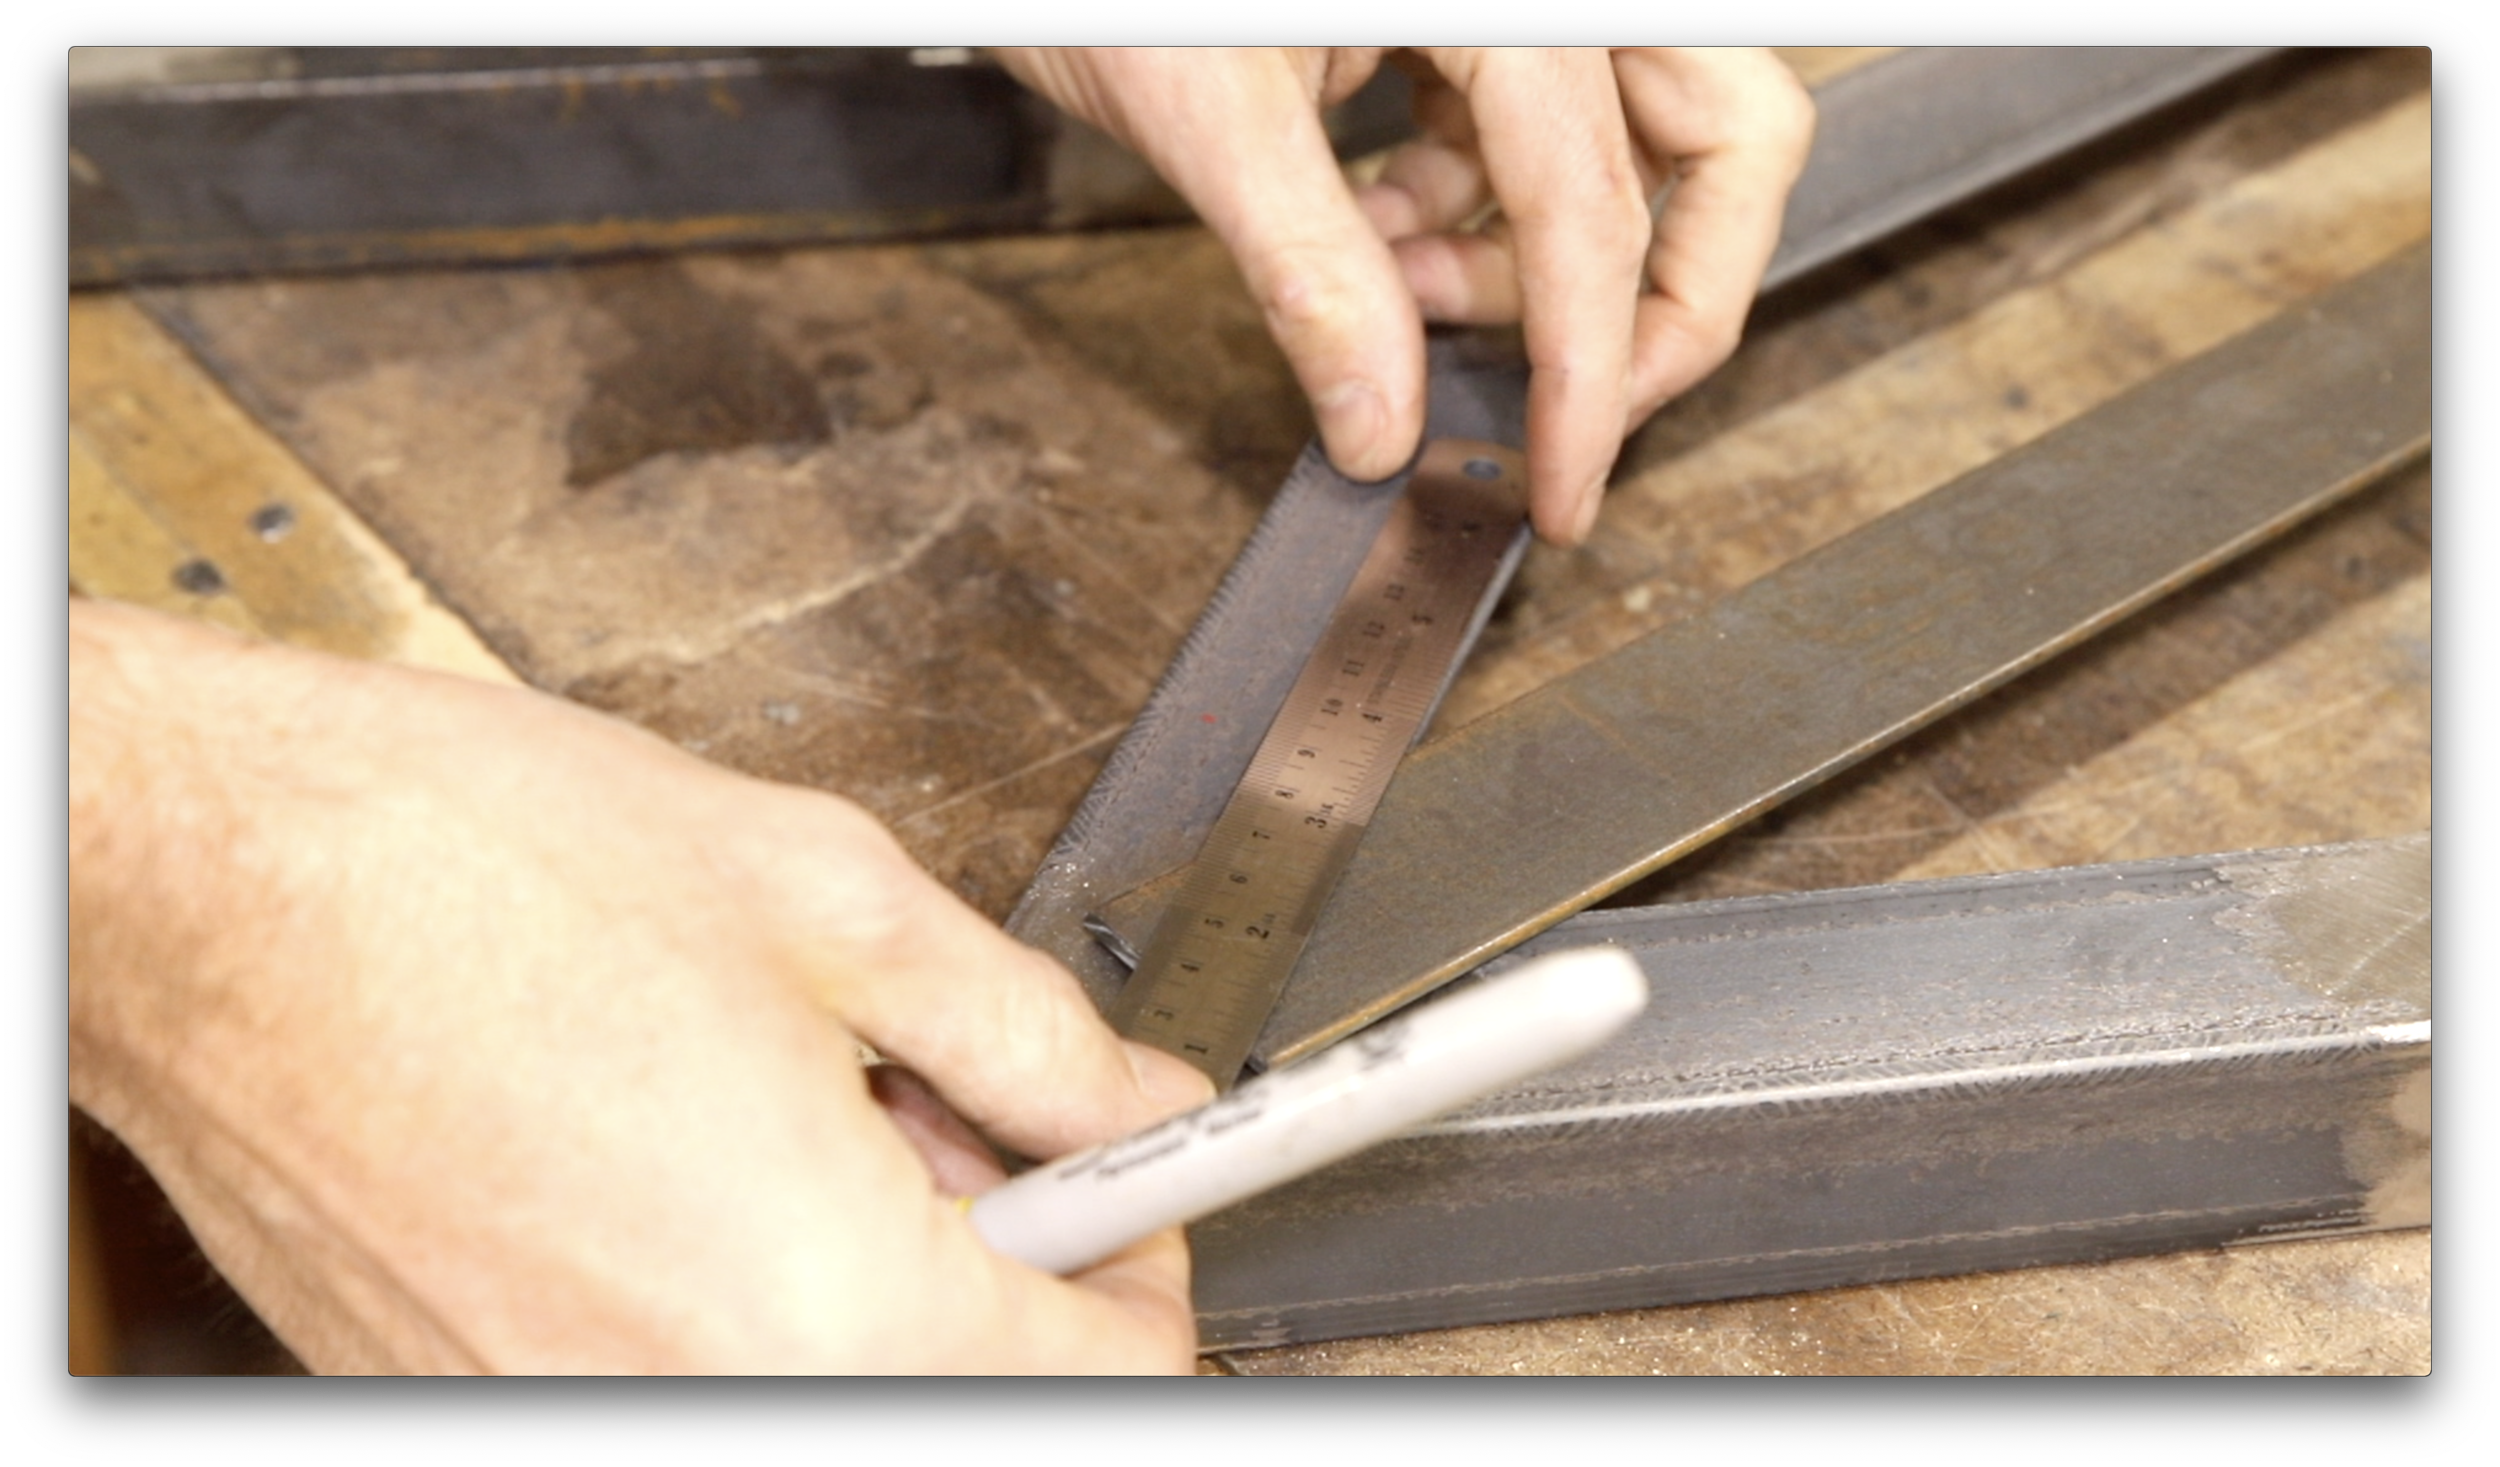
Use a straight edge to mark the angles of the frame on the center bar, and then cut the angles with a cut off disc.
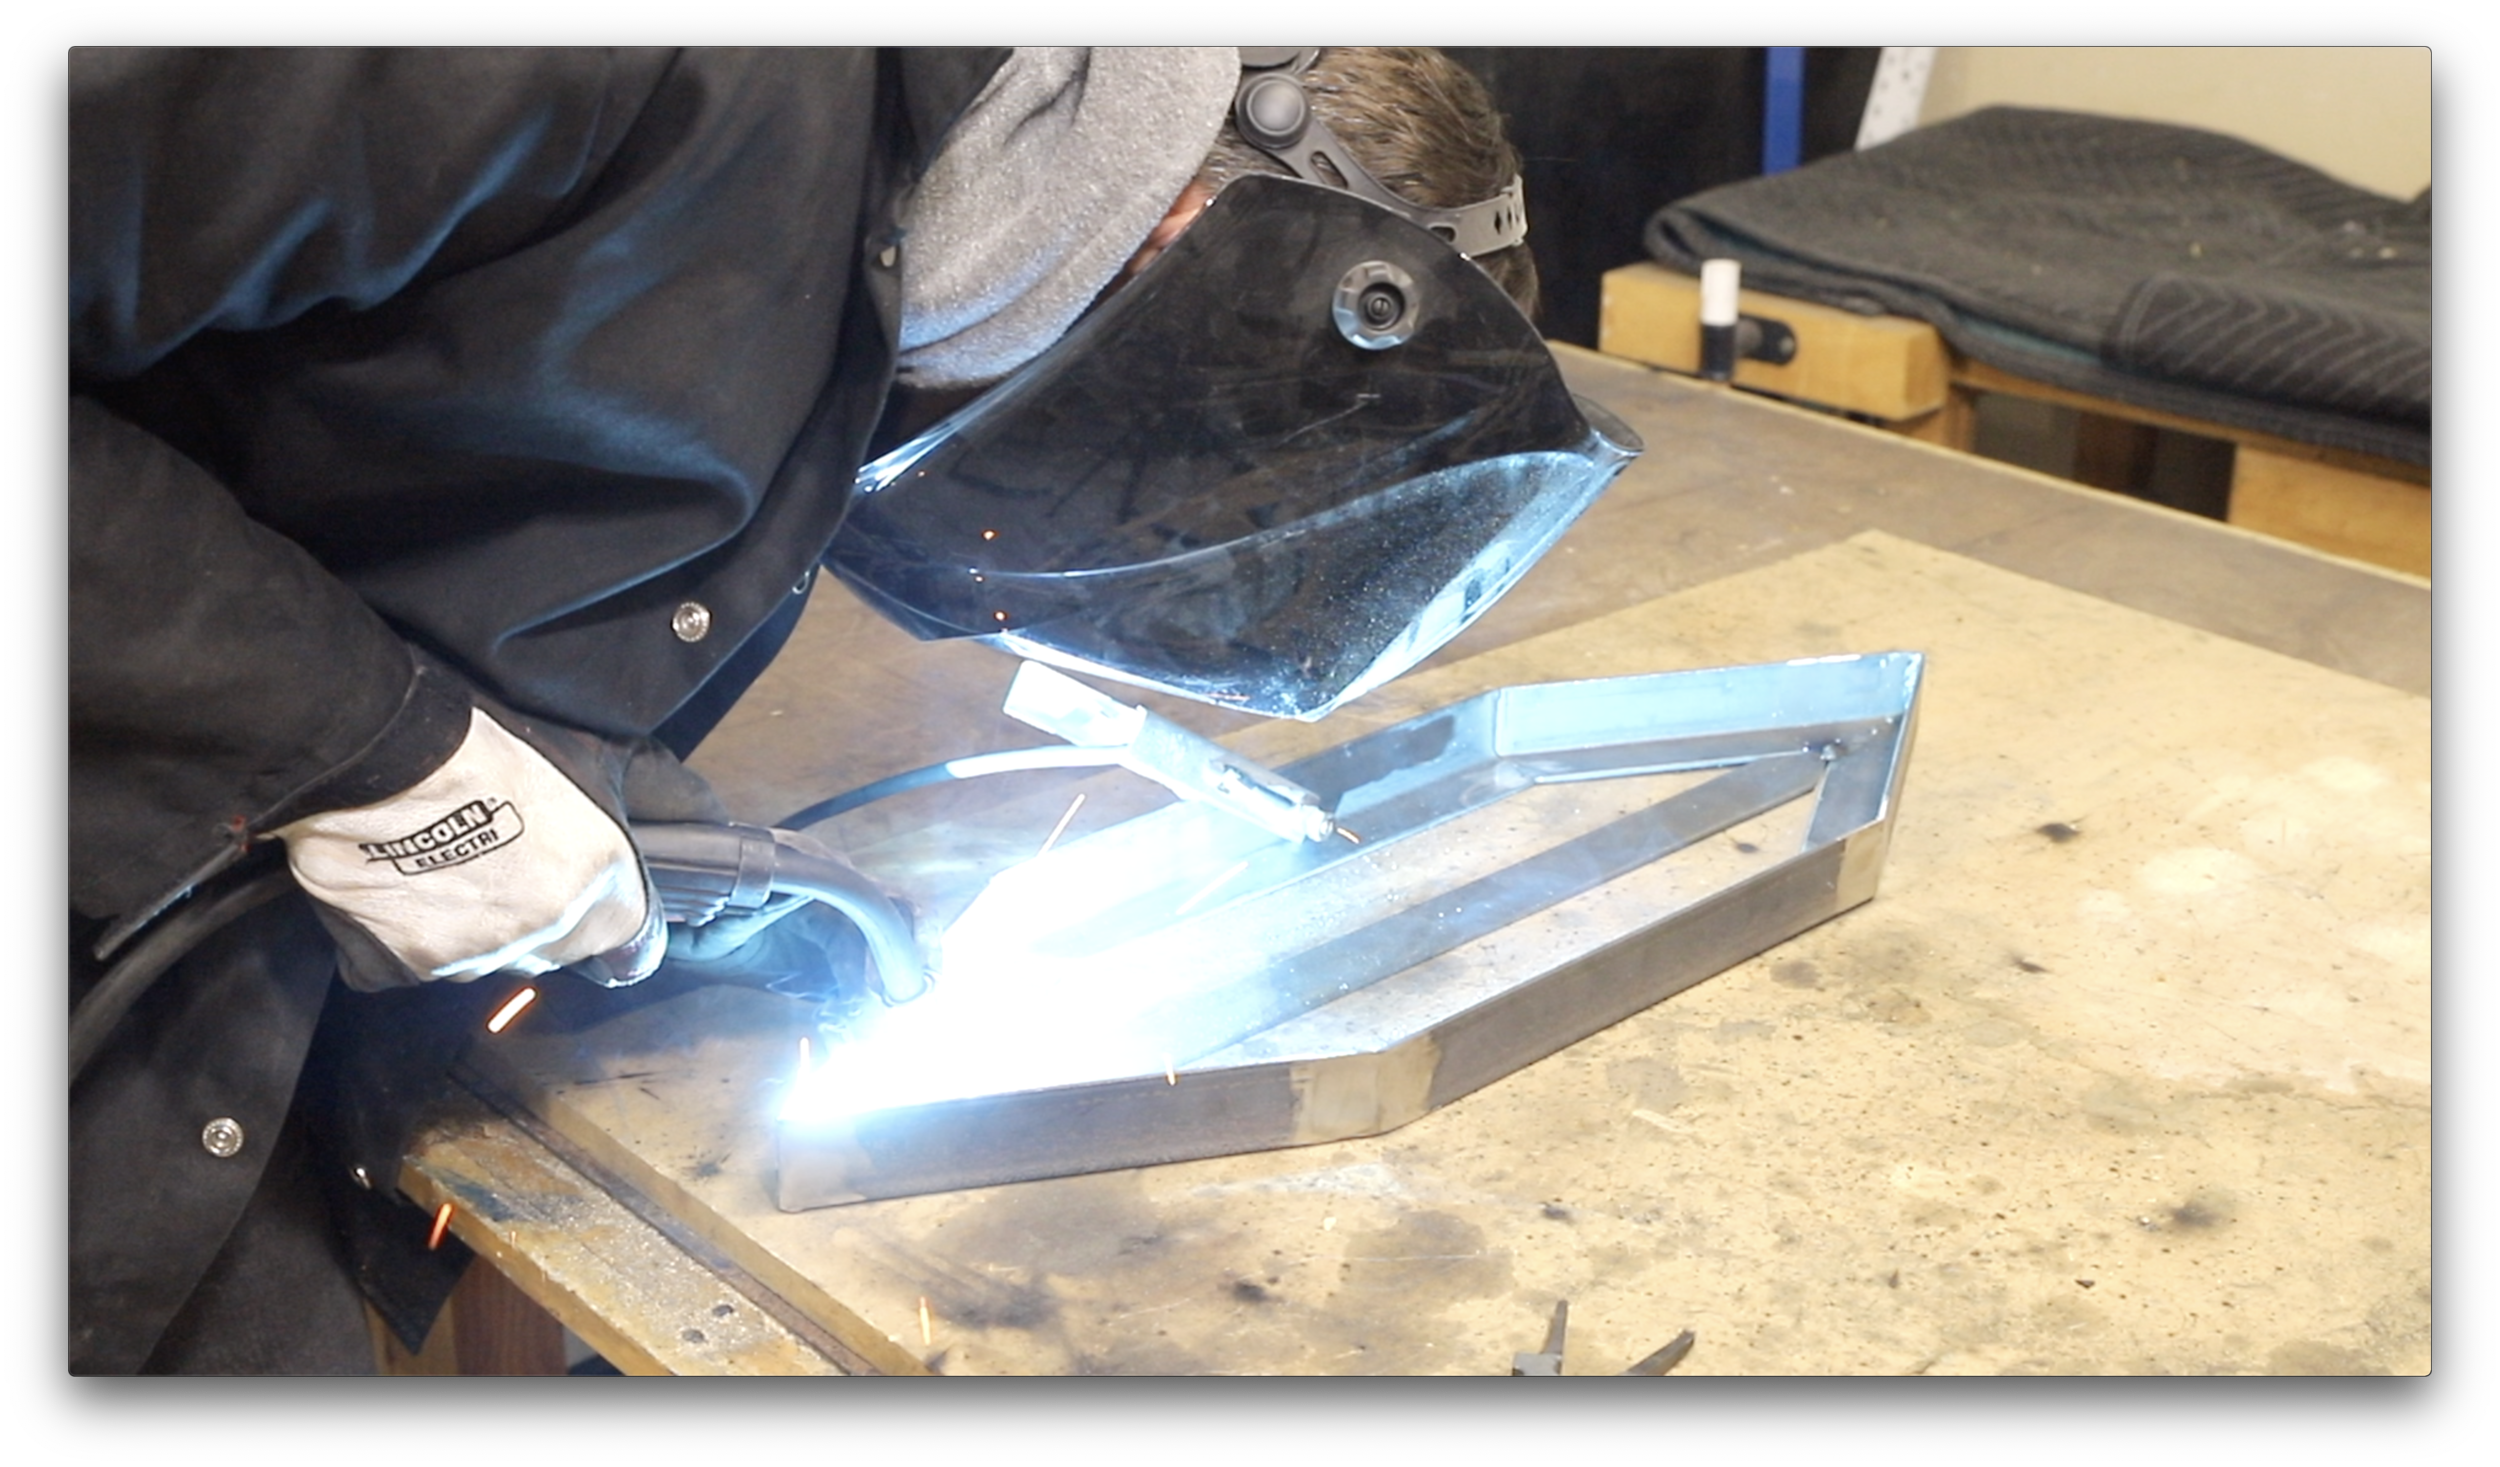
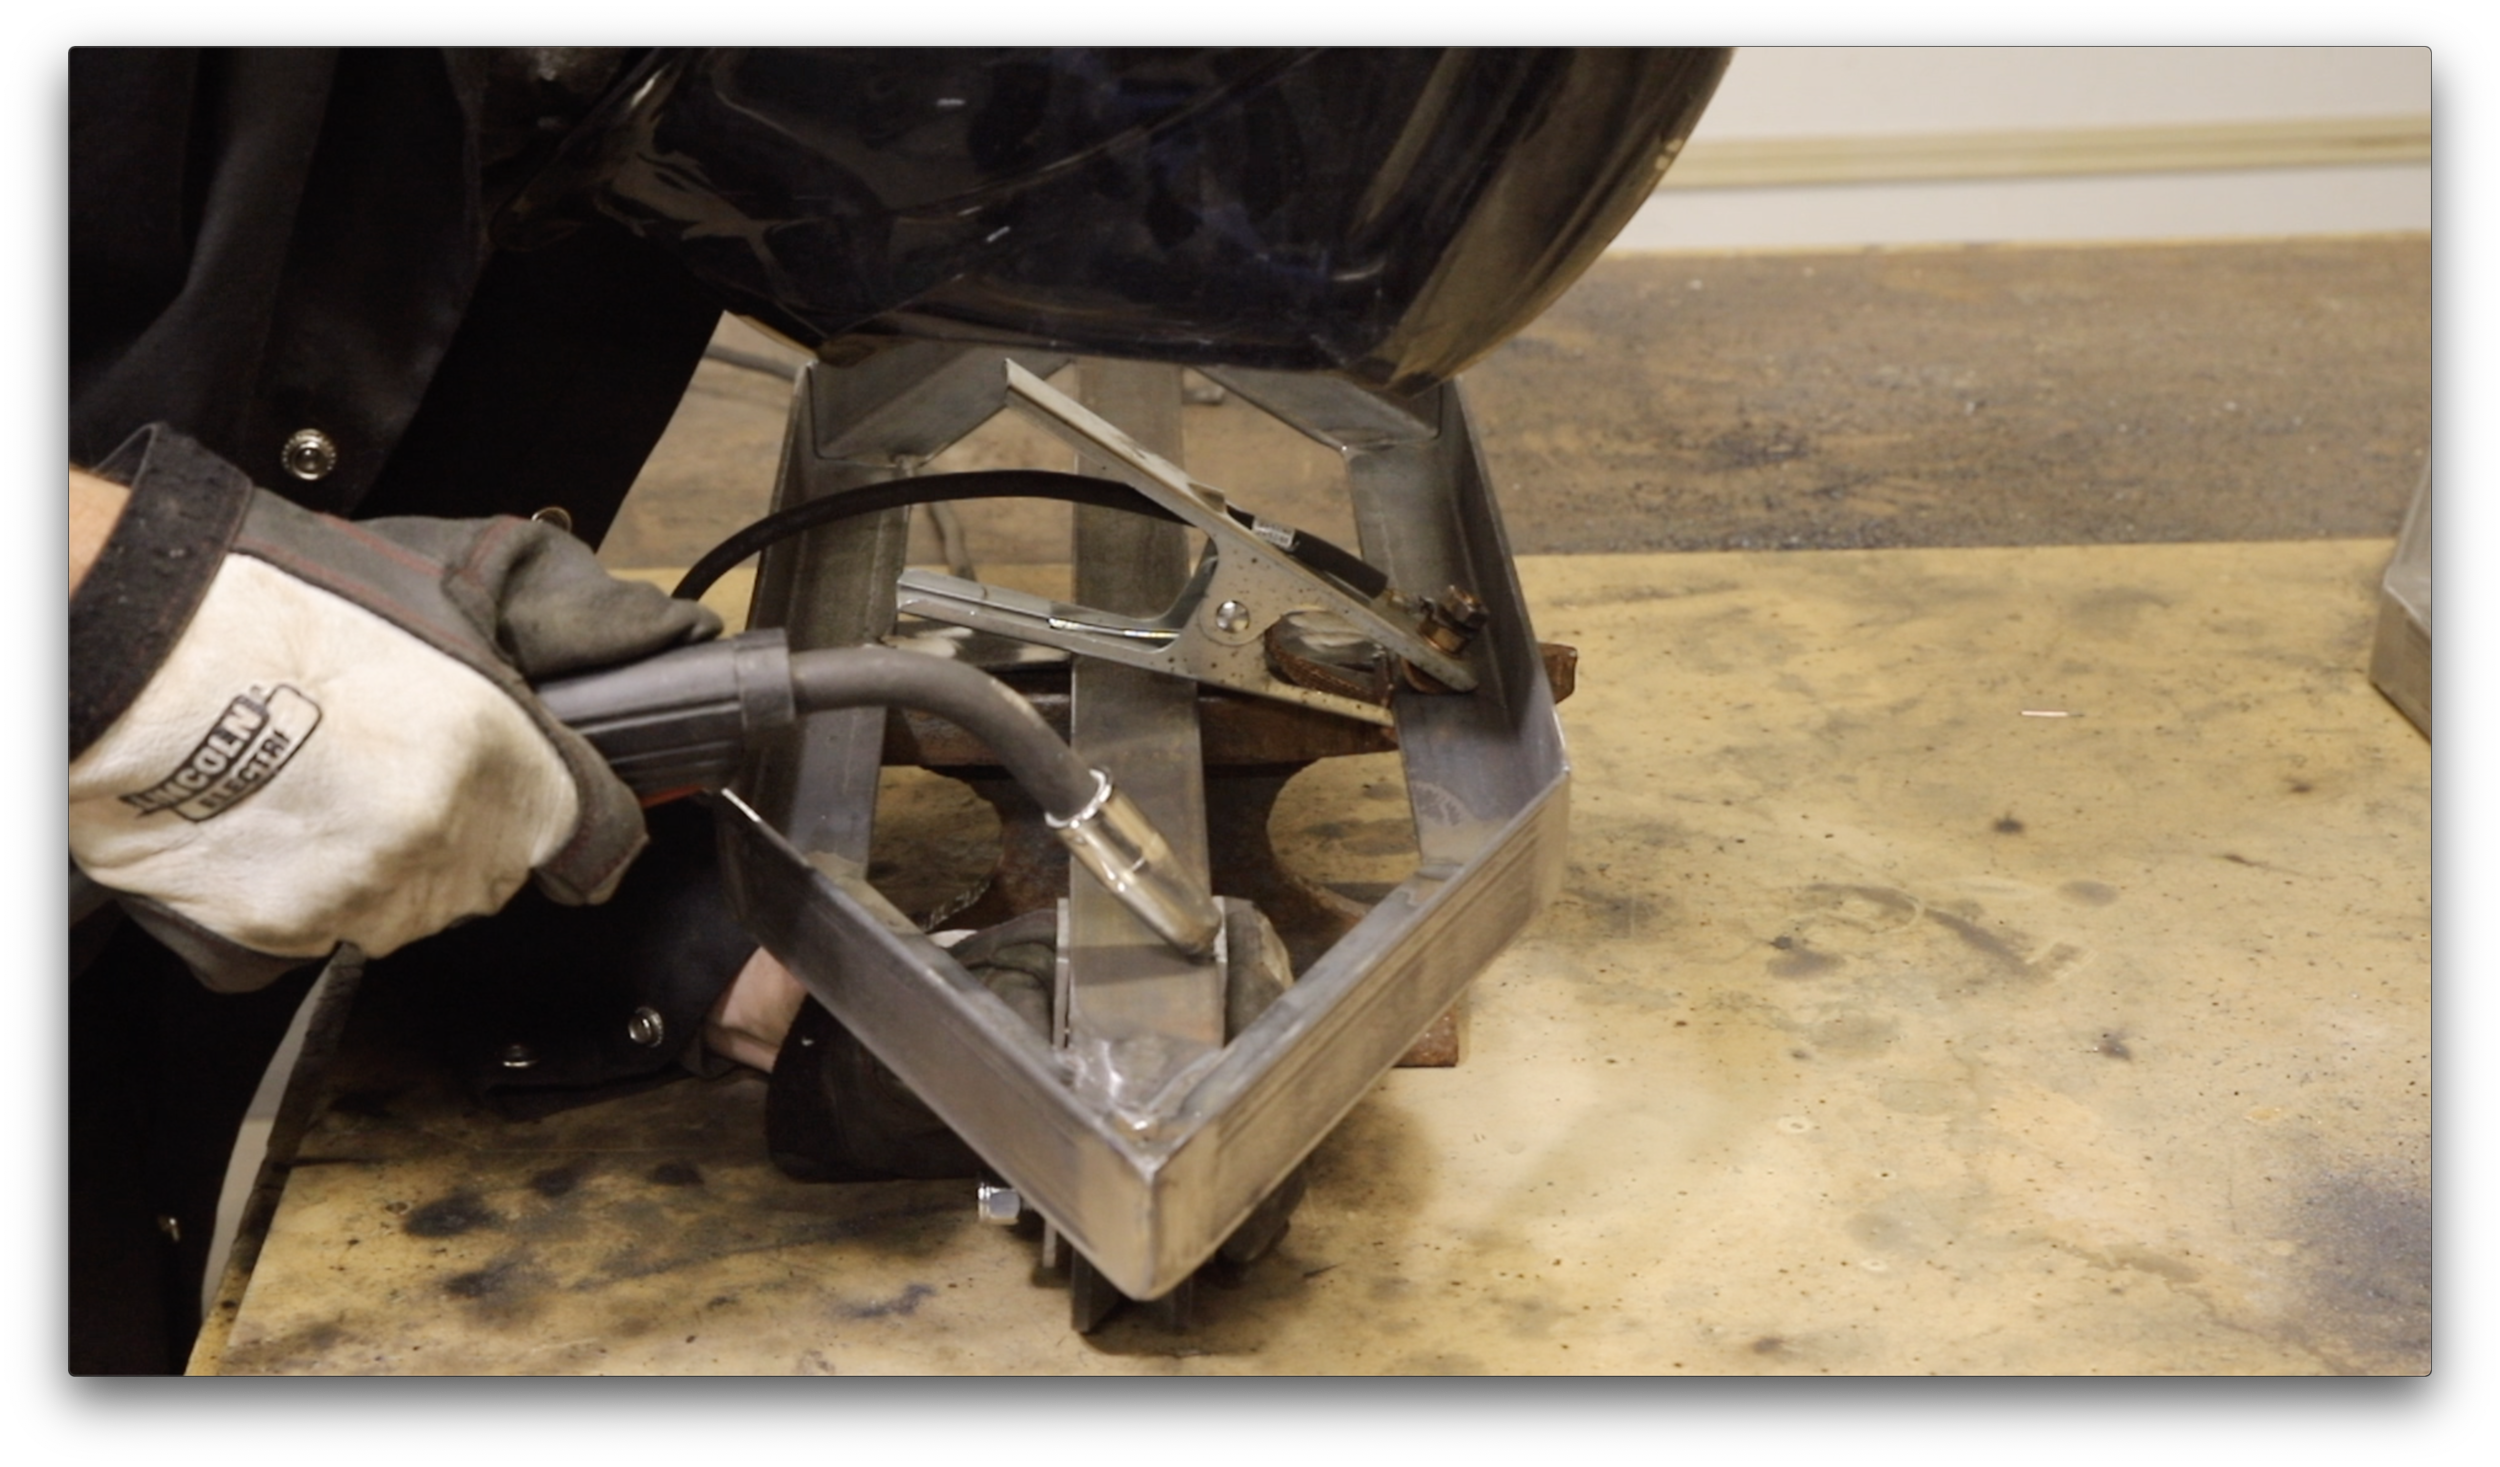
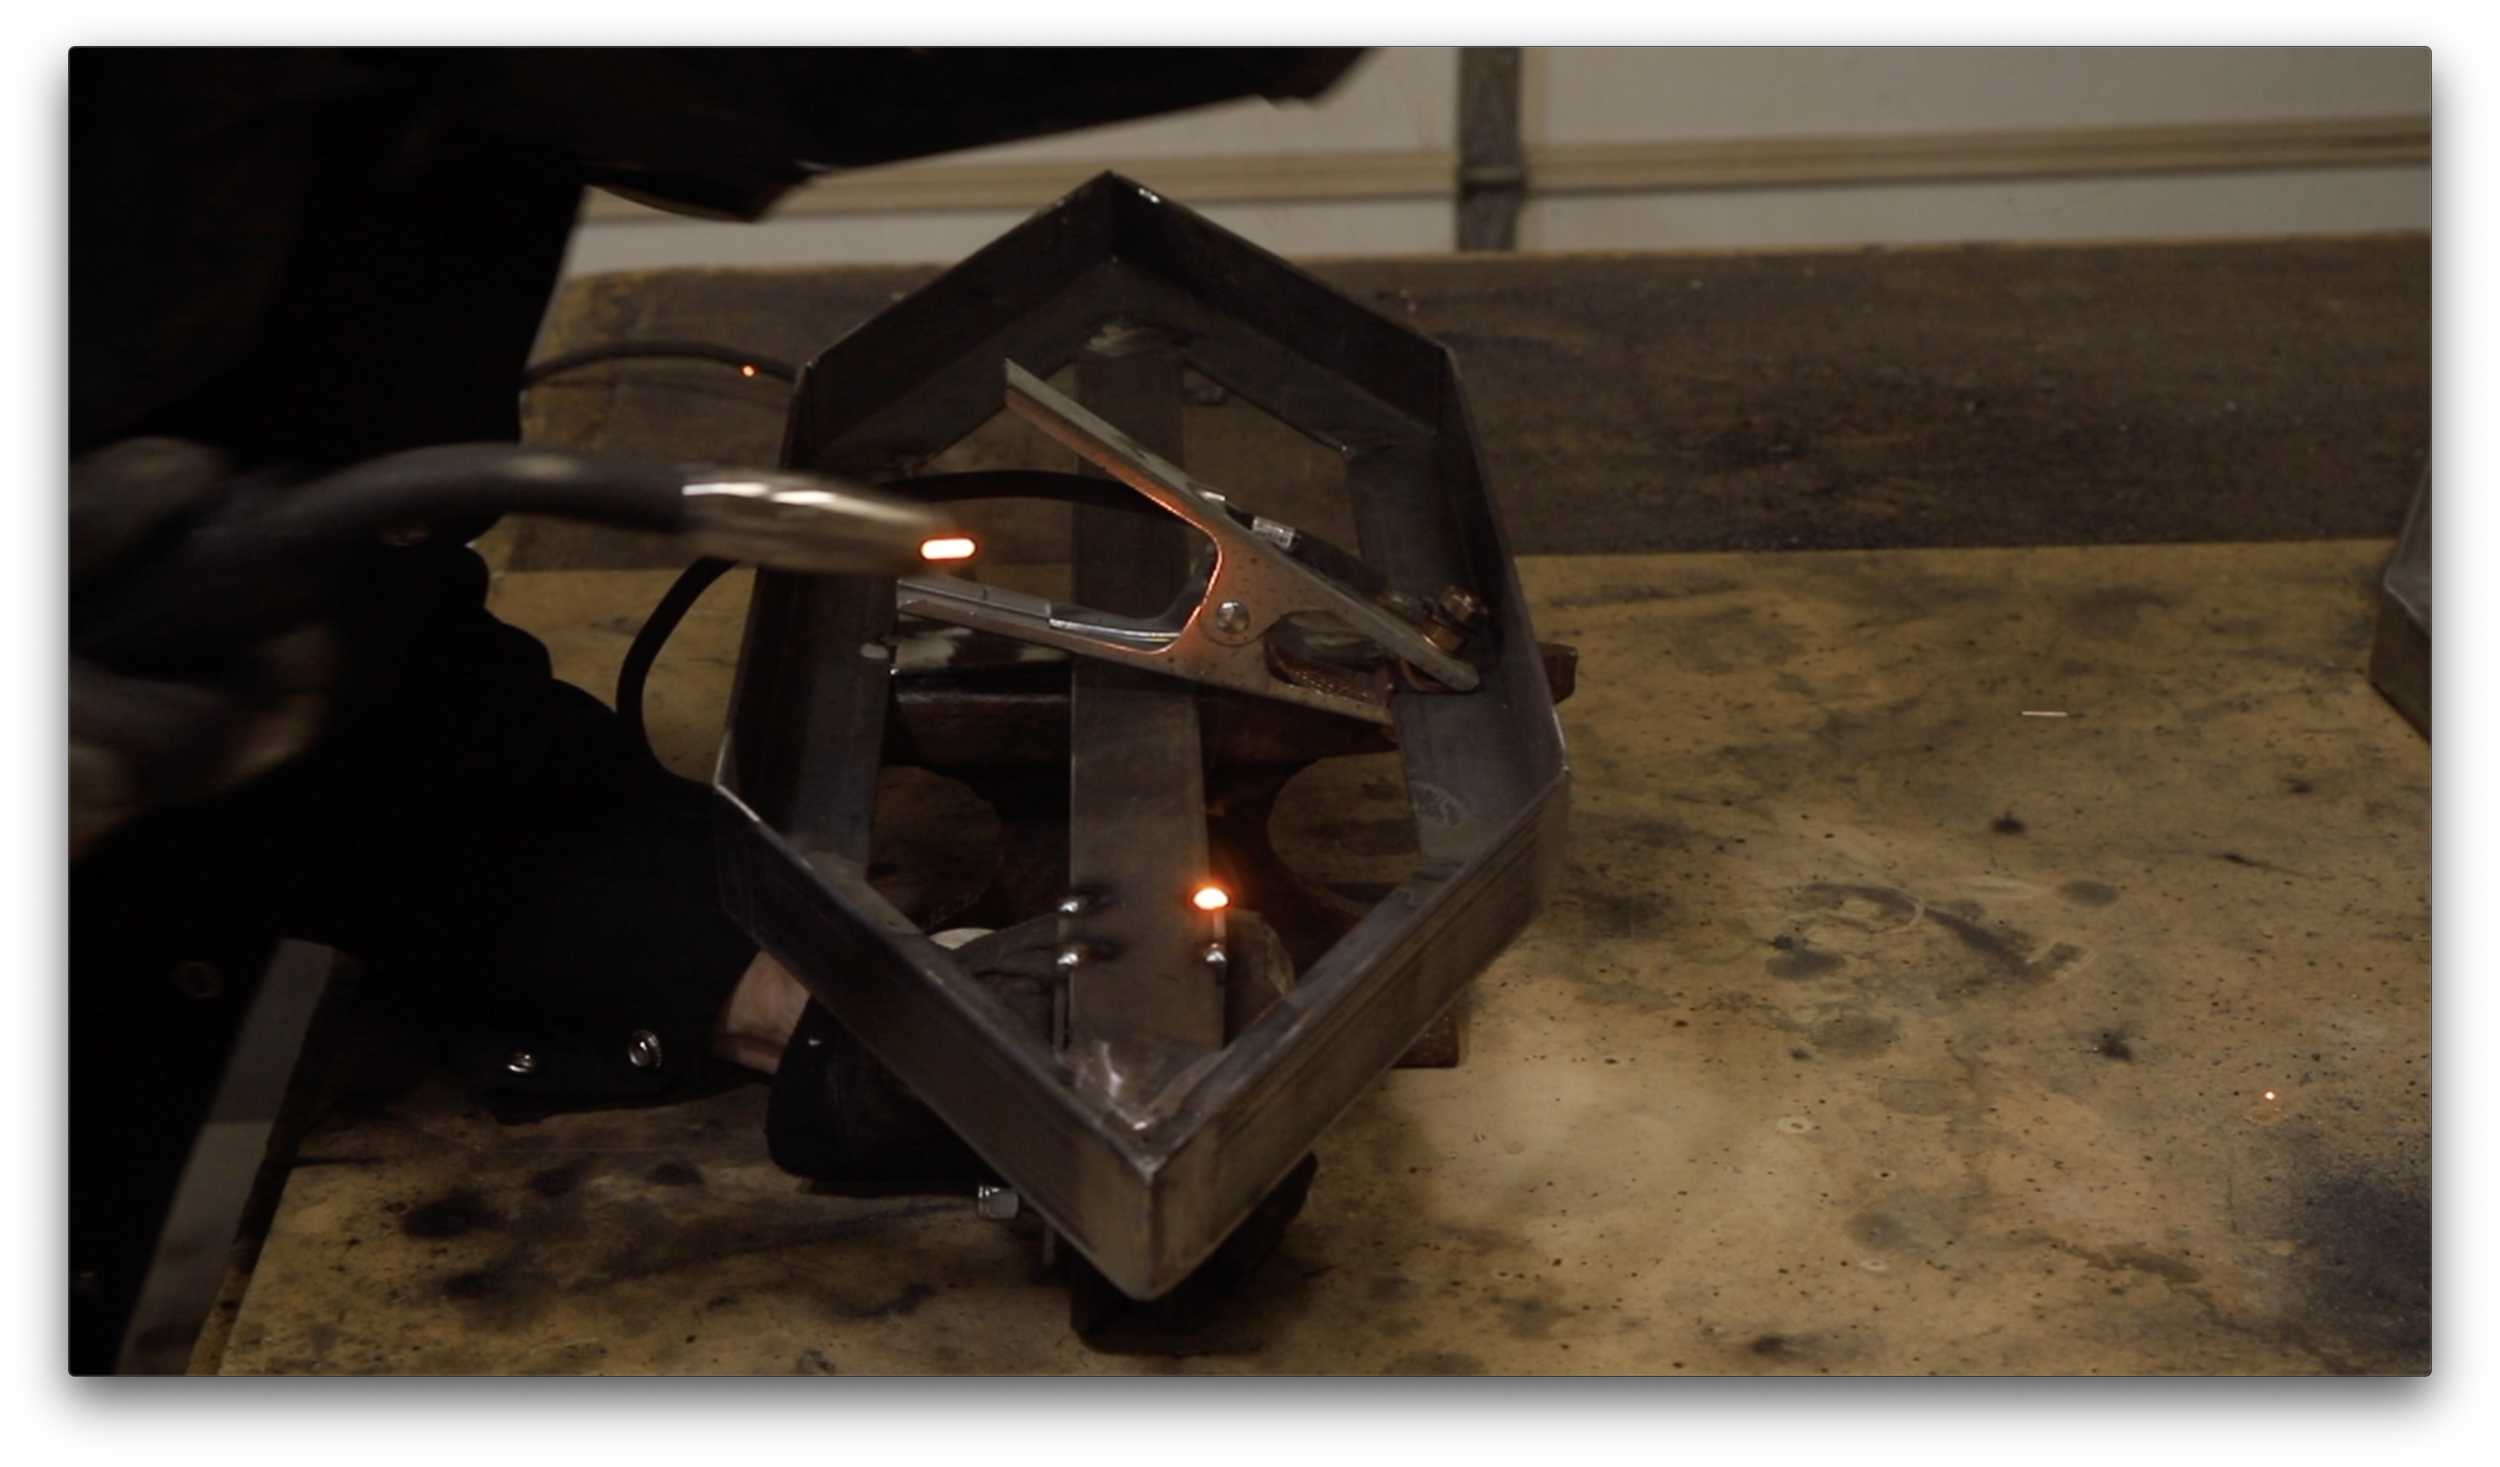
Tack weld the center bar from the underside, and then run full beads on the front of the frames at all seams.
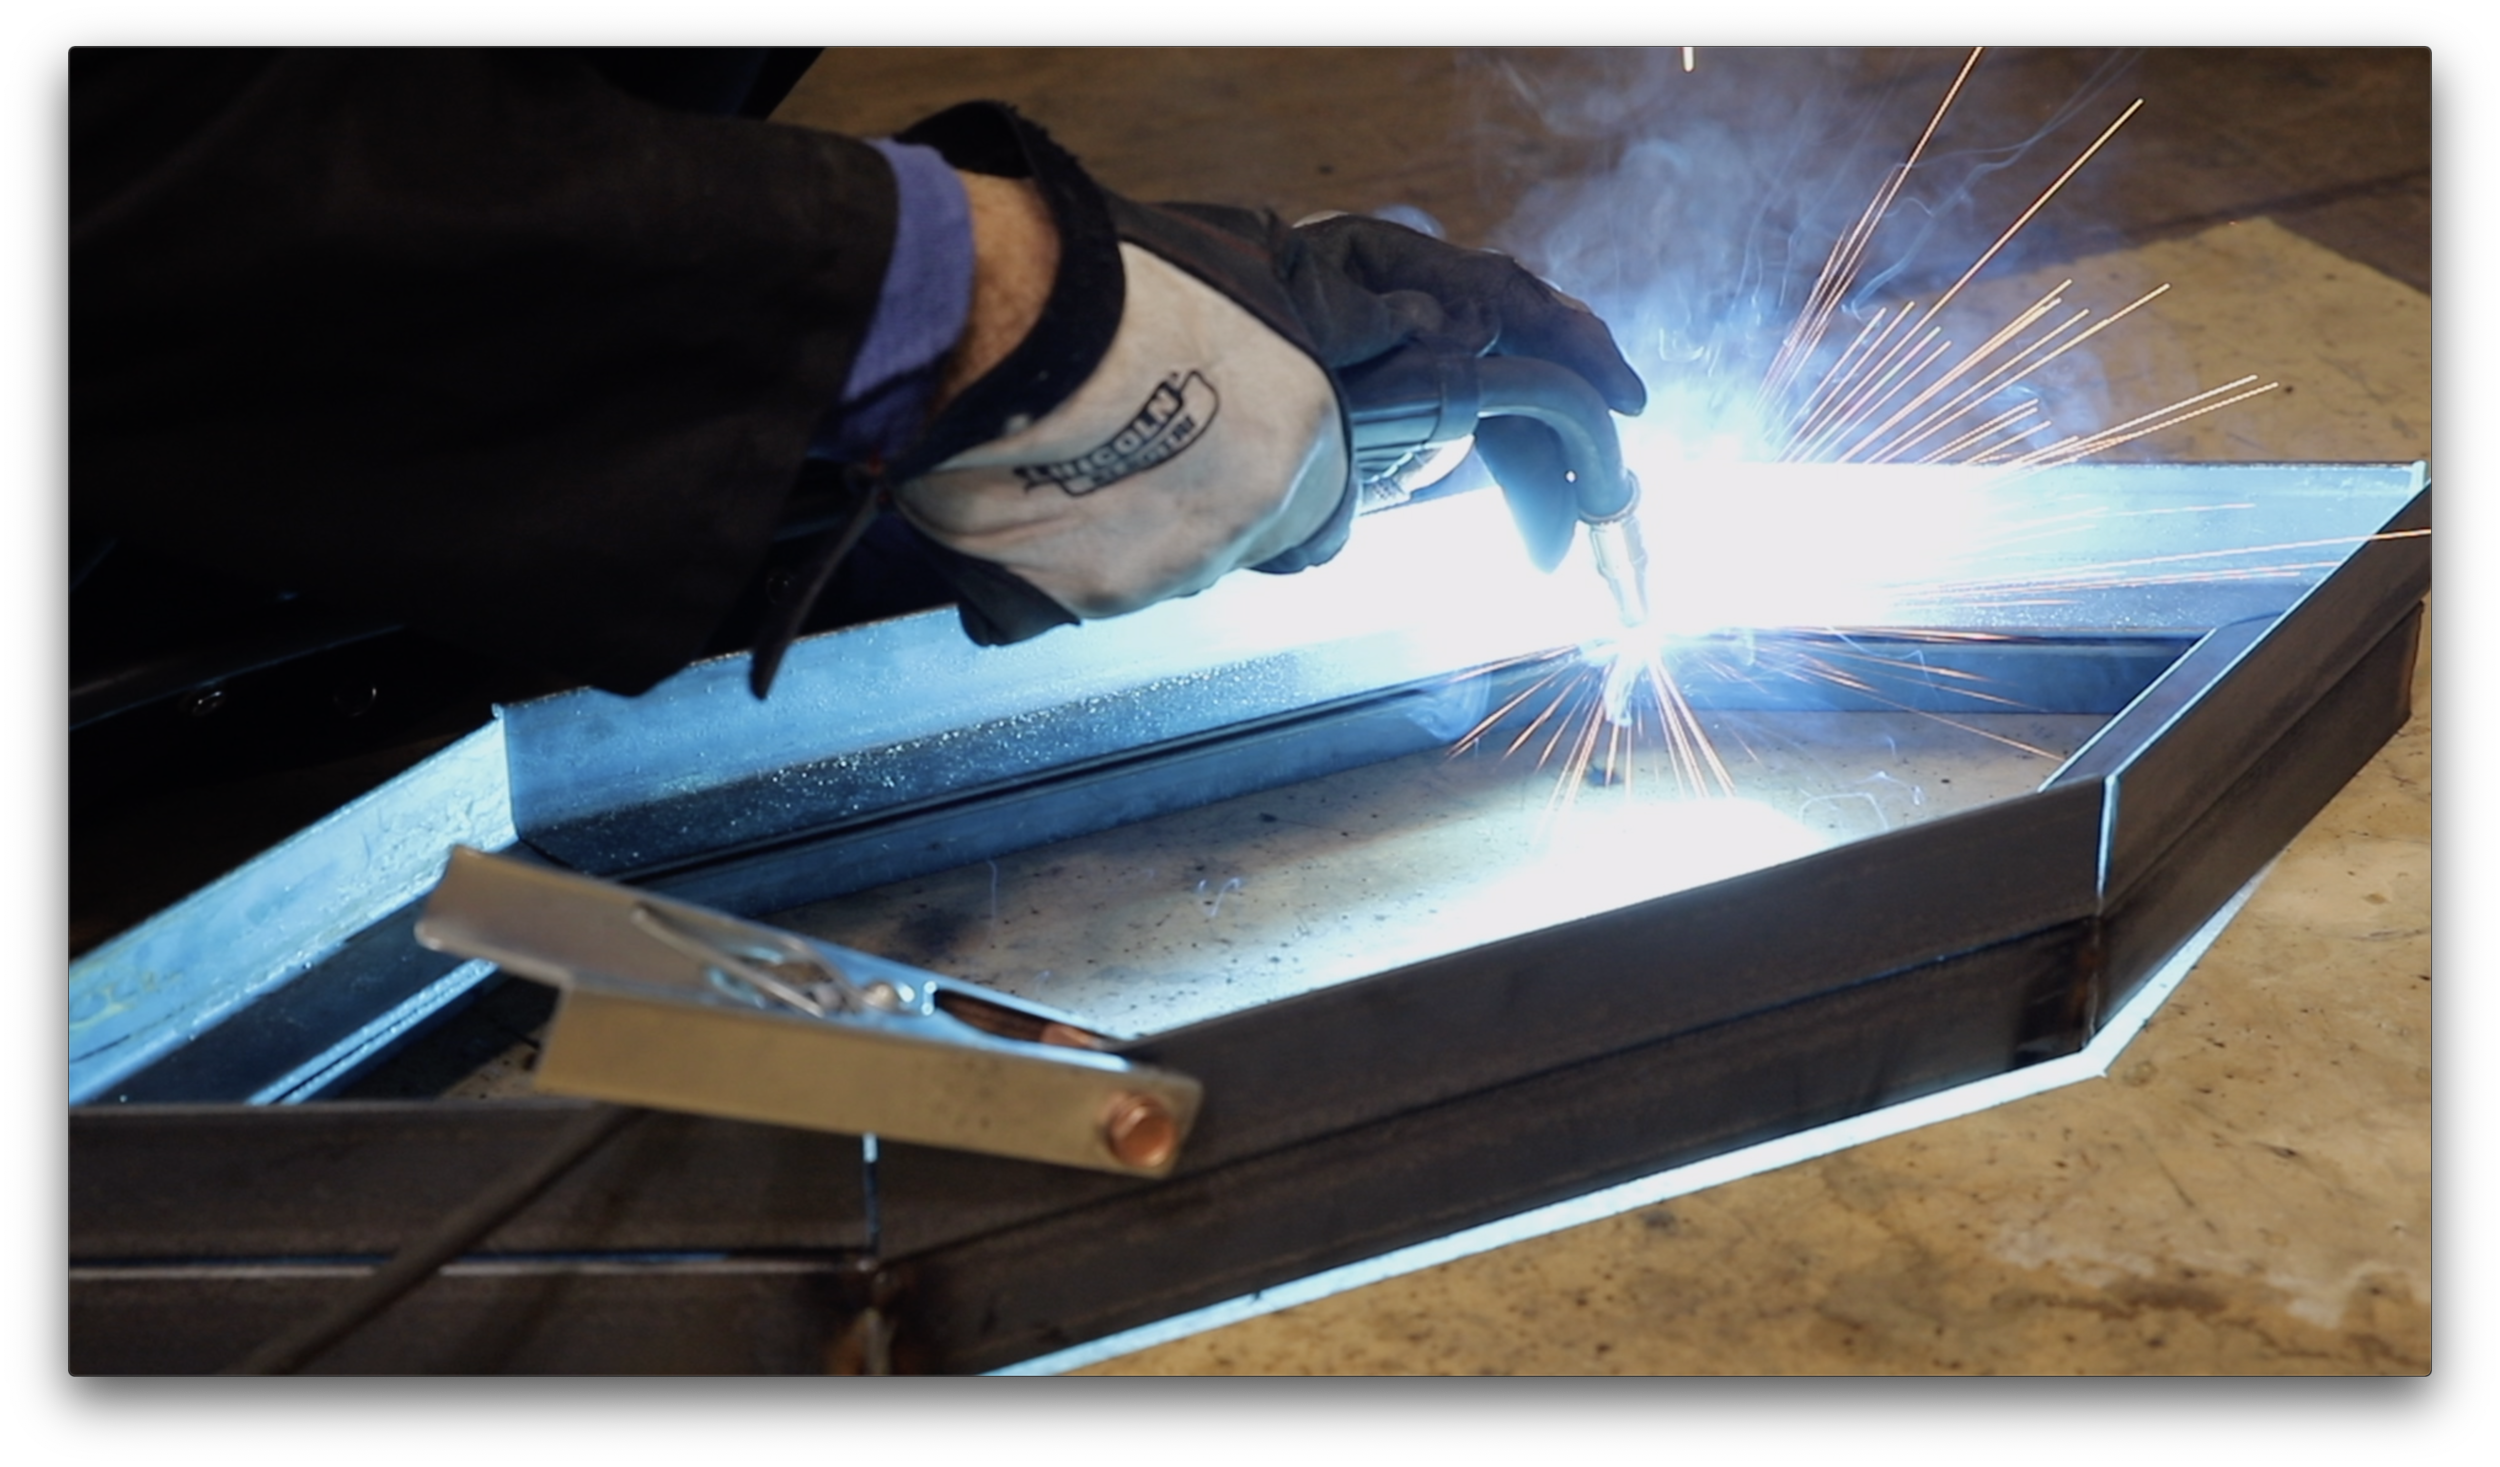
Measure and cut the cross bars. (Four total)
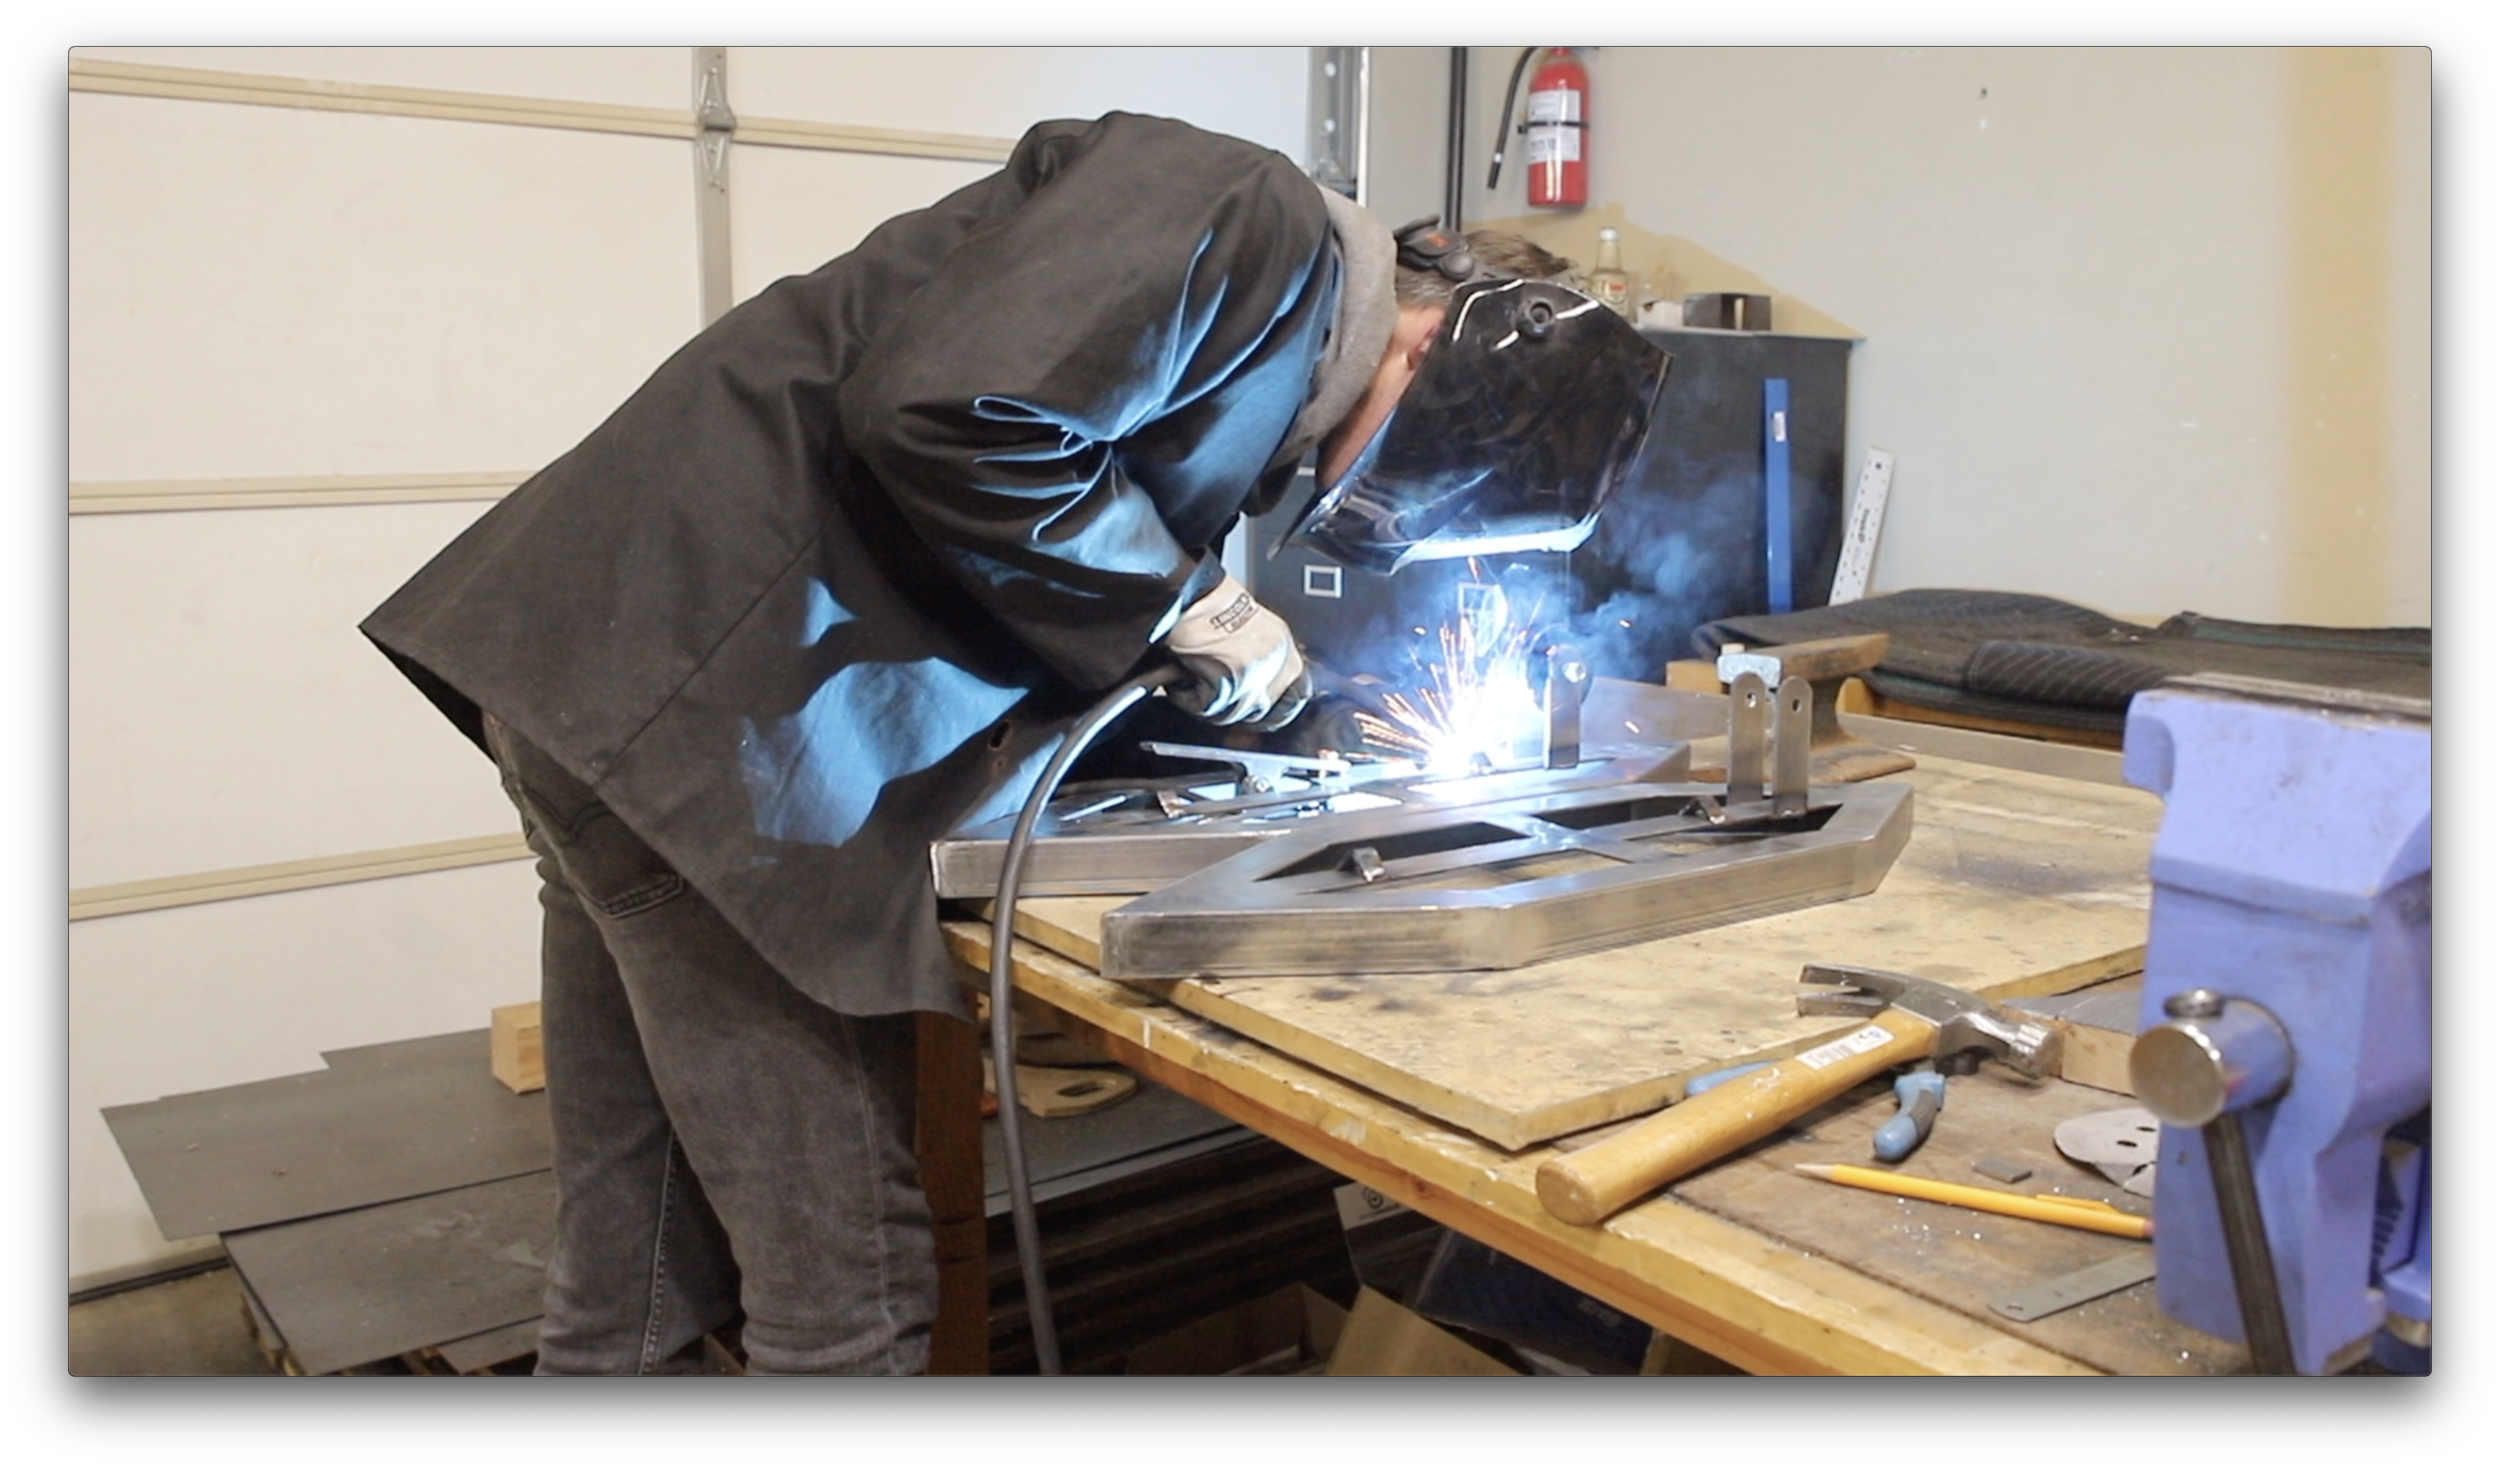
Tack weld and then run full beads on the front to weld the cross bars in place.
Grind down all the welds with a flap disc.
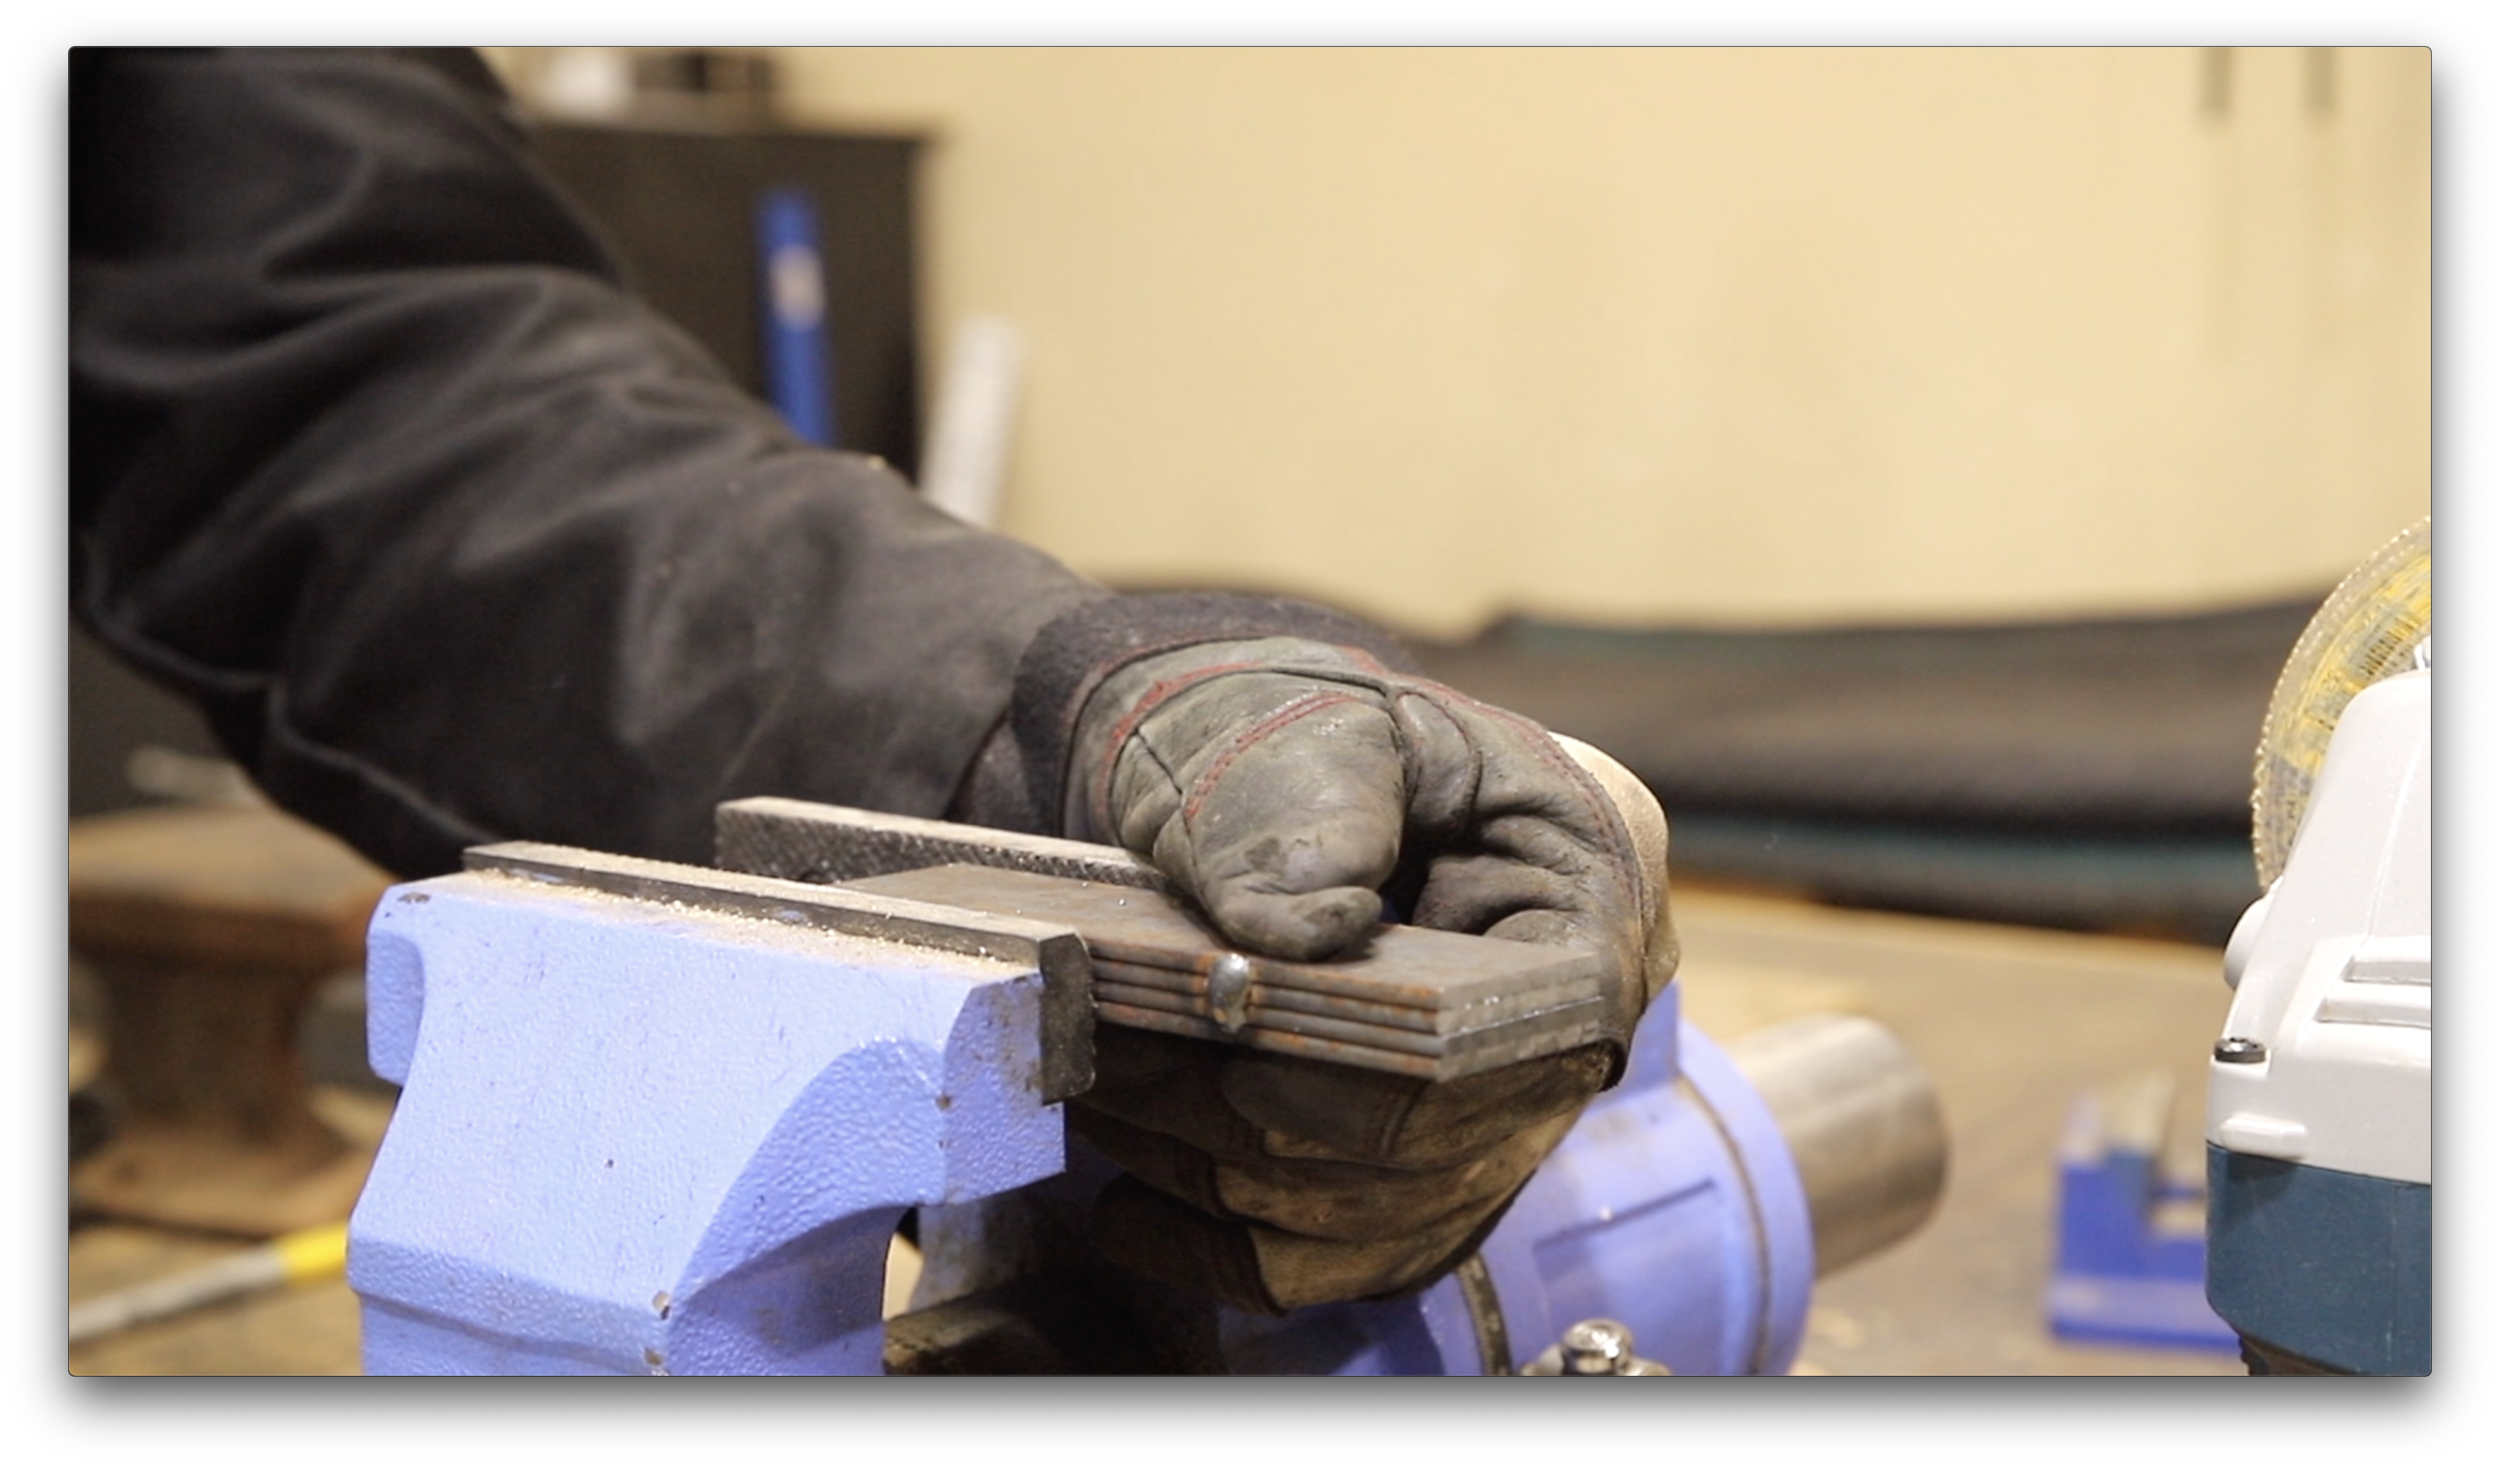
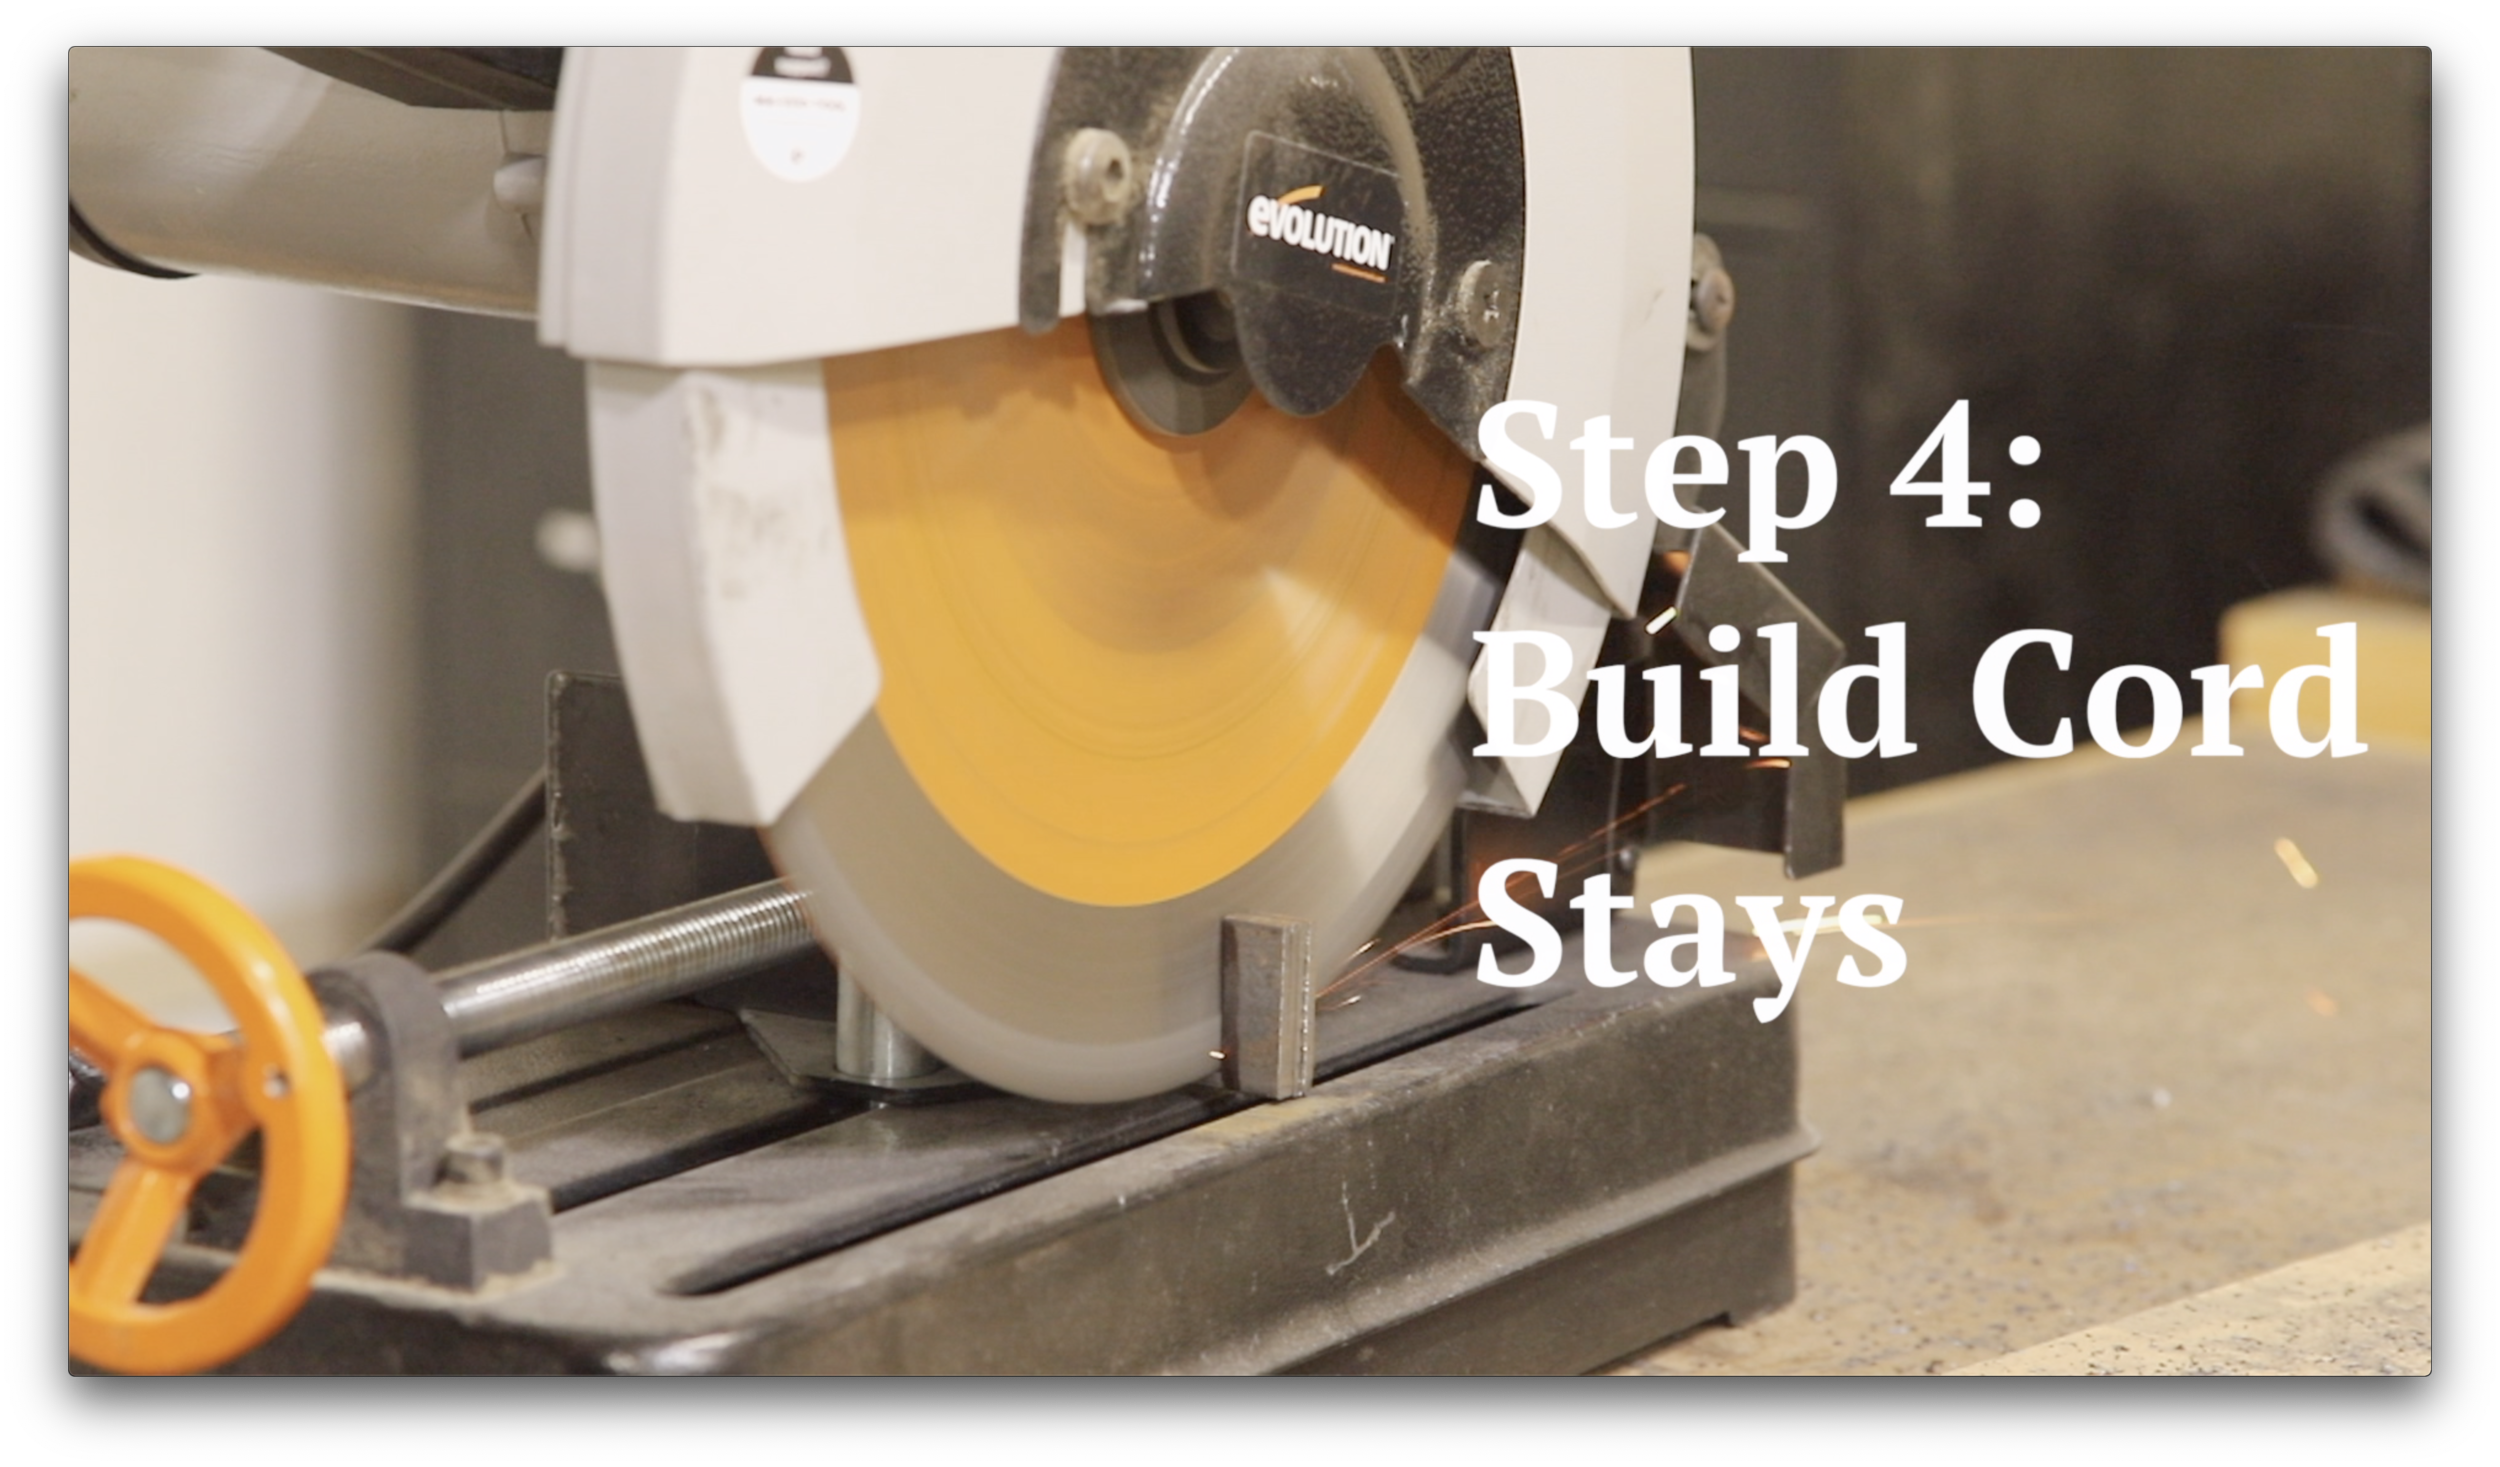
Next it’s time to make the pulley supports and cord stays.
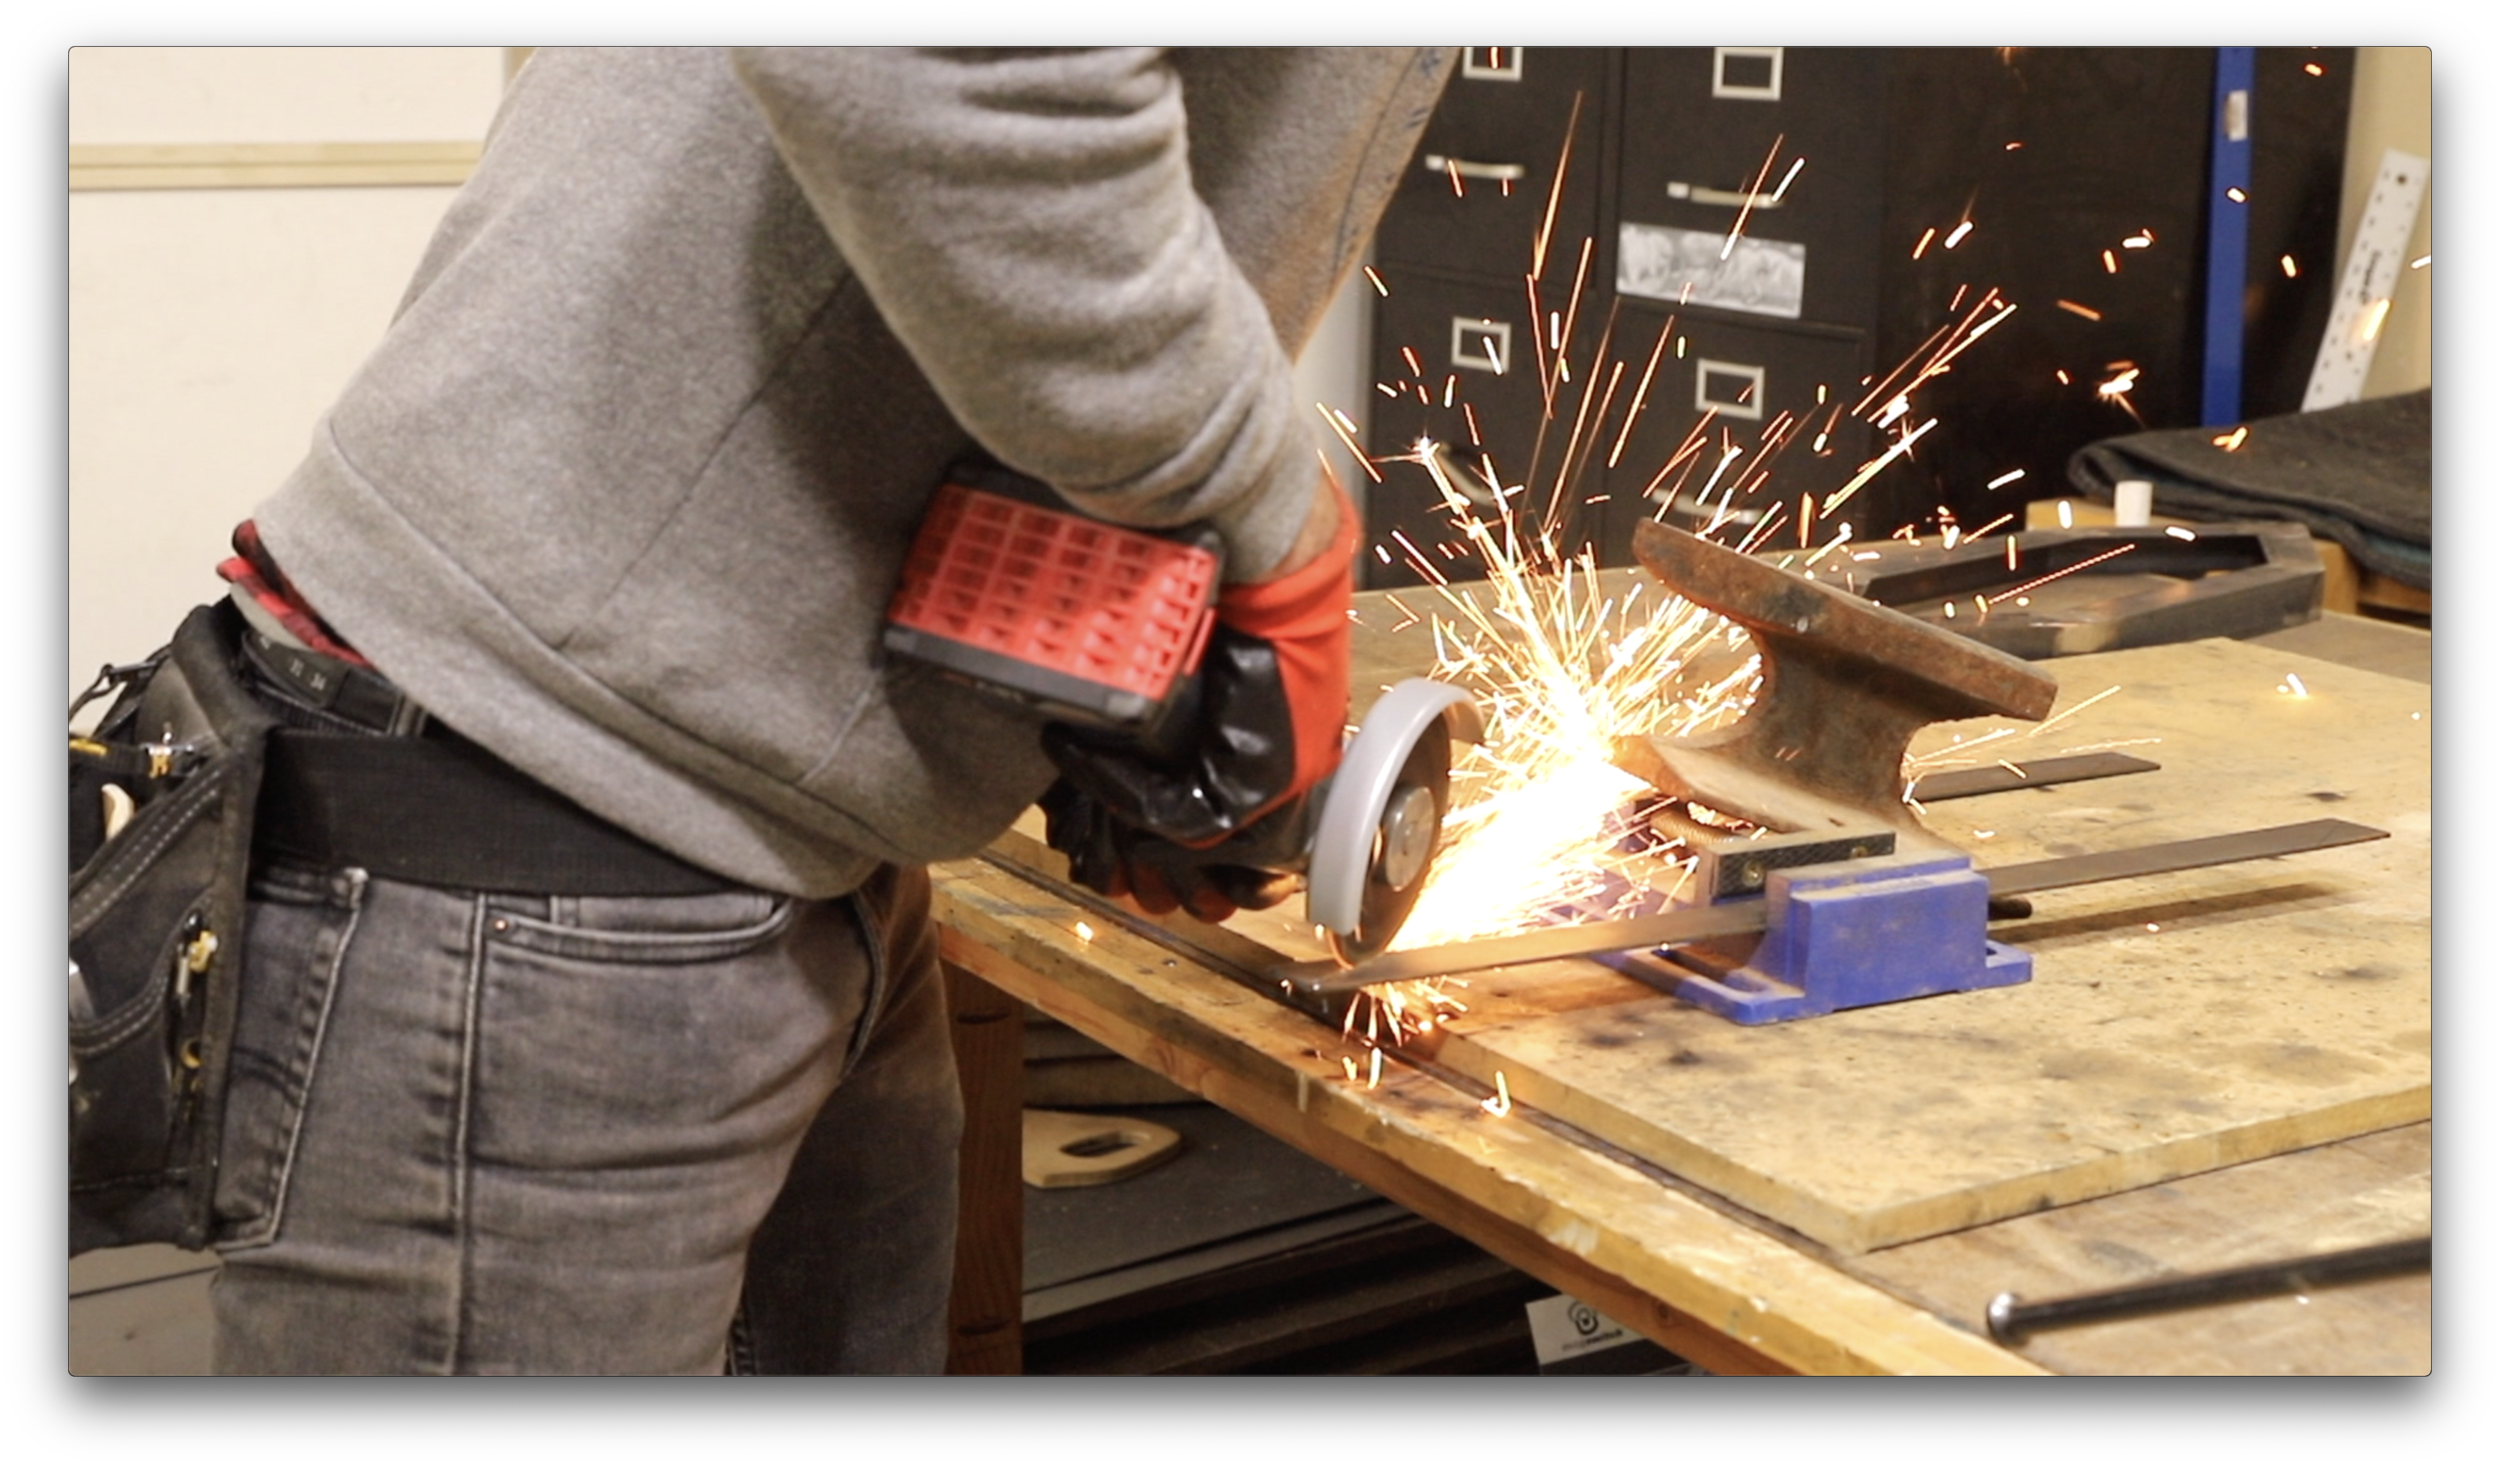
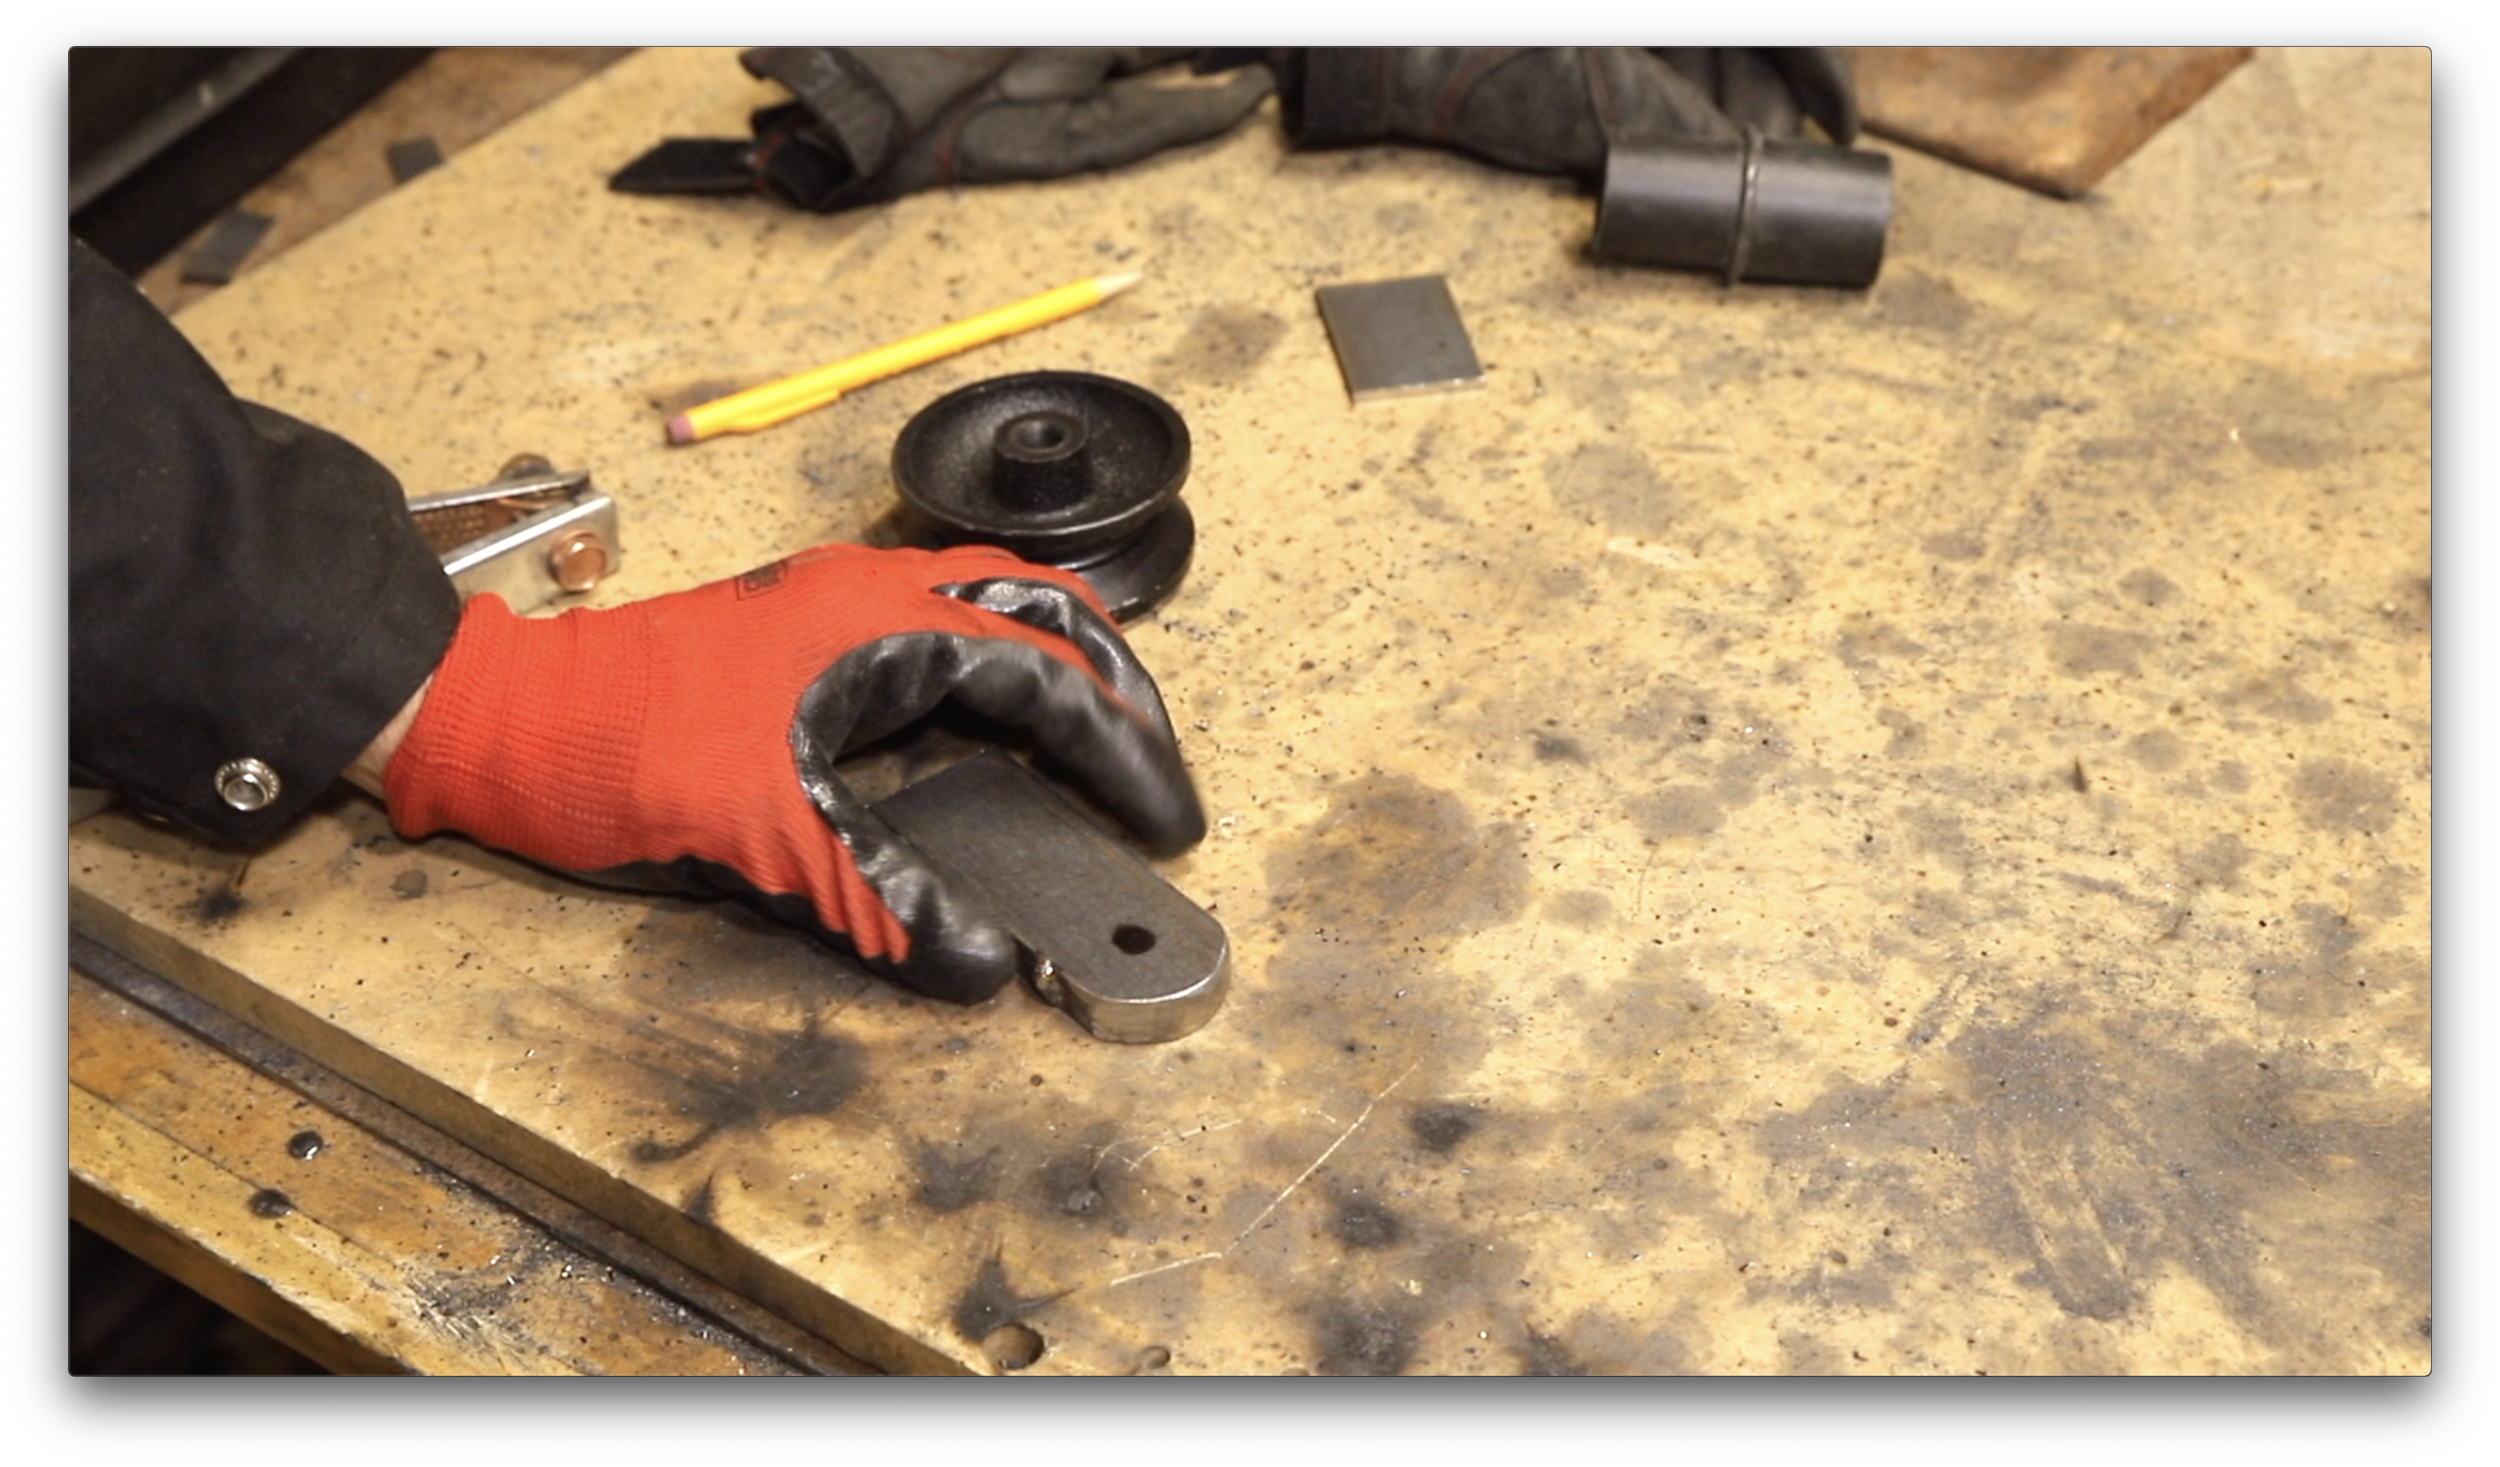
Cut 4 pieces of 1.5 inch flat bar steel to 4 1/2 inches long.
Lay these pieces on their side and flush and then add a few weld beads to hold them together.
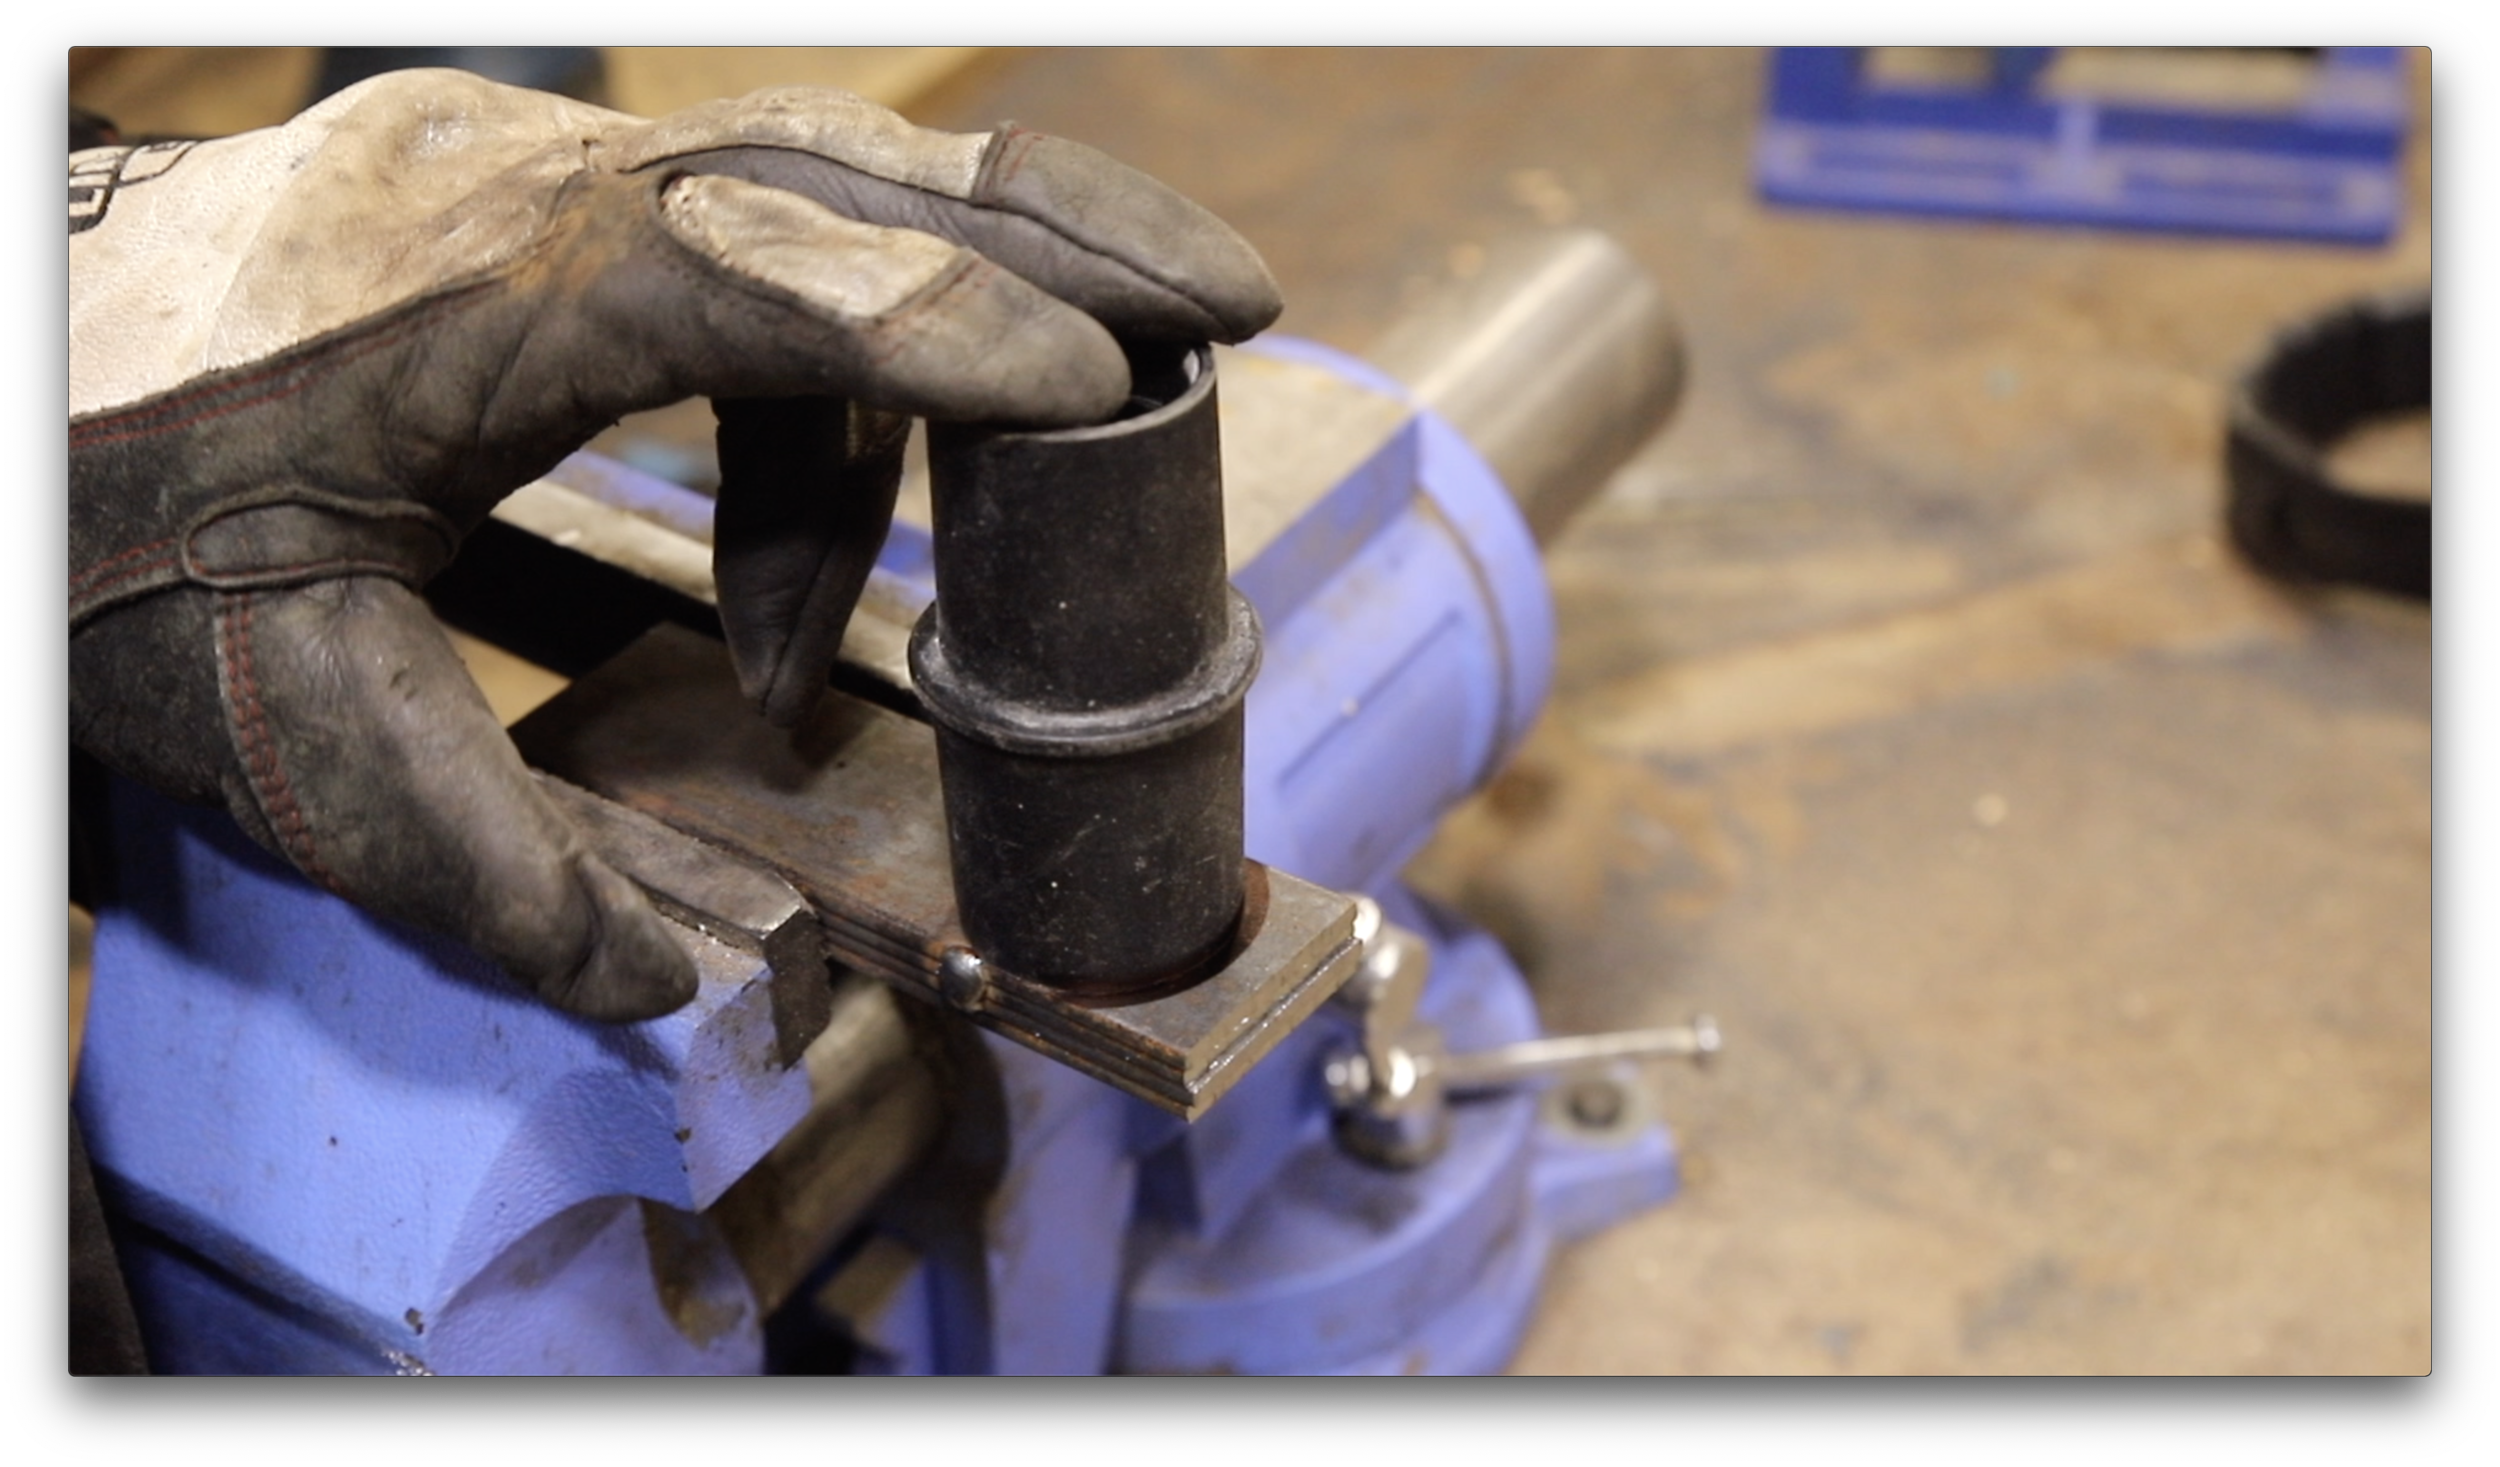
Add a round profile to the front of the pulley supports. I used a small hose connector to draw my radius, and then cut the rough shape with a cut off disc.
Finish grinding down the radius smooth with a flap disc.
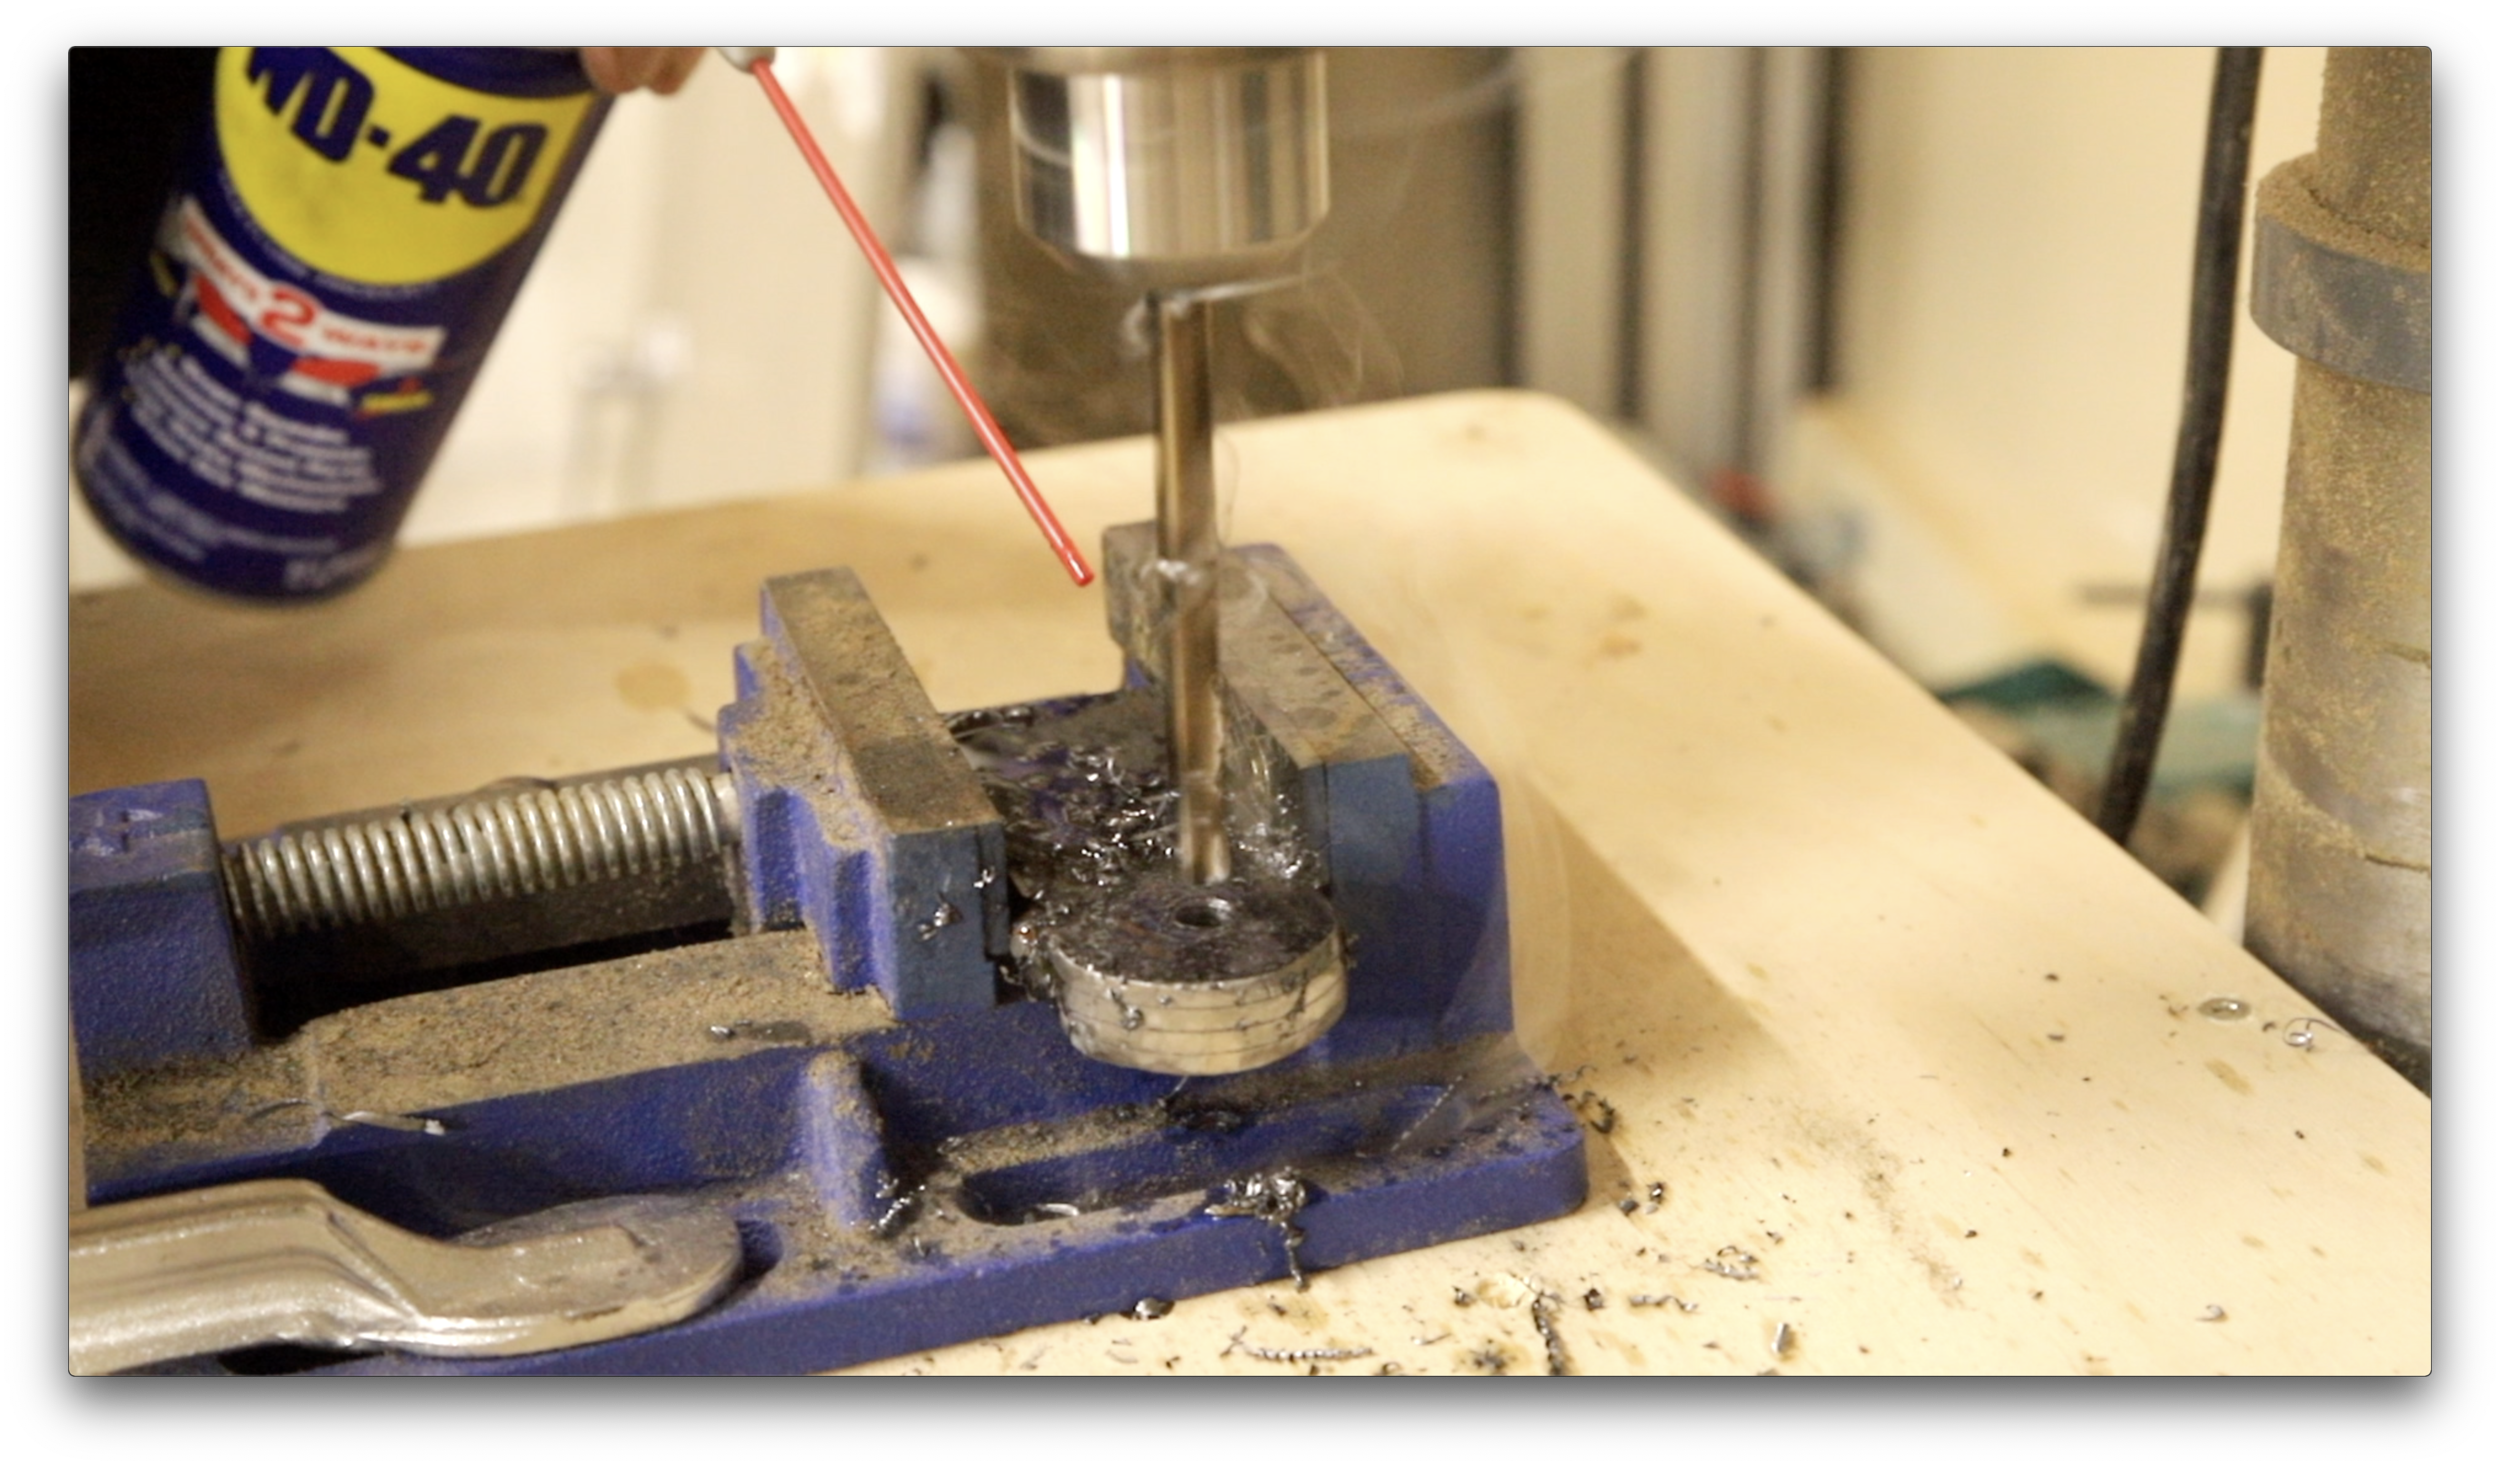
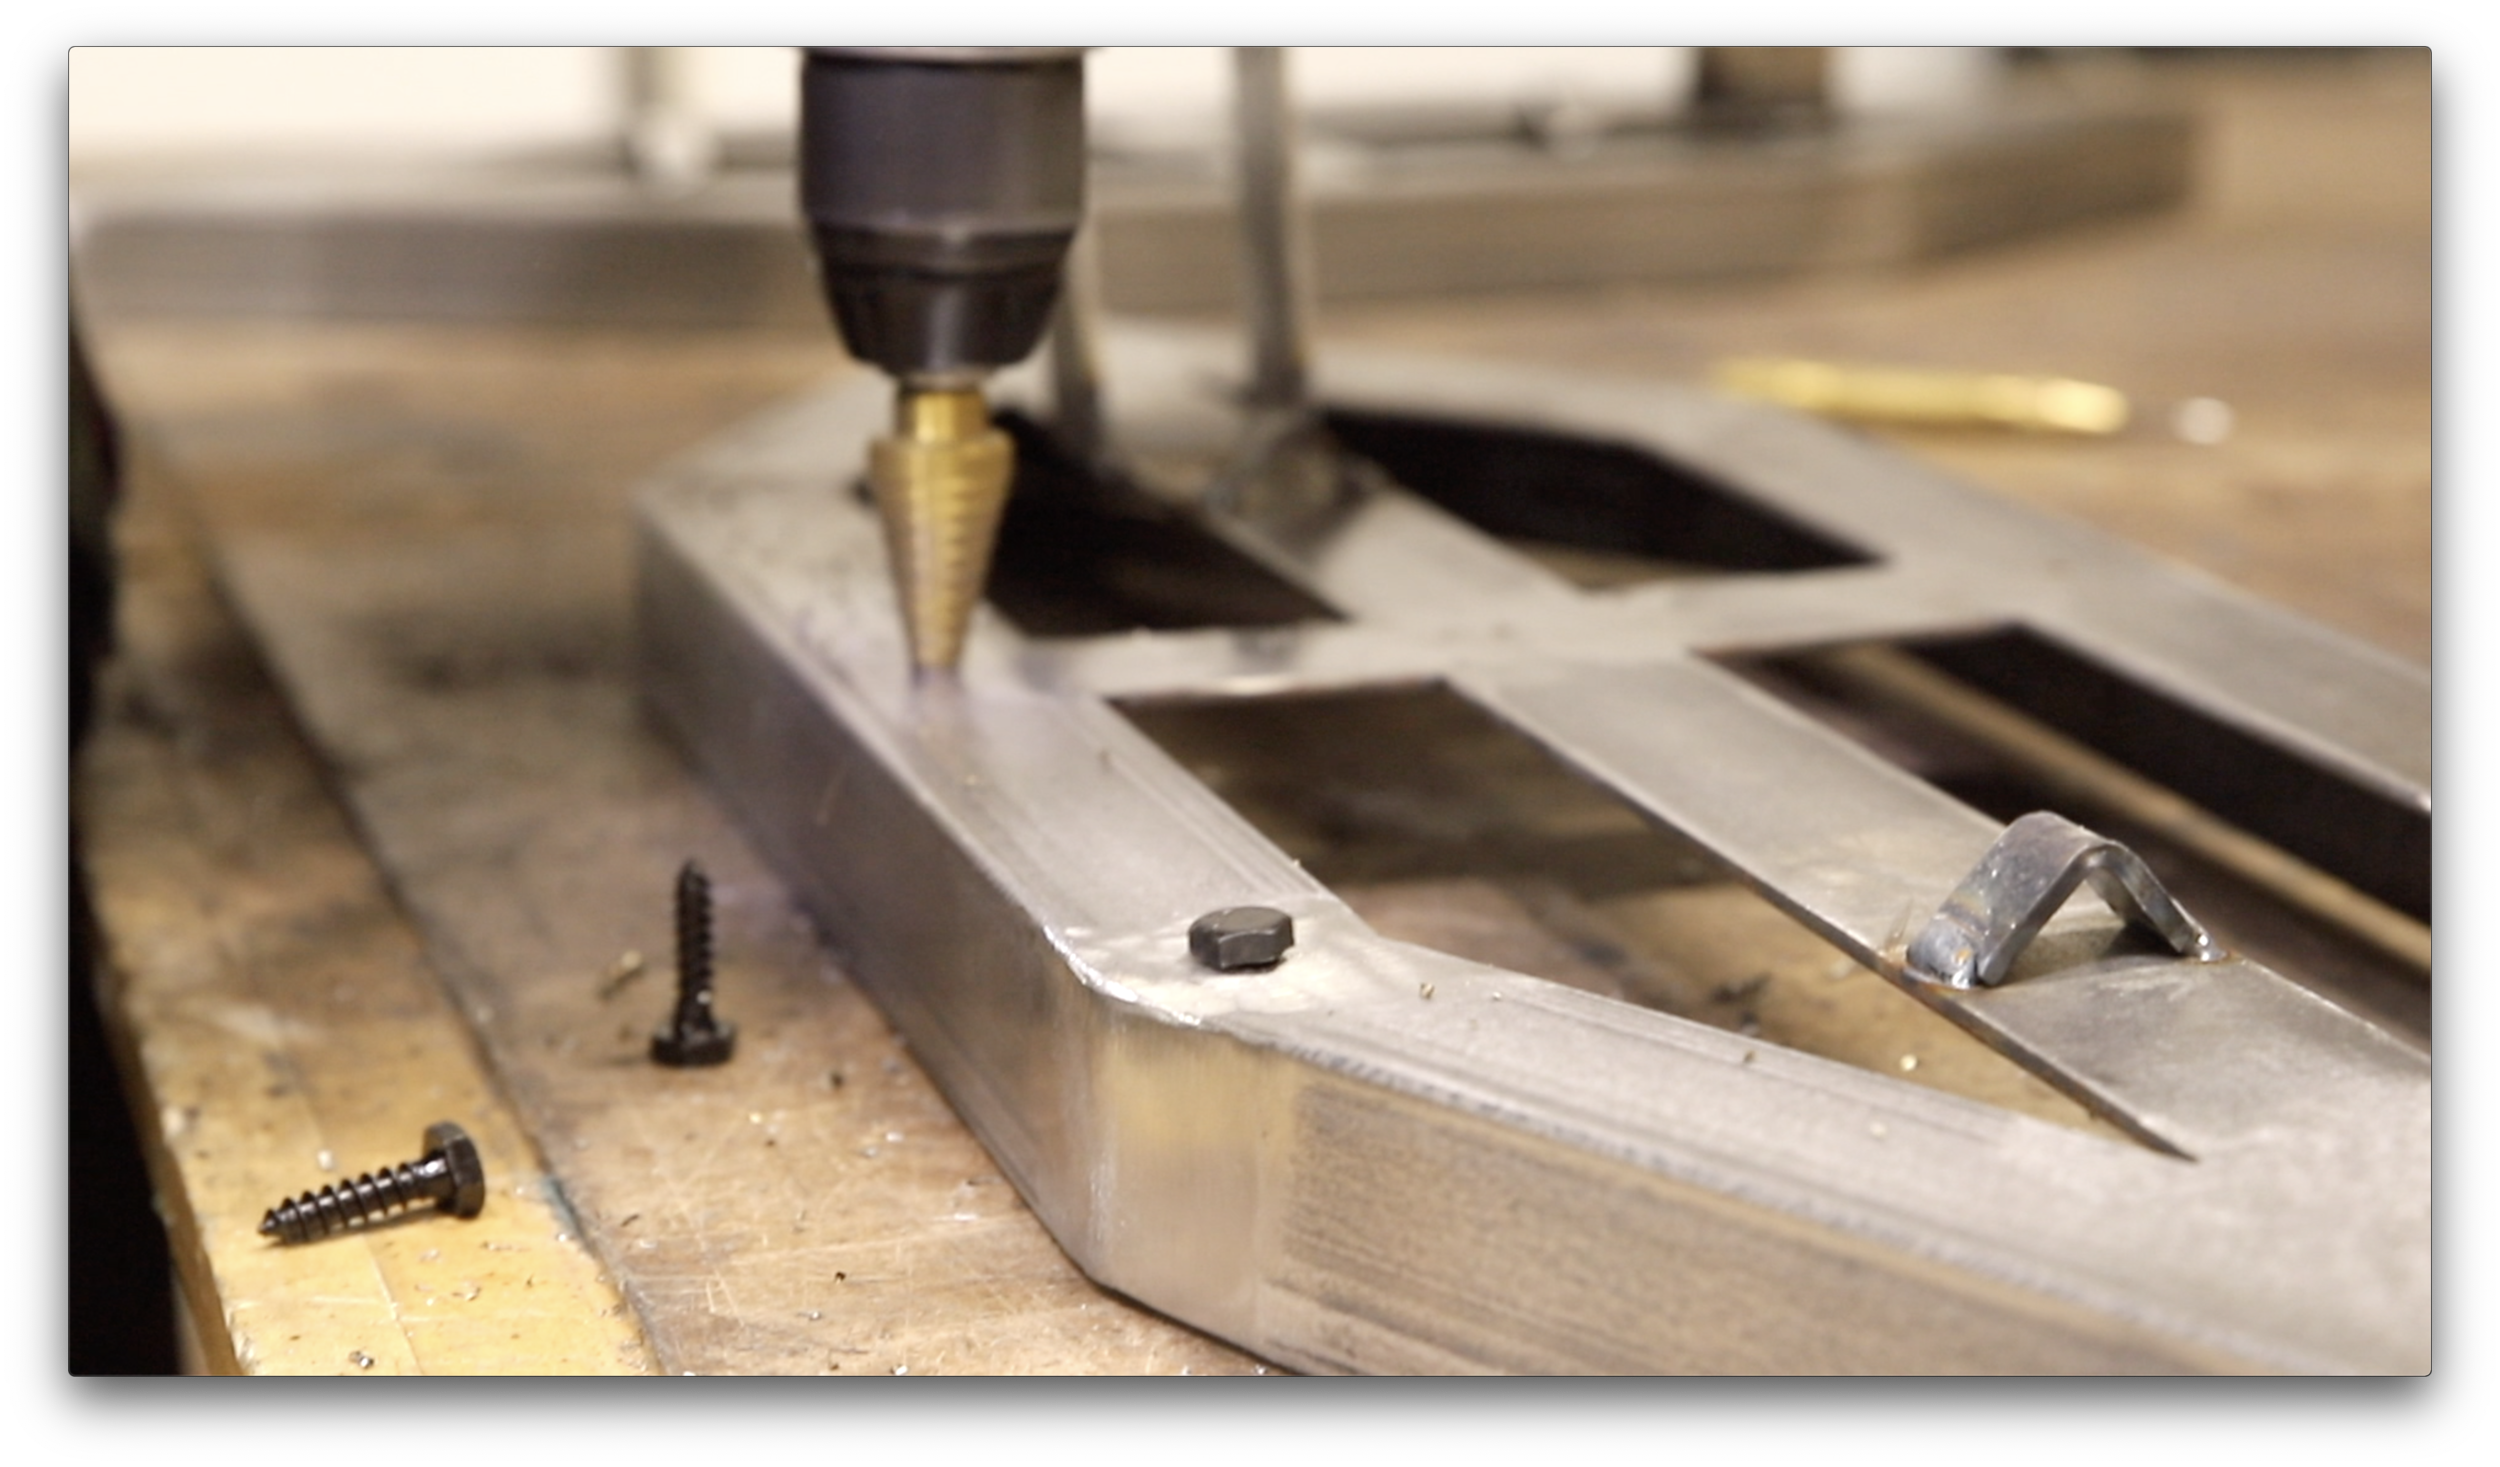
Next drill a 5/16th’s inch hole for the pulley bolt through all four pulley supports.
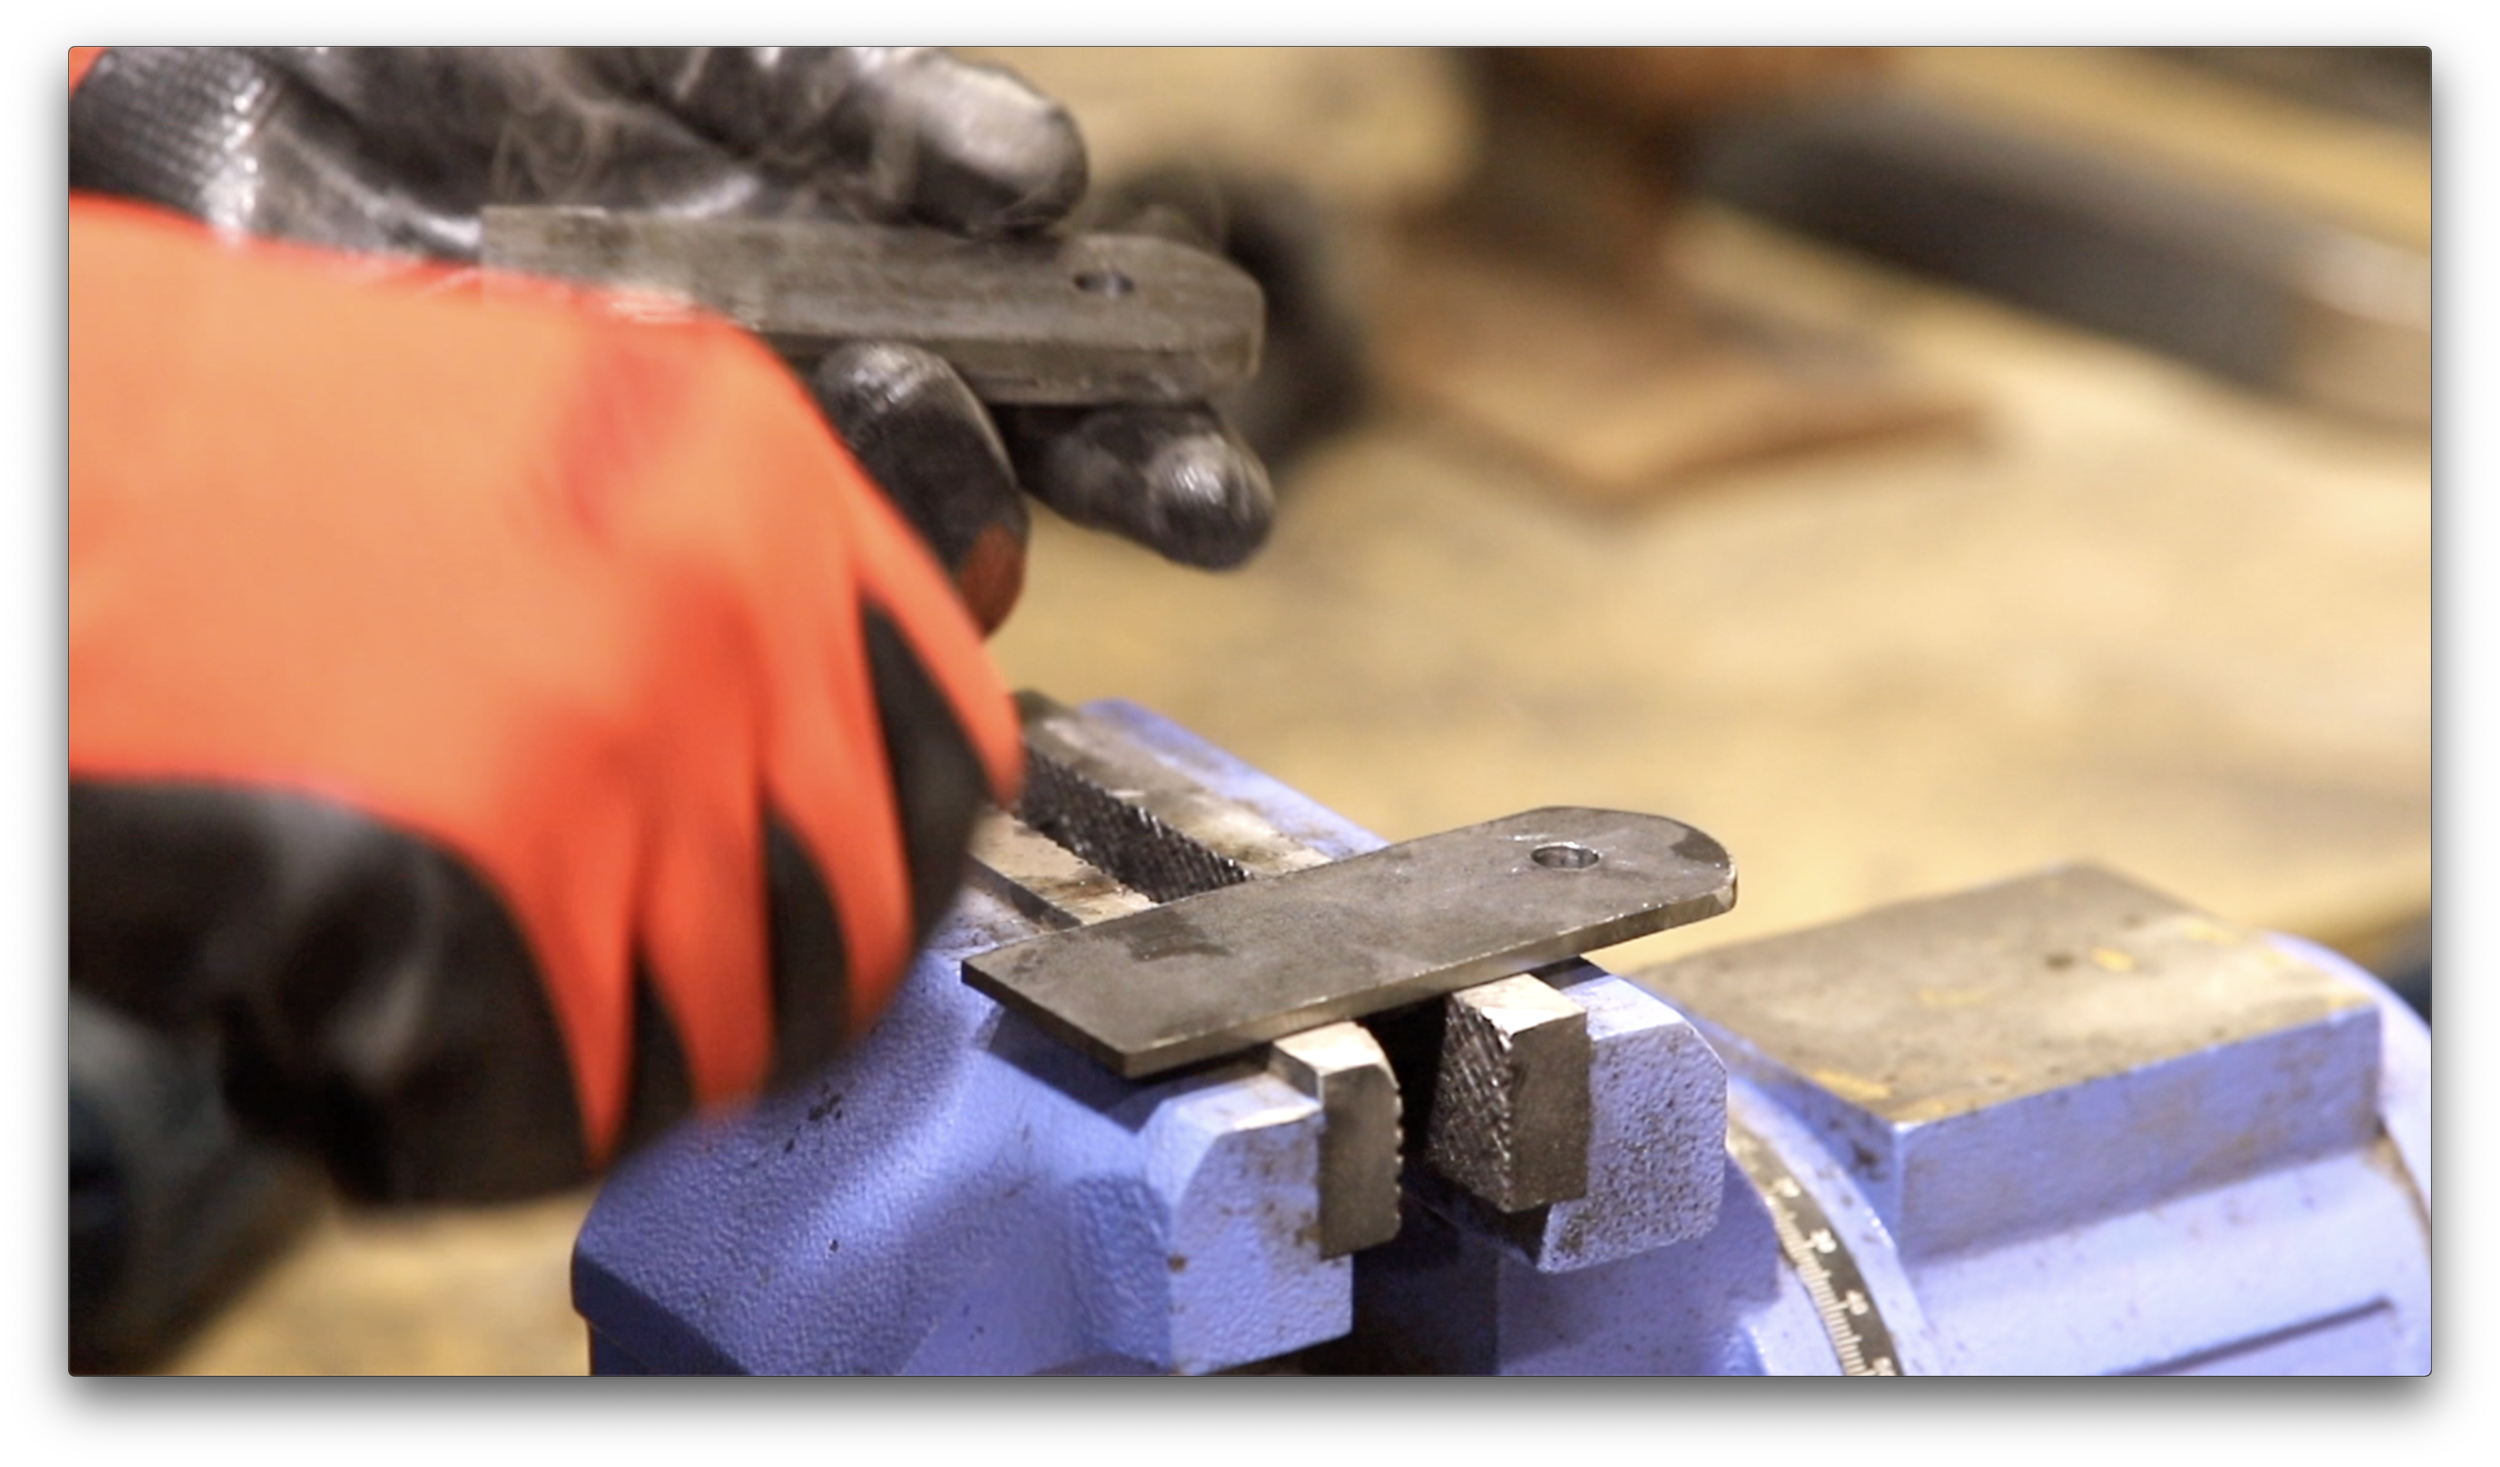
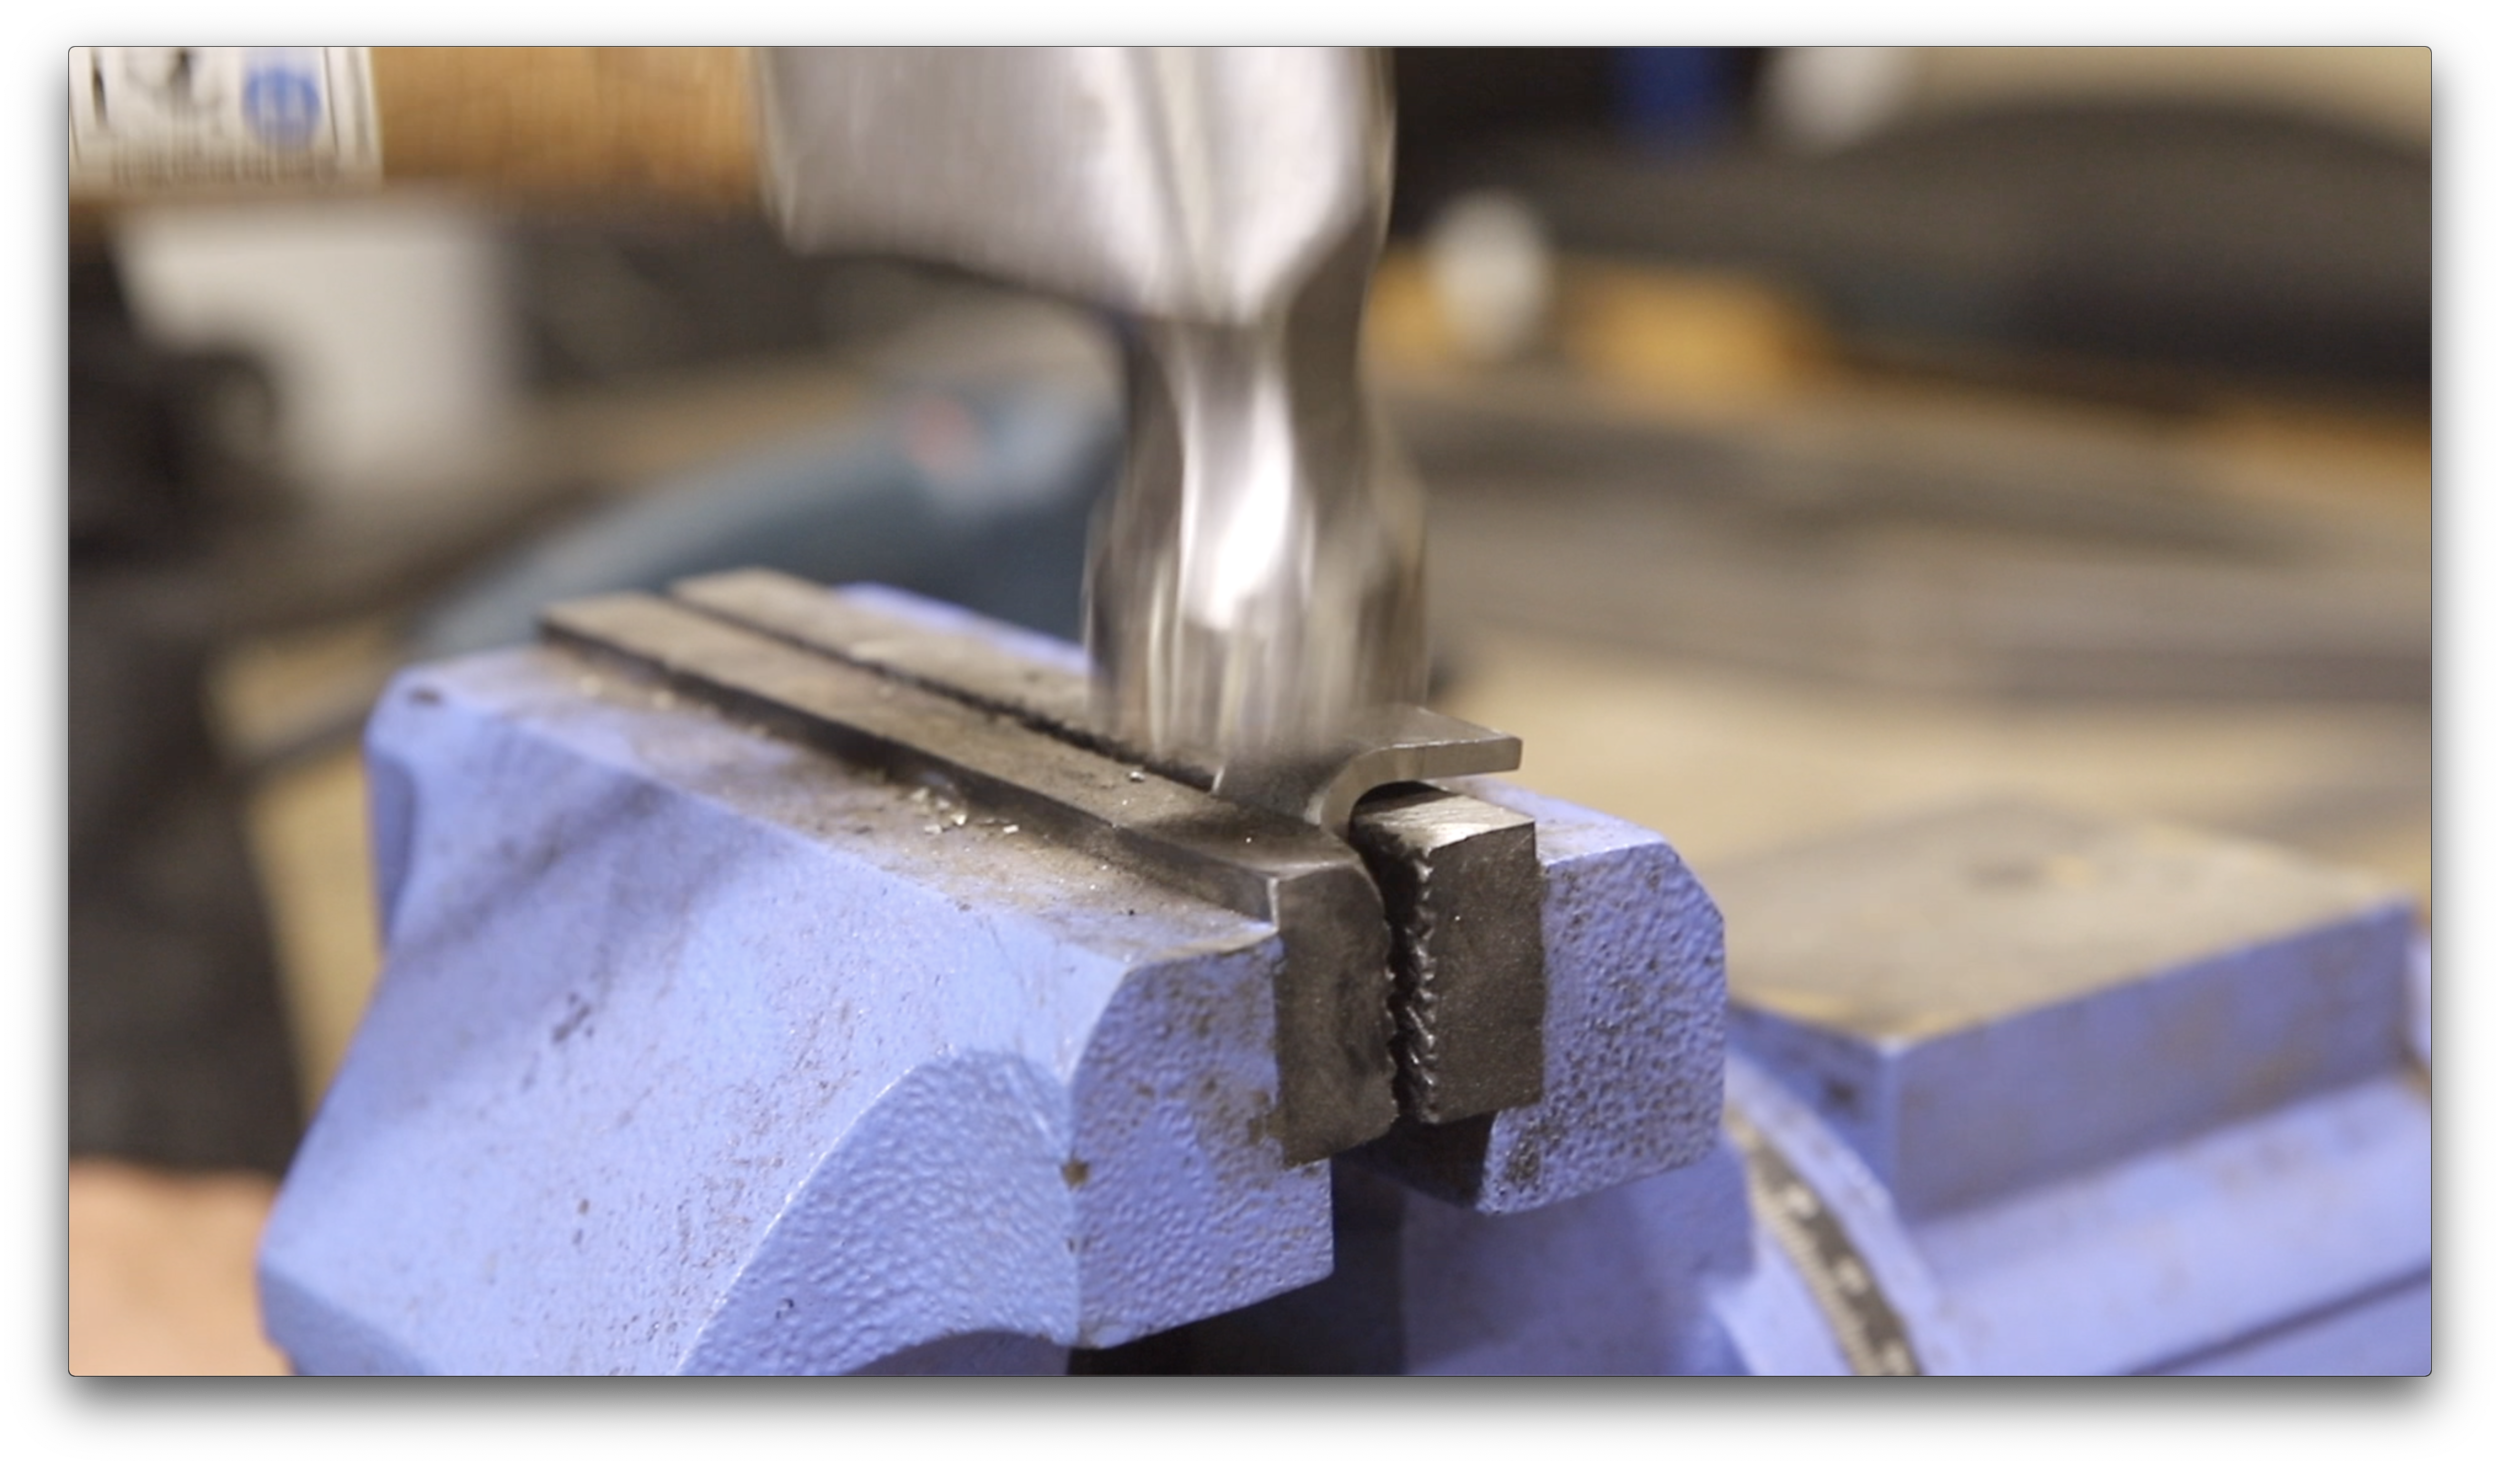
Cut off 1/2 inch from the back end of the pulley supports. These will become the cord stays.
Grind off the welds that hold the pulley supports together.
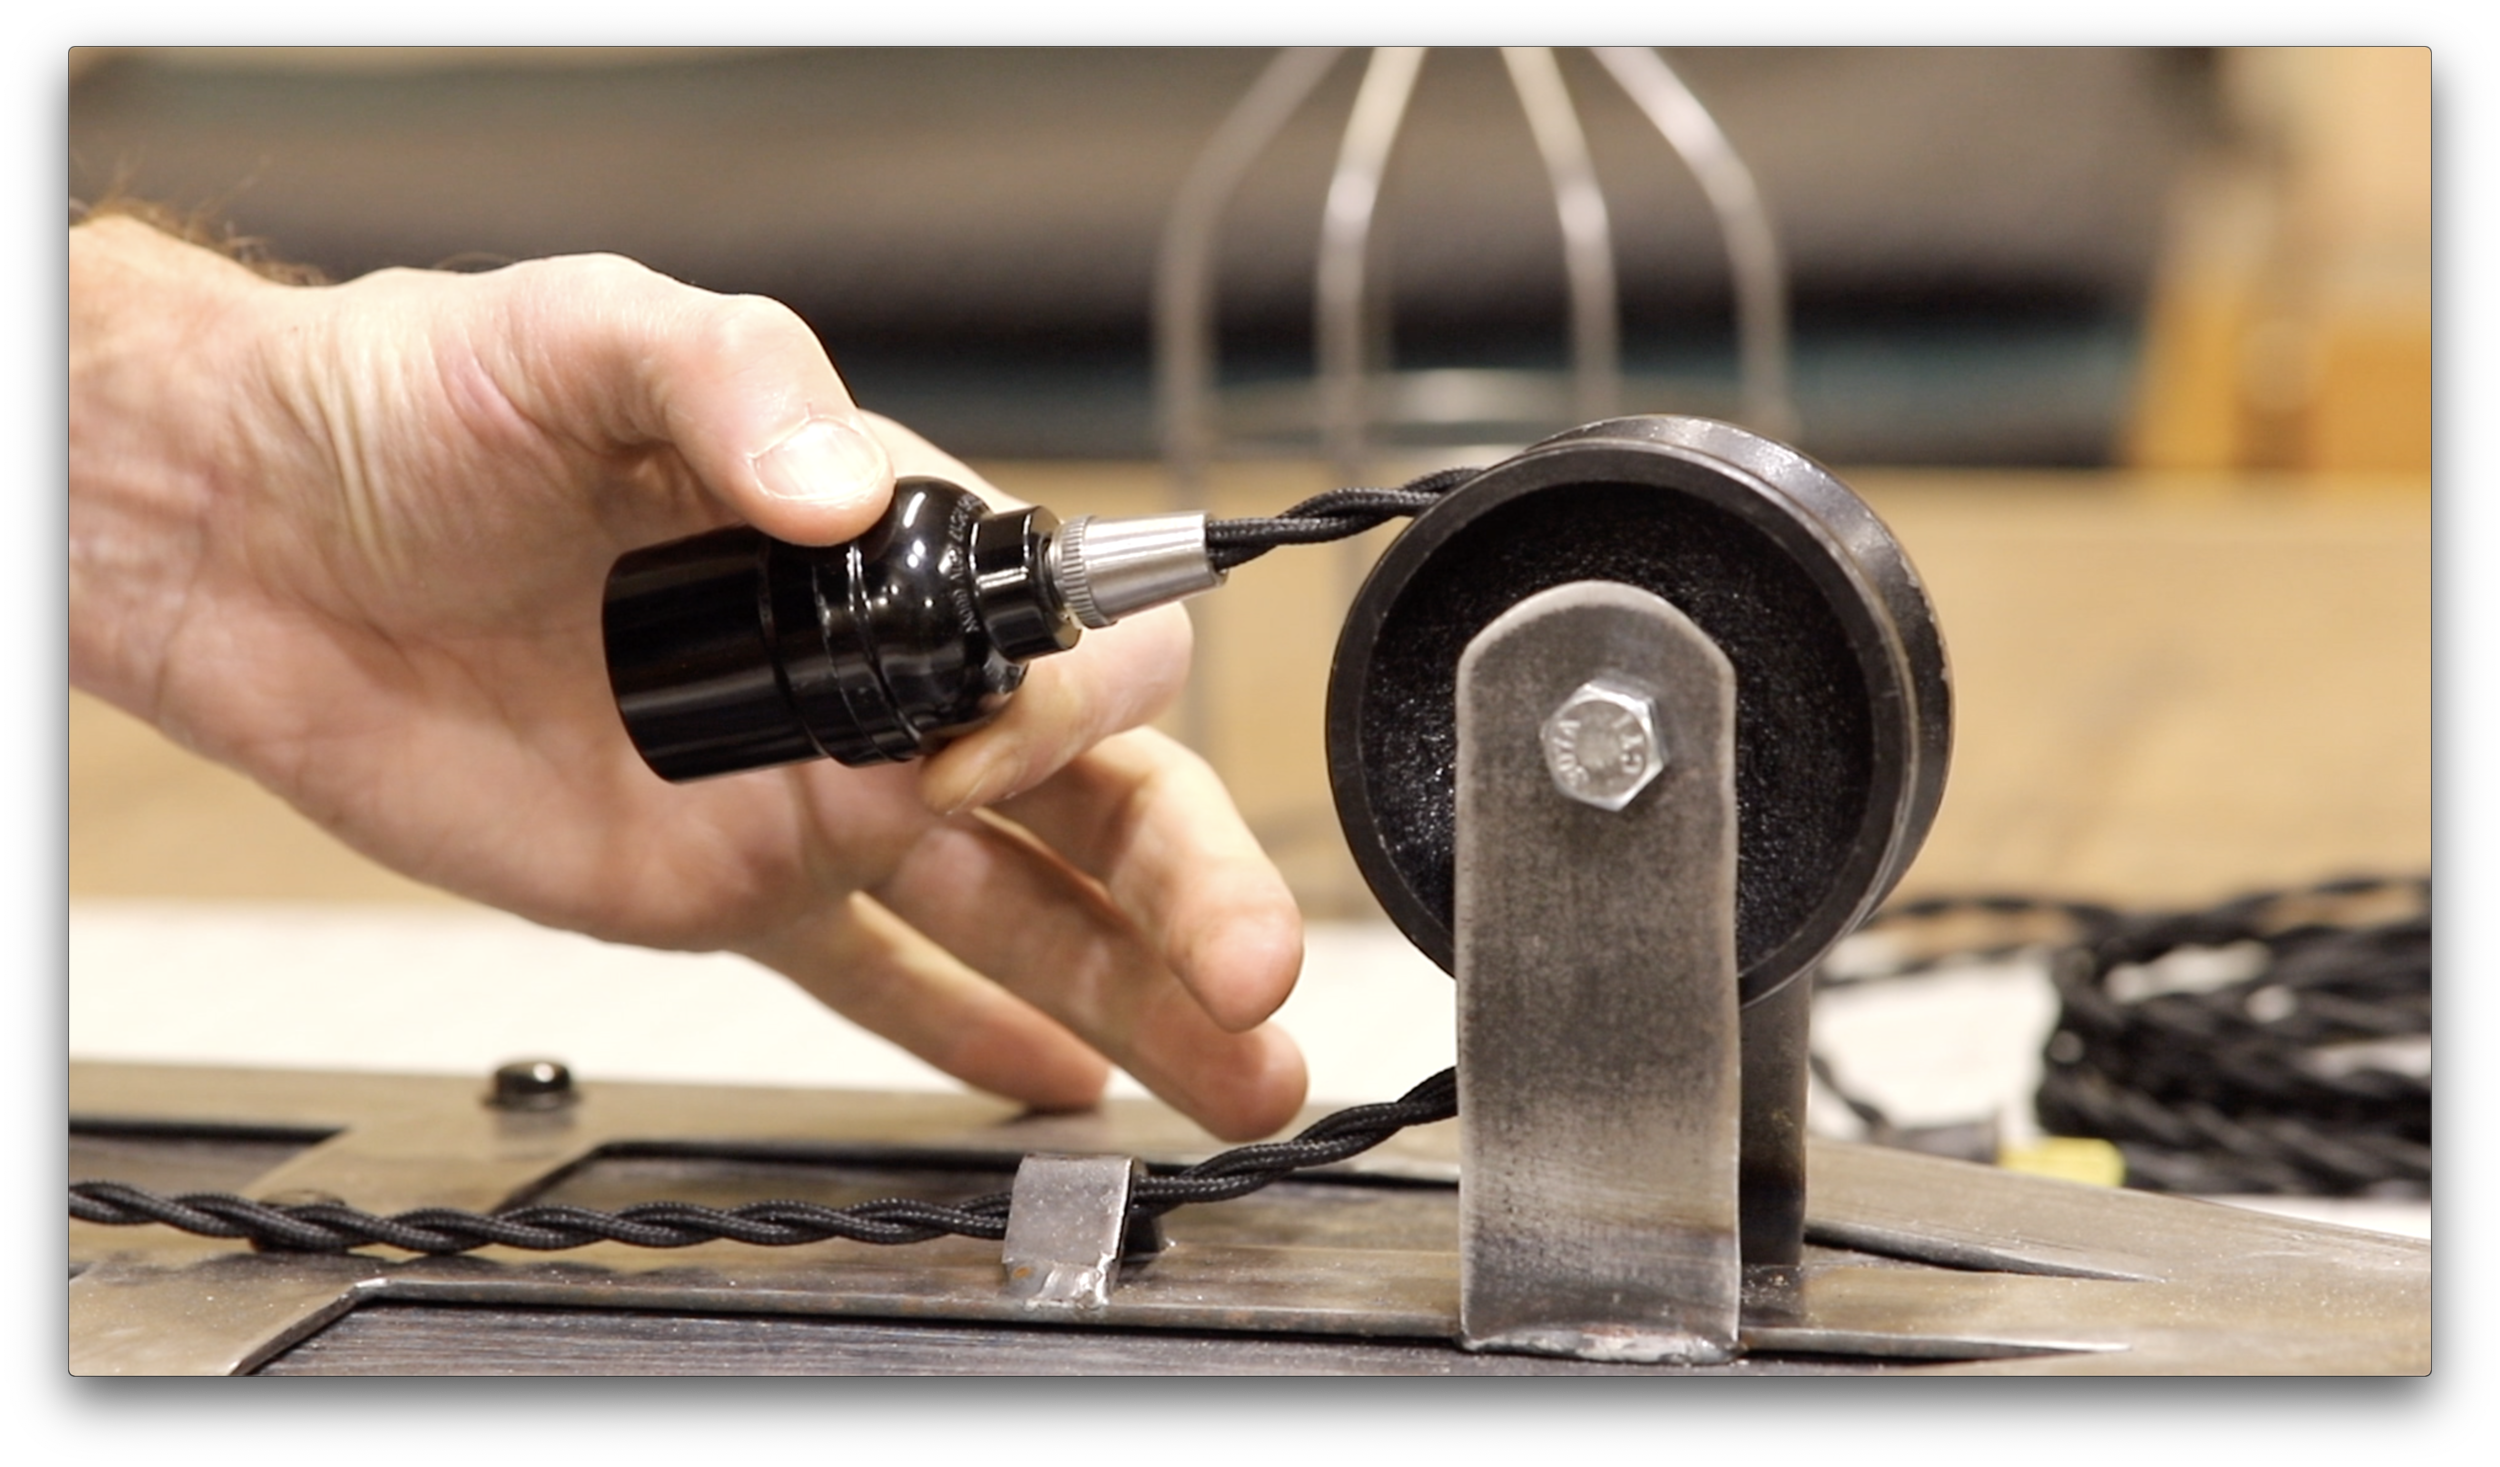
Thread the bolts through the pulley supports and the pulley.
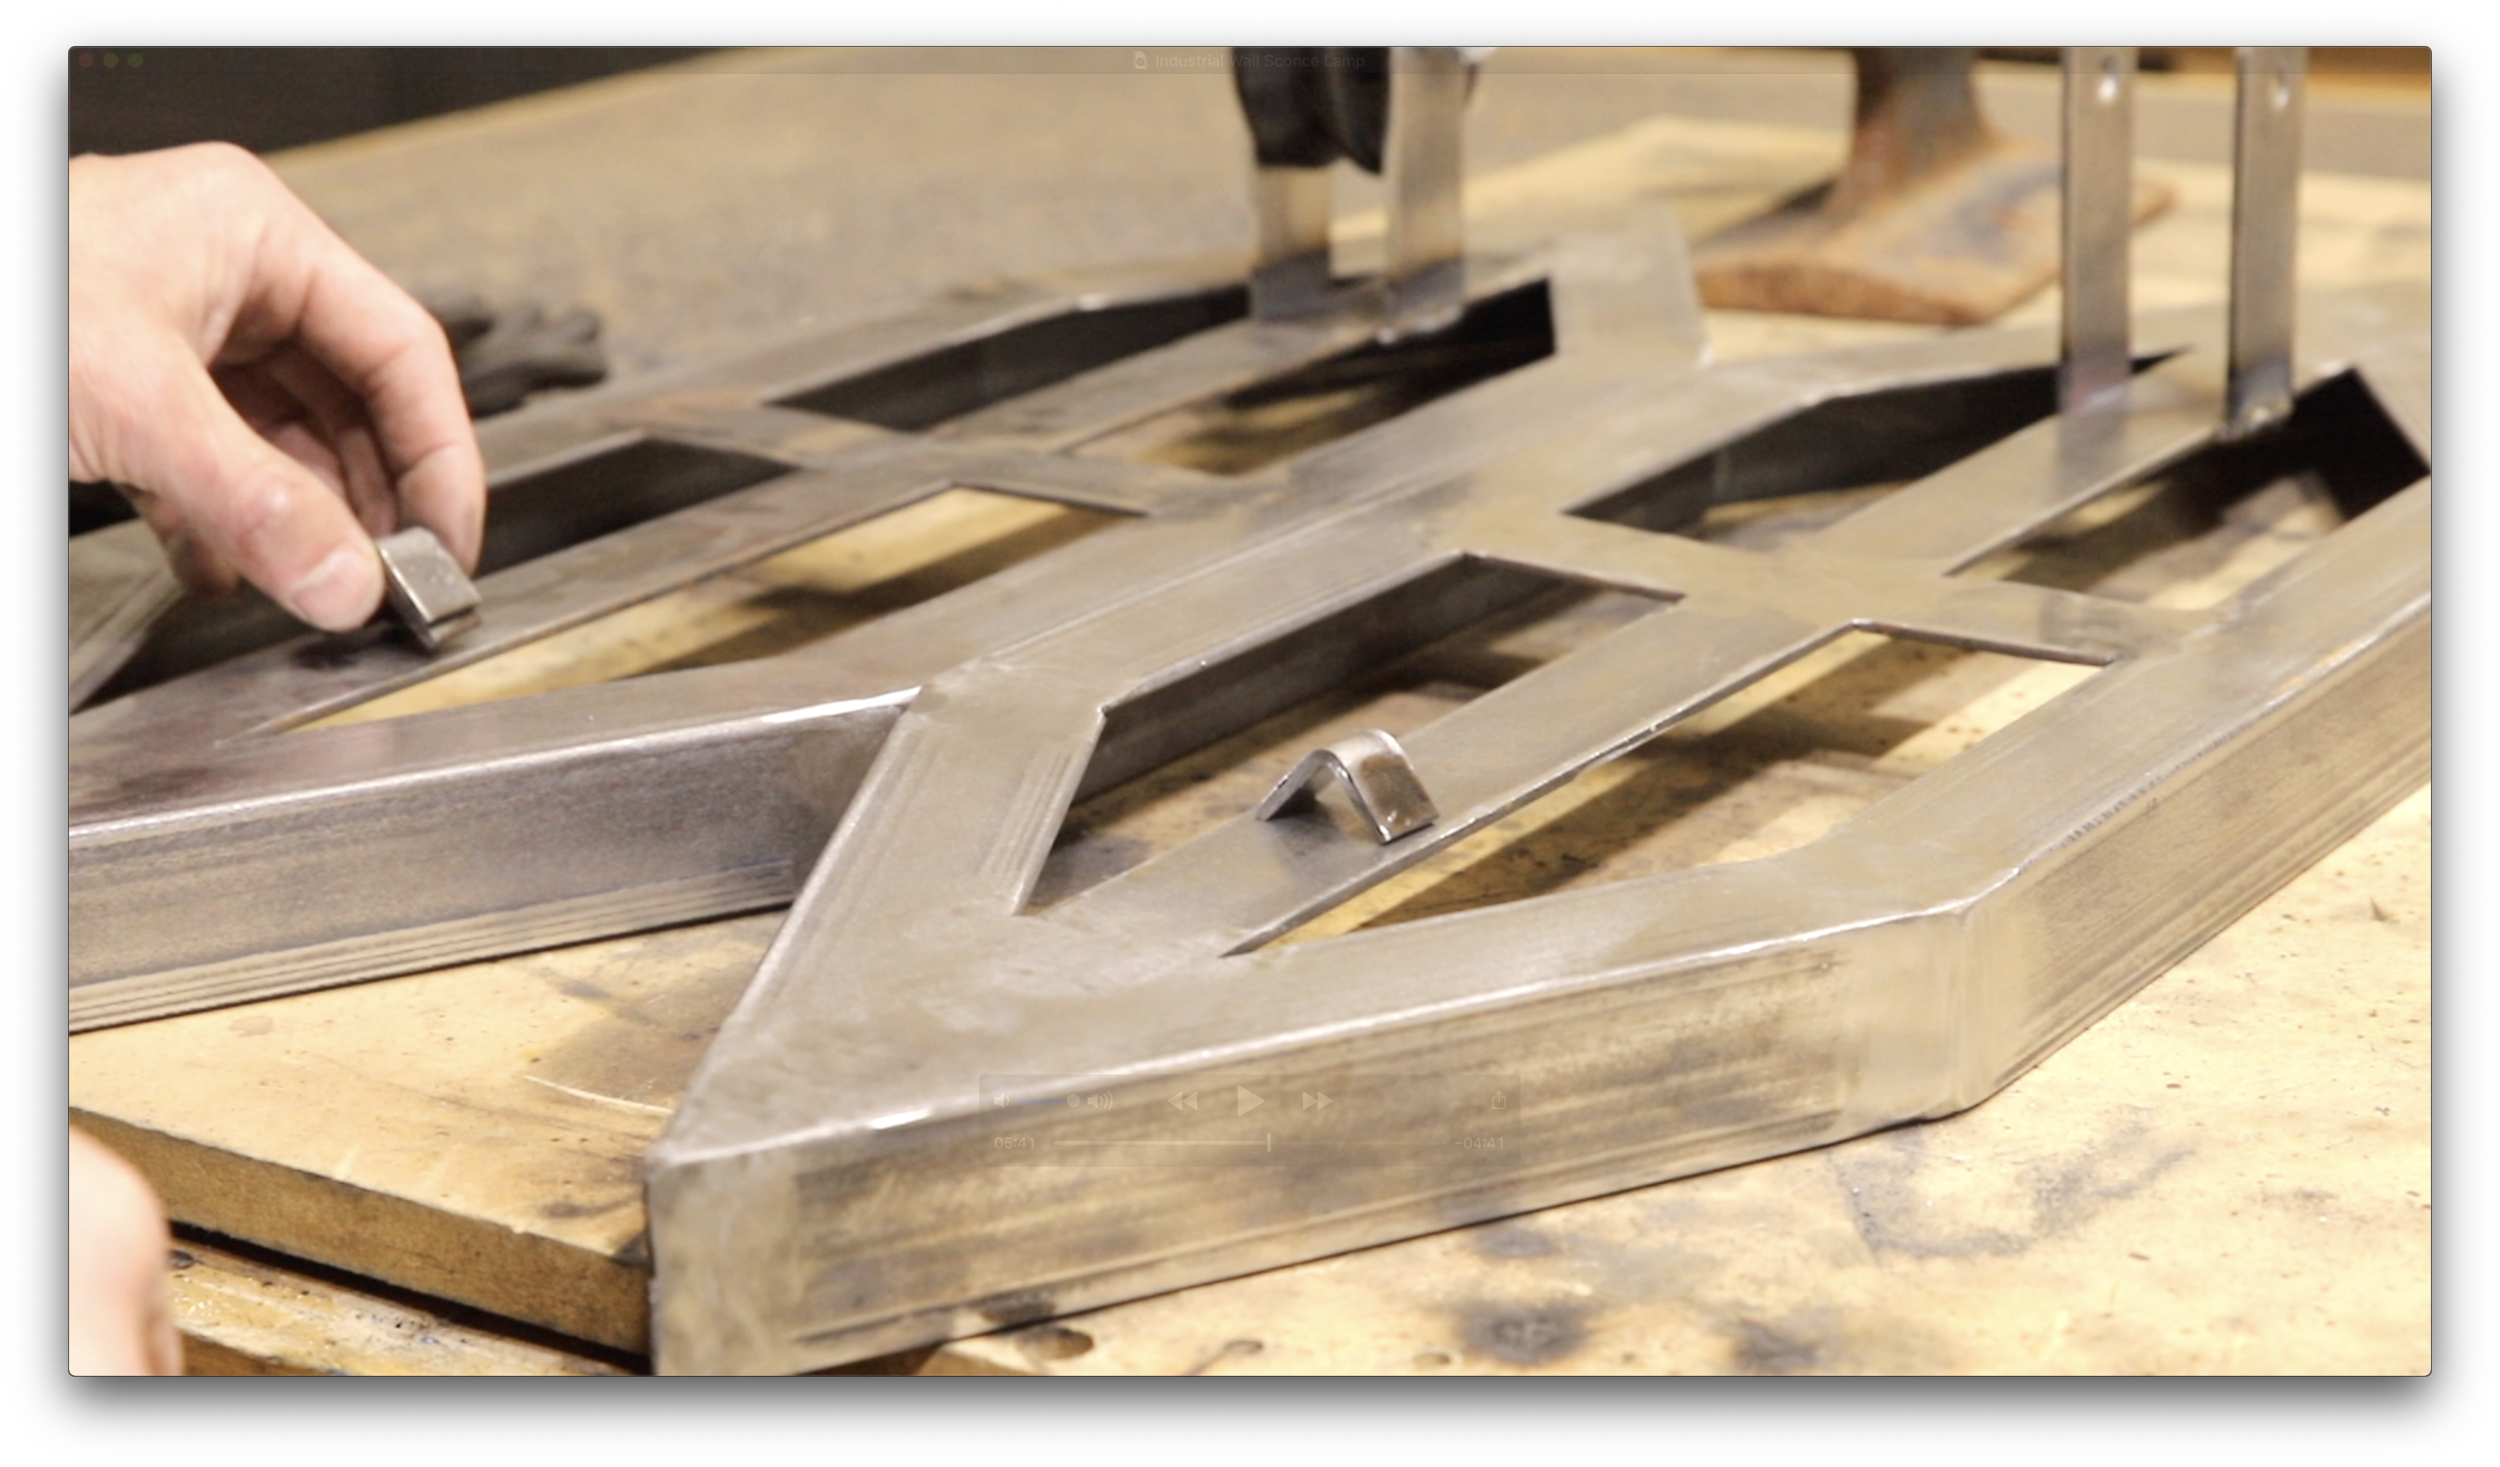
Flip the frame upside down and use an object to support the frame 4 inches off your table. Hold the pulley supports flush with the center bar 2 inches down from the top. Add tack welds, and then run full weld beads from the back side.
Bend the 1/2 inch pieces you cut for the cord stays in half by placing them in a vice and hammering a 90 degree bend into the piece. Do this x 4.
Weld a cord stay 3 inches up from the bottom of the center bar and 3 inches below the pulley supports.


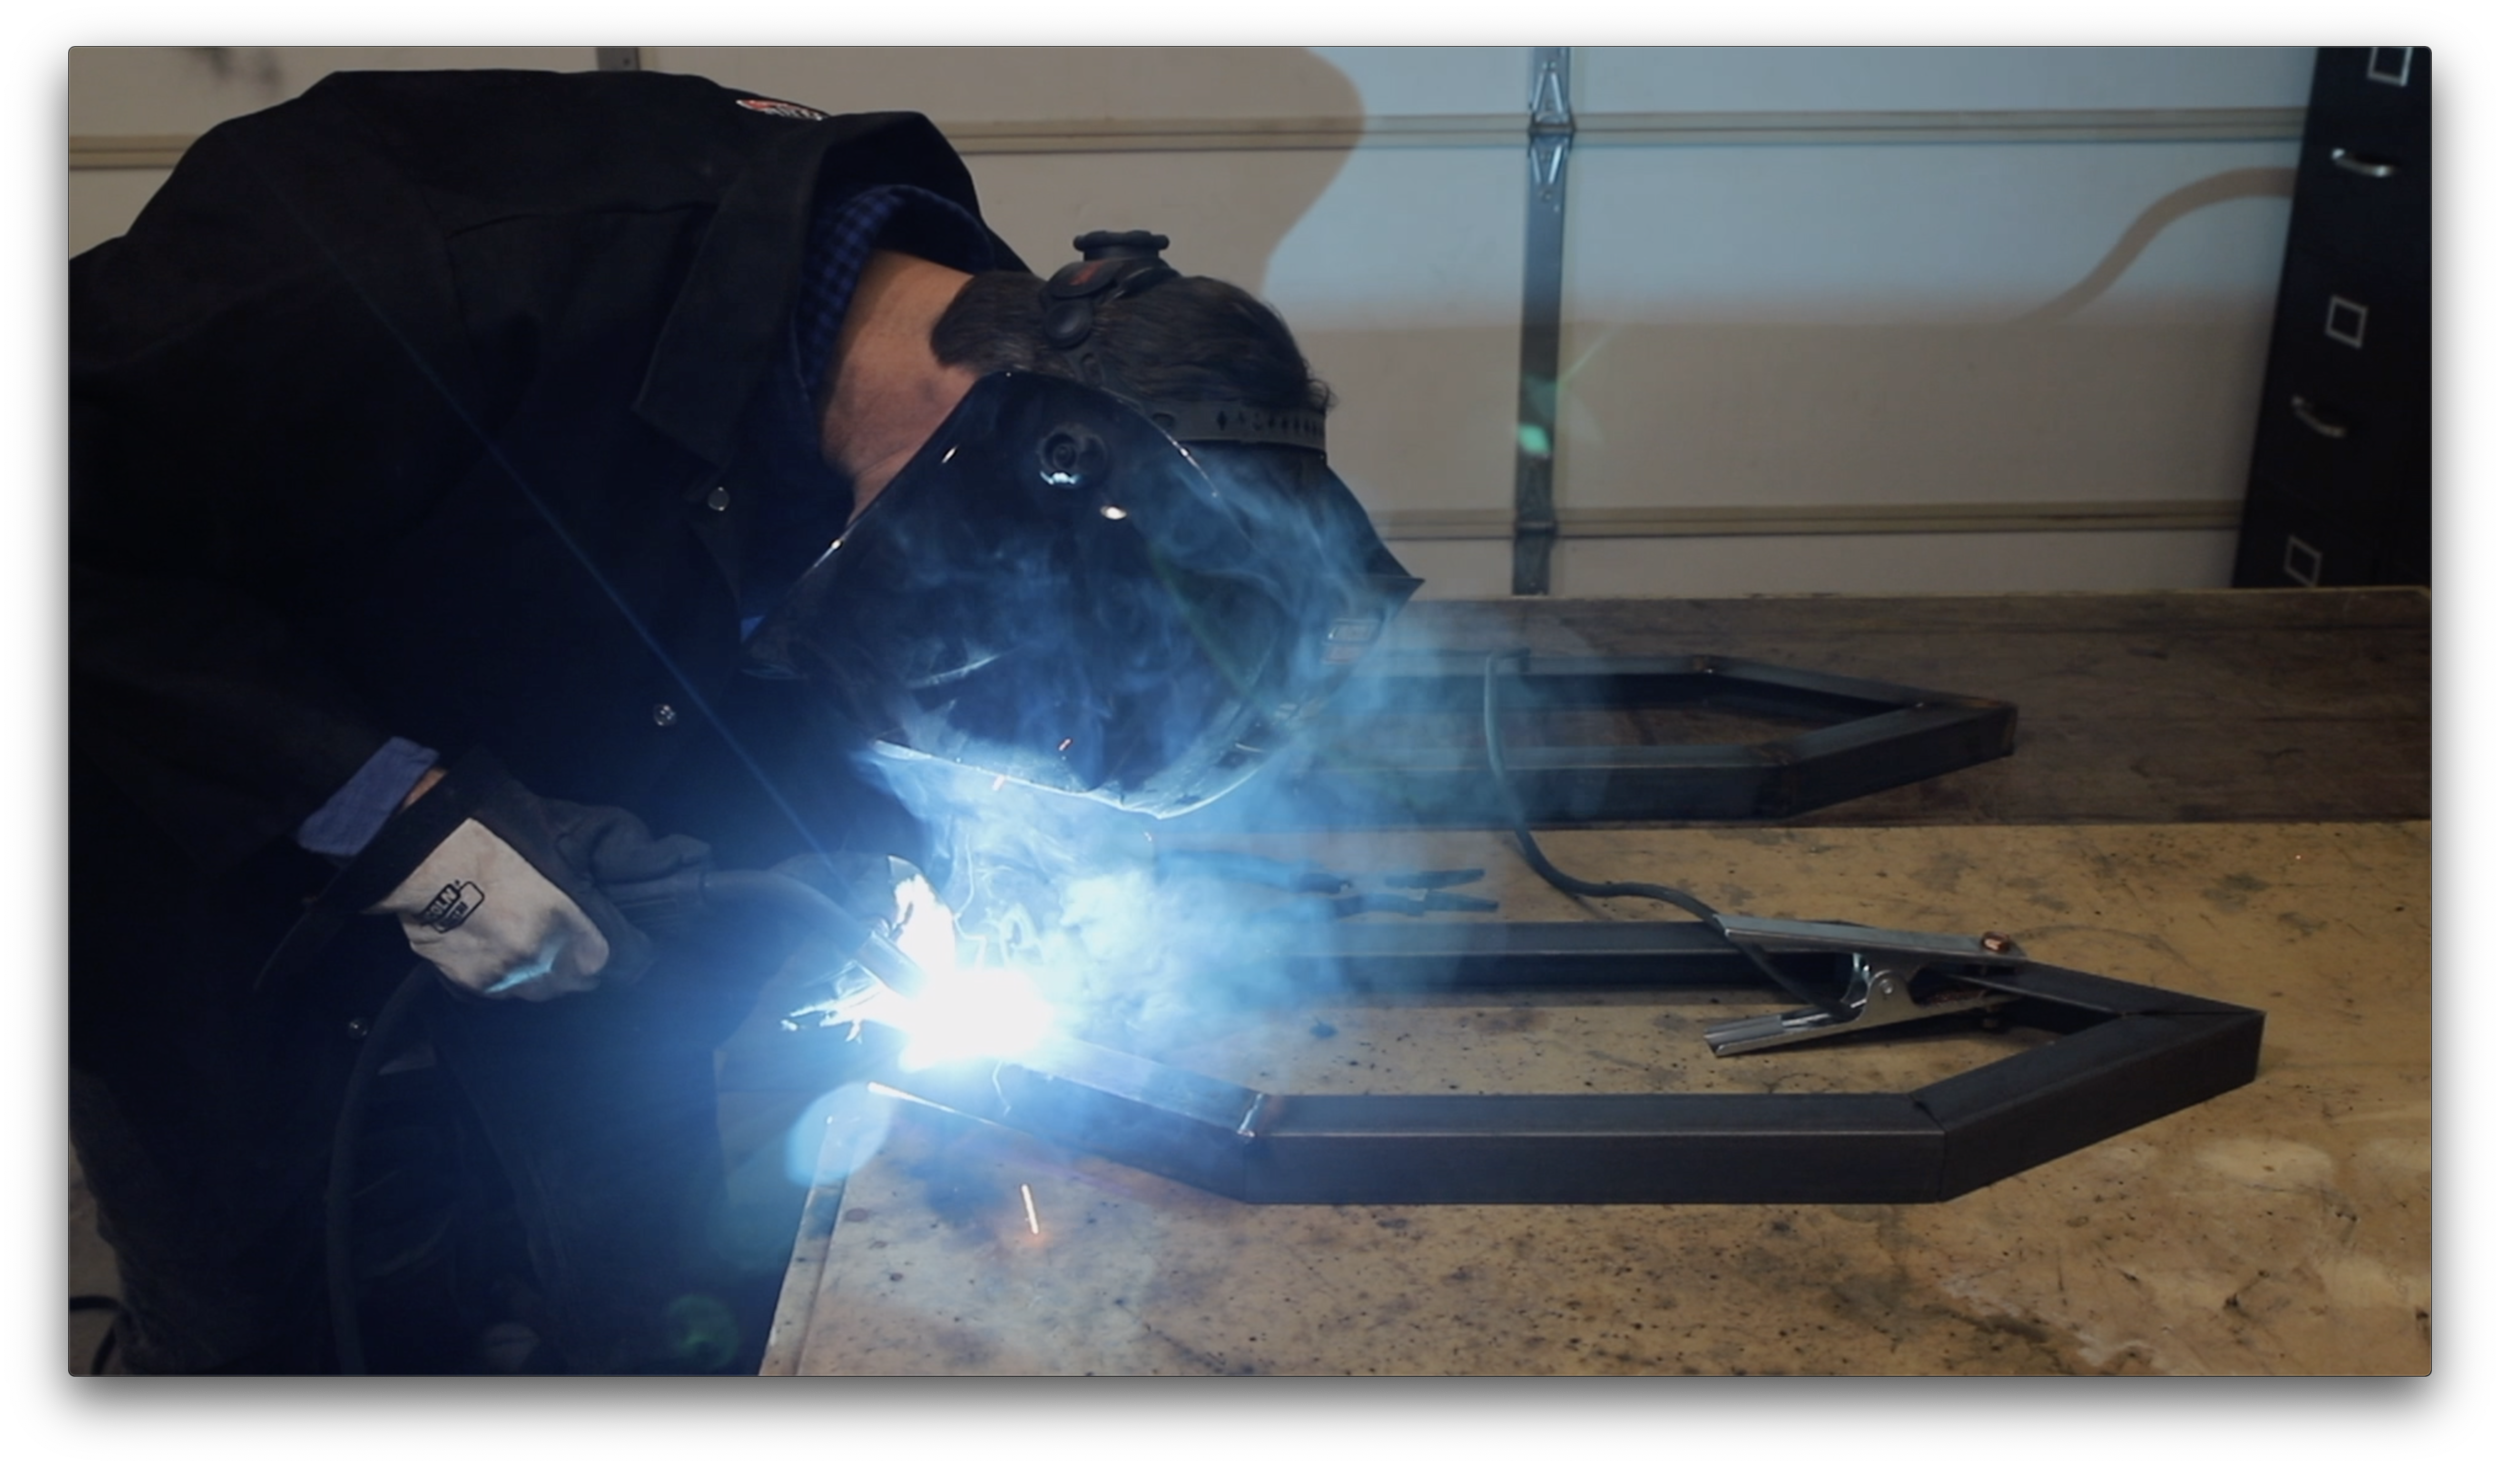
Grind all the metal surfaces down to raw steel.
Treat all metal surfaces with paste wax.
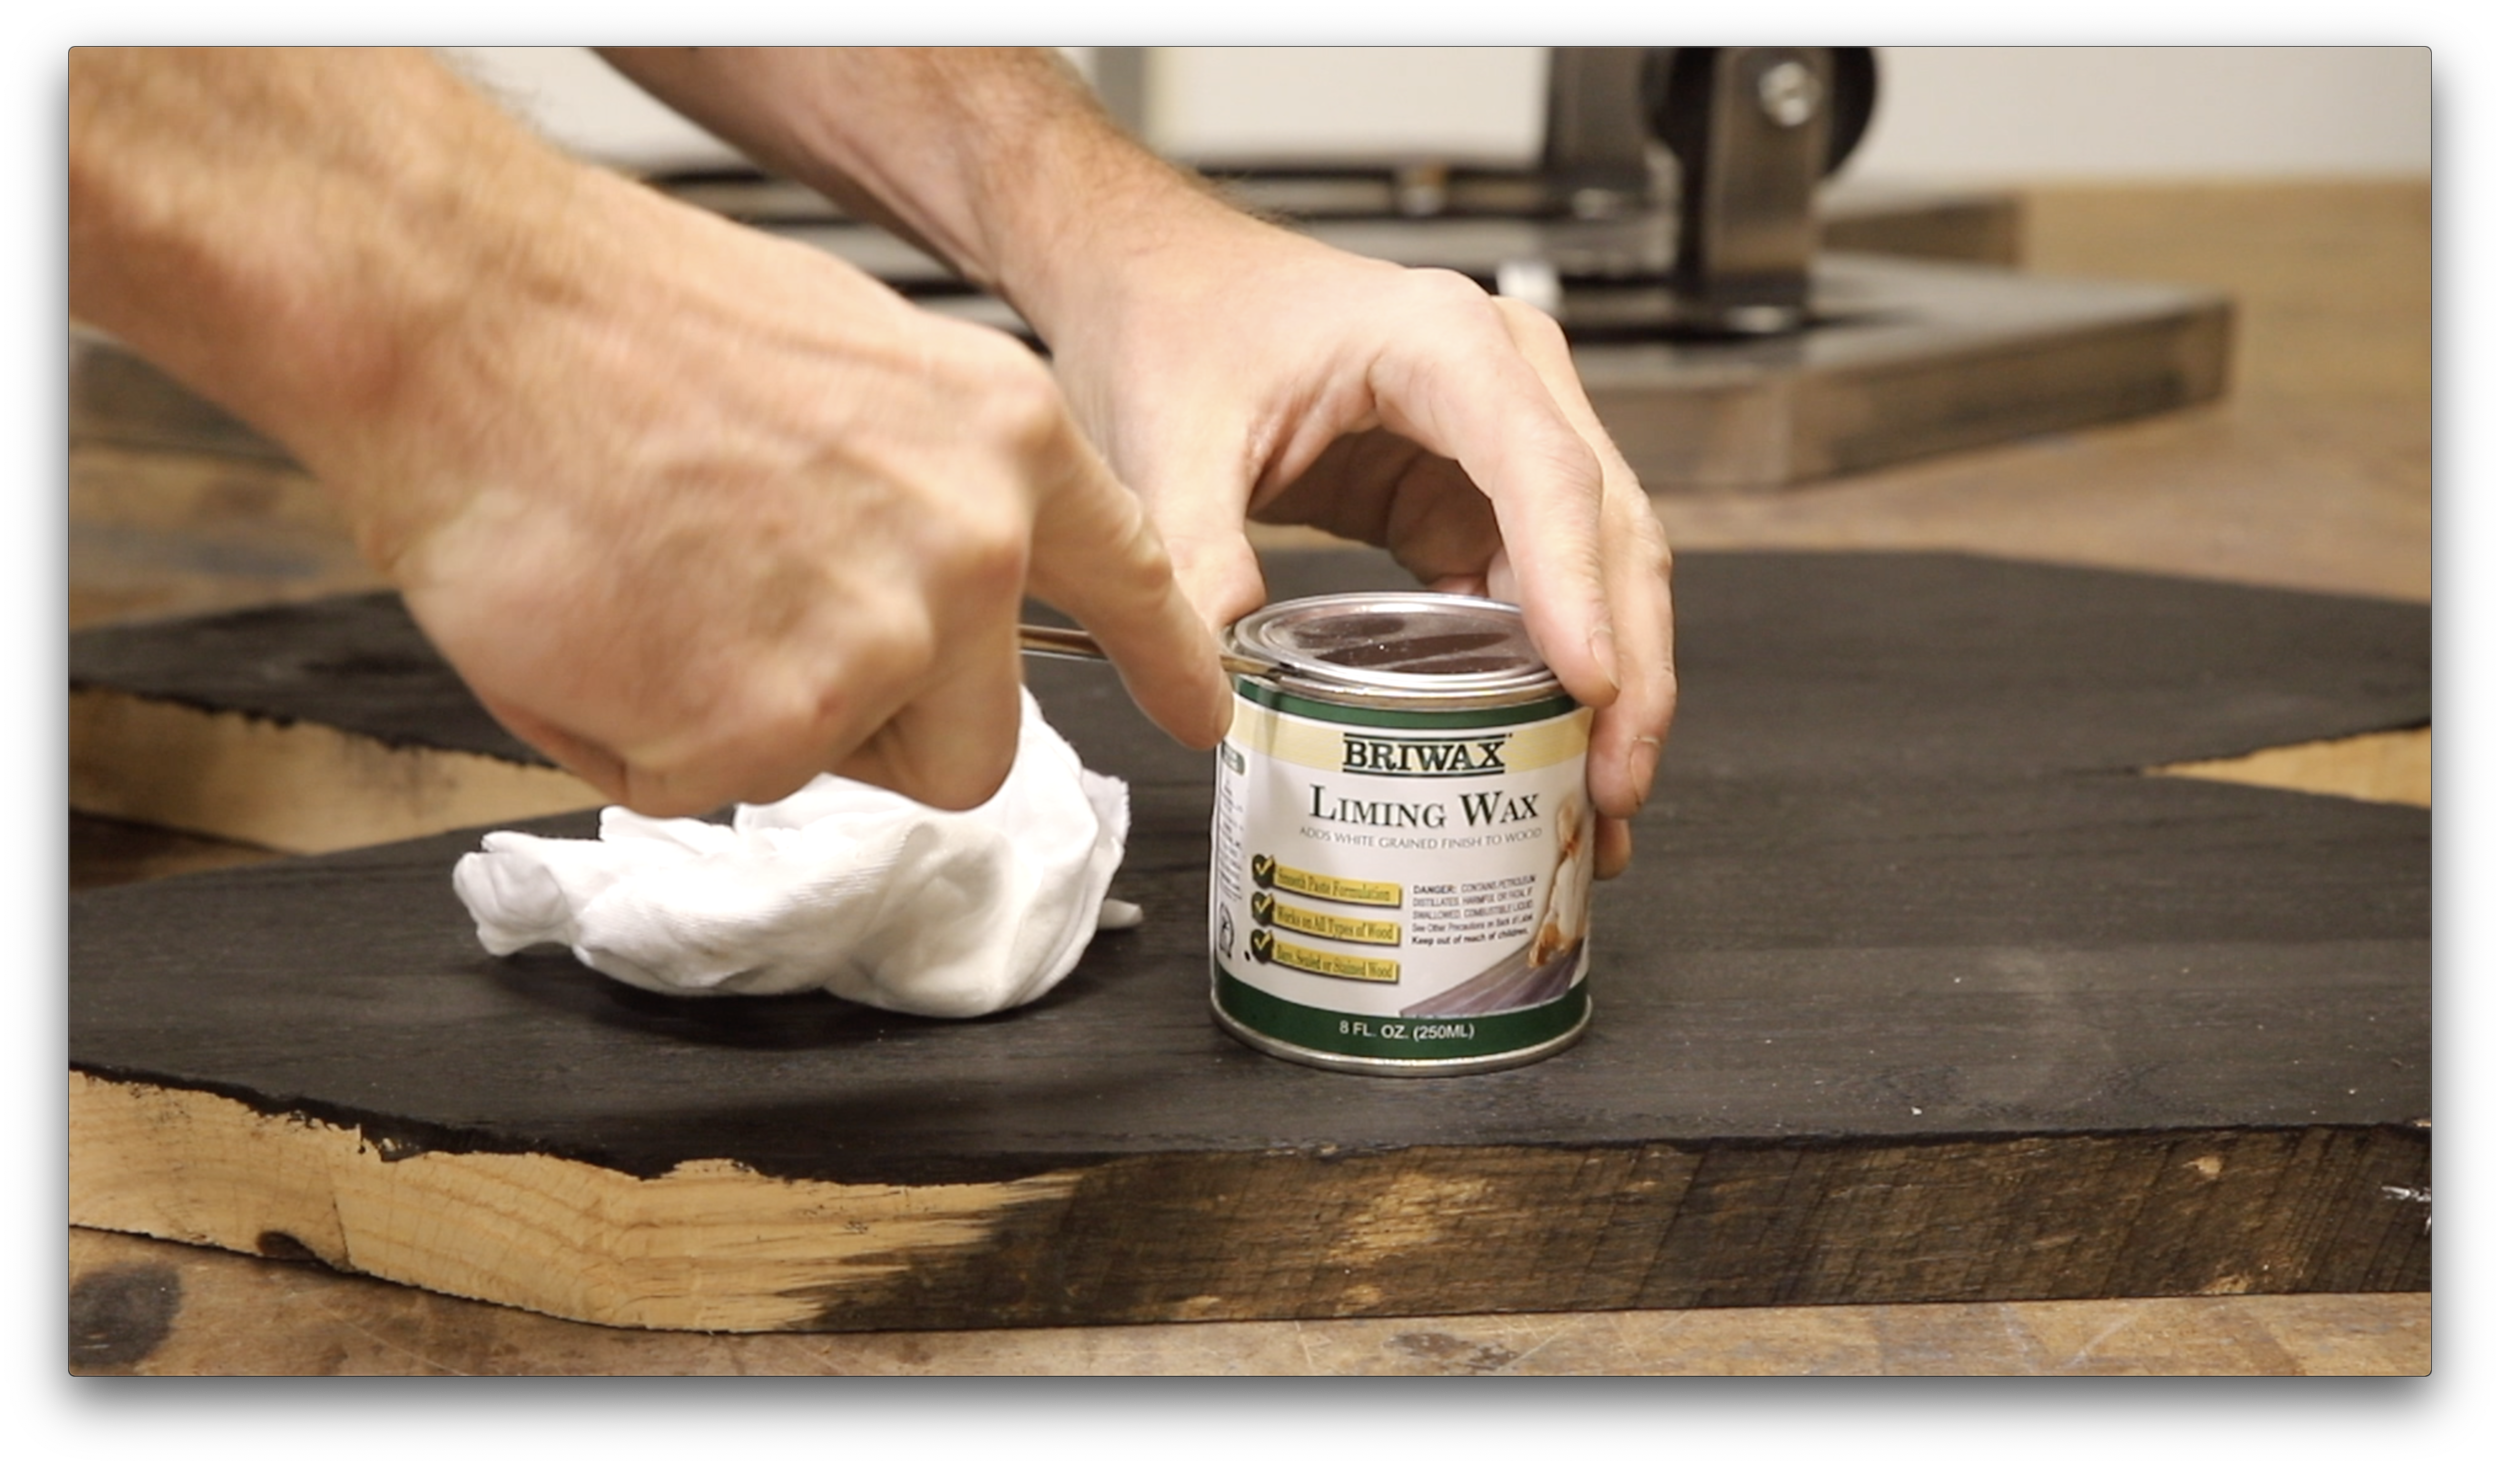
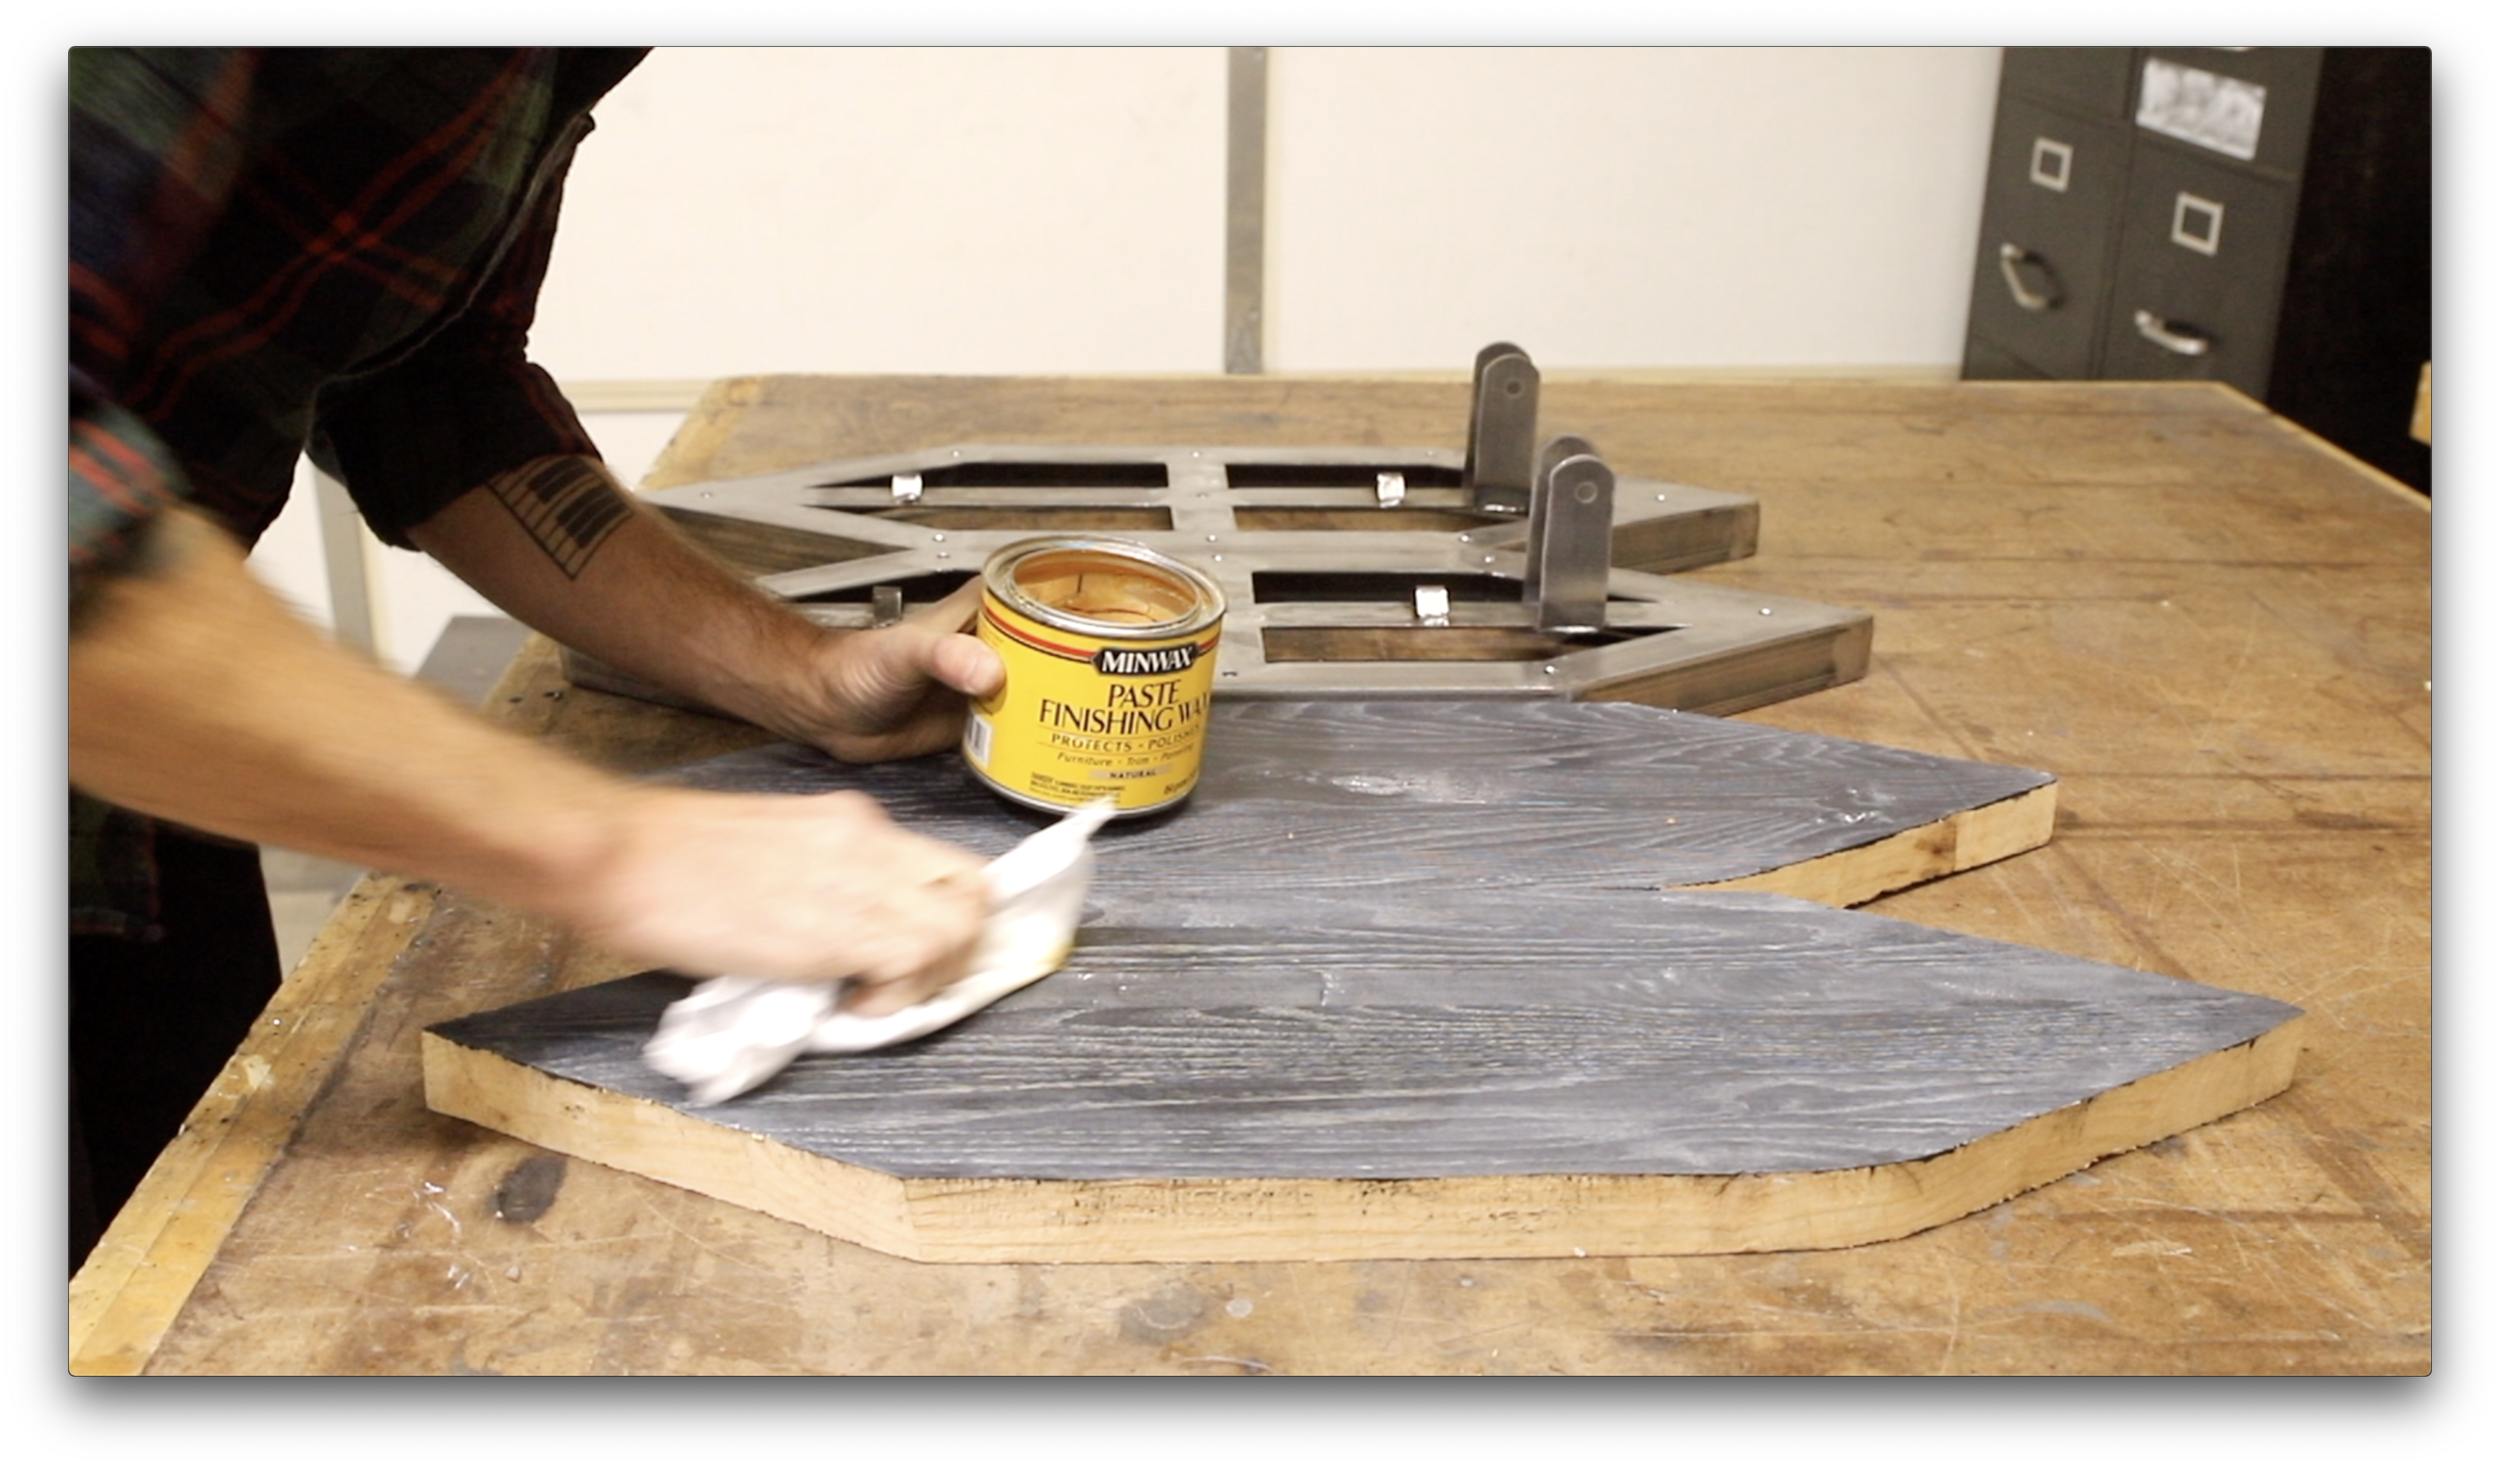
On the wood panels brush on a coat of India ink or a dark black stain.
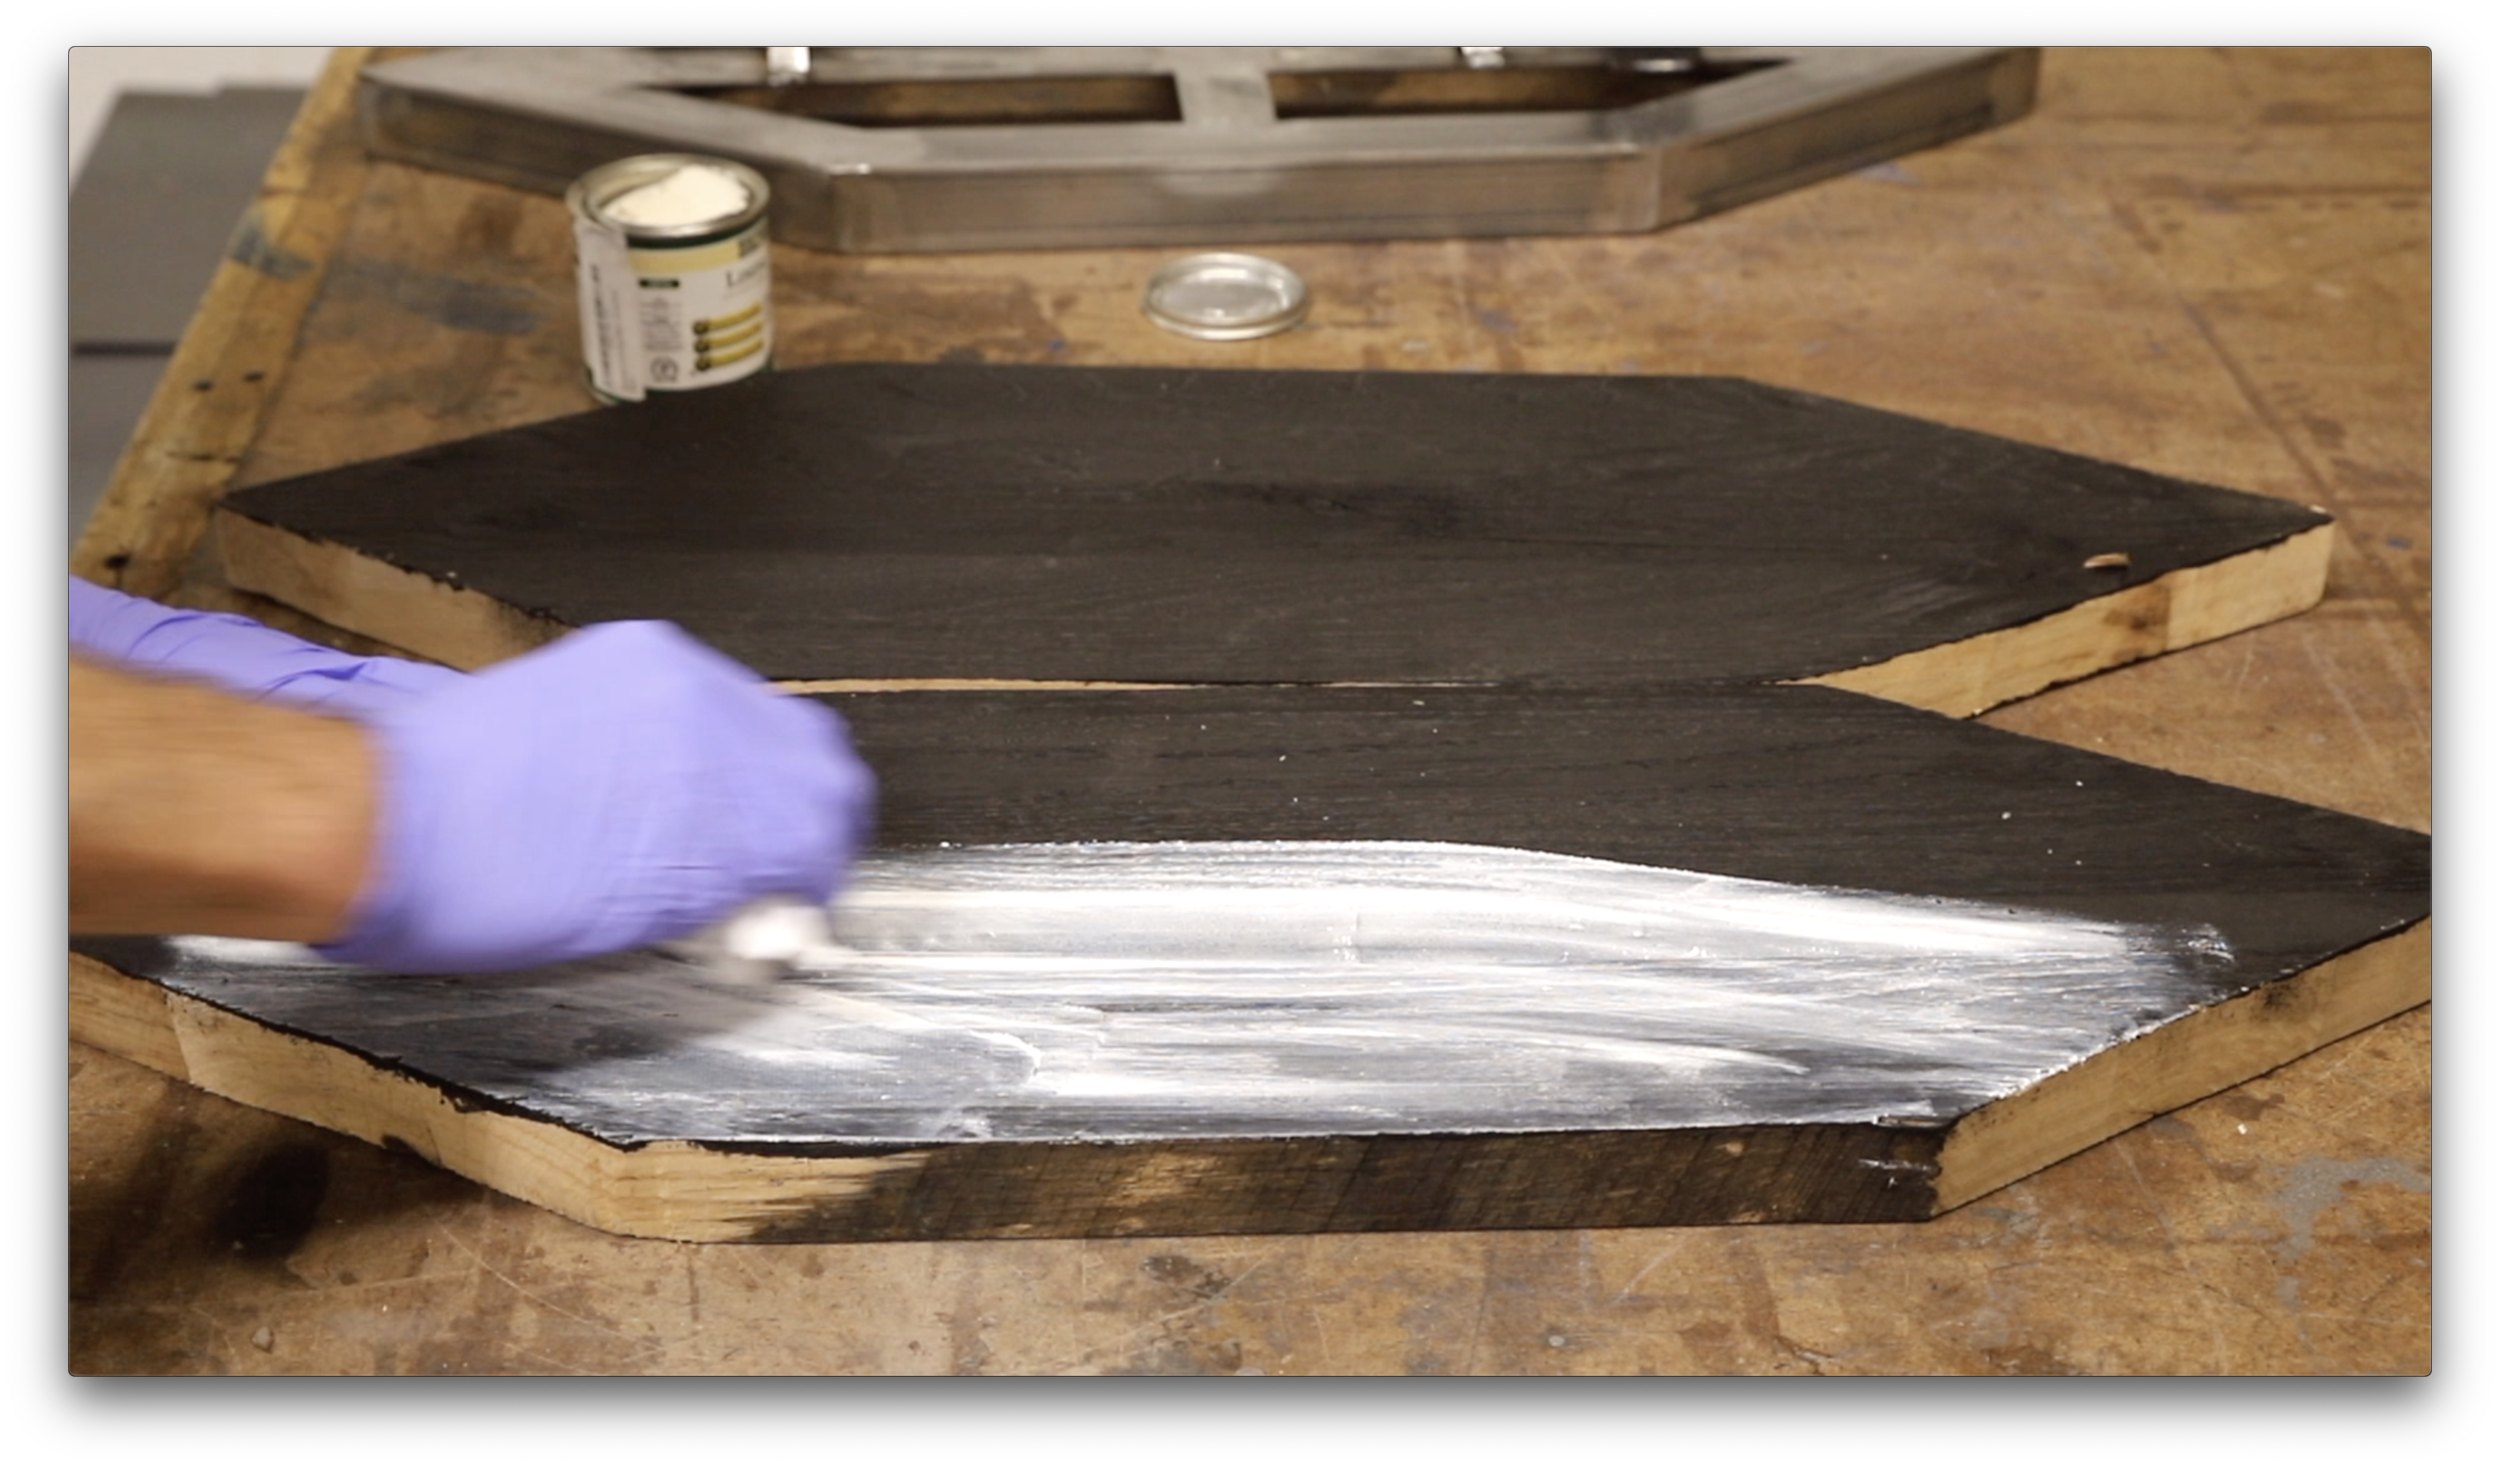
Once dry apply a coat of liming wax over the black panels and rub down into the grain.
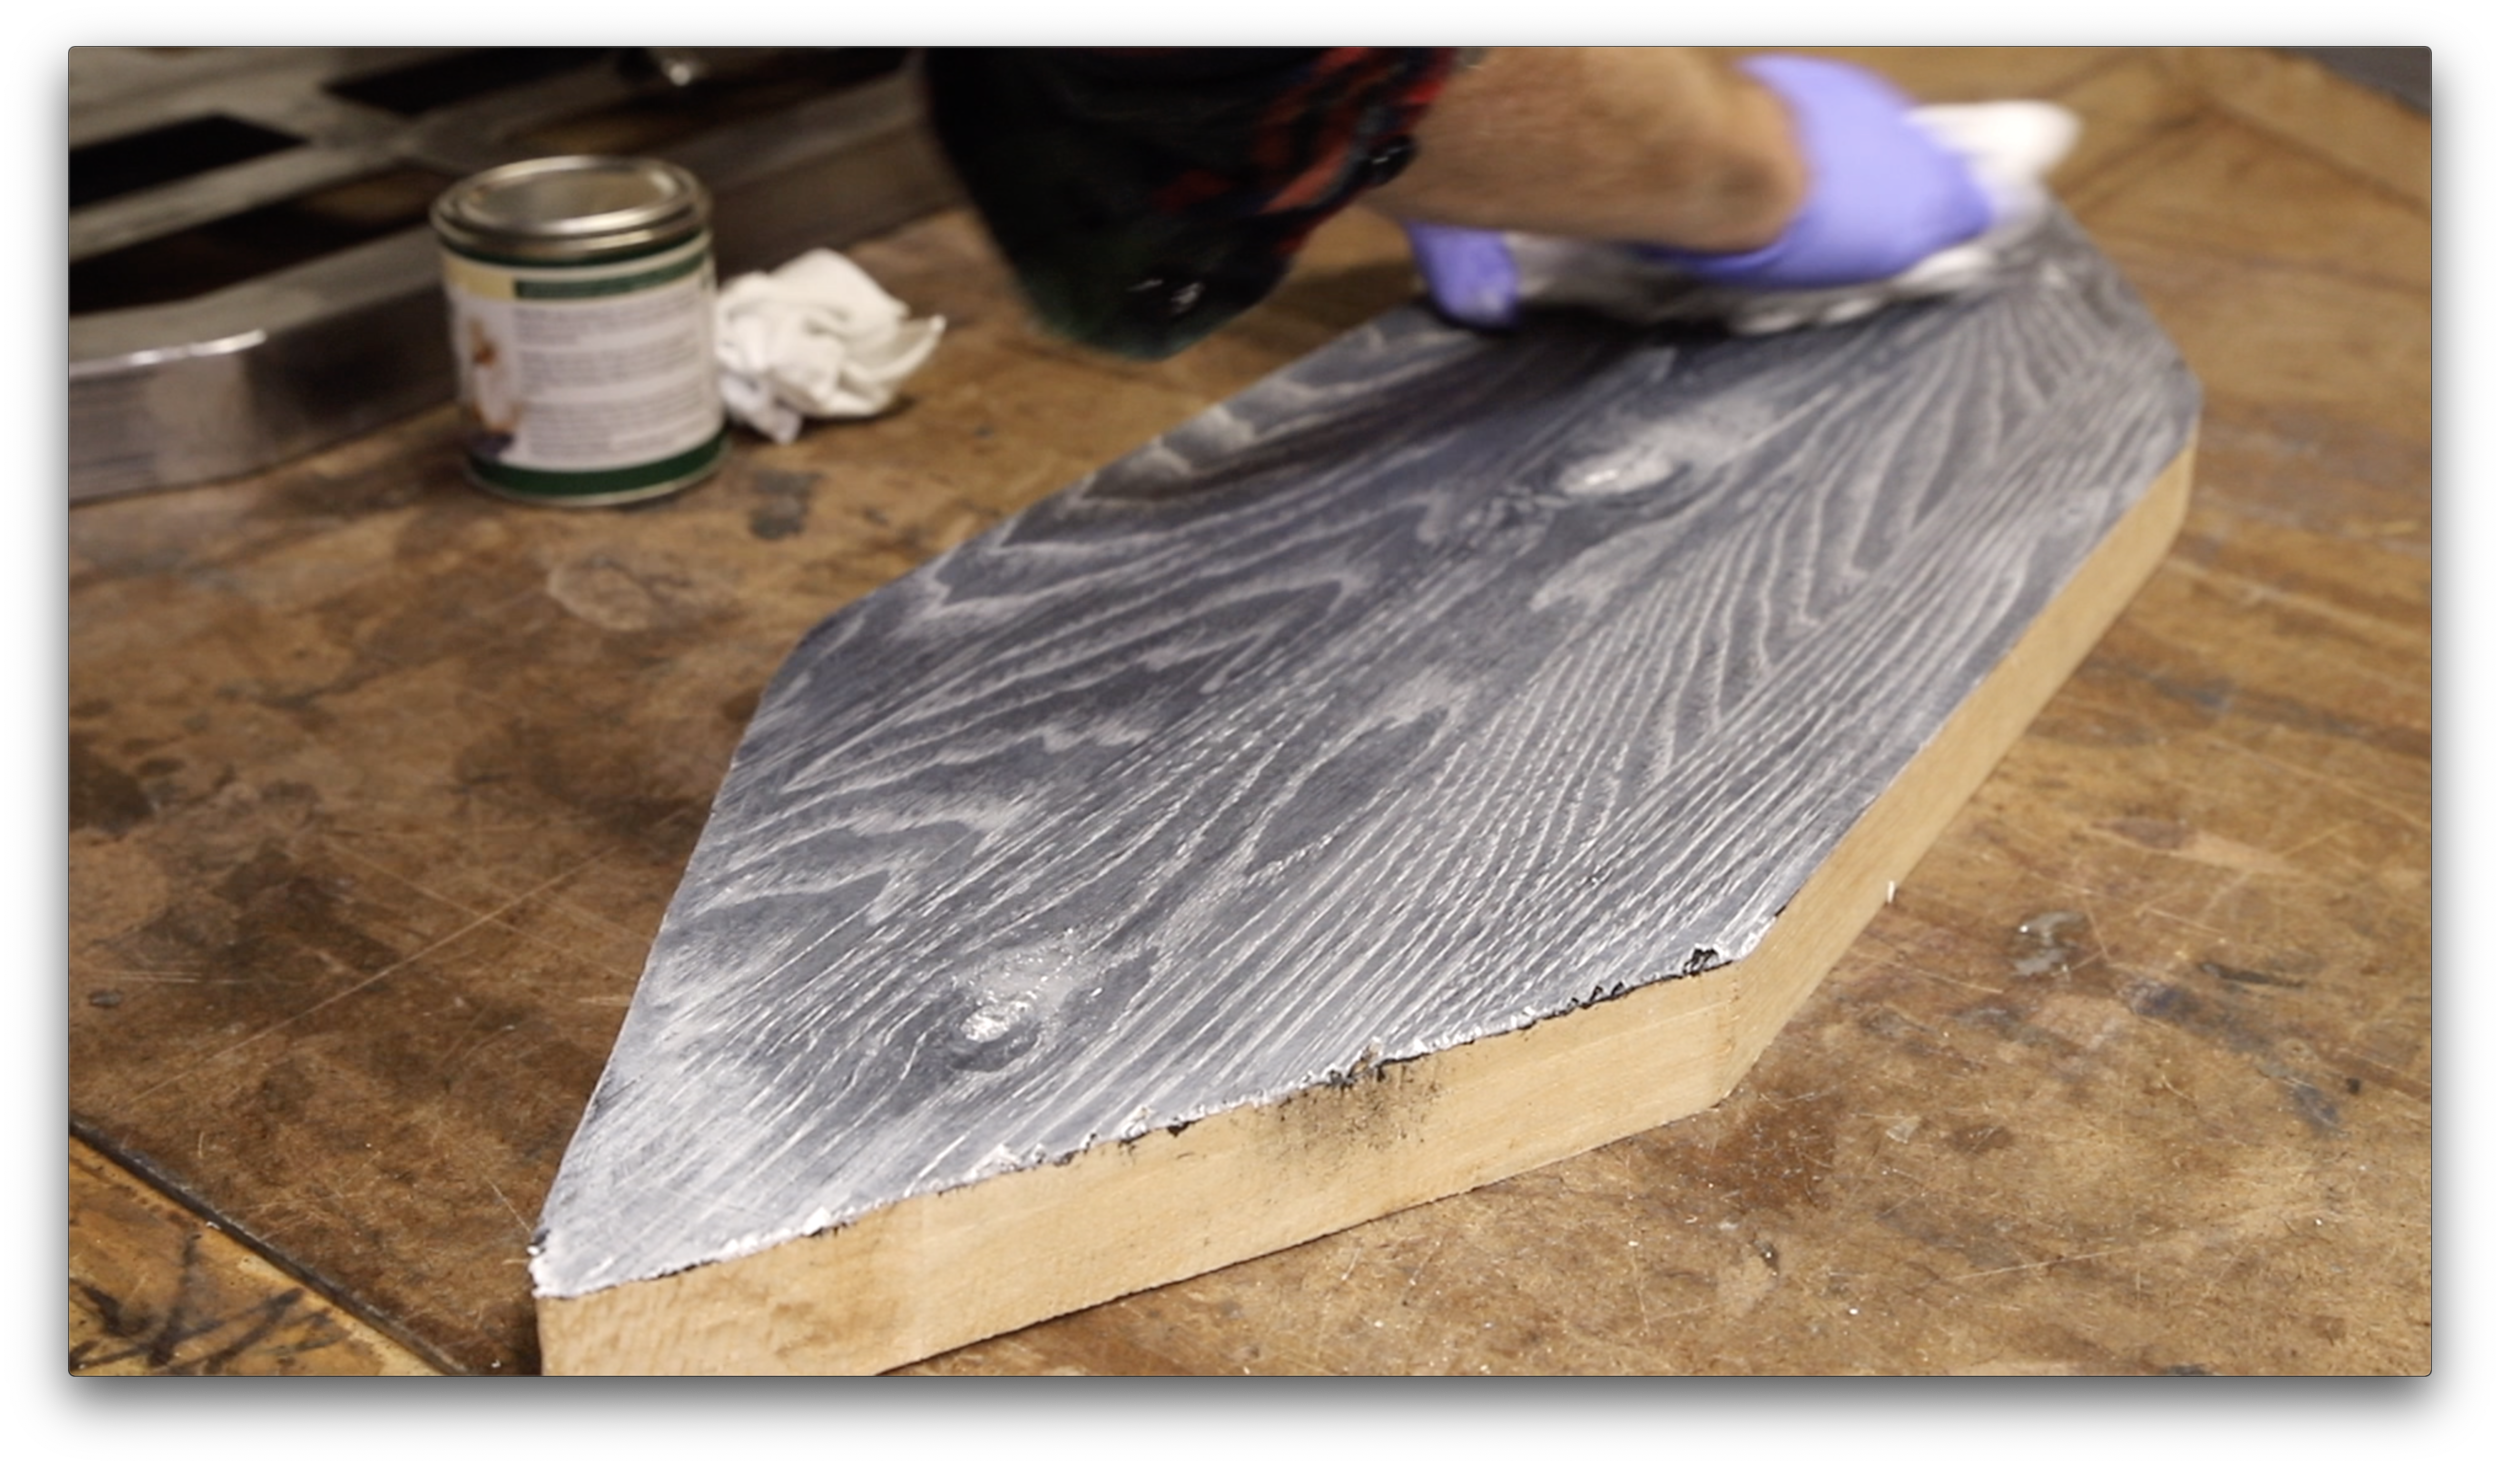
Allow the liming wax to dry and then wipe off the excess.
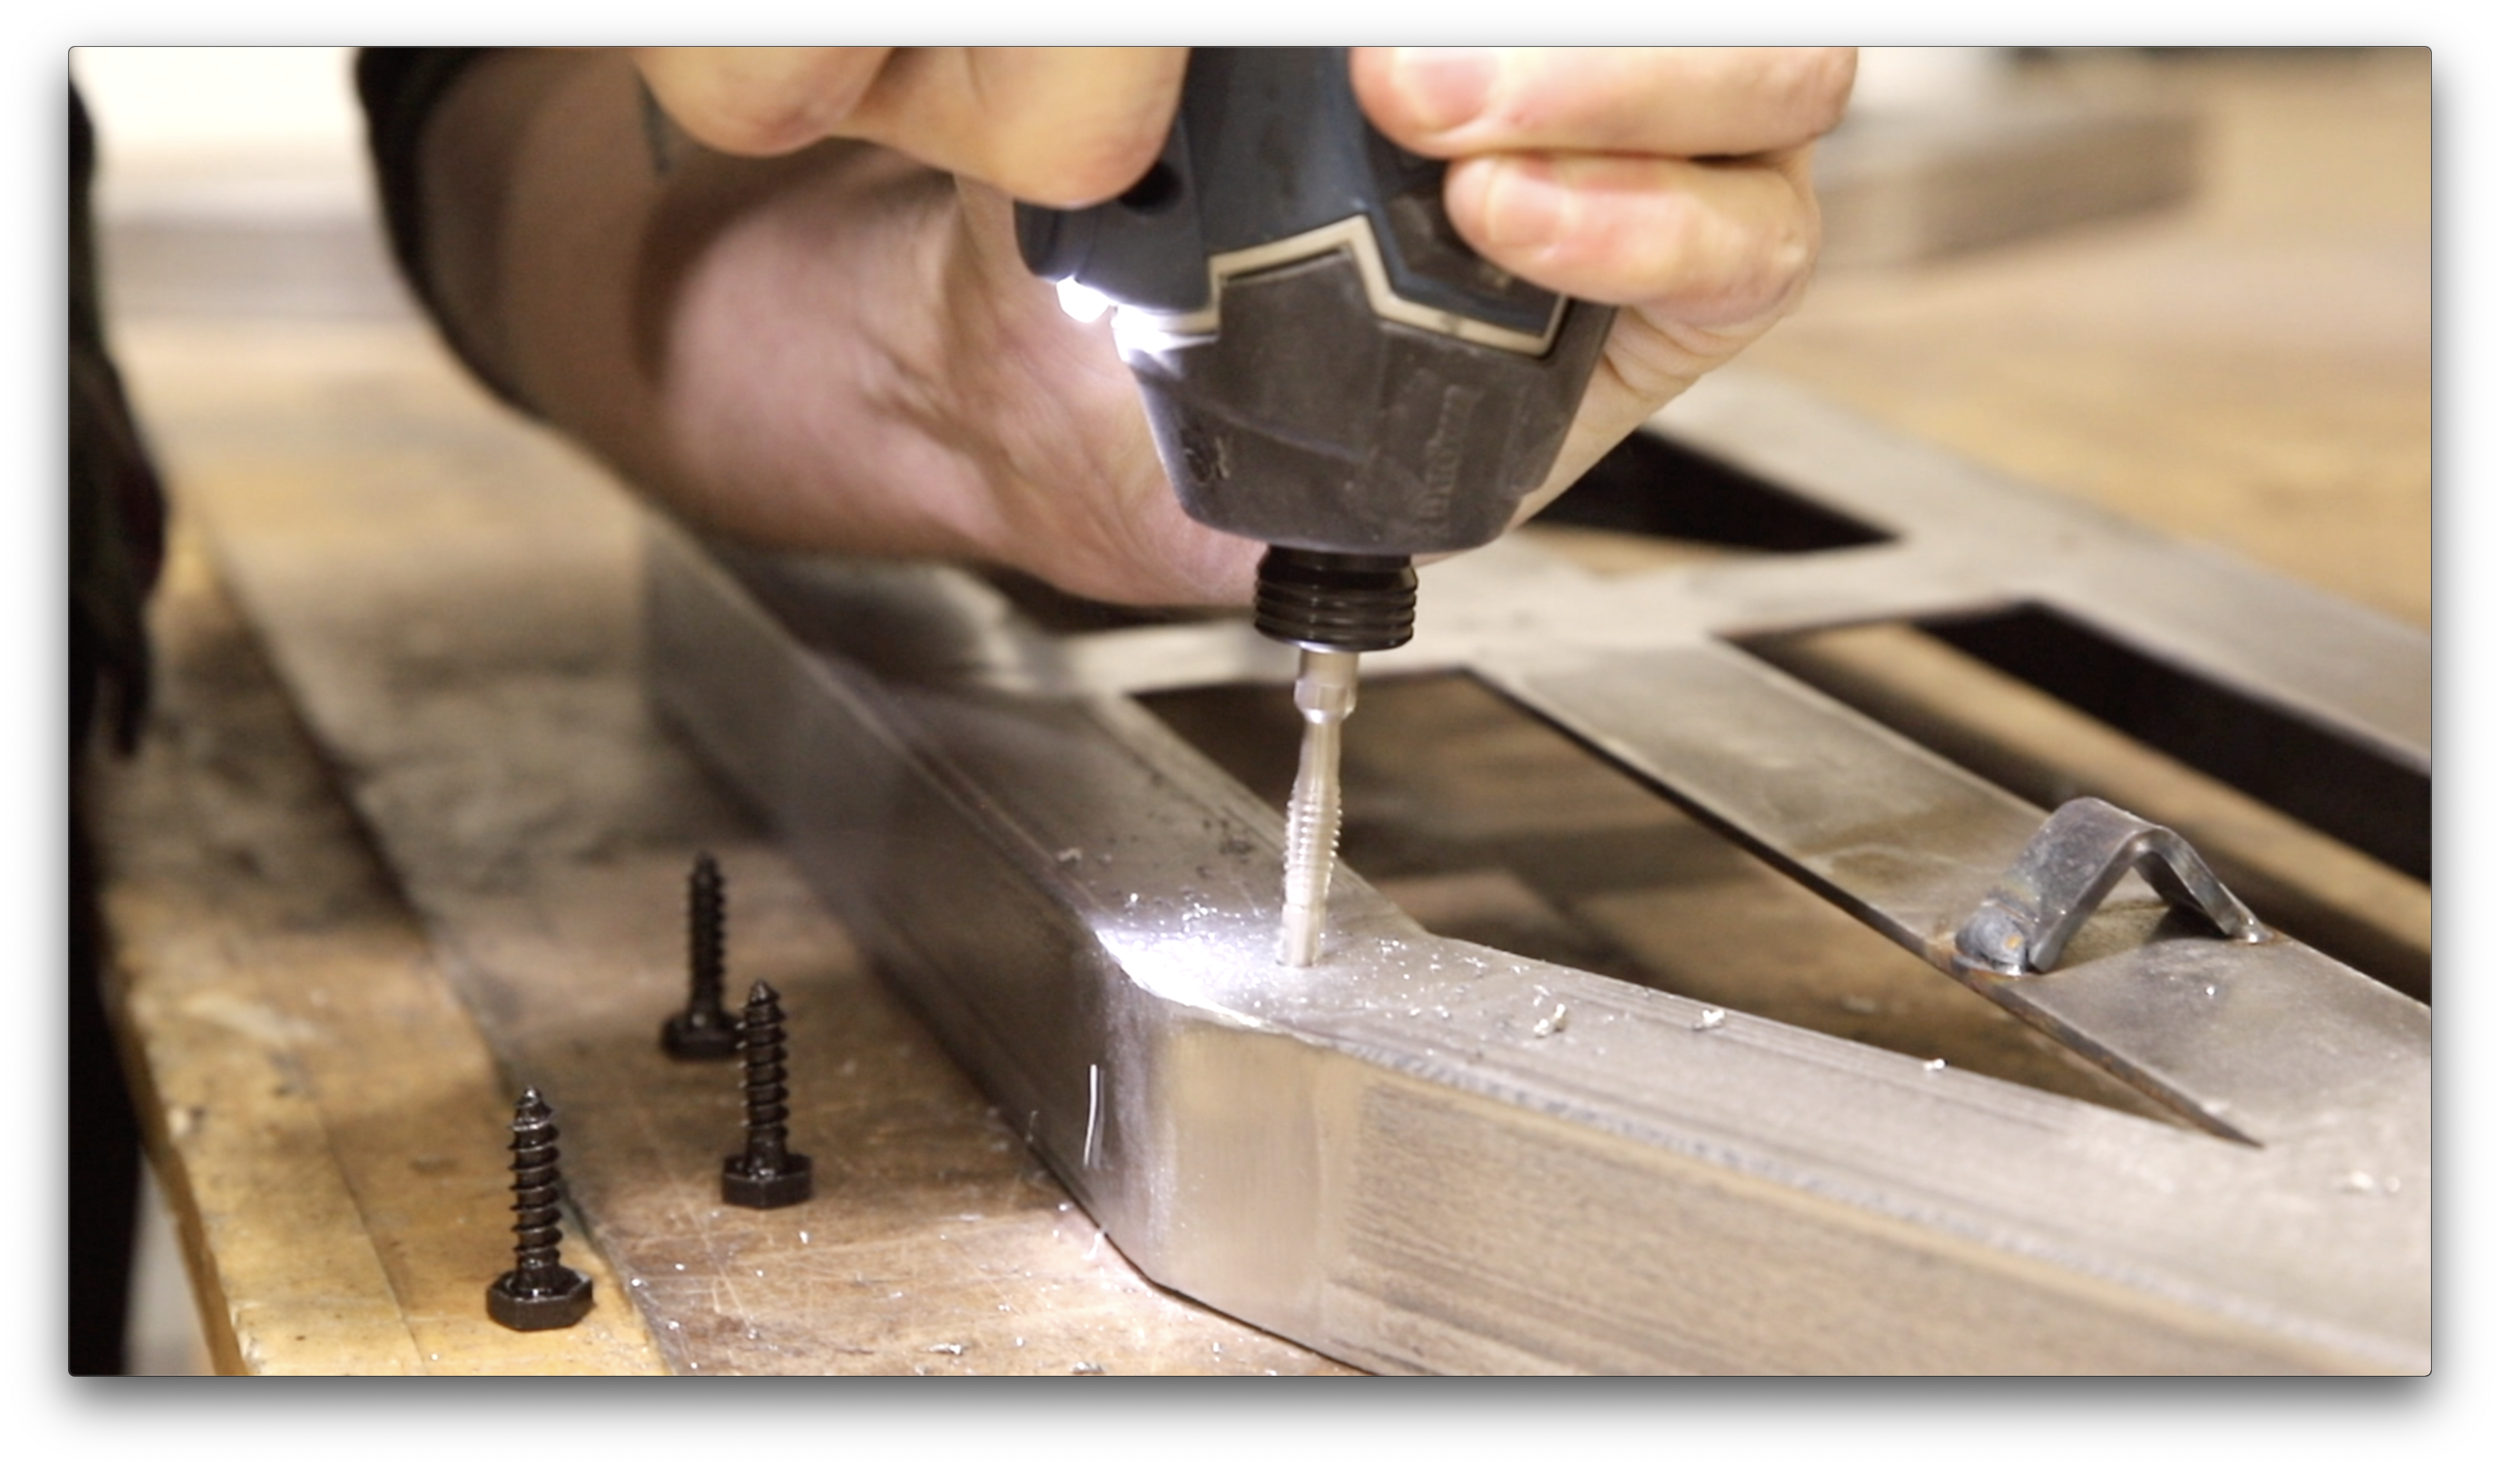
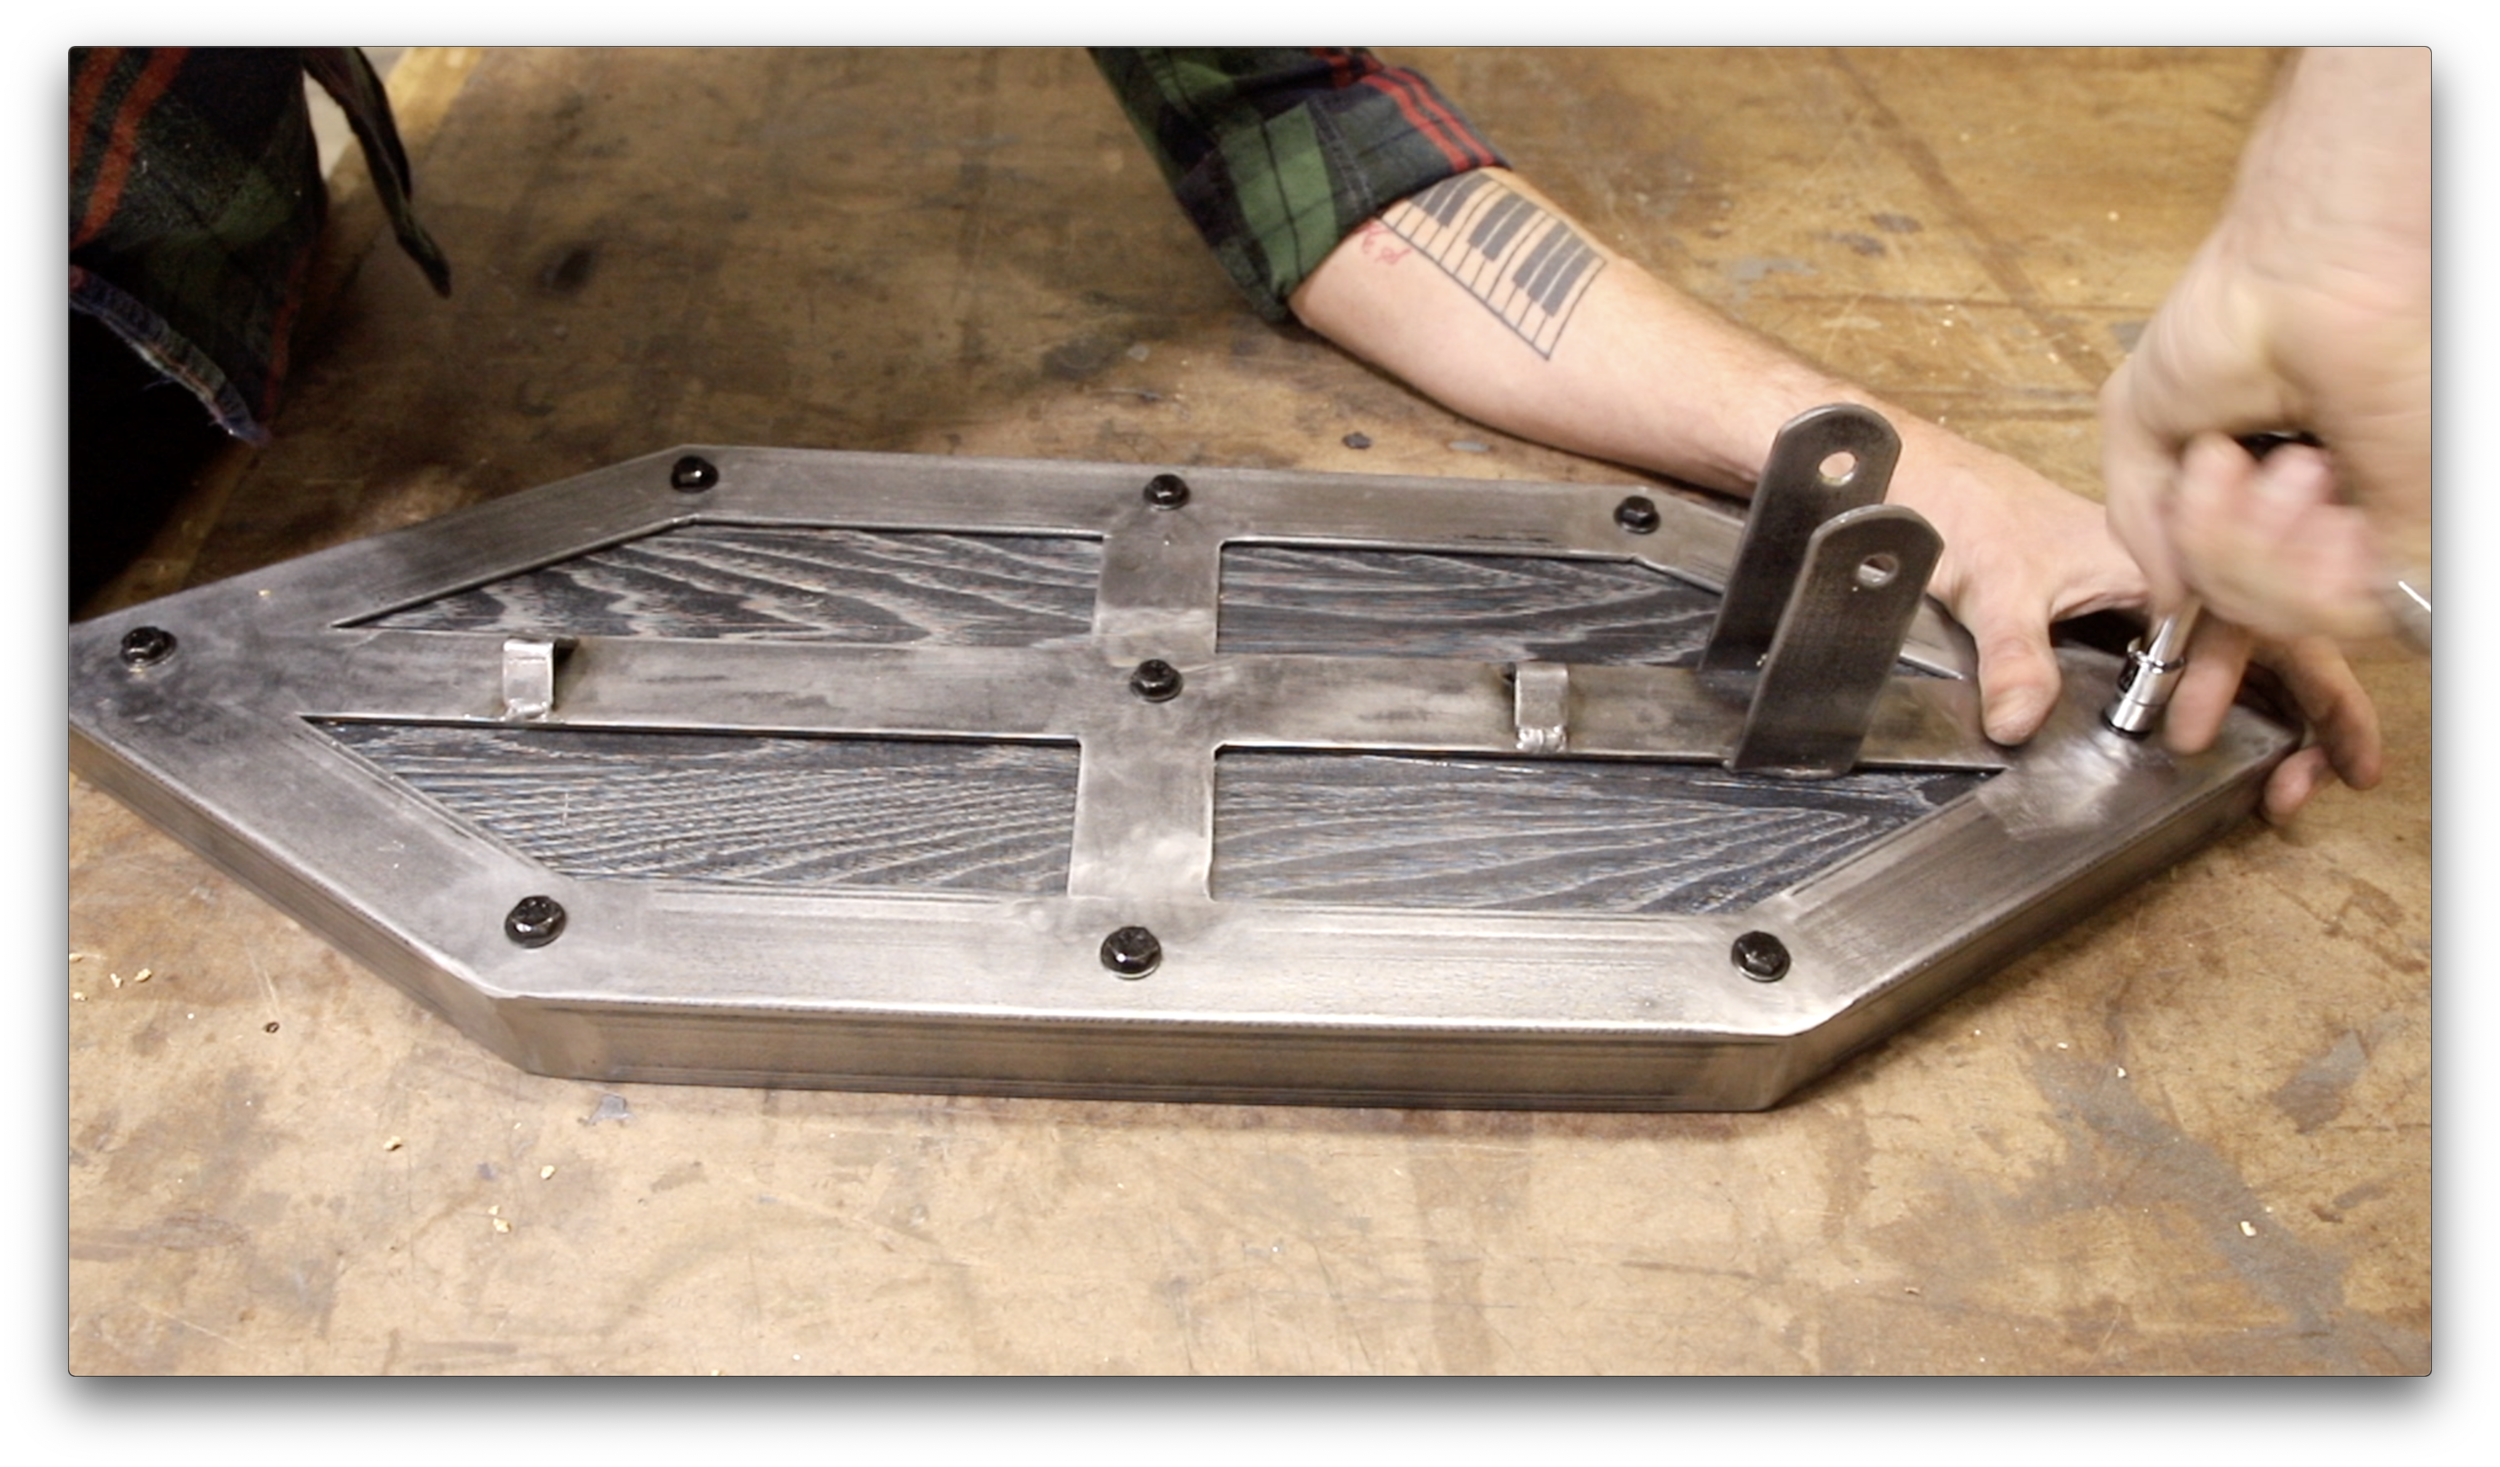


Attach the panel to the frame as shown in the picture with 9 lag screws after drilling holes. See photos for proper placement.
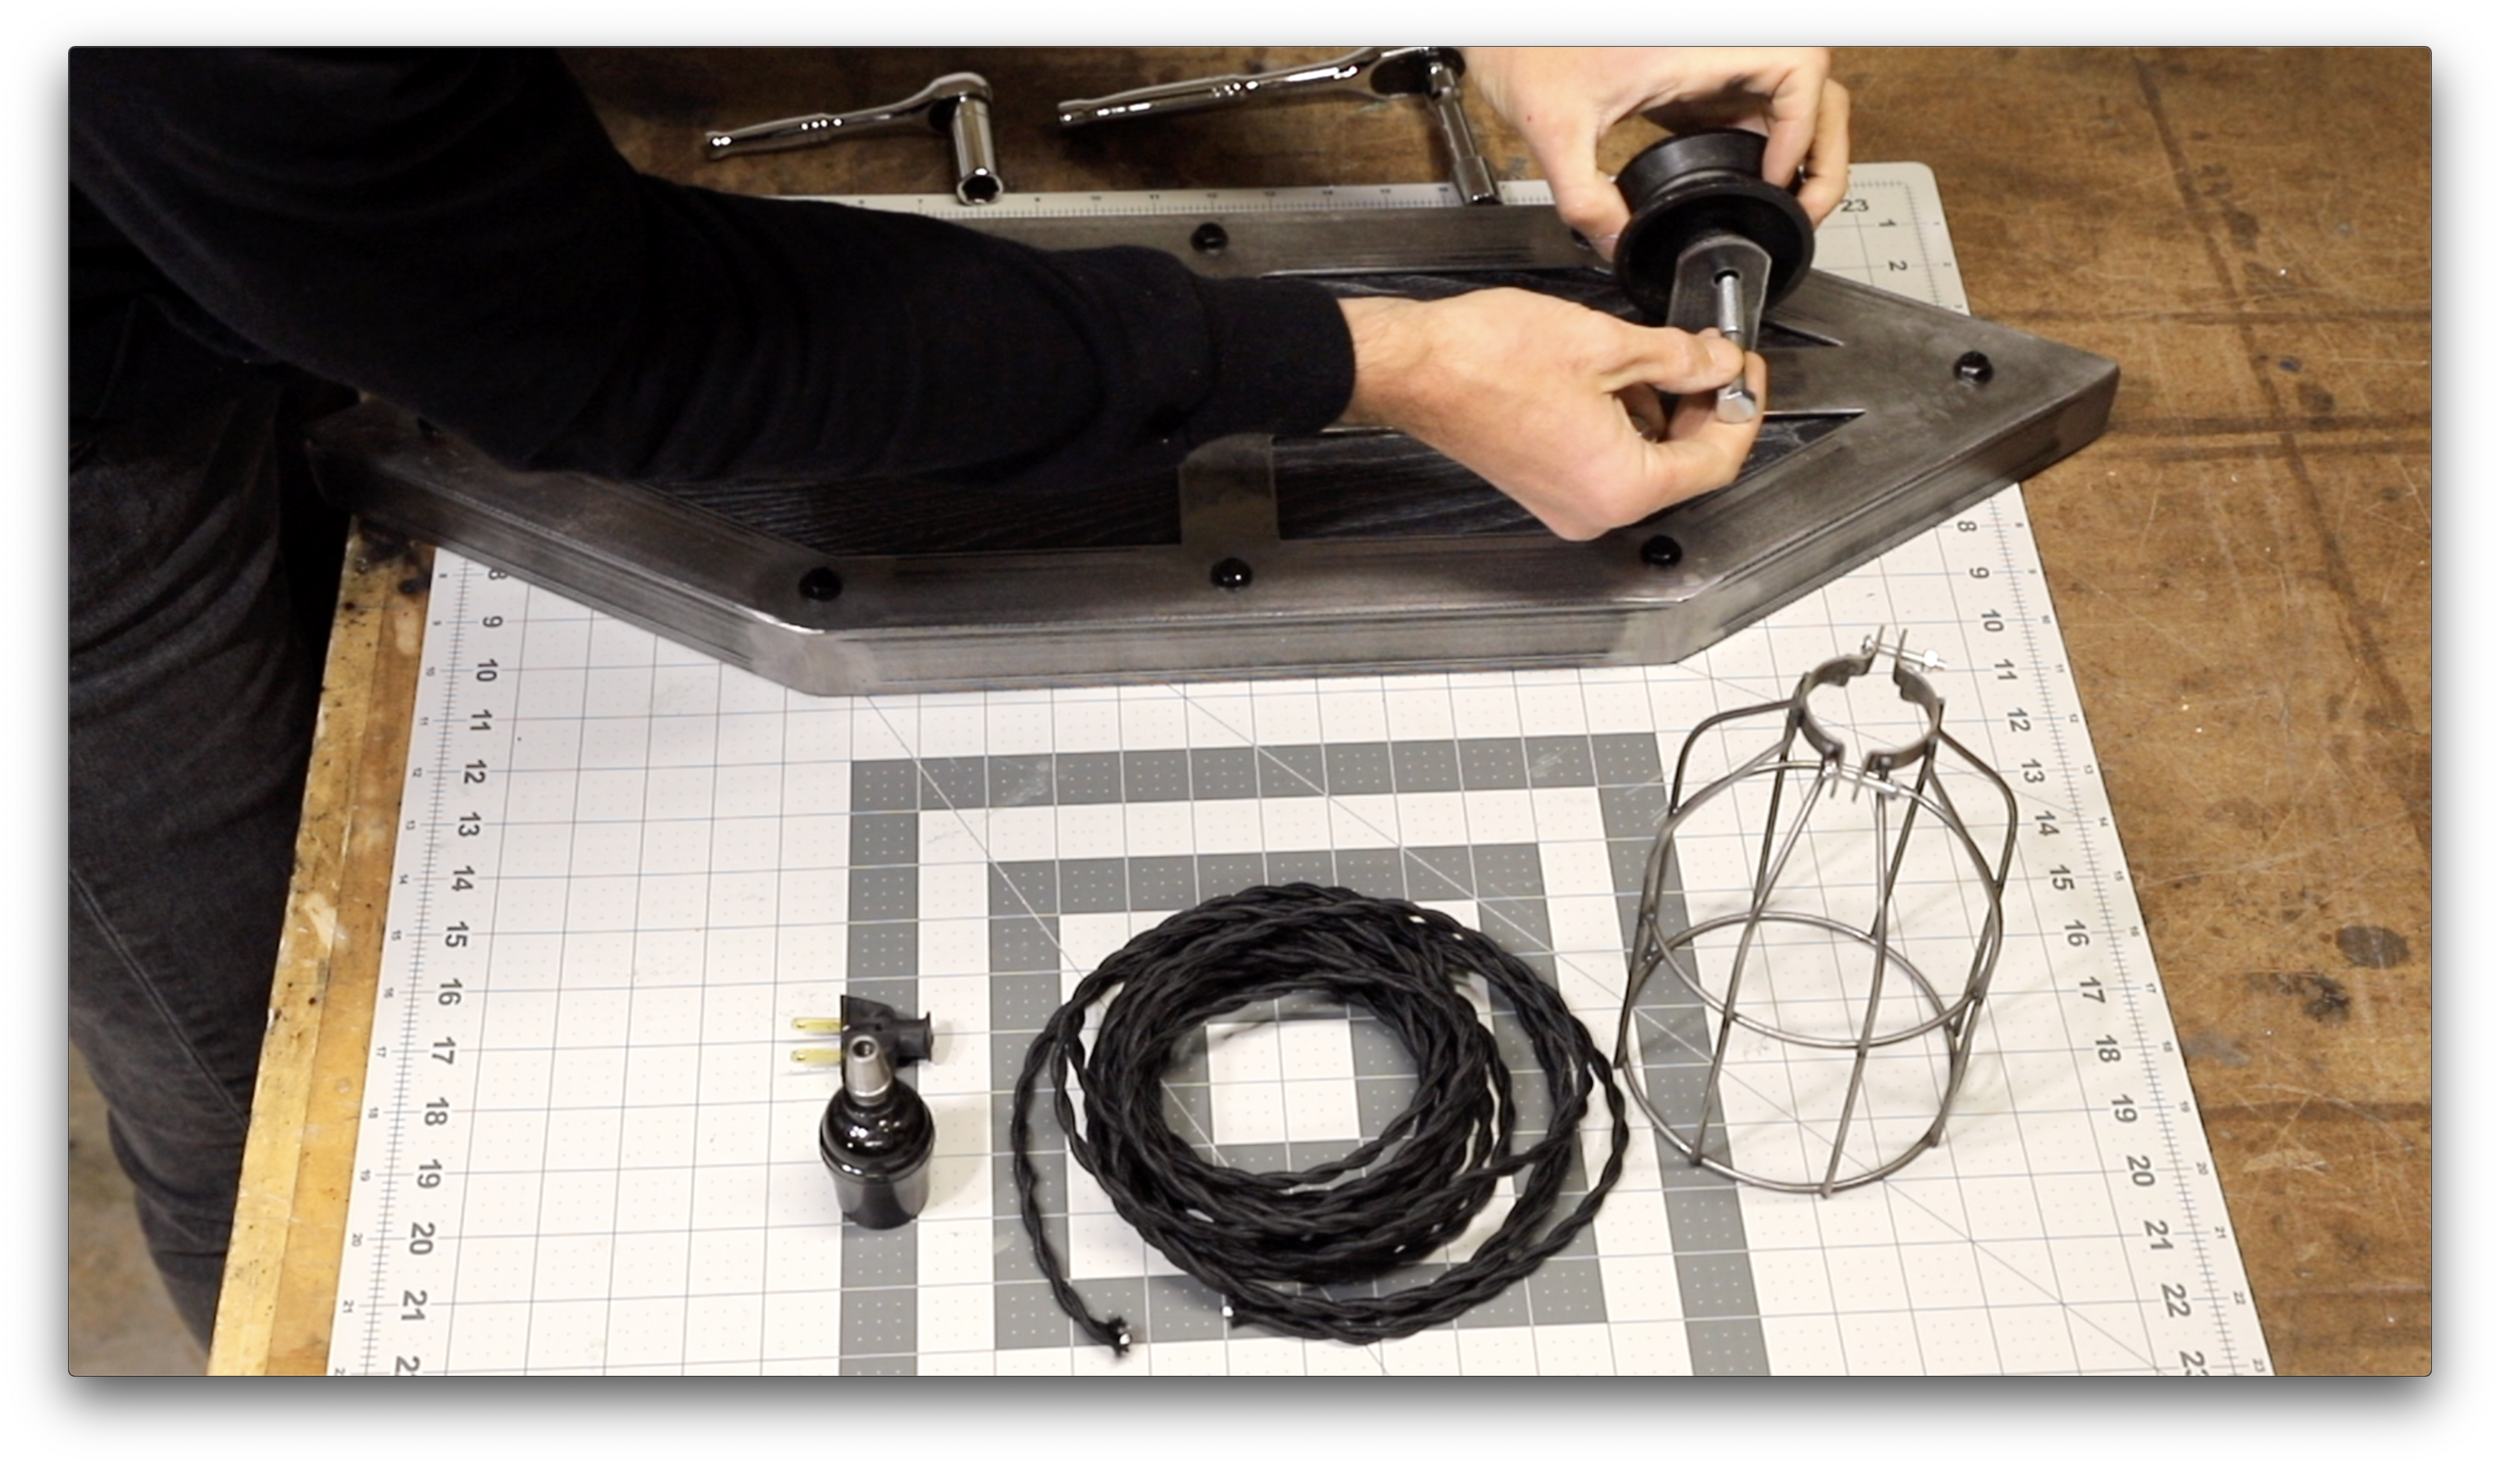
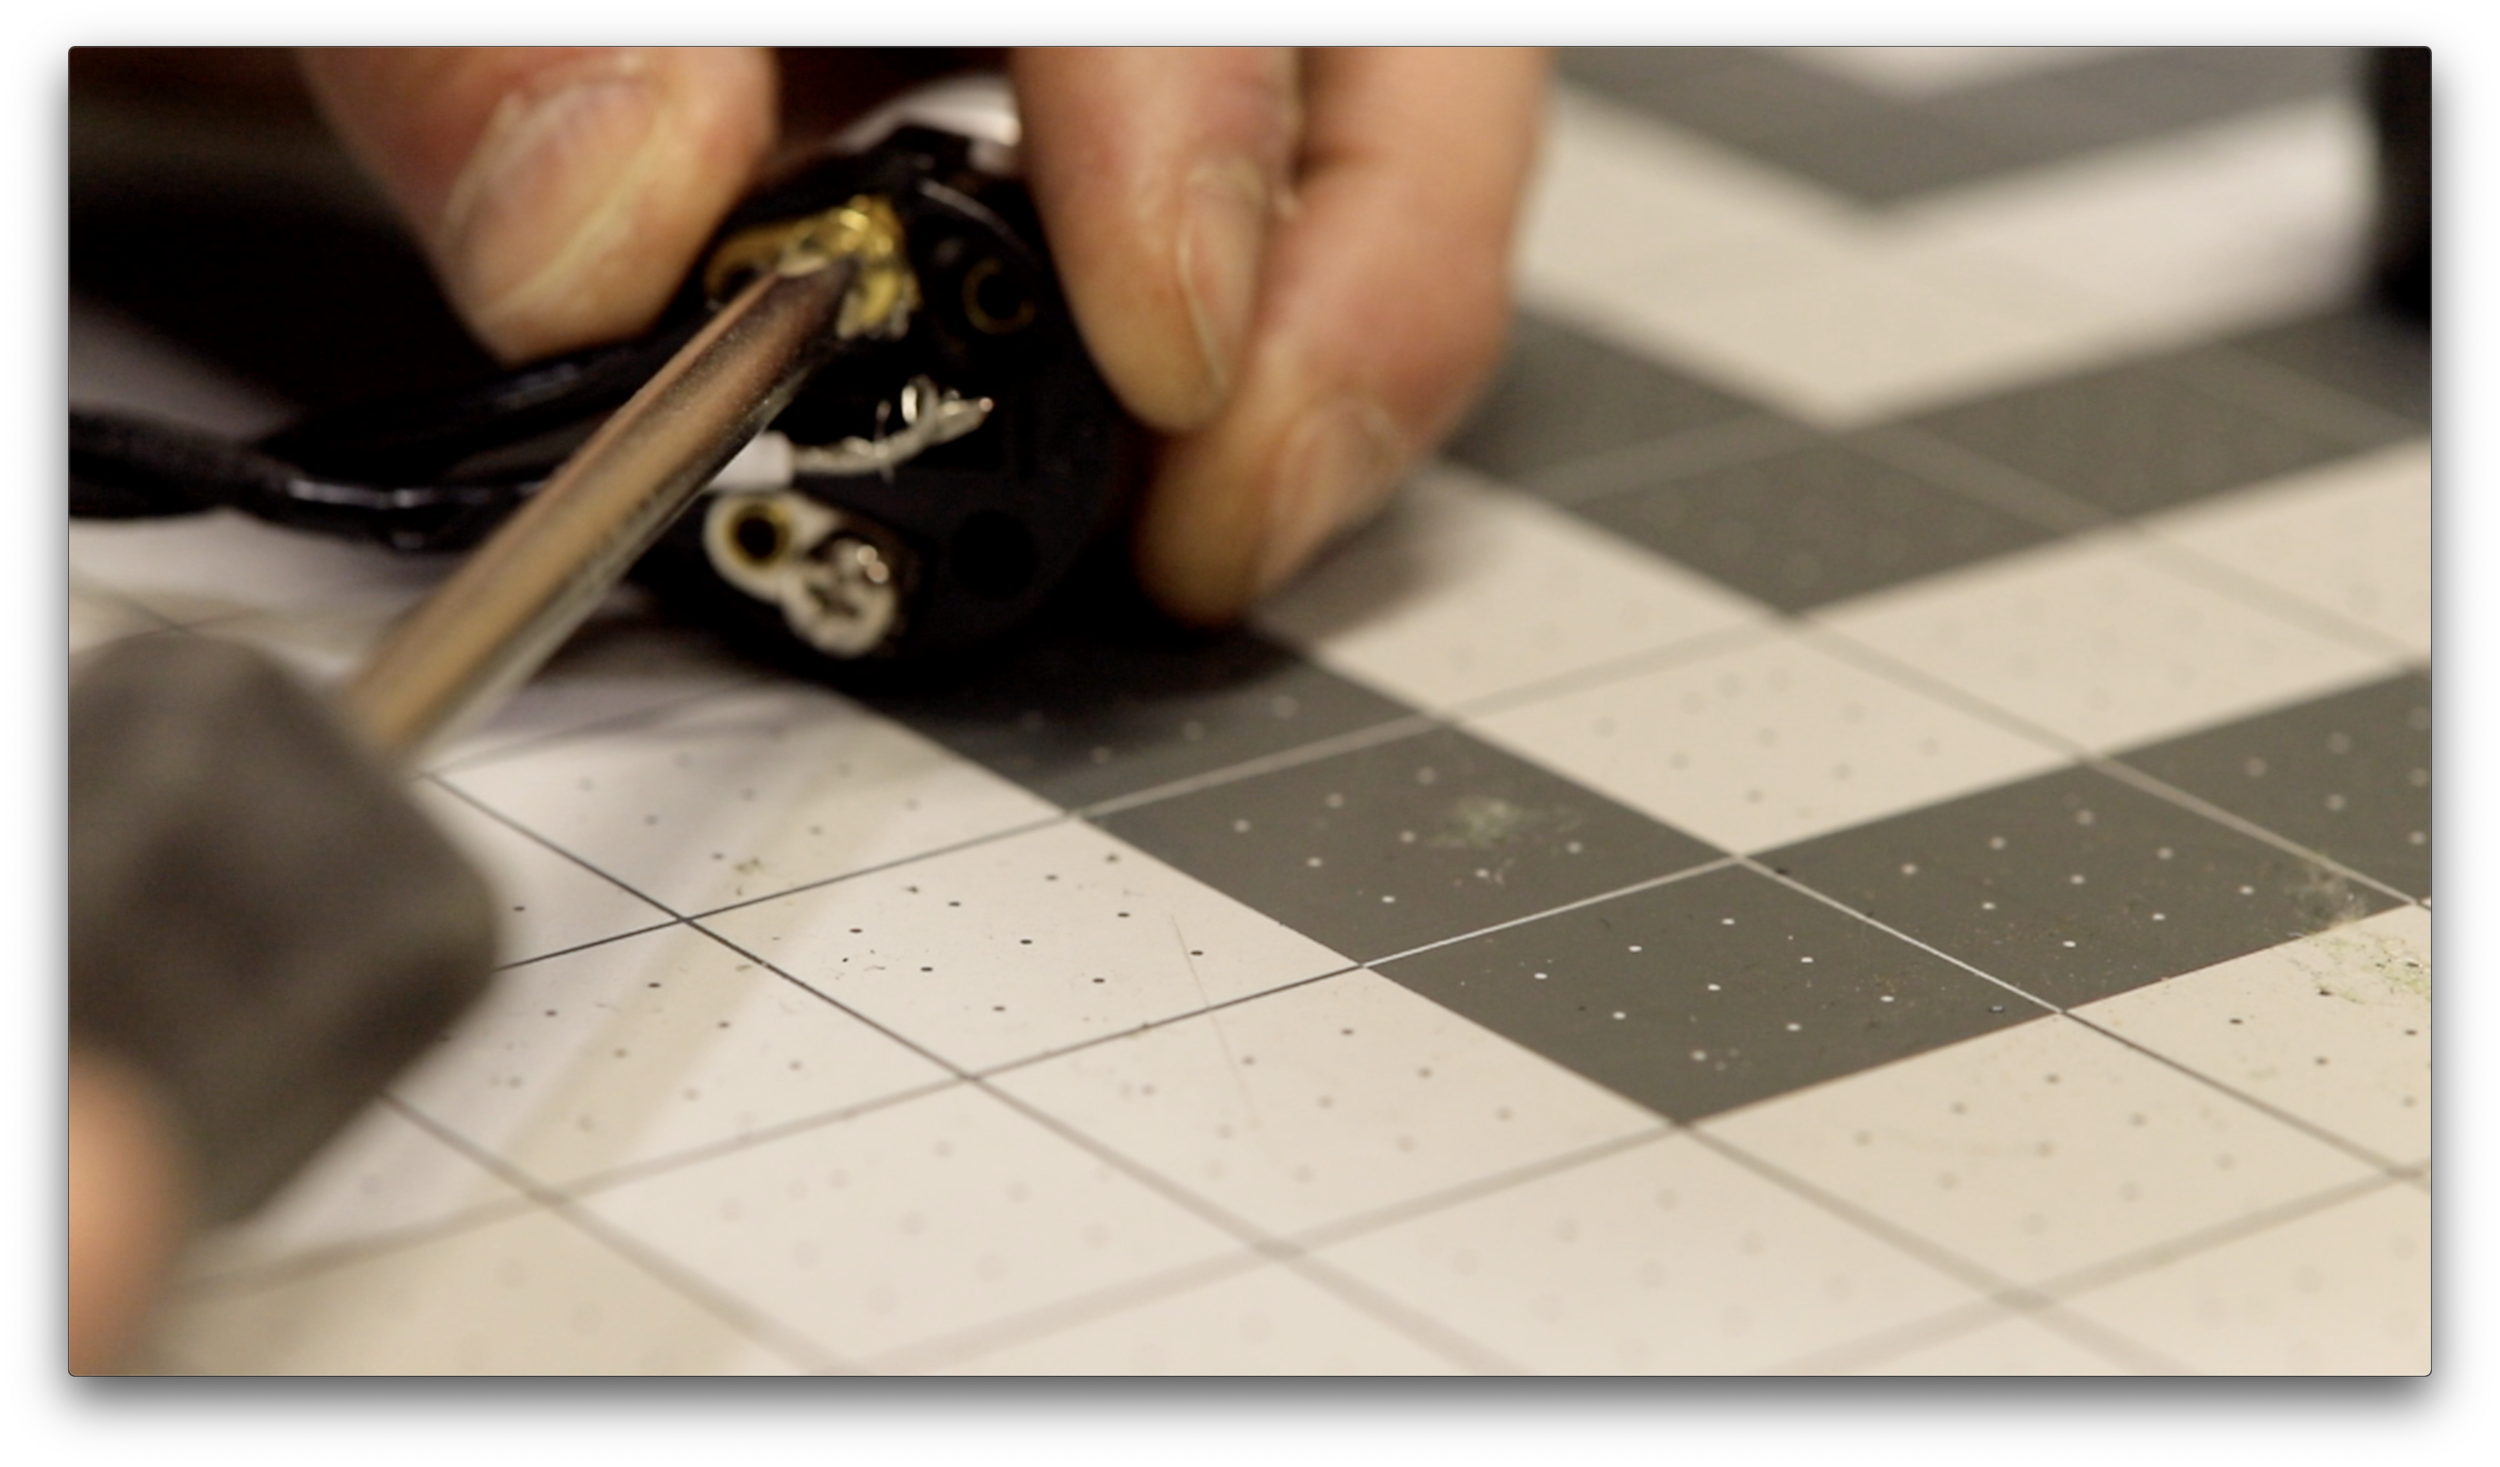
Wire the lights. Consult an electrician before doing so.
Thread the light cable over the pulley and down through the cord stays.
Loop the cord back over and down through the lower pulley to secure it in place.
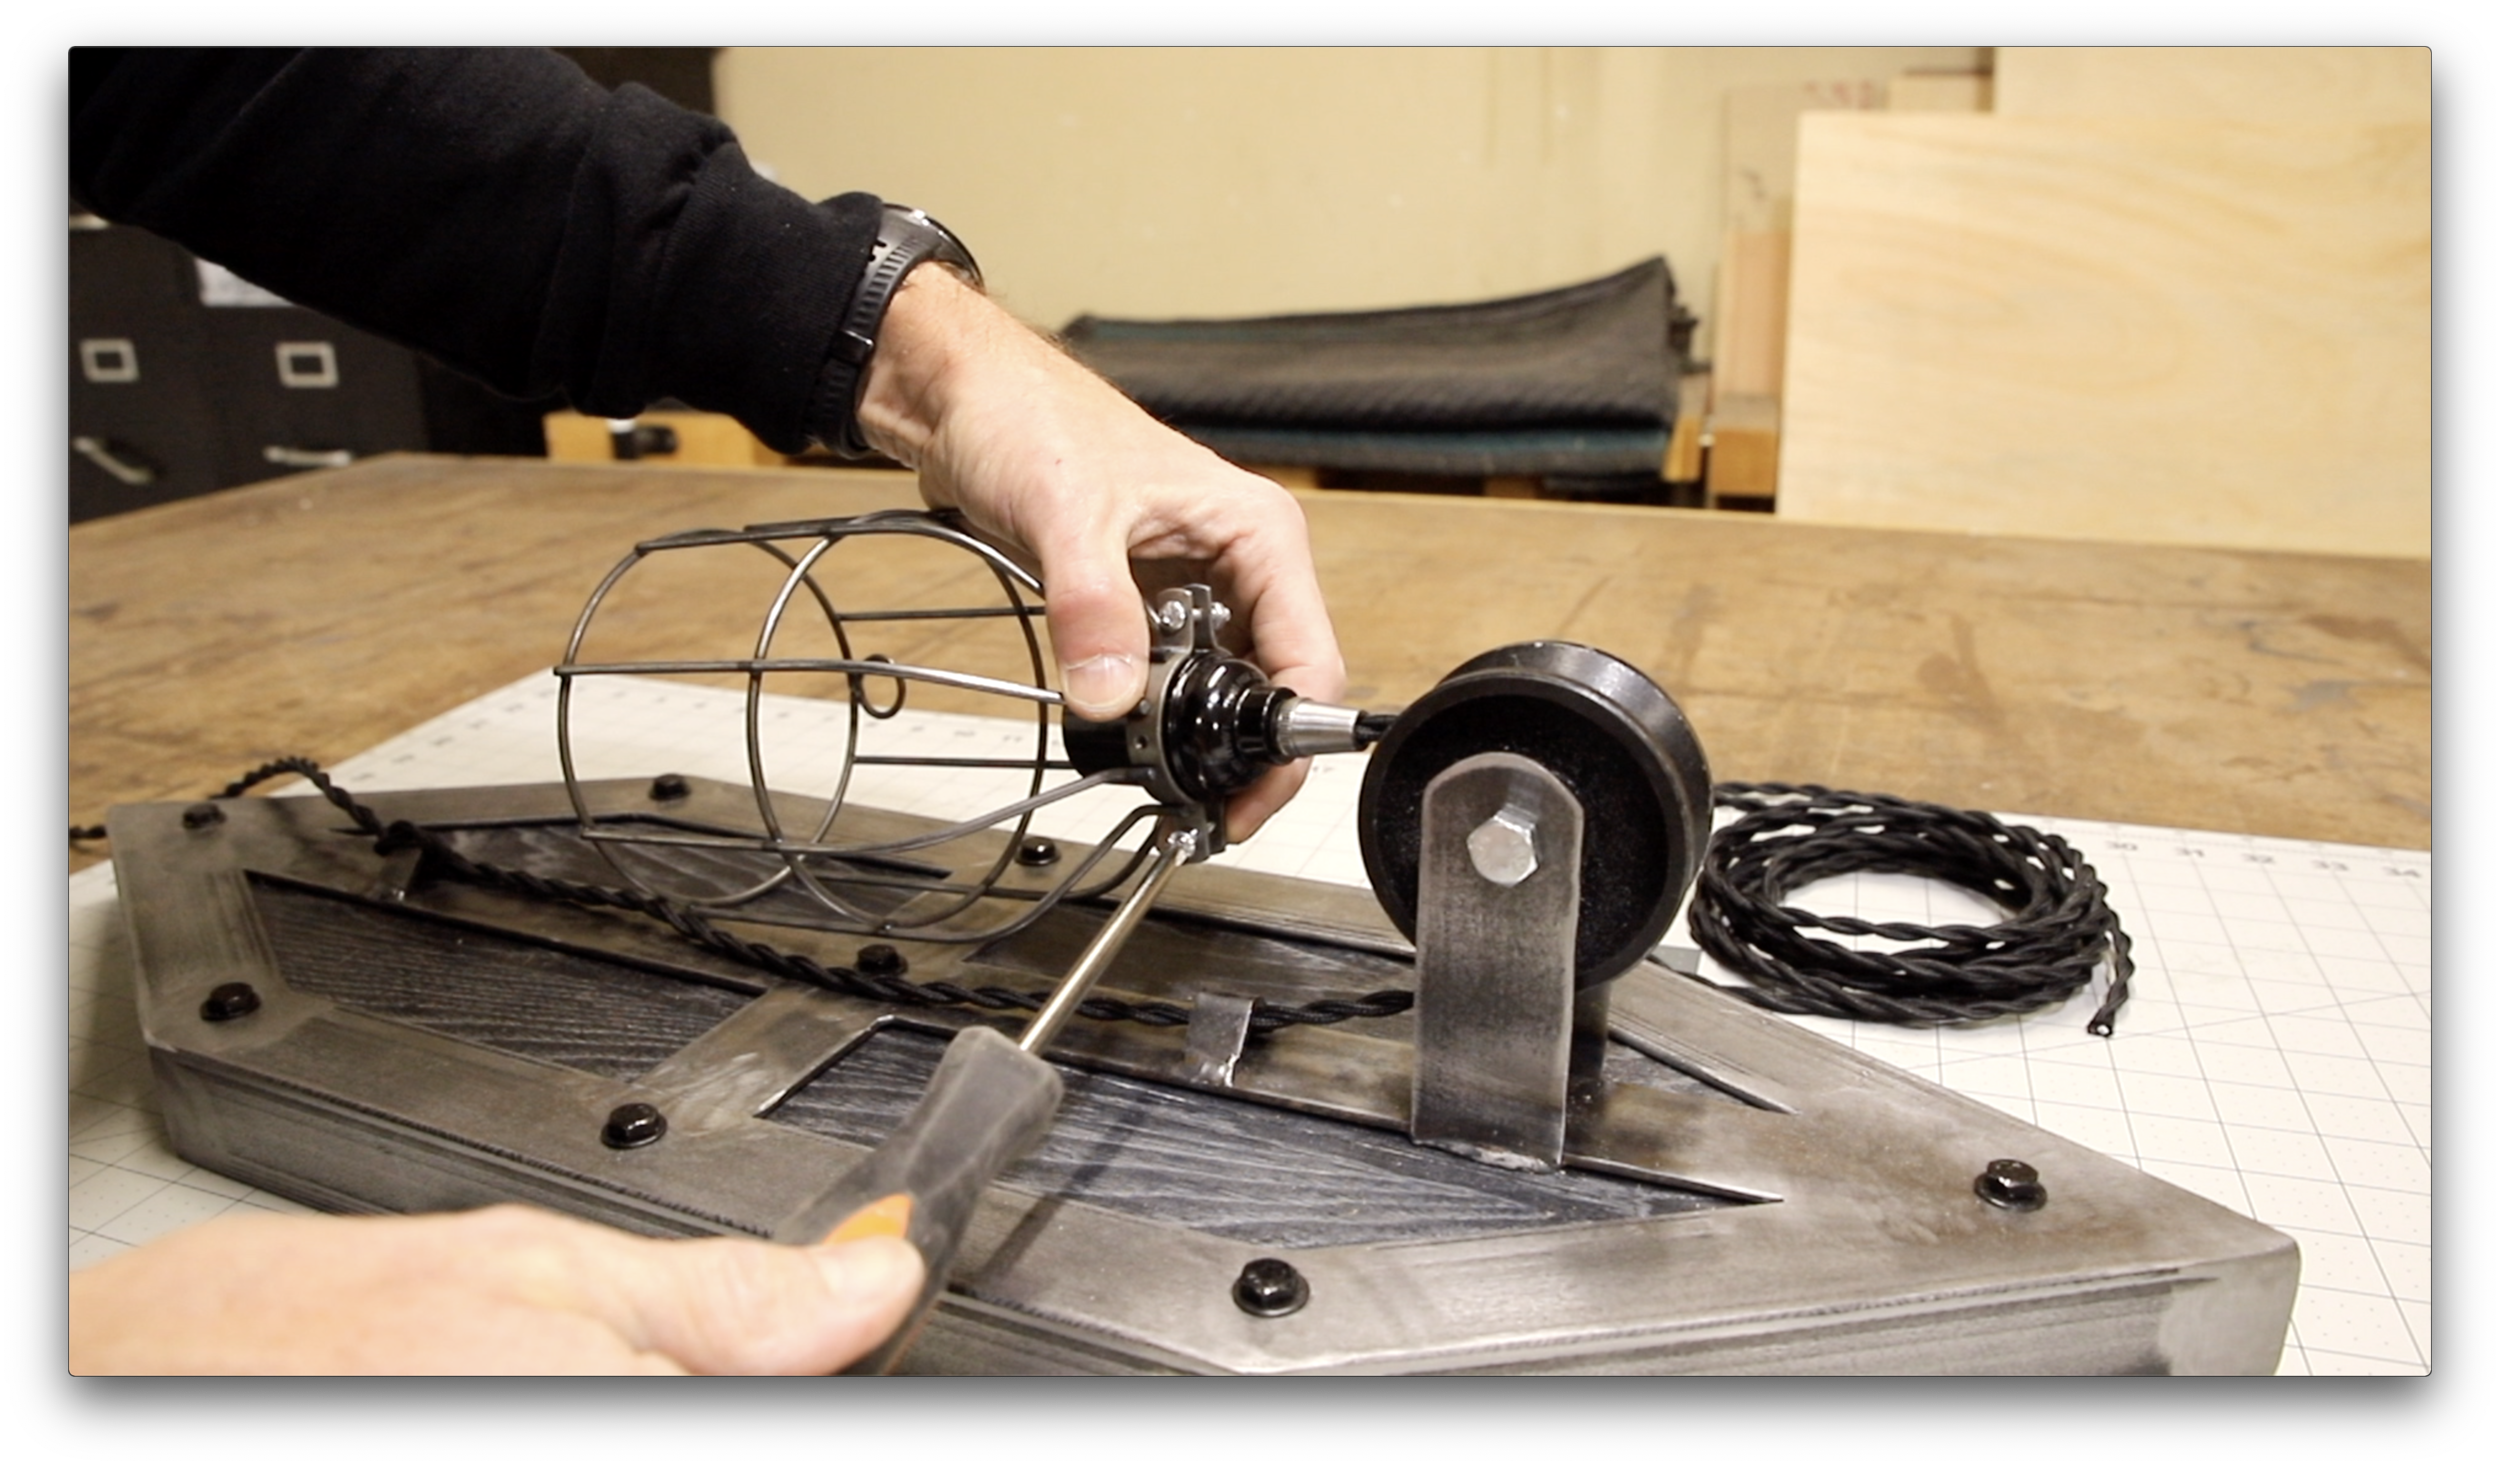
Attach the cage to the light socket.
Hang the sconce and add an Edison bulb.
Thanks for checking out this project and again watch the video for more information.